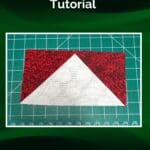
How to Make Flying Geese One at a Time Tutorial
Making flying geese one at a time is a straightforward method that ensures precision and ease, perfect for beginners and seasoned quilters alike. Flying geese blocks are a staple in the quilting world, known for their versatility and ability to add dynamic movement to your quilt designs.
Equipment
- Rotary cutter and mat
- Quilting Ruler
- Sewing Machine
- Iron and ironing board
- Quilting pins or clips to hold pieces in place.
Materials
- Fabric for the geese: Choose your desired color and pattern. Each goose will require a rectangular piece of fabric.
- Fabric for the background: This fabric should contrast with your goose fabric. You’ll need squares of this fabric.
Estimated Cost 3
Instructions
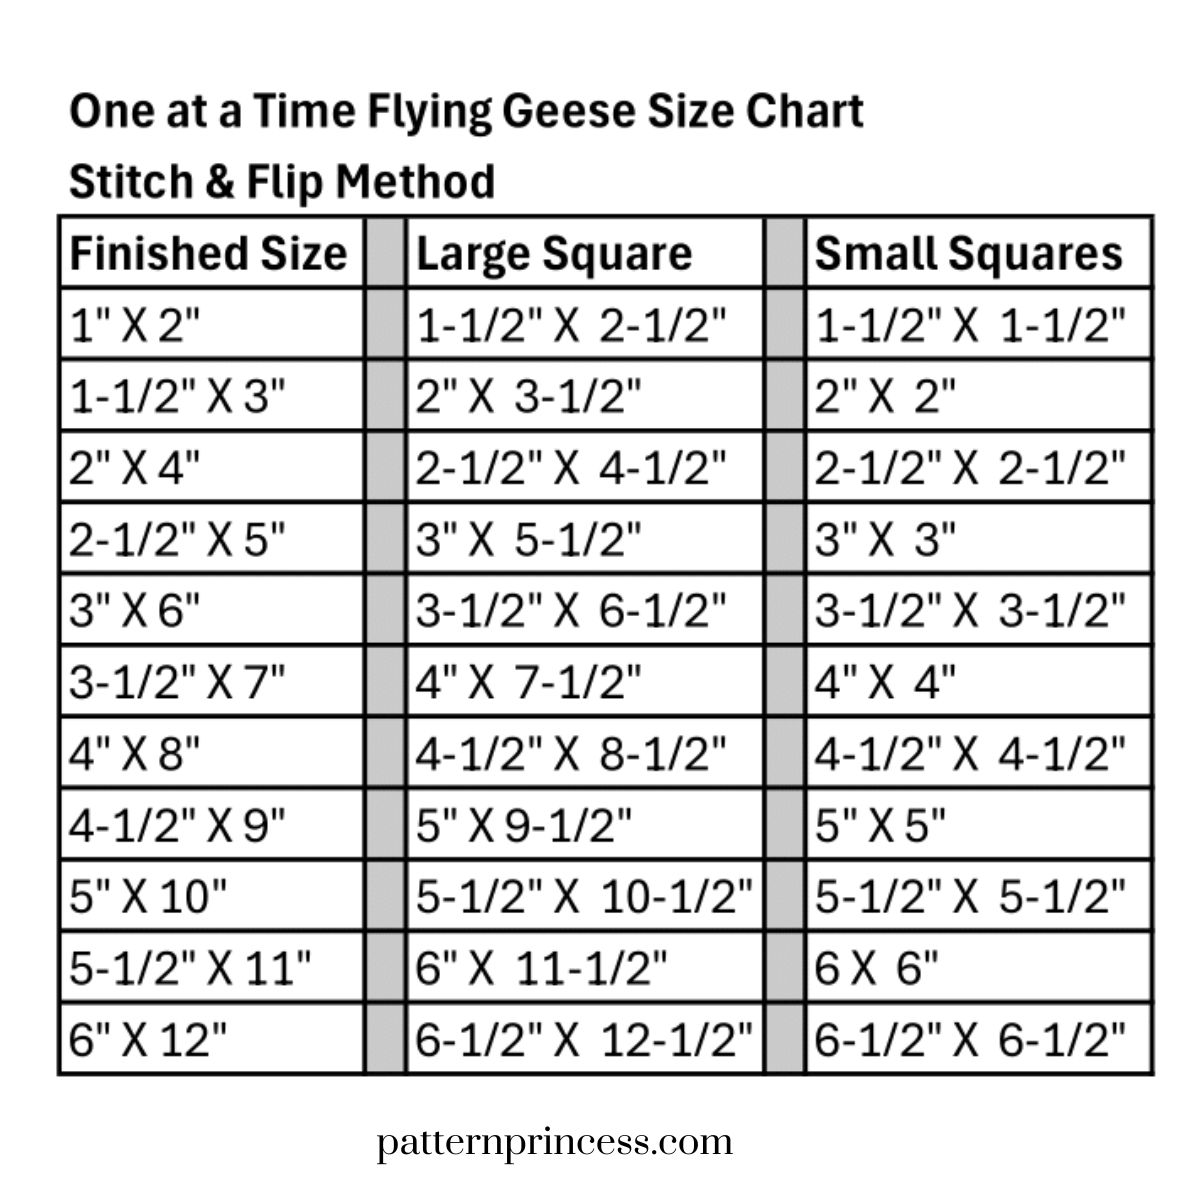
Step 1: Cutting Fabric
- Begin by cutting your fabric pieces. For each flying geese block, you will need:
- One rectangle of the goose fabric 2.5 inches by 4.5 inches.
- Two smaller squares of the background fabric 2.5 inches by 2.5 inches.
- Ensure your cuts are precise for the best results. Using a rotary cutter and a quilting ruler will help you achieve clean, straight edges.
Step 2: Marking Guidelines
- Use the two small squares and a fabric marking pen or pencil. Draw a diagonal straight line from one corner to the opposite corner on the wrong side of each small square. This line will serve as your sewing guide.
Step 3: Placing Pieces
- Place the marked background square on top of the goose rectangle, right sides together, aligning the edges. Ensure the marked diagonal line runs from one corner of the rectangle to the opposite edge, forming a triangle shape.
Step 4: Sewing Seam Lines
- With your sewing machine, stitch directly on the marked diagonal line.
- At this point, most patterns will tell you to trim the excess at ¼” and then press. Do This Instead: Fold the square open and align both points on the square with the point on the rectangle, then press. Now you can open the square back up and trim the excess fabric from the seam allowance leaving a quarter-inch seam. Once trimmed, fold back out before repeating the steps for the square on the other side.
- Repeat the process with the second background square on the other side of the goose rectangle. Align the edges, sew along the marked line, fold the square out aligning the edges and pressing, then trimming the excess fabric, and pressing the seam again.
- You now have one completed flying geese block!
Notes