Last updated on January 19th, 2026 at 09:54 pm
When I first came up with the Snuggle Nest Blanket, I imagined it being perfect for those quiet moments. Whether you’re wrapping up a baby in a soft embrace or draping it over your lap with a good book in hand.
I loved making this beautiful crochet blanket, and hope that you enjoy the free crochet pattern that you’ll find in the blog post below.
There’s nothing quite like the joy of creating something cozy. The texture, the warmth, and the softness of this blanket make it truly special, and the best part. It’s easy enough for confident beginners to tackle with confidence.
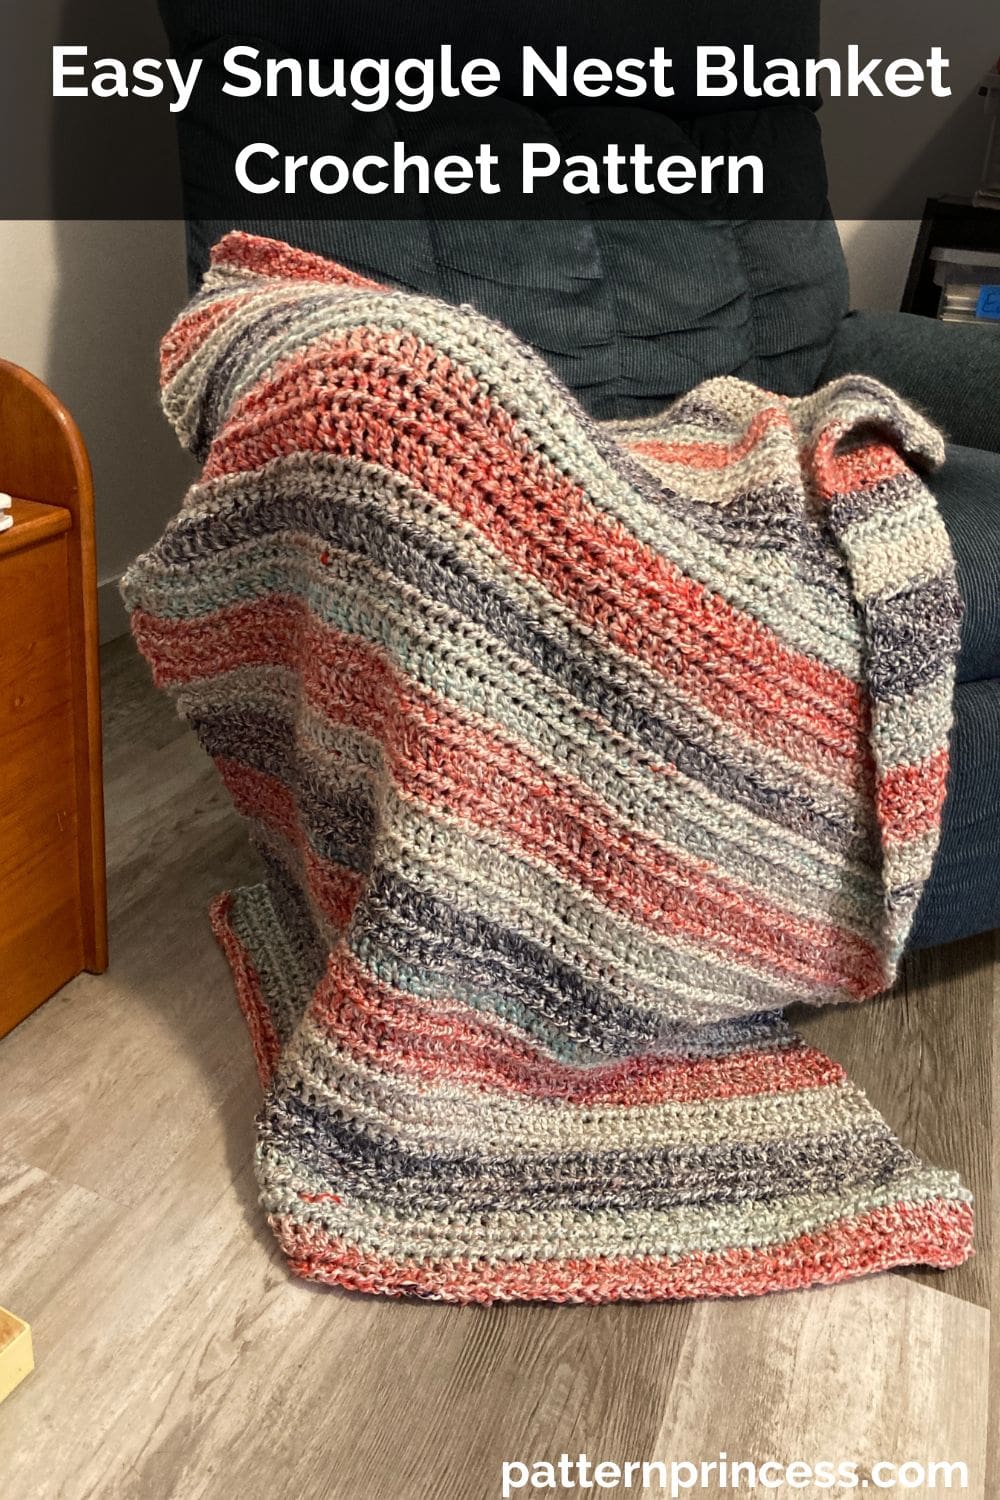
Dual Ridge Stitch
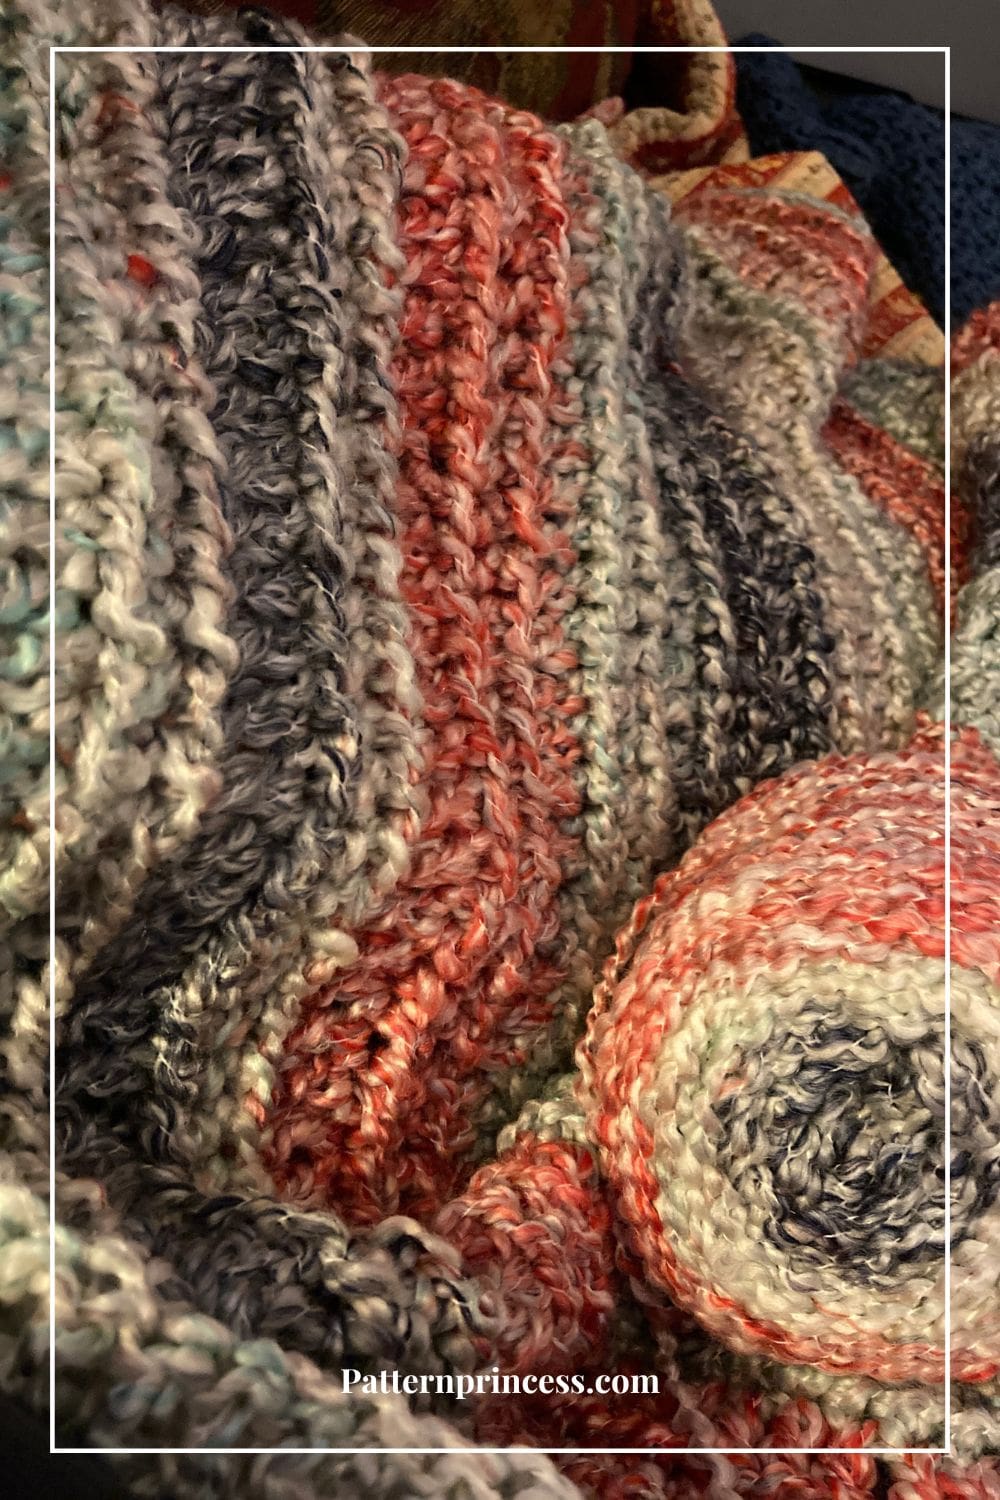
This pattern combines beauty and simplicity in the best way. Featuring the unique Dual Ridge Stitch. A technique I developed to add just the right amount of texture. This blanket works up quickly and feels like a dream.
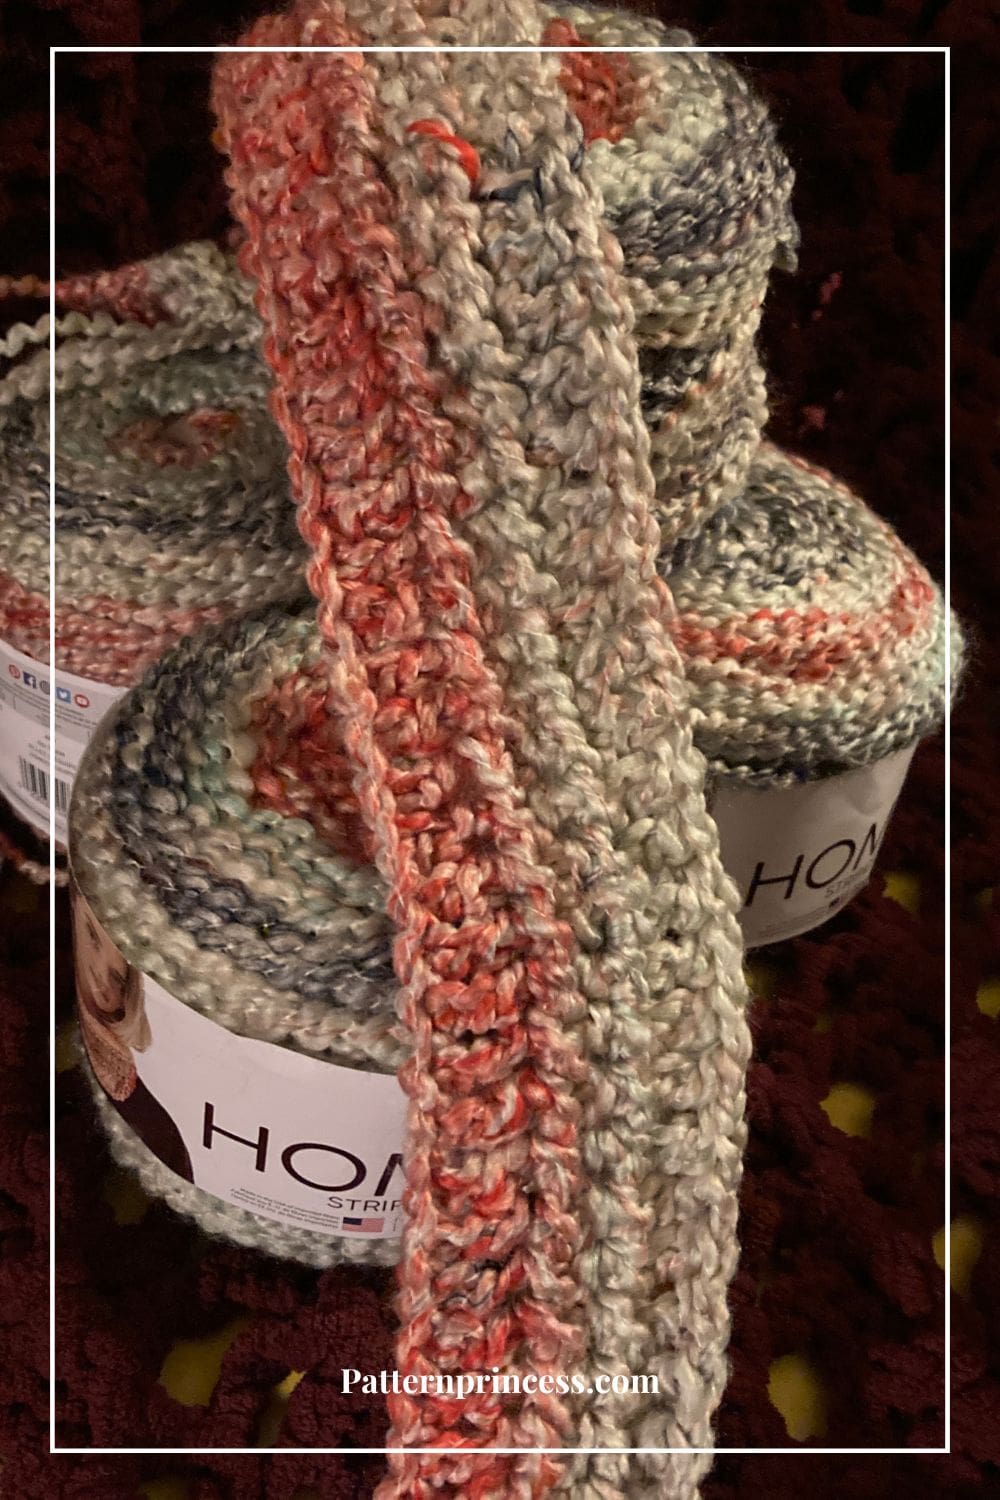
Made with plush Homespun yarn in the vibrant Go Team yarn color, it’s as fun to crochet as it is to snuggle under. Whether you’re making it as a baby gift, a cozy lap throw, or just for yourself, this project is sure to become a favorite on your hook.
Perfect for Confident Beginners
Don’t worry if you’re new to crochet; this pattern is designed with ease in mind. You’ll only need basic stitches and a little time to create something truly magical.
In this post, I’ll guide you step-by-step through the process, share tips for working with homespun yarn, and explain why this blanket is so versatile.
By the end, you’ll have a gorgeous handmade creation that you can cherish or gift to someone you love.
Get an ad free Printable PDF of this pattern in our Etsy shop.
Make this Throw Blanket in Any Size
It is easy to change the size of this crochet blanket by adding or decreasing the beginning chain stitches by any number and adjusting the number of rows. However, I have some suggestions for some common blanket sizes to get you started. I’ll provide the suggested starting chain, number of rows and total yarn yardage.
- Baby = 31 X 35 inches.
- Lap = 34 X 42 inches.
- Throw = 50 X 60 inches.
- Twin = 60 X 88 inches.
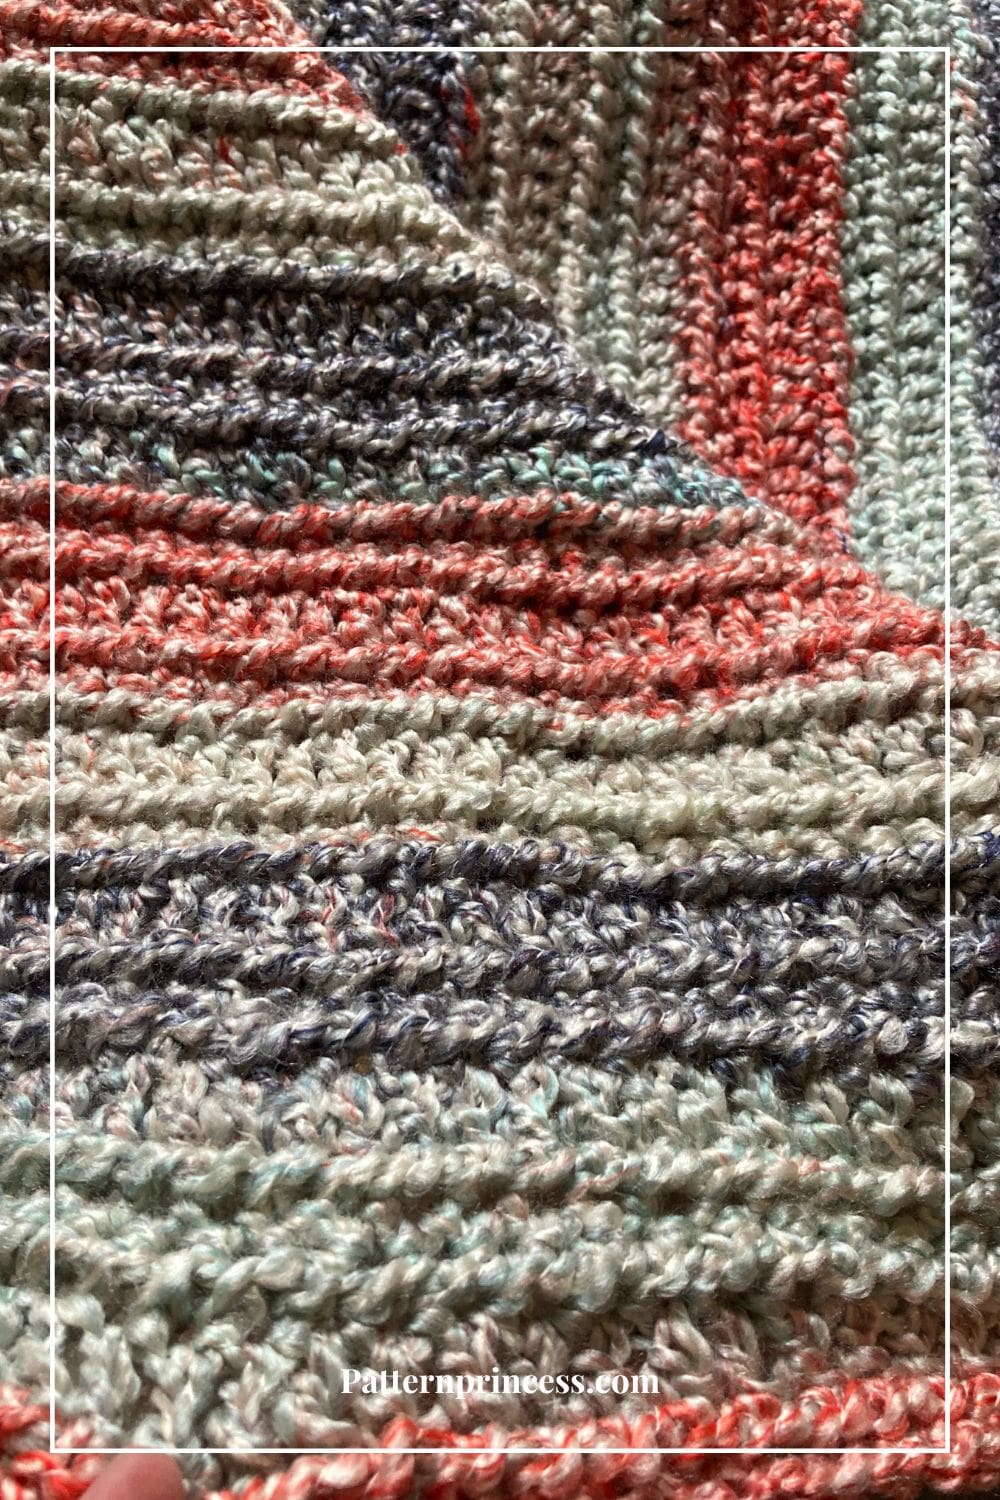
Yarn used in this Snuggle Nest Blanket.
I used a bulky number 5 weight yarn for this throw blanket. One of the great things about using bulky weight yarn is its versatility. It’s thick enough to add structure to your stitches but soft enough to drape beautifully. For this pattern. Any #5 yarn with a similar gauge will work beautifully. Just make sure to check your tension and adjust your hook size if needed for the best results.
Directions: Easy Snuggle Nest Blanket
Skill Level
Confident Beginner
Gauge
9 chains and 4 rows of double crochet every 4 inches.
Size
34 X 42 inches (Shown)
Change the size by adding or decreasing the beginning chain stitches by any number and adjusting the number of rows.
Baby Blanket Size 31 X 35 inches. Starting Chain 74. Number of Rows 72 rows. Total Yarn Yardage 562 yards using a #5 bulky weight yarn.
Lap Blanket Size 34 X 42 inches. Starting Chain 80. Number of Rows 87. Total Yarn Yardage 740 yards using a #5 bulky weight yarn. (Shown)
Throw Blanket Size 50 X 60 inches. Starting Chain 118. Number of Rows 124 rows. Total Yarn Yardage 1,555 yards using a #5 bulky weight yarn.
Twin Blanket Size 60 X 88 inches. Starting Chain 142. Number of Rows 182 rows. Total Yarn Yardage 2,736 yards using a #5 bulky weight yarn.
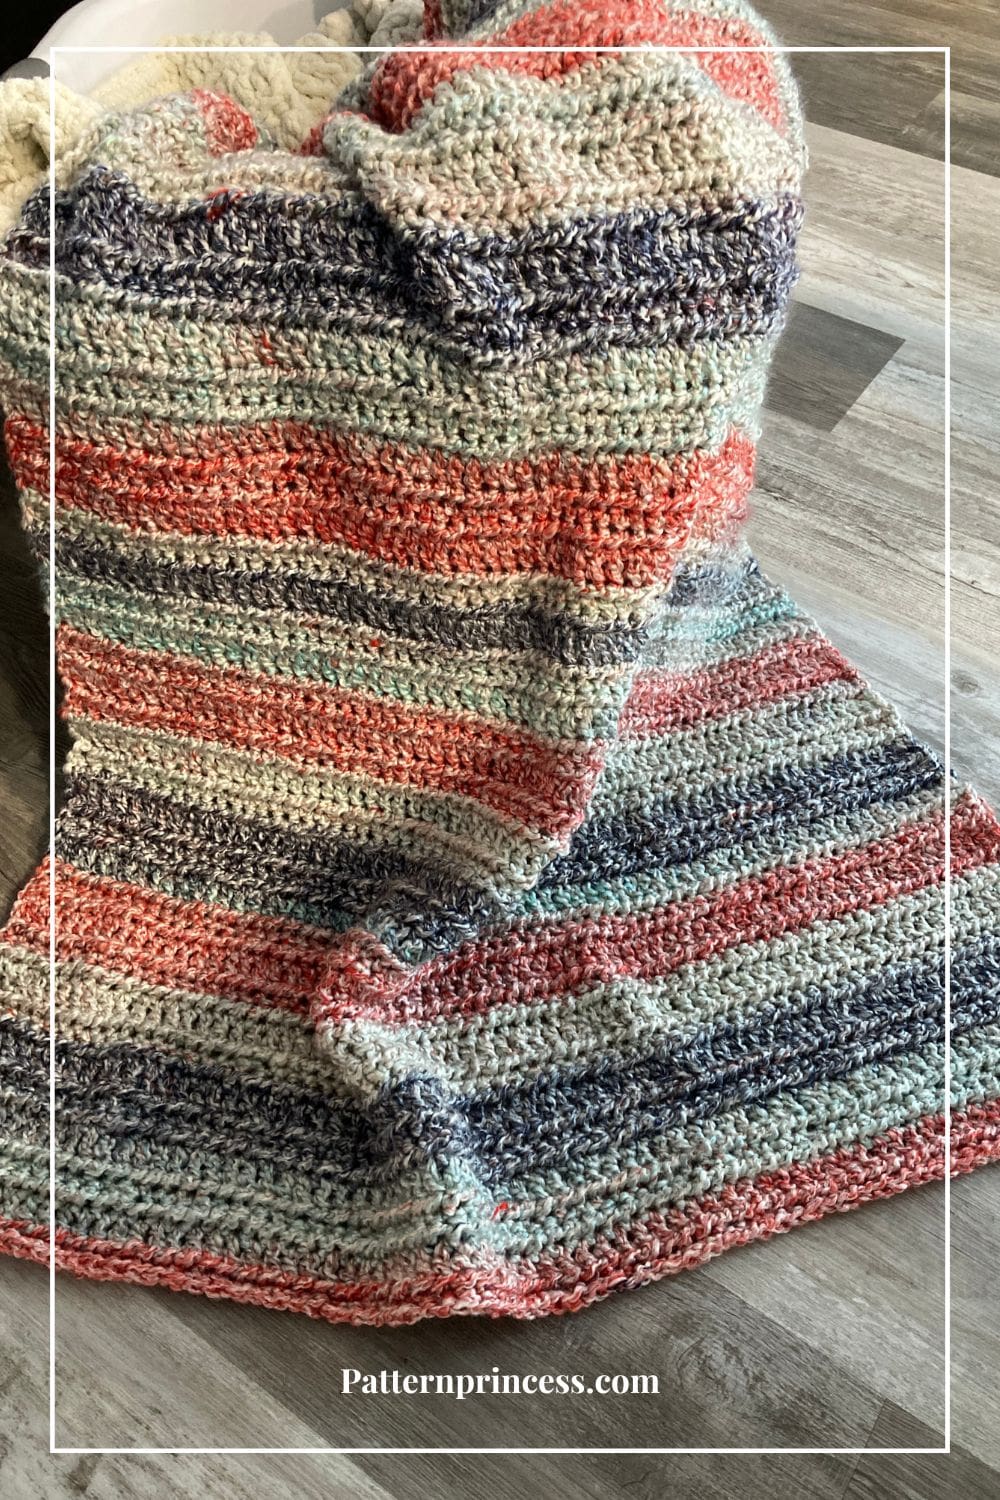
Abbreviations
- CH = Chain
- DC = Double Crochet
- HDC SL ST = Half Double Crochet Slip Stitch
- ST = Stitch
- STs = Stitches
Materials
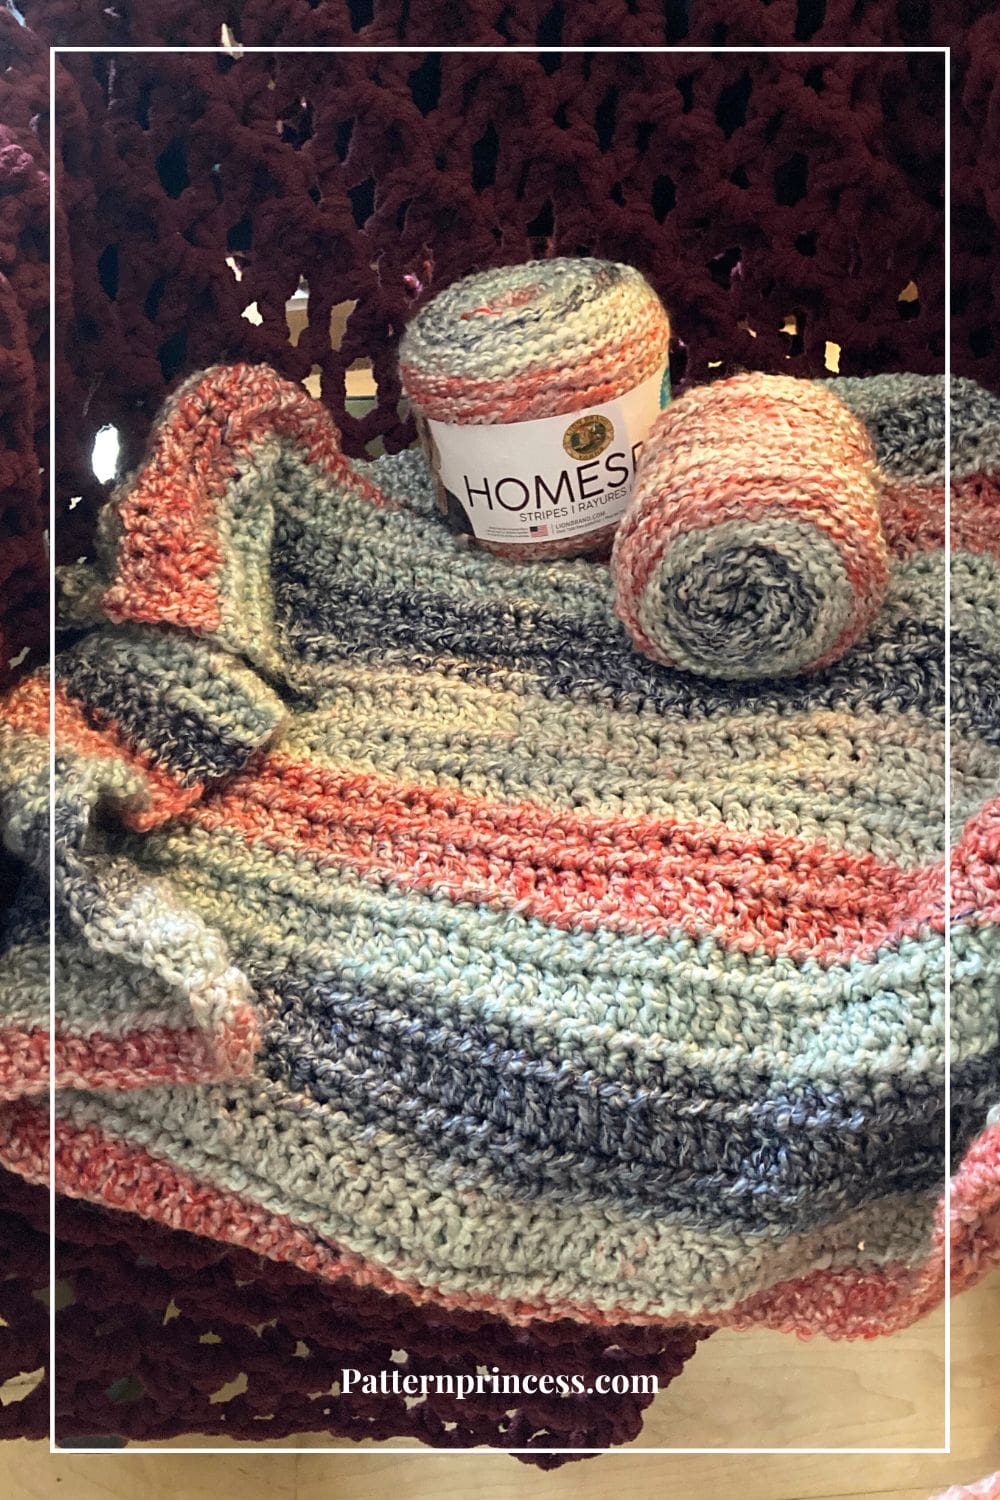
Lion Brand Homespun Stripes yarn in the color, Go Team. It is a #5 bulky weight yarn. Each skein is 185 yards. I used a total of 4 skeins for a total of 740 yards.
If you are not able to find the yarn locally, you may want to check our Savings Center for the yarn.
Crochet Hook Size K/10.5, 6.5mm
Tape Measure for measuring your project throughout.
Yarn Needle for sewing in yarn ends.
Scissors
Pattern Notes
This crochet blanket uses the Dual Ridge Stitch Pattern.
Written in US crochet terms.
Video tutorial links are located below the written pattern.
When working the first double crochet in the rows, I worked my version of a standing double crochet.
You can work the row 1 stitches in the top loop of the chain stitch or the back bump. I worked in the back bump.
Crochet Stitches for Project
Chain Stitch CH
Begin the chain stitch by making a slip knot and adding the loop on the crochet hook.
Keeping the loop on the hook, wrap the yarn over the crochet hook from back to front using the hook to draw the yarn through the loop that is currently on the hook. (The first chain stitch is complete).
HOW TO CROCHET THE CHAIN STITCH video tutorial
Double Crochet (DC)
Yarn over, insert the hook through both loops and pull up a loop. Next, yarn over and pull through two loops on the hook. Lastly, yarn over again and pull through the last two loops on the hook.
HOW TO CROCHET THE DOUBLE CROCHET STITCH video tutorial
Half Double Crochet Slip Stitch (HDC SL ST)
Yarn over, insert the hook through both loops of the next stitch and pull up a loop. Pull the loop through all three loops on the hook. For height, this stitch is between the single crochet and double crochet.
Half Double Crochet Slip Stitch Video Tutorial
Standing Double Crochet Stitch
Yarn over, insert hook through both loops and draw up loop. Then yarn over and draw through 1 loop. Yarn over and draw through 2 loops. Finally, yarn over and draw through the last 2 loops on the hook.
Begin Crochet Pattern
Start by making a slip knot and adding the loop on the hook.
Work 80 Foundational Chain Stitches.
Row 1
Skip 3 CH STs (Counts as a DC). In the 4th chain work DC. DC in each ST across. Turn
Note: I worked in the back bump of the chain stitches, but with this bulky yarn, it will be easier to work in the top loop of the chain stitch.
Row 2
CH 1 (Does not count as a ST). Work a HDC SL ST in the first ST and in each ST across. Turn
Row 3
Repeat row 2
Row 4
Repeat row 2
Row 5
CH 1. Work a standing DC in the first ST. Work 1 DC in each ST across. Turn
Rows 6 through Row 87
Repeat rows 2 through 5 until your project reaches the desired length.
Finishing
After the last stitch, leave about a 10-12 inch yarn tail. Pull the tail through the last stitch. Using the tapestry needle, weave in the yarn ends. Cut off the excess yarn.
Video Tutorials for the Dual Ridge Stitch
Right hand tutorial: https://youtu.be/n85Nq7ZyjbQ
Left hand tutorial: https://youtu.be/T6Mim9Zi13g

You can find Victoria crocheting, quilting, and creating recipes. She has cooked in restaurants for over 20 years, including many larger parties. She learned to crochet when she was just 11 years old and has been crocheting ever since; over 50 years now. Over 40 years ago, she loved her first class in sewing and continues to hone her skills in quilting. Many have enjoyed the handmade gifts over the years. In her professional career, she has worked in management in a wide variety of businesses including higher education as a dean of a division. All the while attending college part-time to achieve her doctorate in higher education with an emphasis in e-learning.
