Here you’ll some some great free crochet tutorials for beginners. Even if you have been crocheting for a bit, the list of intermediate crochet stitches continues to grow.
Crochet Tutorials for Beginners
Learn about different projects that use all kinds of crochet stitches such as the magic circle crochet tutorial, which is also sometimes known as the magic ring too. come along on this crocheting journey with me.
Learn Basic Crochet Stitches
The written directions are written in the long form rather than the abbreviations normally used in a crochet pattern. When I was first learning how to crochet, one of the most difficult things I had to master was to read the pattern using all of the abbreviations.
This can be quite confusing. Therefore, in an effort to help you learn stitches and begin to see how a pattern is written, I am not using the abbreviations in the directions themselves. However, with that said, the abbreviation is noted in parenthesis in the stitch title.
Make Sure to Check out the Crochet Tutorial Categories too.
Table of contents
- Crochet Tutorials for Beginners
- Learn Basic Crochet Stitches
- Basic Crochet Stitches
- Intermediate Crochet Stitch Tutorials
- Alpine Stitch Tutorial
- Back and Front Post Double Crochet
- Back Post Double Crochet (BPDC)
- Front Post Double Crochet (FPDC)
- Crocheting the Front Post and Back Post Double Crochet
- Bobble Stitch – Double Crochet 6 Together (DC6TOG)
- Chainless Standing Double Crochet
- Double Crochet Two Together (DC2Tog)
- Extended Single Crochet
- Granny Spike Stitch
- Herringbone Half Double Crochet (HHDC)
- Magic Circle Crochet Tutorial
- Moss Stitch Tutorial
- Picot Stitch
- Puff Stitch
- Tunisian Simple Stitch Tutorial
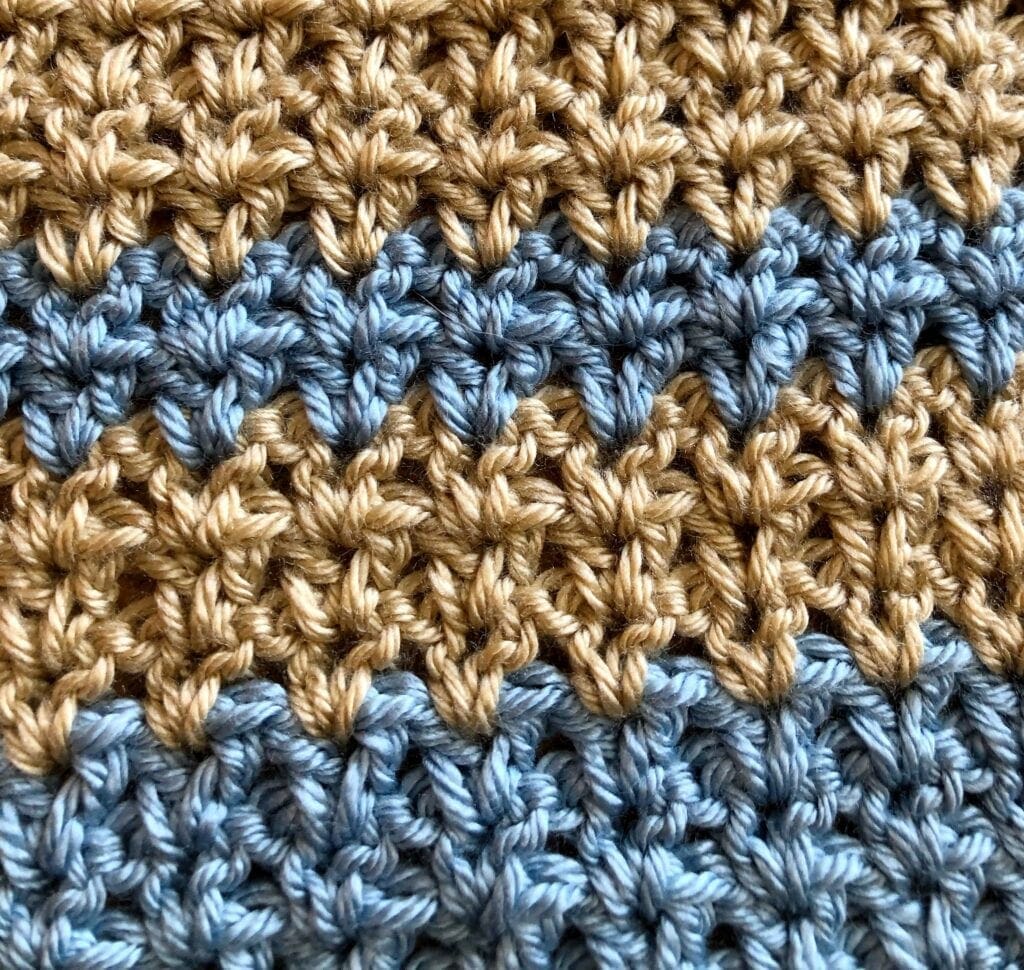
- How to Crochet the V-Stitch
- Double Crochet V-Stitch
- Half Double Crochet V-Stitch
- Treble Crochet V-Stitch
- Crochet Tips and Tricks
- Left Hand Crochet Tutorial Videos
- How to Crochet a Classic Granny Square
Basic Crochet Stitches
These video tutorials will help you learn the very basics of crocheting.
Chain Stitch (CH ST)
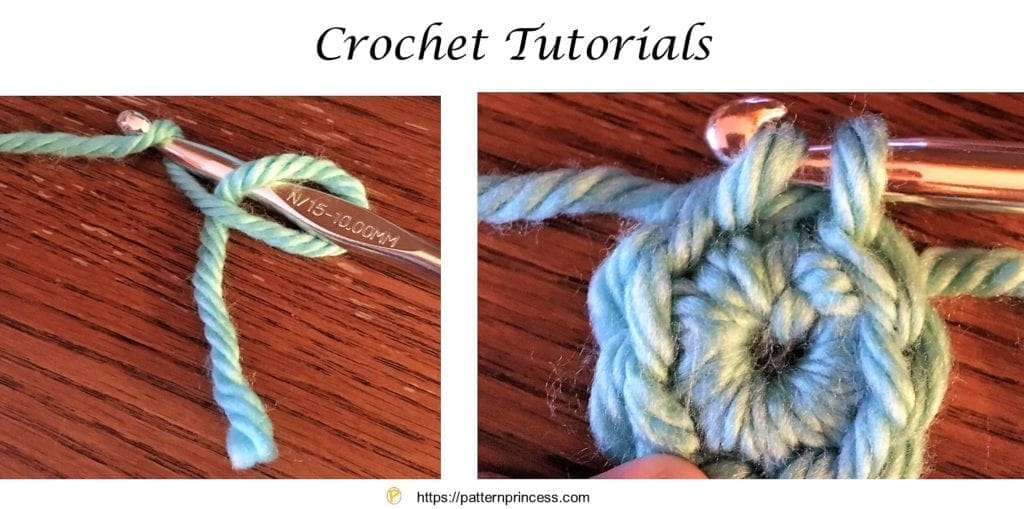
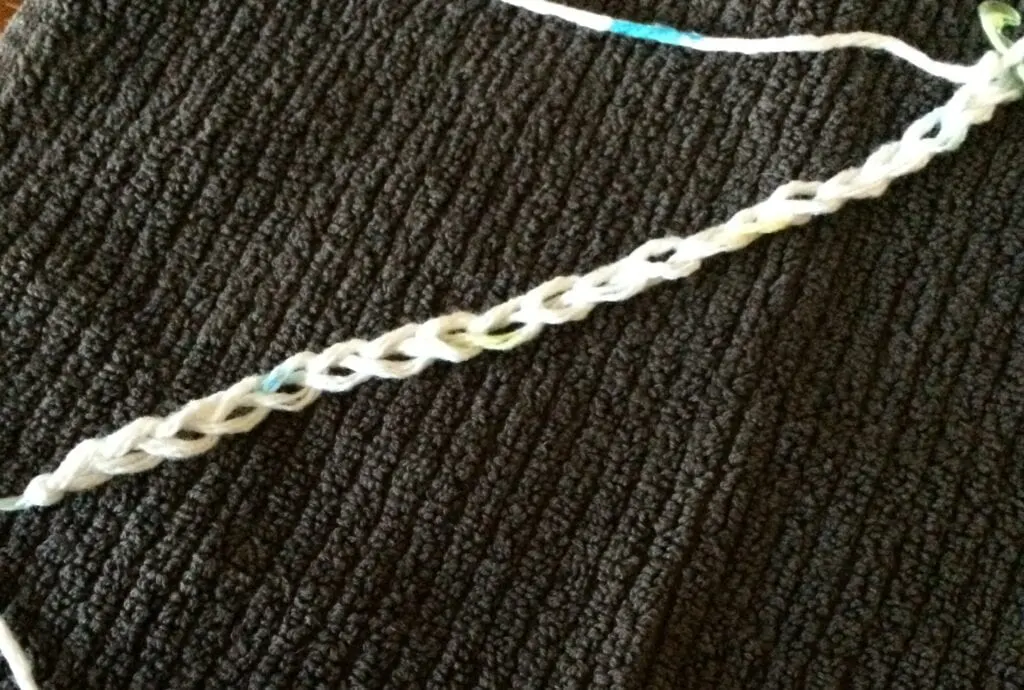
Begin the chain stitch by making a slip knot on the crochet hook. Leave about a 5-inch tail on the yarn. This will be weaved in later.
Next snug up the yarn loop that is on the crochet hook; while it should be firm, it should also be loose enough to slide on the hook with ease.
Keeping the loop on the hook, insert the hook in the stitch, wrap the yarn over the crochet hook from back to front. Draw the yarn through the loop. Yarn over again and draw the yarn through both loops that are currently on the hook. (The first chain stitch is complete).
HOW TO CROCHET THE CHAIN STITCH video tutorial
Double Crochet (DC)
Yarn over, insert the hook through both loops and pull up a loop. Next, yarn over and pull through two loops on the hook. Lastly, yarn over again and pull through the last two loops on the hook.
HOW TO CROCHET THE DOUBLE CROCHET STITCH video tutorial
Back Loop Double Crochet (BLDC)
Yarn over, insert the hook through the back loop only and pull up a loop. Next, yarn over and pull through two loops on the hook. Lastly, yarn over again and pull through the last two loops on the hook.
HOW TO CROCHET THE BACK LOOP DOUBLE CROCHET STITCH video tutorial
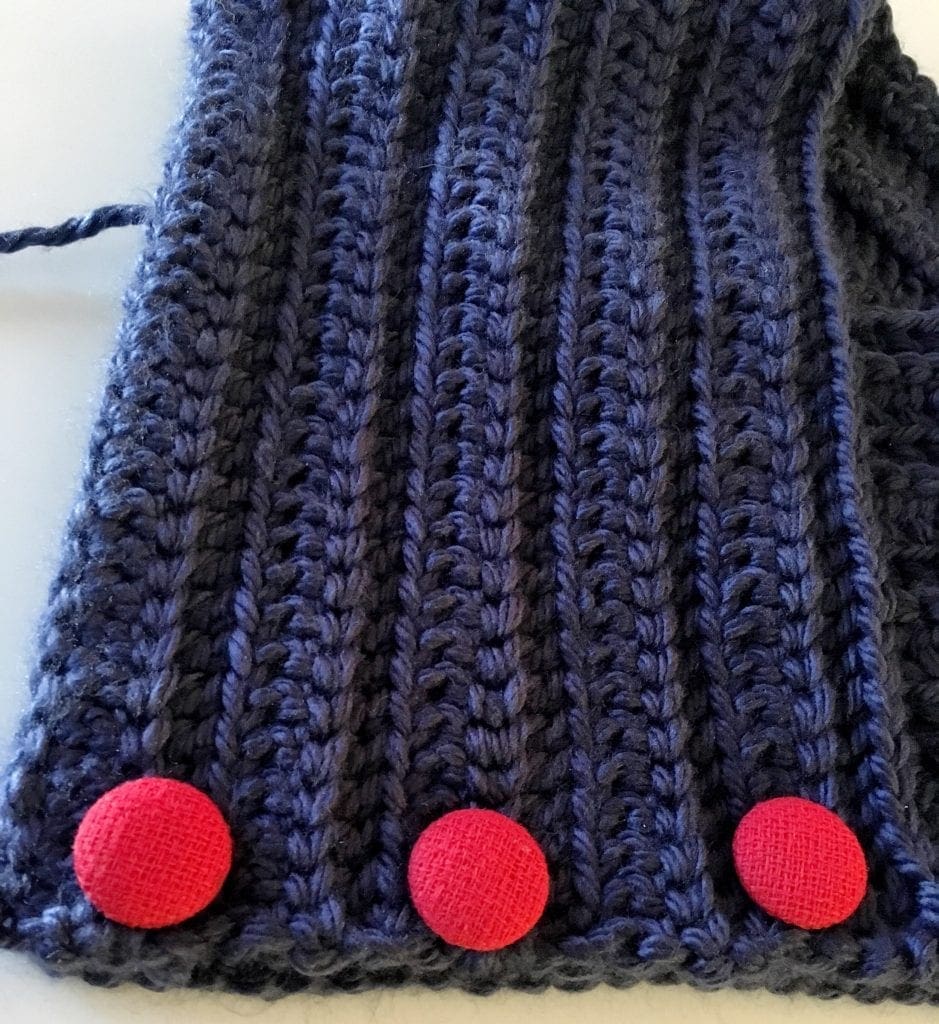
Example of a back loop and front loop double crochet stitch. Get the whole pattern for this popular chunky neck warmer.
Front Loop Double Crochet (FLDC)
Yarn over, insert the hook through the front loop only and pull up a loop. Next, yarn over and pull through two loops on the hook. Lastly, yarn over again and pull through the last two loops on the hook.
HOW TO CROCHET THE FRONT LOOP DOUBLE CROCHET STITCH video tutorial
Half Double Crochet (HDC)
Yarn over, insert the hook through both loops of the next stitch and pull up a loop. Yarn over and pull through all three loops on the hook. For height, this stitch is between the single crochet and double crochet.
HOW TO CROCHET THE HALF DOUBLE CROCHET STITCH video tutorial
Single Crochet (SC)
Insert the hook, pull up a loop. Yarn over and pull through the two loops on the hook.
HOW TO CROCHET THE SINGLE CROCHET STITCH video tutorial
Treble Crochet Stitch
Yarn over twice, insert the hook through both loops and pull up a loop. Next, yarn over and pull through two loops on the hook. Yarn over again and pull through the next two loops. Lastly, yarn over again and pull through the last two loops on the hook.
TREBLE CROCHET AND TREBLE CROCHET TWO TOGETHER OFTEN WRITTEN AS TR2Tog video tutorial
Intermediate Crochet Stitch Tutorials
Alpine Stitch Tutorial
There is a couple of rows of set up before you get started on the Alpine Stitch. Start with an even number of stitches, first row chain 1 (does not count as a stitch) single crochet in every stitch across and turn. Row 2, chain 2 (counts as first DC) and double crochet in each stitch across and turn. Next, Row 3, chain 1 (does not count as a stitch) single crochet in every stitch across and turn. Row 4, chain 2, [front post double crochet in the next stitch, double crochet in the next stitch] Repeat between [ ] across end with a double crochet. Repeat rows 3 and 4.
- When repeating rows 3 and 4, if the stitch below is a DC, then FPDC in the ST SP, if it is a FPDC, then DC in the ST SP. In other words, every time there is a DC, you work a FPDC, every time there is a DC, work a FPDC. Alternating those two stitches across the row.
- The next row is a SC.
HOW TO CROCHET ALPINE STITCH video tutorial
Back and Front Post Double Crochet
The front or back post double crochet stitch is beautiful on its own. However, this makes a great ribbing when the stitches are alternated. Find out how to work each stitch first, then try your hand at combining them.
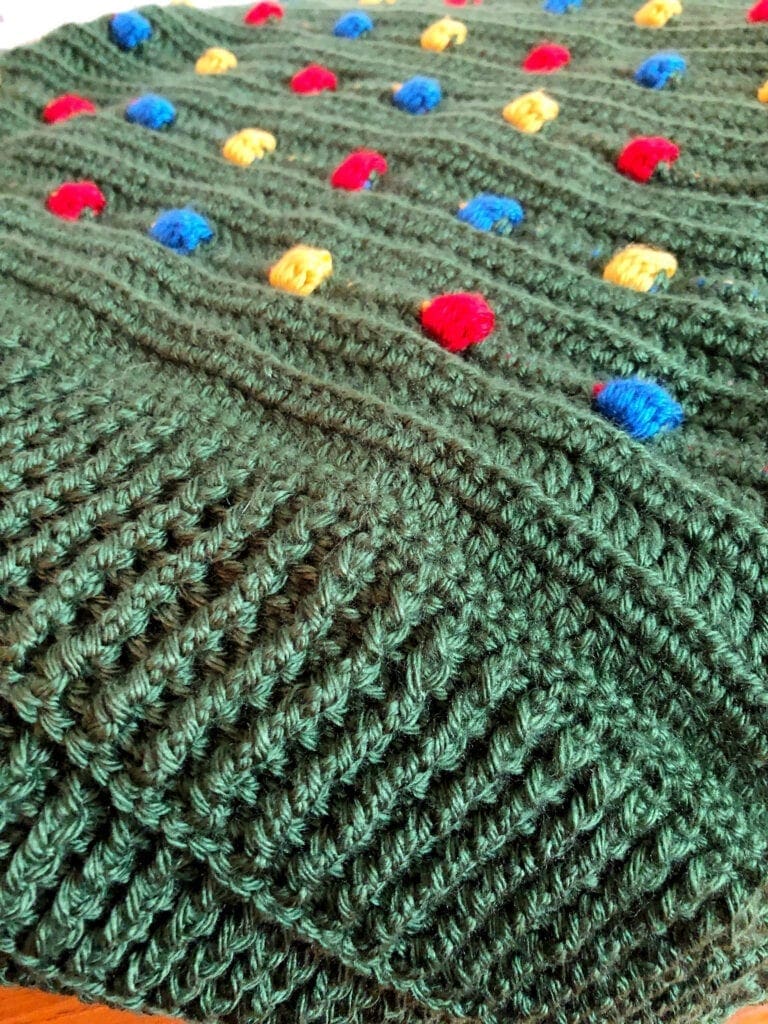
The blanket border texture in the photo is achieved by alternating the front and back post double crochet. Get the Festive Light Crochet Blanket pattern.
Back Post Double Crochet (BPDC)
The back post stitches appear to recede on the side of the crocheted fabric that is facing you. Note: Because a post stitch is shorter than a normal stitch, you make the turning chain with one chain stitch less than the normal turning chain requires.
Yarn over, insert the hook from back to front between the posts of the first and second double crochet of the row below. Then insert the hook from the front to the back front between the posts of the second and third stitches. (The hook should now be positioned horizontally in front of the double crochet that you are working around). Yarn over, pull the yarn over the post of the stitch. There should now be 3 loops on the hook. Yarn over, pull the yarn through 2 loops on the hook. Last, yarn over again and pull through the last two loops on the hook.
HOW TO CROCHET THE BACK POST DOUBLE CROCHET video tutorial
Front Post Double Crochet (FPDC)
Front post stitches are raised crochet stitches on the surface of the fabric facing you. Note: Because a post stitch is shorter than a normal stitch, you make the turning chain with one chain stitch less than the normal turning chain requires. Yarn over, insert the hook from front to back between the posts of the first and second double crochet of the row below. Then insert the hook from the back to the front between the posts of the second and third stitches. (The hook should now be positioned horizontally behind the double crochet that you are working around). Yarn over, pull the yarn around the post of the stitch. There should now be 3 loops on the hook. Yarn over, pull the yarn through 2 loops on the hook. Lastly, yarn over again and pull through the last two loops on the hook.
HOW TO CROCHET THE FRONT POST DOUBLE CROCHET video tutorial
Crocheting the Front Post and Back Post Double Crochet
This is a method of altering between the front post double crochet and back post double crochet. Use this for creating instant texture. I love it for borders on blankets. However, it is very nice for a hat brim or even the entire crochet project. Check out the individual stitch directions above both written and video. The video link below shows how to complete this stitch pattern.
FRONT POST AND BACK POST DOUBLE CROCHET video tutorial
Bobble Stitch – Double Crochet 6 Together (DC6TOG)
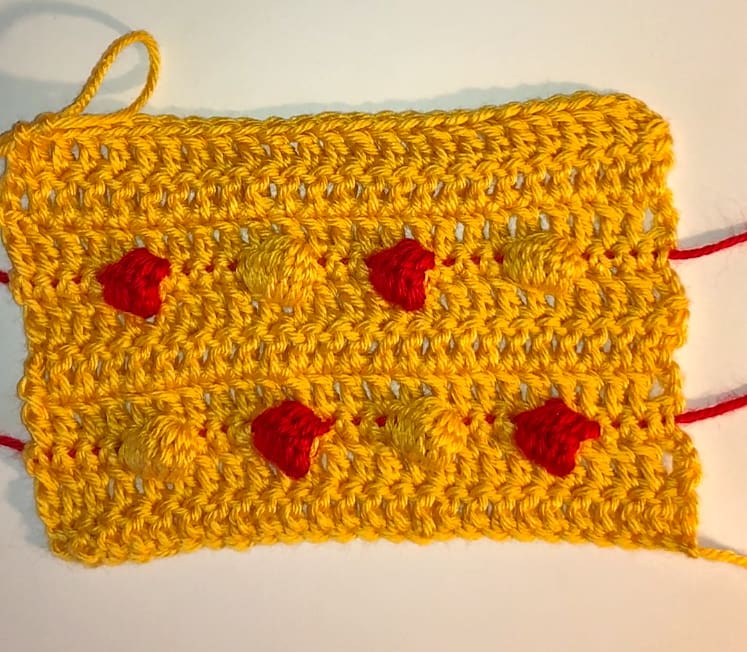
Yarn over, insert the hook and pull up a loop. Next, yarn over and pull through two loops on the hook. [Yarn over and insert the hook into the same space and pull up a loop. Yarn over and pull through two loops on hook]. Repeat between [ ] four more times for a total of 6. Complete the bobble stitch by yarning over and pulling through all seven loops on the hook.
BOBBLE STITCH video tutorial
Chainless Standing Double Crochet
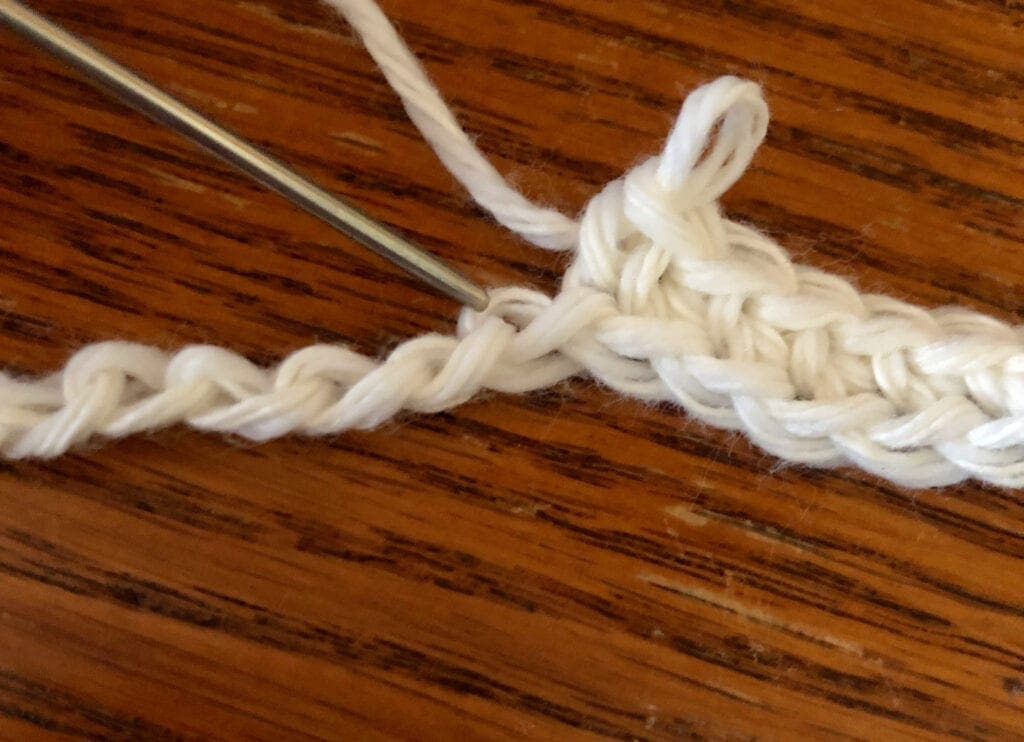
This helps reduce the gap that can sometimes show when starting off a row of double crochet stitches. Rather than completing the normal chain 3 at the beginning of a row.
Start by pulling up the yarn a bit making the loop that is on the hook a bit larger (about the height of two stitches). Hold the stitch at the bottom and the loop that is on the hook, at the same time, twist the hook around the back of the loop. Insert the hook into the same stitch, then yarn over and draw the yarn through the first two loop. Yarn over and draw the yarn through the last two loops on the hook.
CHAINLESS STANDING DOUBLE CROCHET video tutorial
Double Crochet Two Together (DC2Tog)
This decreases the stitches by one double crochet each time this is worked.
Yarn over, insert hook into next stitch and pull up a loop. There will be three loops on the crochet hook. Yarn over, pull through two loops on the hook. There should now be just two loops left on the hook.
Yarn over and insert the hook into the next stitch and pull up a loop. There will be four loops on the hook. Yarn over, pull through two loops. There should now be just three loops on the hook. Lastly yarn over and pull through the remaining three loops.
DOUBLE CROCHET TWO TOGETHER video tutorial
Extended Single Crochet
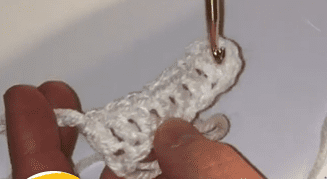
The extended single crochet has a nice height to it; close to a double crochet. However, it is flatter. Insert the hook into the next stitch. Yarn over and bring the yarn through the first loop. Yarn over again and bring the yarn through the last loop on the hook.
EXTENDED SINGLE CROCHET video tutorial
Granny Spike Stitch
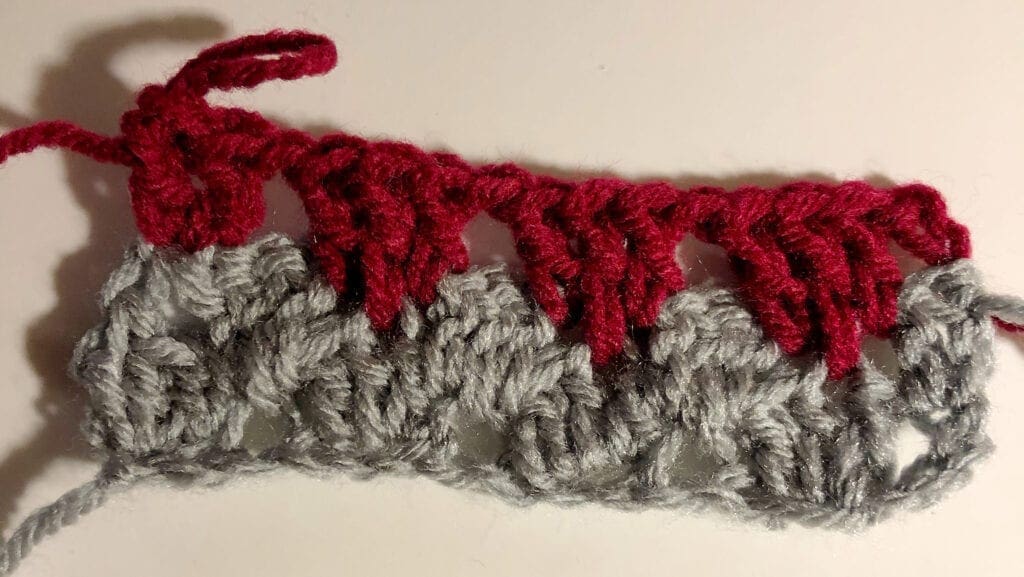
When the spike stitch is noted to be worked – Work long dc into the middle stitch from 2 rows below
Begin with 3 double crochet in the 5th chain from the hook. Chain 1 [skip 3 chain stitches, 3 double crochet in next chain]. Repeat between [ ]across until the last 4 chains. Skip 3 chains, 2 double crochet in the last chain. Turn
Row 2. Chain 2 [(1 double crochet, 1 spike stitch, 1 double crochet) worked into the chain 1 space. chain 1] Repeat between the [ ] across. End with 2 double crochet in the last chain space, turn.
Row 3. Chain 2,[(1 double crochet, 1 Spike stitch, 1 double crochet) worked into the chain 1 space, chain 1]. Repeat between the [ ] across. End with 2 double crochet in the top stitch of the beginning chain 2 space. Turn.
Repeat row 3 for pattern.
GRANNY SPIKE STITCH video tutorial
Herringbone Half Double Crochet (HHDC)
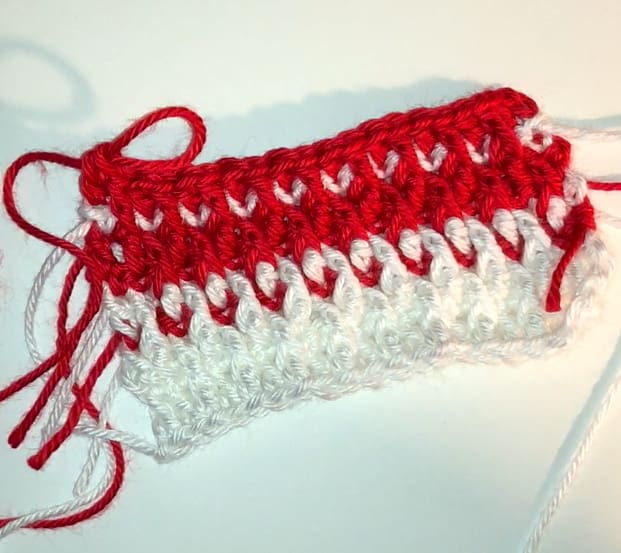
Yarn over, insert the hook, pull up a loop. Pull this loop through the first loop on the hook. Last, yarn over again and pull through the last two loops on the hook.
HERRINGBONE HALD DOUBLE CROCHET VIDEO
Magic Circle Crochet Tutorial
Sometimes, this is called the magic circle, while other times, it is the magic ring. When a crochet pattern is worked in the round, this method is used to begin the crochet pattern.
The magic circle crochet tutorial has an entire page written with photos on how to work this. This link is provided for you just below.
MASTER THE MAGIC CIRCLE written instructions with photo tutorials.
MASTER THE MAGIC CIRCLE VIDEO TUTORIAL
Moss Stitch Tutorial
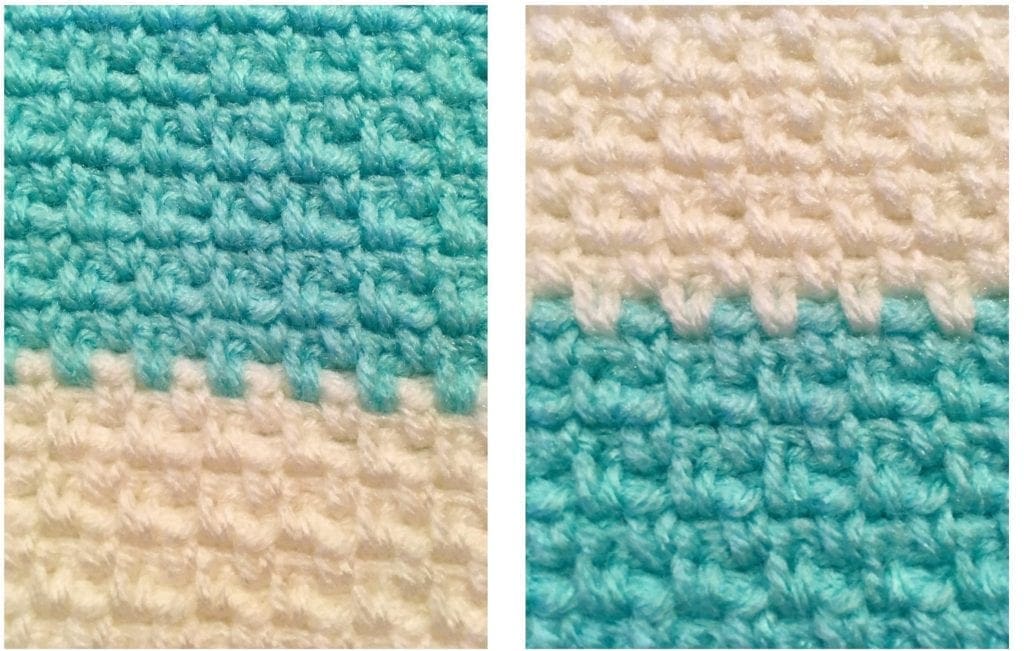
These stitches are all the same; Moss Stitch, Linen Stitch, Granite Stitch, Woven Stitch, Seed Stitch, or Mesh Stitch.
This is a wonderful stitch for a beginner to learn and the end result has a lovely look and feel.
This is a combination of single crochet and chain stitches worked in an alternating, repetitive pattern across a row. Basically, you will be working a single crochet into each previous row chain stitch space.
Begin by crocheting any even number of chain stitches. Single crochet in the 4th chain from the hook, [chain 1, skip 1, single crochet in the next stitch]. Repeat across between [ ] to the end of the row. The last stitch should be a single crochet in the last chain. Turn. Row 2. Chain 2, single crochet in the chain 1 space [chain 1, skip 1, single crochet in the next space]. Repeat between [ ] across working a single crochet into the last space between the single crochet and chain stitch. Turn. Repeat row 2 until the desired length.
MOSS STITCH video tutorial
LINEN STITCH video tutorial
MESH STITCH video tutorial
Picot Stitch
Starting from the stitch where you want the Picot stitch to be, Chain (CH) 3. Insert your hook in the third chain from the hook and complete a Slip Stitch (SL ST).
Puff Stitch
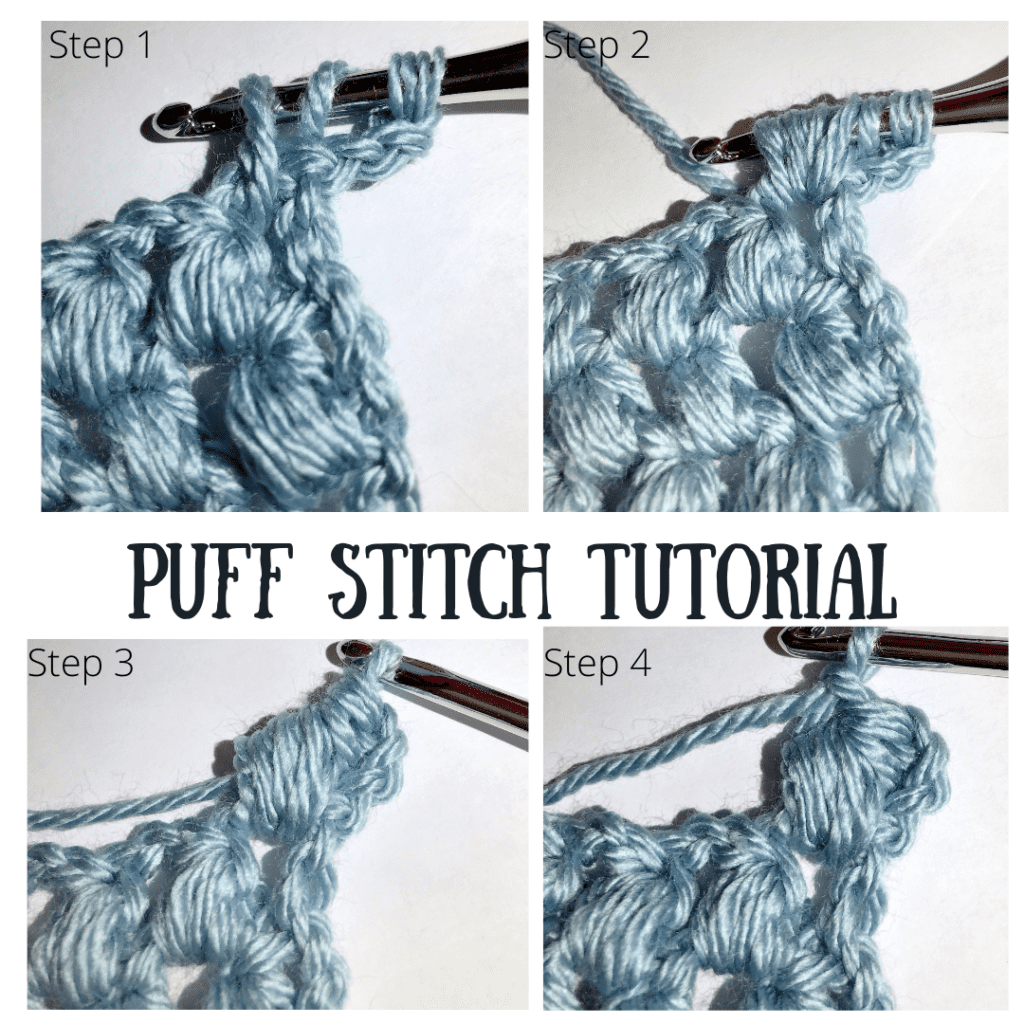
I will provide details on how to complete the puff stitch; however, it is important to note that the puff stitch can be made in any size you want. Therefore, you might see another designer’s pattern explain a different number of yarn wraps around the hook. That is okay, just know that there are other options beyond the one I am using in this crochet pattern.
Completing the puff stitch.
- Step 1: Yarn over and insert the hook in the stitch where the puff stitch will be placed. Yarn over and pull through a loop. There are now three loops on the hook.
- Step 2: Yarn over again and insert the hook in the same stitch area that you previously inserted your hook. Yarn over and pull through a loop. There are now five loops on the hook.
- Step 3: Repeat step two twice more. You will have nine loops on the hook. Yarn over one more time and pull the yarn through all nine loops on the hook.
- Finishing: Yarn over one more time and pull through the one loop on the hook to complete the puff stitch.
Remember you can increase or decrease the loops on the hook as you need for future crochet projects. Make it puffier by adding loops, decrease the puffiness by reducing the number of loops on the hook.
Single Crochet Two Together (SC2Tog)
This decreases the stitches by one single crochet each time this is worked.
Insert hook into next stitch and pull up a loop. There will be two loops on the crochet hook. Insert the hook into the next stitch and pull up a loop. There will be three loops on the hook. Yarn over and pull through all three loops on the hook.
SINGLE CROCHET TWO TOGETHER video tutorial
Tunisian Simple Stitch Tutorial
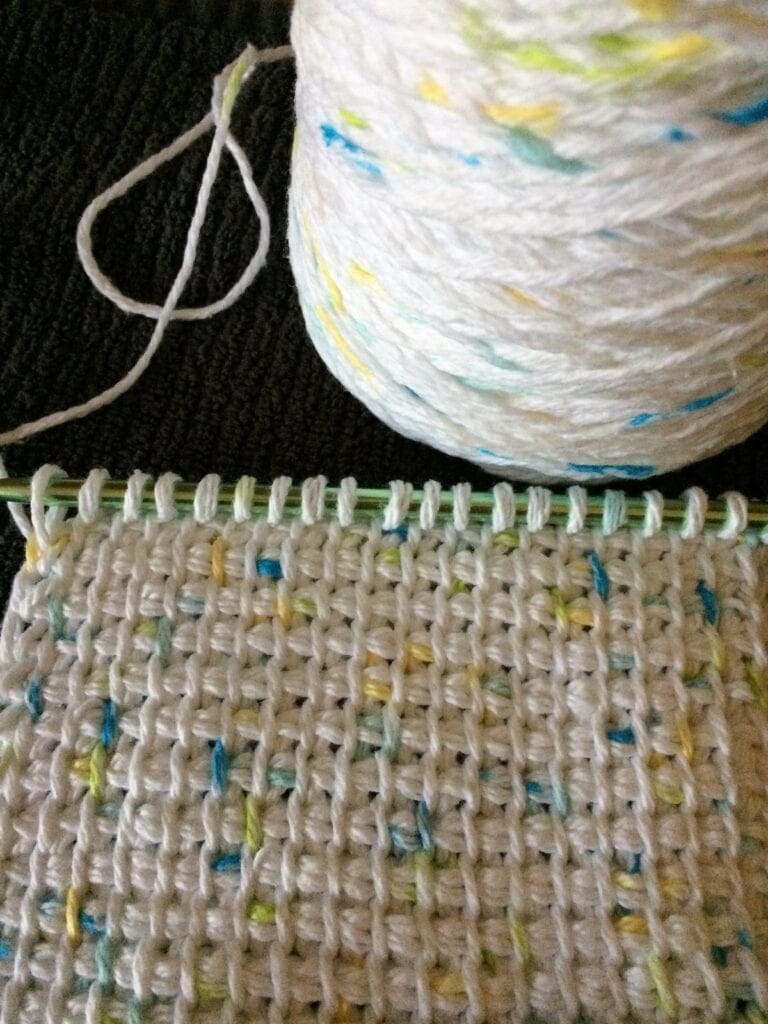
Complete the desired number of chain stitches. If this is your first time, maybe create a sample of 10 stitches.
Row 1:
Insert the hook into the second chain from the hook, yarn over, draw the yarn through the first loop on the hook. You now have two loops on your hook. [Insert the hook into the next chain, yarn over, draw the yarn through the first loop on the hook]. Repeat between [ ] across. When done, you should have a total of 10 loops on your hook.
Now work back through the loops. [Yarn over and draw the yarn through the first loop on the hook]. Repeat this process across until there is only 1 loop left on the hook.
Row 2:
For this row, you will be working into the vertical bar that is located in the front of your work. [Insert the hook into the second stitch, yarn over draw the yarn through the loop on the hook]. Repeat across between [ ]. When done, there should be a total of 10 loops on the hook.
Now work back through the loops. [Yarn over and draw the yarn through the first loop on the hook]. Repeat this process across until there is only 1 loop left on the hook.
Repeat row 2 until desired length is reached.
TUNISIAN SIMPLE STITCH video tutorial
How to Crochet the V-Stitch
This is a stitch pattern that can be done a few ways depending on the look you want to achieve.
This video tutorial below will show how to crochet over the yarn ends for a polished and professional finish.
Double Crochet V-Stitch
First method: Make a chain that is multiples of 3 plus 7.
Row 1
In the fourth chain from the hook, complete a double crochet. This will count as the first v-stitch in the row. Then chain 1, skip 1 stitch. In the next stitch work a [double crochet, chain 1, double crochet. This creates the classic v-stitch. Then skip 2]. Repeat between [ ] across. End with a double crochet in the last 2 stitches. The first row is completed, turn.
Row 2
Chain 3 (counts as the first double crochet), double crochet in next double crochet, chain 1, [in the center of the previous chain 1 space work (double crochet, chain 1, double crochet)]. Repeat between [ ] across. End with a chain 1 skip 1 and double crochet in the last two stitches.
Second Method: Make a chain that is a multiple of 6.
Row 1
Complete 2 double crochet in the 4th chain from the hook. (this completes the first v-stitch). [Skip the next stitch, work 2 double crochet in the next stitch]. Repeat across between [ ] until the last two chains. skip 1, and double crochet in the last chain. Turn your work.
Row 2
Chain 3 (counts as a double crochet), skip 2, [complete 2 double crochet in the space between the previous row two double crochet that formed the V]. (this completes a v-stitch within the previous row v-stitch. Repeat across between the [ ] end with a skip 1 and double crochet in the last chain. Repeat this row until your desired size.
DOUBLE CROCHET V-STITCH video tutorial
Half Double Crochet V-Stitch
Begin with a chain that is a multiple of 3 plus 6 stitches.
Row 1
Complete a half double crochet in the 3rd chain from the hook. (There are now two half double crochet stitches next to each other). chain 1, skip 1 stitch. In the next chain, work a half double crochet, chain 1, half double crochet (this completes a v-stitch). Next, [skip 2 stitches, work a half double crochet, chain 1, half double crochet]. Repeat between [ ] across until there are four stitches left. End with a chain 1, skip 2, and half double crochet in the last two stitches. Turn.
Row 2
Chain 2, (counts as first half double crochet), work a half double crochet in the next stitch, chain 1, in the center of the chain 1 space of the first v-stitch in the previous row complete (half double crochet, chain 1, half double crochet). [skip 2 stitches, work a half double crochet, chain 1, half double crochet]. Repeat between [ ] across. There should be a v-stitch in all the v-stitches. Then chain 1, skip1 and a half double crochet in the last two stitches. Turn. Continue working row 2 until desired length.
HALF DOUBLE CROCHET V STITCH video tutorial
Treble Crochet V-Stitch
The treble crochet is a tall stitch; therefore, the end result of this stitch will be a longer v-stitch than the double crochet and half double crochet. This stitch is worked in multiples of 3 plus 8. Begin by completing a treble crochet in the 5th chain from the hook. (Makes two treble crochet stitches next to each other). chain 1, skip 1 stitch. In the next chain, work a treble crochet, chain 1, treble crochet (this completes a v-stitch). Next, [skip 2 stitches, work a treble crochet, chain 1, treble crochet]. Repeat between [ ] across until there are four stitches left. End with a chain 1, skip 2, and treble crochet in the last two stitches. Turn.
Row 2. Chain 4, (counts as treble crochet), work a treble crochet in the next stitch, chain 1, in the center of the chain 1 space of the first v-stitch in the previous row complete (treble crochet, chain 1, treble crochet). [skip 2 stitches, work a treble crochet, chain 1, treble crochet]. Repeat between [ ] across. There should be a v-stitch in all the v-stitches. Then chain 1, skip1 and a treble crochet in the last two stitches. Turn. Continue working row 2 until desired length.
Crochet Tips and Tricks
How to Complete the Invisible Join for Granny Squares
Begin by holding the wrong sides together. Start in a corner of one of the squares.
Look for the first horizontal thread inside the chain in the corner stitch. Insert the yarn needle and pull the yarn through leaving approximately a 5 inch tail. (you will need to weave this in later…make sure to weave it into the color you used so it will not be noticeable).
Step-by-Step Joining Directions
- Starting in the horizontal thread inside the chain in the corner stitch, insert the yarn needle and pull the yarn through. (don’t snug up the yarn just yet).
- In the opposite square and insert the yarn needle into the next horizontal yarn piece in the next stitch.
- Come back to the first square and insert the yarn needle into the next horizontal yarn piece in the next stitch.
- Continue for 2 or 3 more horizontal yarn stitches.
- Then holding the starting yarn stitch in the corner, pull the yarn snug.
- Your granny squares will be snug and invisibly joined for the stitches that you have worked.
- Continue moving back and forth between the two squares and weaving the yarn through the horizontal stitches.
- Every 3 or 4 stitches, pull the yarn snug.
Align the Corners
Insert the yarn needle in all the corner stitches of the squares being joined together, and pull through the yarn. Then continue weaving back and forth through the horizontal stitches. Every 3 or 4 stitches, pulling the yarn snug.
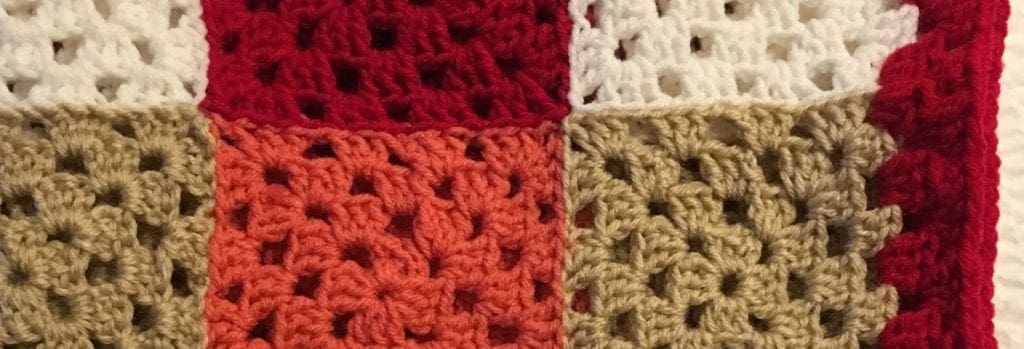
You can get the Chic Colorful Granny Square Blanket pattern too.
GRANNY SQUARE INVISIBLE JOIN TUTORIAL
Learn How to Join a Beginning Chain for a Cowl without Twists
This secret trick is such a time saver for me. I would sometimes get a chain over a hundred stitches and end up joining it with a twist, lots of time spent reworking. No more now that I know this simple trick.
No Chain Double Crochet Stitch and Single Crochet Stitch Tutorial
NO CHAIN DOUBLE CROCHET STITCH video tutorial
This is a unique stitch combination to create a chain stitch and double crochet stitch while having the chain stitch not have any gaps that can show when starting your crochet project with the normal chain stitch and double crochet on top of that. Give it a try.
The lacy shells blanket photo above starts with this stitch.
NO CHAIN FOUNDATION SINGLE CROCHET video tutorial
This is the single crochet version-creating a chain stitch and single crochet at the same time.
Yarn Knot Join that holds without slipping video tutorial
Left Hand Crochet Tutorial Videos
While the written directions for the crochet stitches are detailed above, the list of left hand crochet stitch tutorials continues to grow.
APLINE STITCH TUTORIAL – left hand
BOBBLE STITCH TUTORIAL – left hand crochet tutorial
CHAINLESS DOUBLE CROCHET – left hand
CHAINLESS FOUNDATION SINGLE CROCHET – left hand
DOUBLE CROCHET V-STITCH – left hand
DOUBLE CROCHET TWO TOGETHER – left hand
EXTENDED SINGLE CROCHET tutorial left hand
GRANNY SPIKE STITCH for a left hand person
HERRINGBONE HALF DOUBLE CROCHET STITCH VIDEO TUTORIAL for a left hand crocheter
CROCHET MESH STITCH left hand crochet tutorial
PUFF STITCH left hand crochet tutorial
SINGLE CROCHET TWO TOGETHER left hand video tutorial
TREBLE CROCHET AND TREBLE CROCHET TWO TOGETHER often written as TR2Tog – Left Hand tutorial
TUNISIAN SIMPLE STITCH for a left hand crocheter
How to Crochet a Classic Granny Square
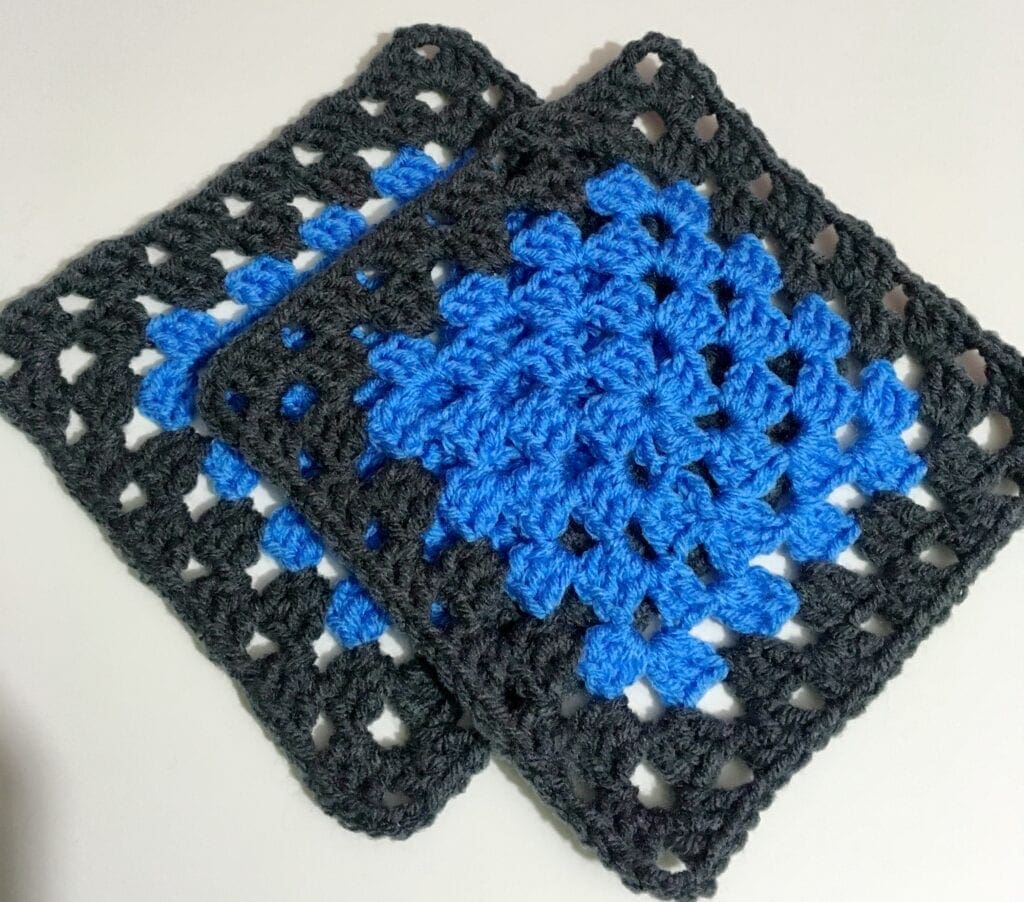
The granny square is a classic crochet pattern that is wonderful for beginners.
Granny Square Tutorial
There are different ways to start a crochet granny square. One is using the magic circle, the other is starting with 3 or 4 chain stitches and completing a slip stitch into the first chain to form a circle. You will be completing clusters of 3 double crochet stitches separated by chain stitches.
HOW TO CROCHET A GRANNY SQUARE PHOTO TUTORIAL
Begin, Round 1
- Chain 3. (This counts as a DC.)
- In the foundation ring, work: 2 DC and CH 3.
- Continue working in the ring and work (3DC, CH 3) three times.
- Join with a SL ST into the 3rd CH of the beginning CH STs.
- This will complete the first round of the granny square. There should be 4 clusters of 3 DC with 4 areas of CH 3 between. (The CH 3 Spaces are the corners.)
Round 2
- Chain 4. (This counts as 1 DC plus CH 1.)
- In the next CH 3 SP work (3 DC, CH 3, 3 DC, CH 1).
- In the next 2- CH 3 Spaces, work (3 DC, CH 3, 3 DC, CH 1). You should now have three sets of 3 DC, 3- CH 3 Spaces, and 3-CH 1 Spaces.
- In the last CH 3 SP, work (3 DC, CH 3, 2 DC).
- End the round by joining with a SL ST into the 3rd CH of the beginning CH STs. (You should have 8 shells, 4 chain 3 spaces, and 4 CH 1 spaces).
Round 3
- Chain 3. (This counts as 1 DC.)
- Then into the same space, work: 2 DC, CH 1. (This completes the first granny cluster of this round.)
- Skip the 3 DC of the previous row. In the next CH 3 SP, work (3 DC, CH 3, 3 DC, Ch 1).
- In the next CH 1 SP work 3 DC and 1 CH.
- Skip to the CH 3 Space in the corner and work (3 DC, CH 3, 3 DC, Ch 1).
- Repeat steps 4 and 5 two more times until all 4 corners are complete.
- After the last DC in the CH 3 space CH 1 and SL ST into the top ST of the first DC of this round. (You should have 12 shells and 4-CH 1 spaces and 4 CH 3 spaces after the completion of this round).
For additional rounds, repeat rows 2 and 3 expanding the square with each round.
CROCHET A GRANNY SQUARE video tutorial
CHANGE COLOR ON A GRANNY SQUARE video tutorial
We have other free patterns for you to browse for inspiration for your next crochet project.

