Last updated on January 19th, 2026 at 10:26 pm
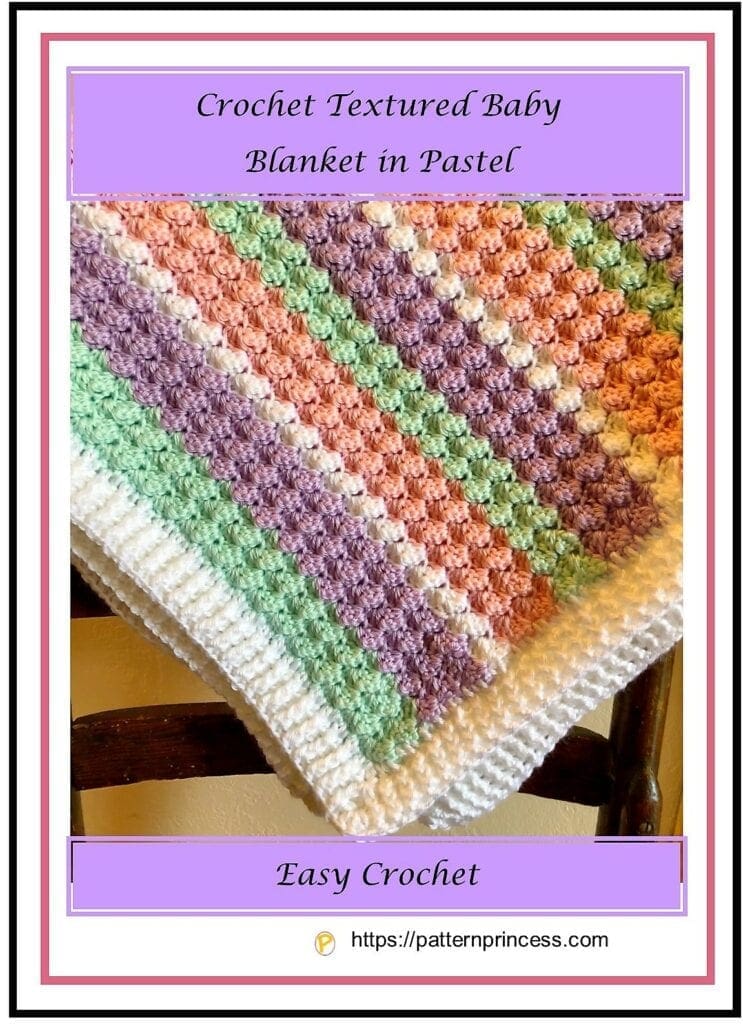
I really enjoyed crocheting this textured baby blanket in pastel. This crochet pattern is a repeat of one row using single crochet and double crochet stitches. These pastel yarn colors just pop with this pattern.
Soft Blanket Free Pattern
Crochet is a wonderful craft for many reasons. Not only does it allow you to create beautiful works of art, but it also allows you to make useful items that can be used in your home or given as gifts. One item that is especially nice to crochet are baby blankets because they are both useful and beautiful.
Makes a beautiful gift for newborn babies and new mums. Crocheted in a worsted weight yarn.
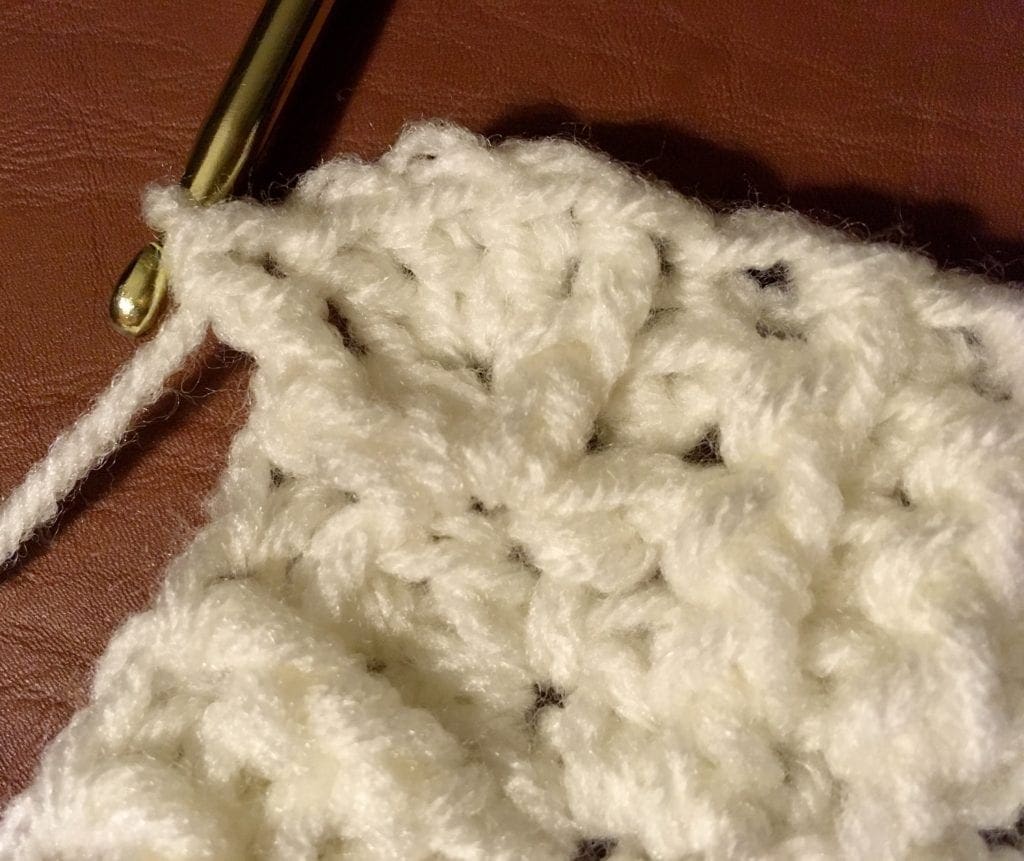
Blanket Stitch Tutorial
This pattern uses simple stitches with an interesting texture created by the placement of the double crochet and single crochet stitches to make this lovely blanket perfect for any new parent. Here is the blanket stitch tutorial that is a repeat of row 2. Gorgeous results.
The hardest part about crocheting a blanket is deciding which yarn color to use. You’ll find that it’s hard to choose just one because there are so many different colors and beautiful shades of pastel available.
If you prefer, this blanket can be made entirely out of a single color of yarn. The lovely texture will be more of the shining star then. This is a modern baby blanket that will make a treasured heirloom afghan.
This free crochet pattern is crocheted in a textured combo stitch to give it a soft and squishy feel.
Baby Blanket With or Without Crochet Edge
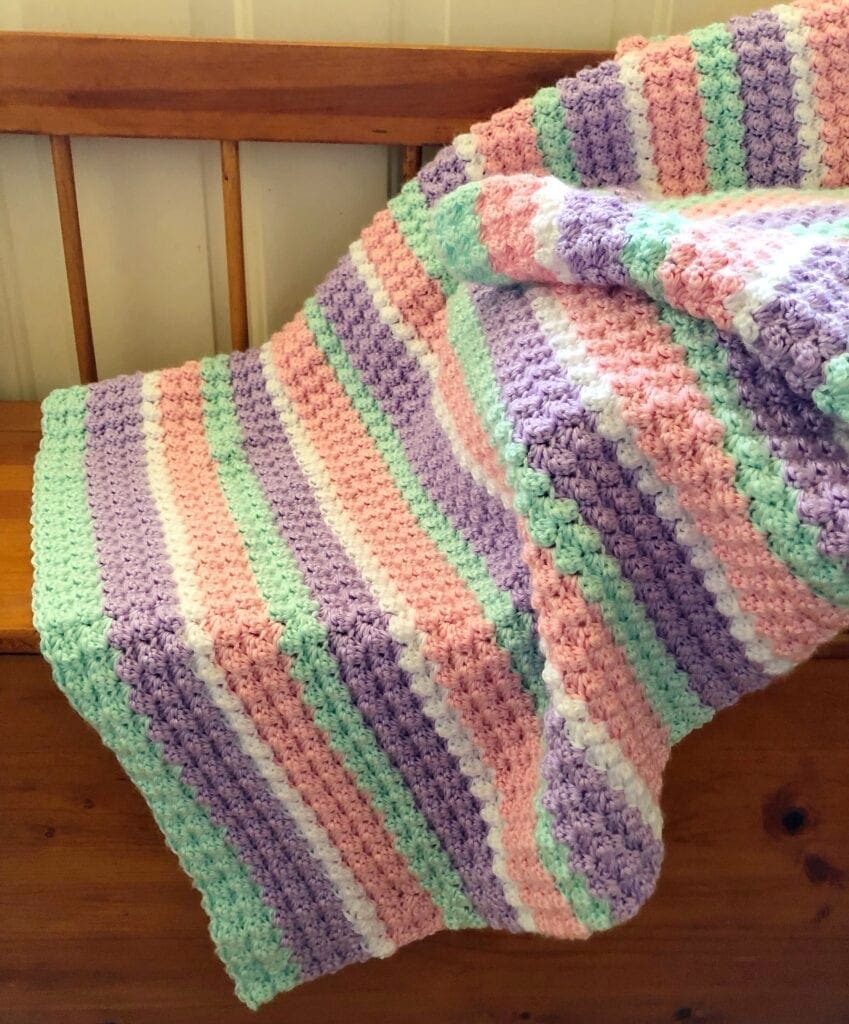
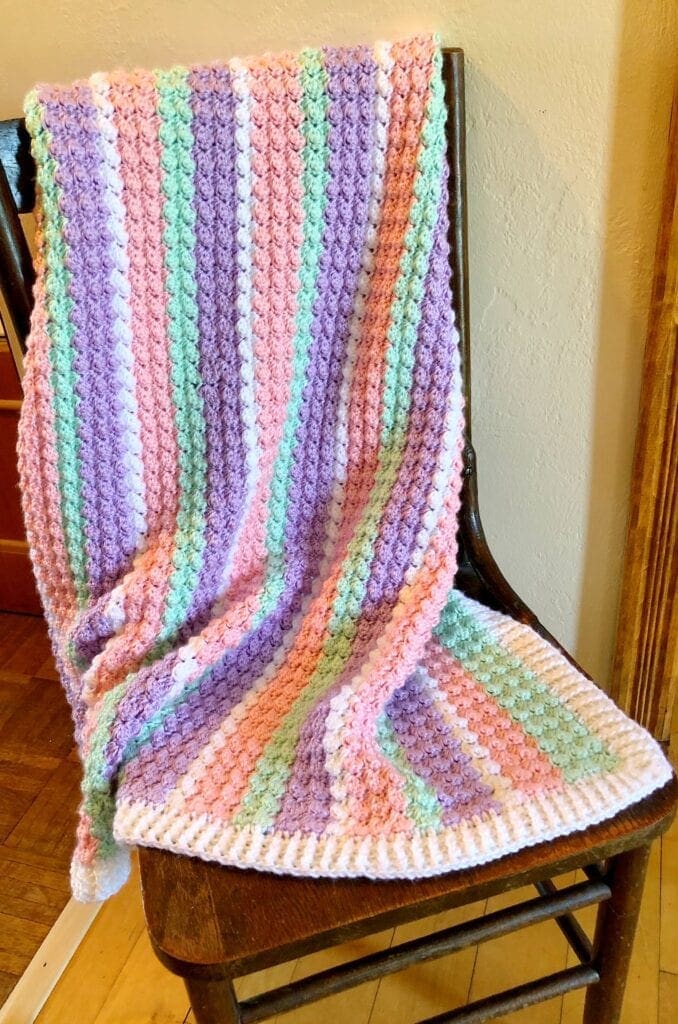
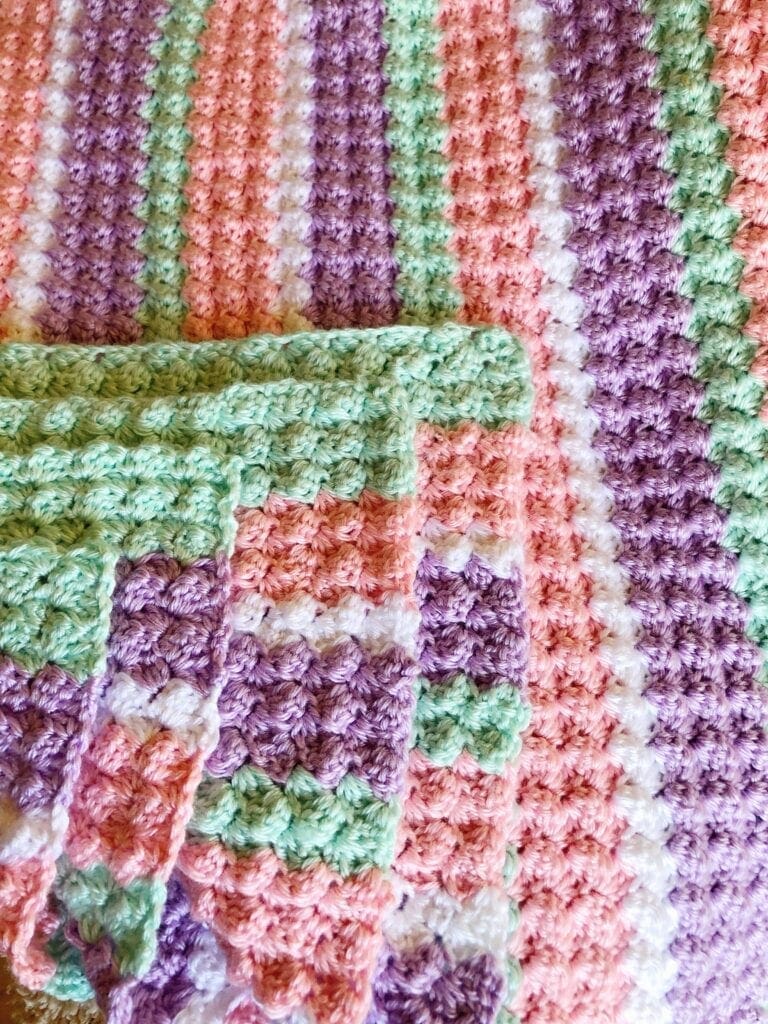
So I was crocheting this beautiful baby blanket and thought it would look pretty with our without a crochet edging. The thinking was that the pastel colors were so complimentary that I did not want to take away from the color scheme with a border.
I will let you be the judge. I have some photos of the blanket without the crochet edge followed by a few photos of the blanket with a crochet edge in white.
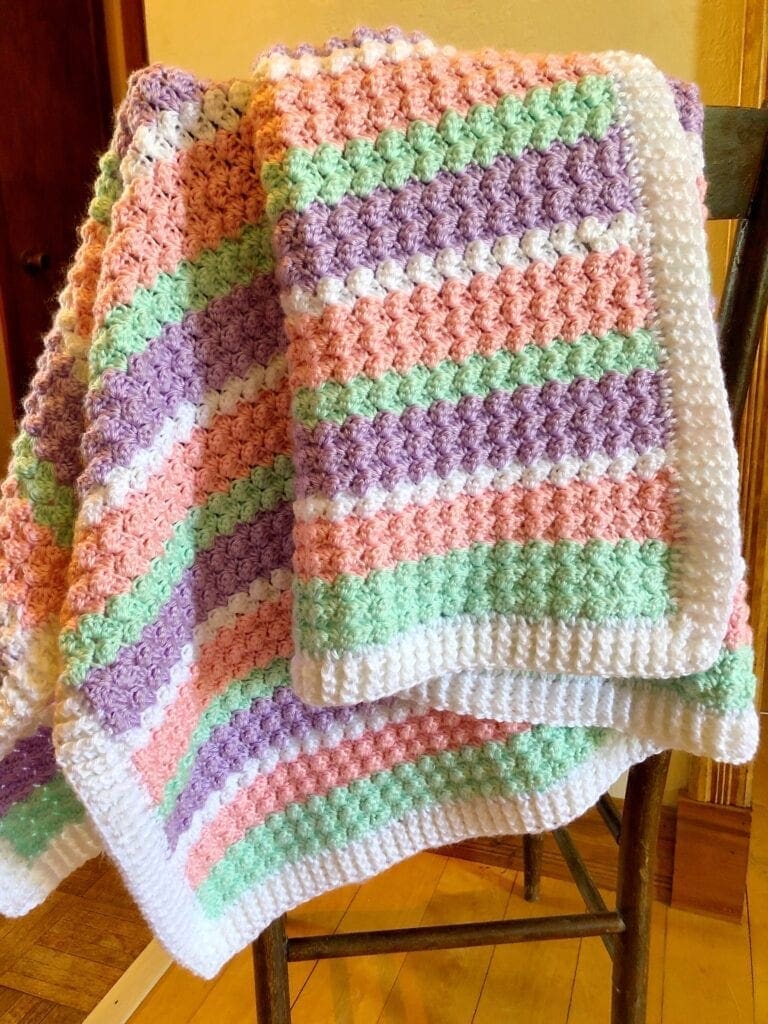
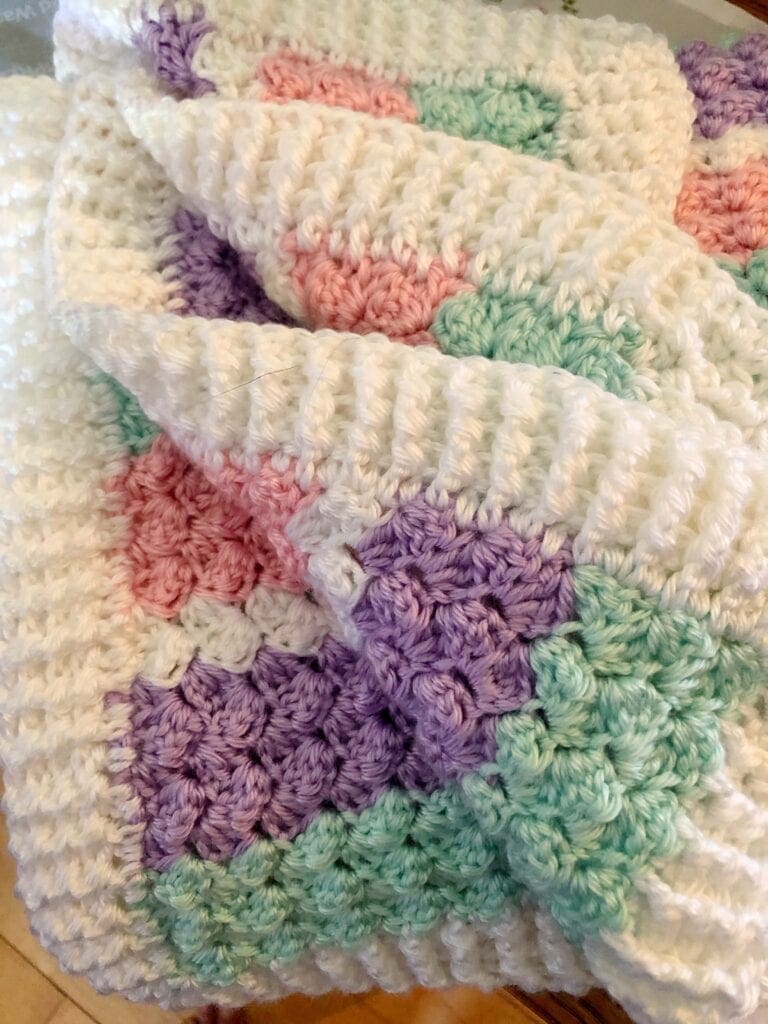
Pastel Baby Blanket with Front and Back Post Double Crochet Border in White
Crochet a Simple Blanket
This crochet baby blanket pattern is a simple way to create a beautiful blanket with soft texture blanket for your little one. the combination of the double crochet and single crochet stitches creates a textured stitch that looks and feels a lot like a puff stitch. For me, this squishiness of the texture make this a wonderful cuddly blanket.
Directions: Textured Baby Blanket in Pastel
Skill Level
This is not an overly complex pattern. If you can chain stitch and complete a single and double crochet, you should be able to master the blanket. The entire blanket is made out of a simple stitch repeat.
The crochet border is a ribbed border that uses the front post and back post double crochet stitches. This can be a bit more difficult to master. However, there are photos and video links to my YouTube channel to help with understanding the stitches.
Blanket Size
This blanket is just the right size for both a baby blanket and a lap afghan. Not too big that it drags on the floor, but large enough to take the chill off. Additionally, some folks like to feel the texture in a blanket and this is full of lots of nice squishy texture.
Without the crochet edge, the blanket is 42 inches wide X 36 inches long. With the crochet edge, the blanket measures 44 inches wide X 39 inches long.
If you would like to make this quite large the Harbor Mist Incredibly Easy Blanket Pattern might be for you. It uses the same blanket stitch pattern.
Changing the Size of the Blanket
This pattern is worked in multiples of 3. Therefore to make this blanket wider or narrower, increase or decrease stitches by 3. The length can be adjusted by the rows completed.
Gauge
13 single crochet and 14 rows every 4 inches.
Materials
Soft Green Caron Simply Soft Yarn 2 skeins or 630 yards.
Soft Pink Caron Simply Soft Yarn 2 skeins or 630 yards.
Orchid Caron Simply Soft Yarn 2 skeins or 630 yards.
White Caron Simply Soft Yarn 2 skeins or 630 yards.
Post contains affiliate links, and we earn commissions if you shop through the links on this page. For more information, please read the disclosure section under the About Us page.
If you are not able to find the yarn locally, you can find it on Amazon.
Actually just a bit less than 2 skeins of each yarn is used. If you have 2 skeins on hand, you will have enough.
Size H Crochet Hook, 5.0 mm
Yarn Needle
Scissors
Crochet Stitch Front Post and Back Post Double Crochet Video Tutorial
Abbreviations
CH = Chain
DC = Double Crochet
SC = Single Crochet
SK = Skip
SL ST = Slip Stitch
ST = Stitch
STs = Stitches
Crochet Stitches
Find Crochet Stitch Tutorials Here and on my You Tube Channel
Back Post Double Crochet (BPDC)
Back post stitches appear to recede on the side of the crocheted fabric that is facing you. Note: Because a post stitch is shorter than a normal stitch, you make the turning chain with one chain stitch less than the normal turning chain requires. Yarn over, insert the hook from back to front between the posts of the first and second double crochet of the row below.
Then insert the hook from the front to the back front between the posts of the second and third stitches. (The hook should now be positioned horizontally in front of the double crochet that you are working around). Yarn over, pull the yarn over the post of the stitch. There should now be 3 loops on the hook. Yarn over, pull the yarn through 2 loops on the hook. Last, yarn over again and pull through the last two loops on the hook.
Double Crochet (DC)
Yarn over, insert the hook and pull up a loop. Yarn over and pull through two loops on the hook. Last, yarn over again and pull through the last two loops on the hook.
Front Post Double Crochet (FPDC)
Front post stitches are raised crochet stitches on the surface of the fabric facing you. Note: Because a post stitch is shorter than a normal stitch, you make the turning chain with one chain stitch less than the normal turning chain requires. Yarn over, insert the hook from front to back between the posts of the first and second double crochet of the row below.
Then insert the hook from the back to the front between the posts of the second and third stitches. (The hook should now be positioned horizontally behind the double crochet that you are working around). Yarn over, pull the yarn around the post of the stitch. There should now be 3 loops on the hook. Yarn over, pull the yarn through 2 loops on the hook. Yarn over again and pull through the last two loops on the hook.
Single Crochet
Insert the hook, pull up a loop. Yarn over and pull through the two loops on the hook.
Begin
Chain 171 (To make this bigger or smaller, use multiples of 3).
Row 1:
2 DC in the 3rd CH from the hook, [SK 2 CH, in the next CH, SC and 2 DC]. Repeat from [ ] across until the last 3 CH. SK 2 STs and end with SC in last ST. Turn.
Row 2:
CH 2, 2DC in Same ST. [SK 2 DC, in the next ST Work SC and 2 DC in SC in ST]. Repeat until the last 3 STs, end with a SC in the last ST. Turn
Rows 3-112:
Repeat Row 2.
Pattern Variation
(Note: there is an alternative to row 2: Rather than start the row with CH 2 and 2 DC, you can start the row with CH 1 and 2 SC). I also explain this is the video tutorial further above.
Yarn Color Pattern
Begin with 5 rows of the green yarn.
Repeat the next 15 rows 5 times.
5 rows soft pink, 2 rows white, 5 rows orchid, 3 rows green. 15 rows X 7 = 105 rows
End with 2 additional rows of the green yarn. (that way the pattern starts and ends with a total of 5 green rows).
Total rows = 5 green + 105 pastel rows + 2 green = 112 rows.
Baby Blanket Without a Border is Complete at this point.
Finishing:
Weave in ends prior to starting the border. Trim off any excess yarn. Once this is done, you are ready to add the border. It also makes it so much nicer later when you complete the border…there are only a few pieces of yarn that need to be weaved in later and snip off.
Youtube Video Showing How to Crochet the Double Crochet and Single
Crochet Textured Stitches
How to crochet the blanket stitch.
Crochet Edging Directions
Front Post and Back Post Border
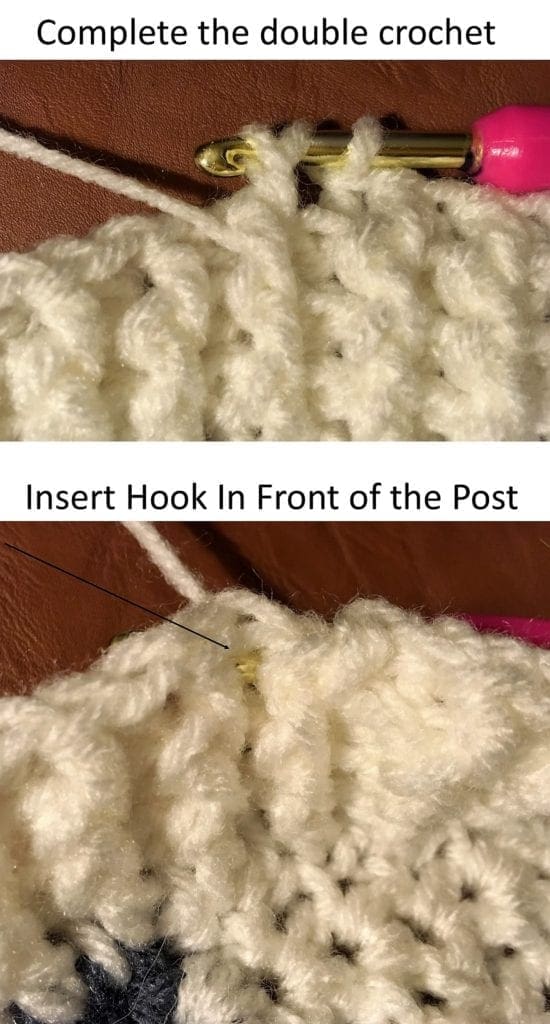
FPDC: means that you insert your hook in the front of the post from the previous row DC.
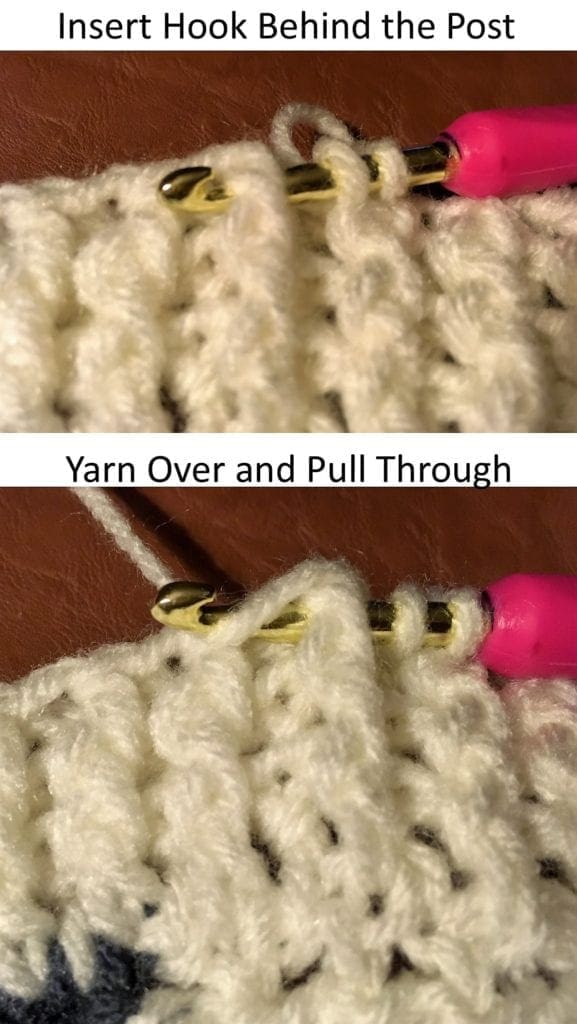
BPDC: means that you insert your hook behind the post from the previous row DC.
This stitch combination creates a nice ribbed stitch look. This border is worked around the blanket 4 times. I will explain the pattern here and there is also a video tutorial on the front and back post double crochet. For those folks that would rather complete this with a photo tutorial, I have that below too.
Ribbed Border Directions:
Change to the White yarn
Round 1: Starting in one of the corners and chain 3. DC around the entire blanket, working 3 DC into each corner ending with a SL ST into the top CH of the first chain 3.
Round 2-4: Start with a CH 3. Then go around the blanket again; however, this time, you will work the DC alternating between the front and back post. See more detail below for the corners…
Corners: When you get to the corners, continue to work 3 DC into the middle DC ST from the previous row. However, on the other two stitches from the previous row DCs in the corner – blend those into the FPDC and BPDC. See the photos of the corners to help show the detail.
Front Post and Back Post Double Crochet Photo Tutorial
I know some people prefer and video, some like just the written directions, and other folks like to have a photo tutorial. It is my hope that I have included enough variety to help everyone learn how to make this beautiful crochet pattern.

You can find a wide array of free crochet blankets on this website, as well as, AllFreeCrochetAfghanPatterns. I recently stumbled upon this site and got caught up in the hundreds of crochet projects. Of course, some of my crochet blankets have been added to their growing list of projects.
If you loved this post, please share. It helps to show me that these types of posts are helpful – thank you!
I hope that you liked this pattern. If you are looking for more ideas for crocheted blankets, here are a few other blankets you may enjoy.
Here are other free crochet patterns for you to explore. Crochet Blanket Patterns

You can find Victoria crocheting, quilting, and creating recipes. She has cooked in restaurants for over 20 years, including many larger parties. She learned to crochet when she was just 11 years old and has been crocheting ever since; over 50 years now. Over 40 years ago, she loved her first class in sewing and continues to hone her skills in quilting. Many have enjoyed the handmade gifts over the years. In her professional career, she has worked in management in a wide variety of businesses including higher education as a dean of a division. All the while attending college part-time to achieve her doctorate in higher education with an emphasis in e-learning.
Hello, could a scalloped border work on this afghan?
Hi Linda,
I think a scalloped border would look lovely on this blanket.
Vicky
Pingback: Pretty Textured Child Blankets - Free Crochet Patterns - Beadiebuddysbonanza
I would love to make this with…mint, yellow, pink, white and peach…border with white. How many of each would you do?
It depends on how many rows you plan on doing for each color. However, if you decide to use the same row count for the colors I have used in this pattern, you could just swap you colors for mine and purchase the yardage stated for each color.
I need help adding the border. Can manage until get to the bottom ( the starting row) then I’m lost as to where to put my stitches? If I work over them it leaves big gaps ☹️
Hi, You crochet right into each chain stitch in that first row. The same chain stitches where you crocheted your first row. That way, the stitches are nice and close together. Does this help?
Vicky
Pingback: Sweet Crochet Baby Blankets | Pattern Center
How would you set the rows if only using three colors? Thank you.
Kathy, I think it looks a bit more modern to switch up the rows for the colors, so I would probably do 4 of one, 3 of the next, and 2 of the last color. Then maybe use the color that was used for the 2 rows to finish the border. I used the white in the blanket and the border. It ties the whole blanket together nicely. Enjoy your blanket.