
Crochet the Hearthside Holiday Chevron Blanket featuring Deep cranberry, evergreen, snowy cream, and frosted silver shades come together in a classic chevron design that feels both festive and timeless.
Inspired by cozy evenings at home, glowing holiday lights, and the beauty of winter landscapes, this zigzag throw captures the comfort and warmth of the season. A vintage-style crochet stitch.
Nothing says the holiday season quite like curling up under a cozy handmade blanket. A classic chevron design that brings warmth and seasonal charm to any room.
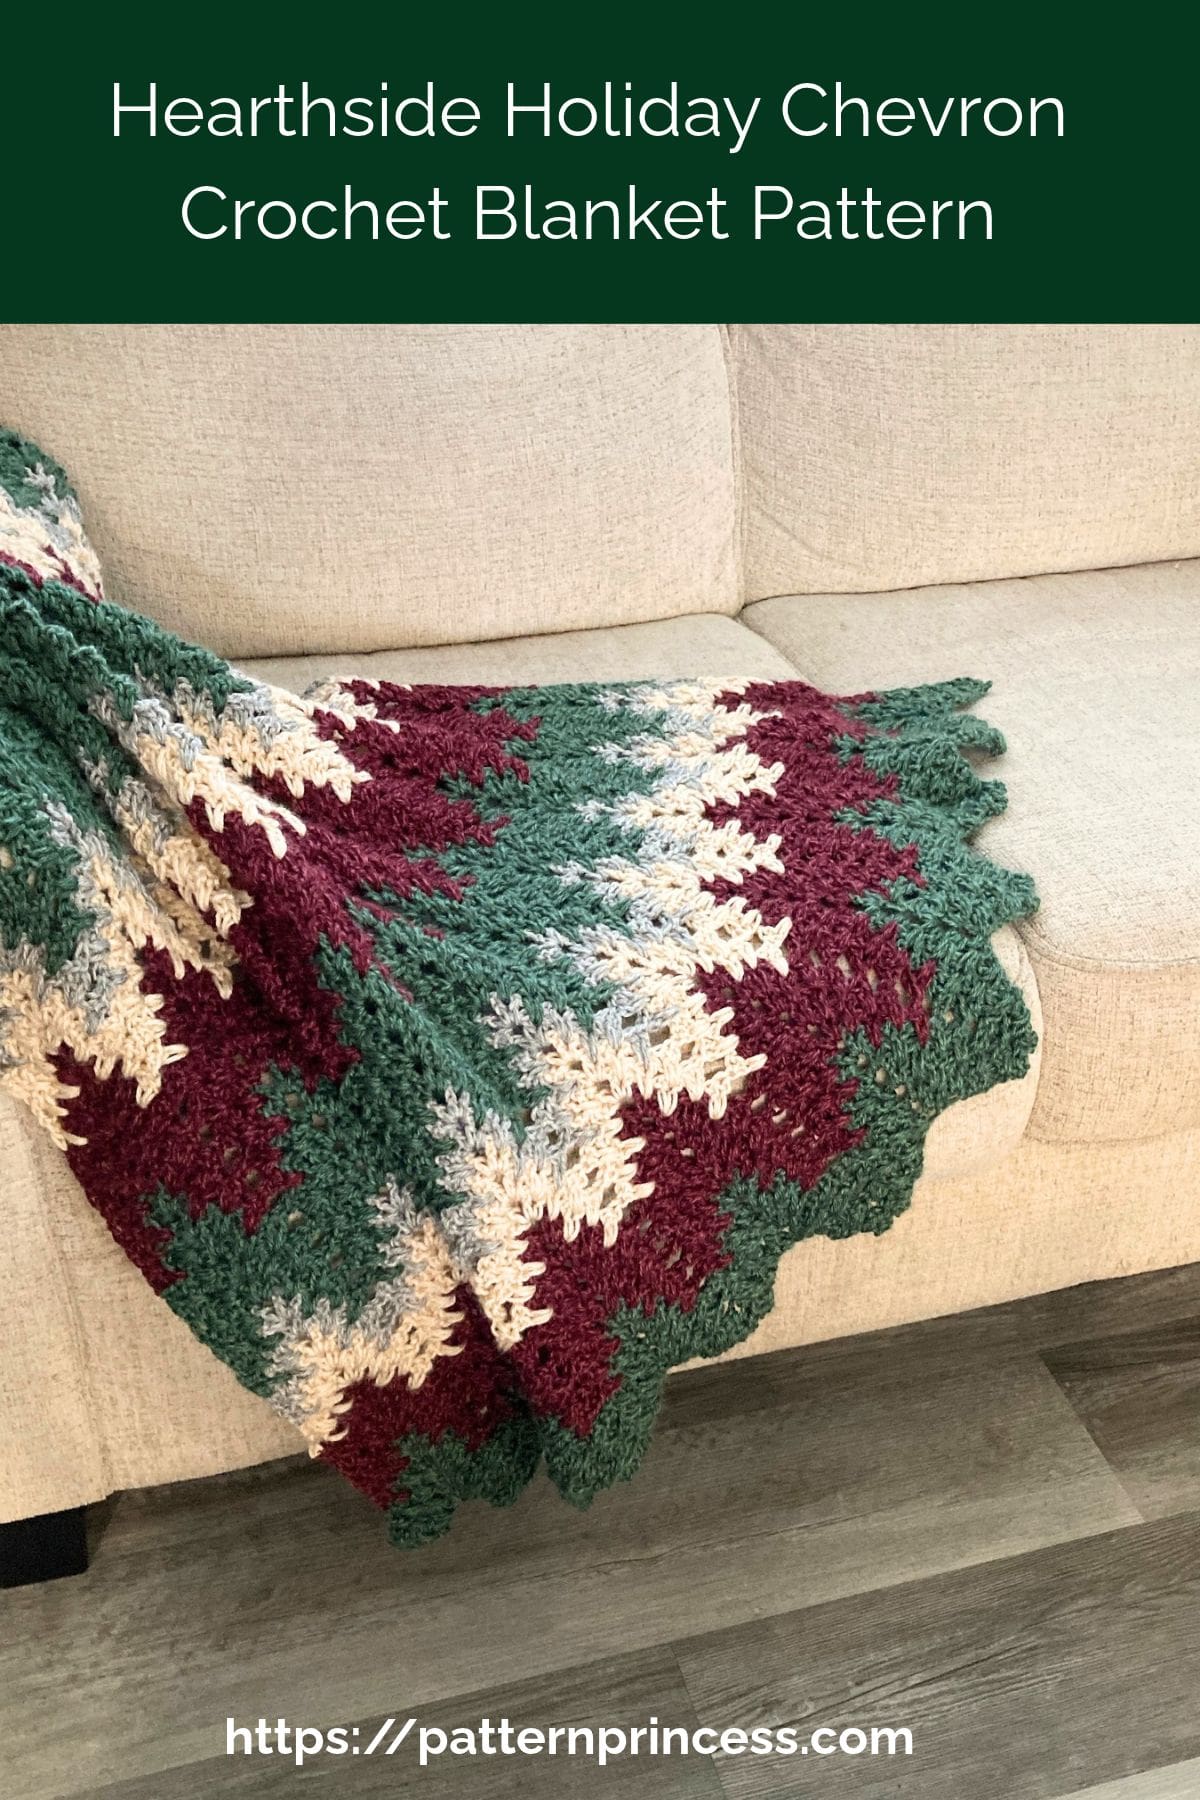
Hearthside Holiday Chevron Blanket at a Glance
- Skill Level: Intermediate
- Finished Sizes: Nine sizes, ranging from baby to king
- Stitch Pattern: Vintage Zigzag Stitch
- Yarn Weight: #4 Medium Weight Yarn
- Construction: Worked flat in rows
- Stitch Multiple: 19 + 2
- Pattern Repeat: One-row repeat after setup rows
- Customization: Easily adjust both width and length
- Features: Textured chevron design with a clean borderless edge
- Color Palette: Cranberry, evergreen, cream, and frosted silver holiday-inspired shades
- Video Tutorials: Right-handed and left-handed tutorials available
- Perfect For: Holiday decorating, cozy winter evenings, thoughtful handmade gifts, and seasonal home décor
Holiday Décor
Perfect for holiday decorating or snuggling up on cold winter days, this blanket is an enjoyable project with a stunning finished result.Whether draped over a favorite chair, displayed as part of your holiday décor, or wrapped around your shoulders on a chilly winter evening, this blanket is designed to be enjoyed throughout the Christmas season and beyond.
The timeless color palette and relaxing stitch pattern make it a project you’ll look forward to bringing out year after year. Whether made for your own home or as a heartfelt gift, this holiday throw is sure to become a treasured seasonal favorite.
Choosing Colors for the Hearthside Holiday Chevron Blanket
The sample blanket was worked in cranberry, evergreen, cream, and frosted silver shades inspired by winter berries, snow-covered pines, and frosty holiday mornings. These colors make the pattern perfect for Christmas decorating and cozy winter use.
One of the things I love most about this classic zigzag stitch is how beautifully it showcases color changes. The chevron peaks and valleys create natural movement throughout the fabric, making both simple and complex color palettes stand out.
For a spring blanket, try soft sage, pale yellow, lavender, and cream. Summer versions look beautiful in coastal blues, aqua, sandy beige, and crisp white. For autumn, consider rust, gold, olive, and warm brown tones. The stitch also works wonderfully in modern farmhouse color schemes using shades of ivory, gray, charcoal, and muted earth tones.
If you prefer a simpler look, this pattern can be worked in just two colors or even a single color. The texture of the stitch pattern creates plenty of visual interest on its own.
Why You’ll Love This Pattern
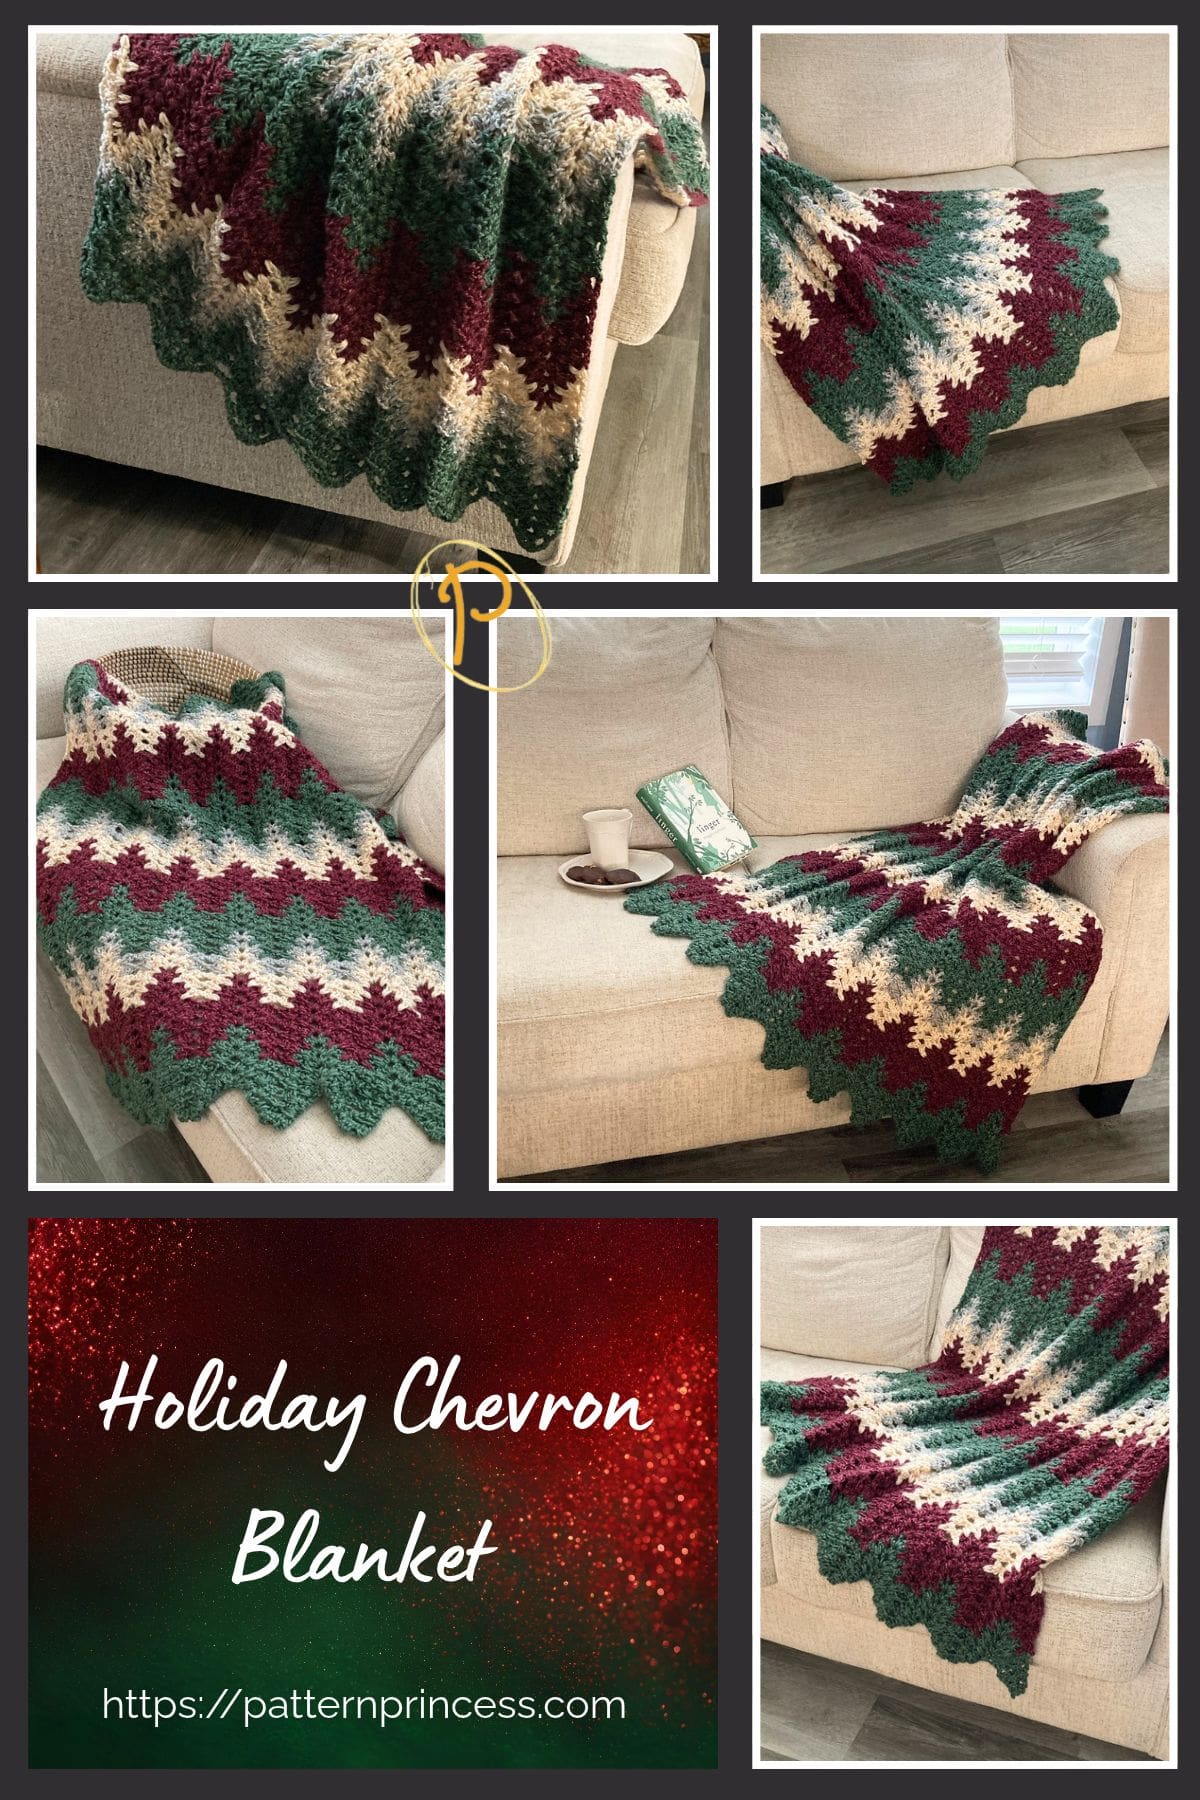
The Hearthside Holiday Chevron Blanket combines the timeless appeal of a classic chevron design with the texture of the Vintage Zigzag Stitch. Once the setup rows are complete, the pattern settles into an easy one-row repeat, making it enjoyable for long crochet sessions. The clean borderless edges eliminate the need for additional finishing. With the customizable sizing options make it easy to create everything from a baby blanket to an oversized bed throw.
Get Your Ad Free Printable PDF in our Etsy Shop.
Directions: Hearthside Holiday Chevron Crochet Blanket
Skill Level
Intermediate
This pattern features an easy one-row repeat after the setup rows. Crocheters should be comfortable identifying stitch groups and working long double crochet stitches two rows below the current row.
Gauge
20 Stitches and 5 rows every 4 X 4 inches
Finished Size
- Baby: 32 X 40 inches
- Toddler/Lap Blanket (shown): 40 X 52 inches
- Small Throw: 48 X 64 inches
- Medium Throw: 56 X 76 inches
- Large Throw: 64 X 88 inches
- X-Large Blanket: 72 X 88 inches
- Twin Blanket: 80 X 100 inches
- Queen Blanket: 88 X 100 inches
- King Blanket: 104 X 100 inches
Change the width using multiples of 19 + 2. Change the length by adding or decreasing rows.

Materials
Lion Brand Heartland Yarn. #4 Medium weight Acrylic, Rayon. 251 yards each skein.
Yarn Colors
- Rocky Mountain
- Badlands
- Acadia
- Mount Rainier
Yarn Requirements using four yarn colors.
To make the blanket using four colors just like the blanket shown, here are the number of yards and skeins.
- Baby: 1,040 yards, 5 skeins total of 4 different colors. Yarn color 1 = 2 skeins, 2 = 1 skein, 3 = 1 skein, 4 = 1 skein
- Toddler/Lap Blanket (shown): 1,680 yards, 8 skeins total of 4 different colors. Yarn color 1 = 2 skeins, 2 = 1 skein, 3 = 1 skein, 4 = 1 skein
- Small Throw: 2,490 yards, 12 skeins total of 4 different colors. Yarn color 1 = 4 skeins, 2 = 3 skeins, 3 = 3 skeins, 4 = 2 skeins
- Medium Throw: 3,440 yards, 16 skeins total of 4 different colors. Yarn color 1 = 6 skeins, 2 = 4 skeins, 3 = 4 skeins, 4 = 2 skeins
- Large Throw: 4,560 yards, 21 skeins total of 4 different colors. Yarn color 1 = 8 skeins, 2 = 5 skeins, 3 = 5 skeins, 4 = 3 skeins
- X-Large Blanket: 5,130 yards, 21 skeins total of 4 different colors. Yarn color 1 = 8 skeins, 2 = 5 skeins, 3 = 5 skeins, 4 = 3 skeins
- Twin Blanket: 6,490 yards, 29 skeins total of 4 different colors. Yarn color 1 = 11 skeins, 2 = 7 skeins, 3 = 7 skeins, 4 = 4 skeins
- Queen Blanket: 7,140 yards, 30 skeins total of 4 different colors. Yarn color 1 = 12 skeins, 2 = 7 skeins, 3 = 7 skeins, 4 = 4 skeins
- King Blanket: 8,450 yards, 37 skeins total of 4 different colors. Yarn color 1 = 14 skeins, 2 = 9 skeins, 3 = 9 skeins, 4 = 5 skeins
Yarn Requirements Using Total Yardage
To make the blanket using a solid color or variegated yarn throughout, use the total yardage listed for your chosen size and divide it by the yardage per skein of the yarn you are using to determine how many skeins you will need.
If you are not able to purchase the yarn locally, you can purchase it online. Savings Center – Pattern Princess
Crochet Hook Size I 5.5mm
Scissors
Stitch Markers
Yarn Needle
Tape Measure
Yarn Care
Items made from this yarn may be machine laundered only on the setting designed for gentle agitation and/or reduced time for delicate items. Any dry cleaning solvent other than trichloroethylene may be safely used. No bleach product may be used. A machine dryer may be regularly used at a maximum of Low Heat setting. Item may not be smoothed or finished with an iron.

Abbreviations
- CH = Chain
- DC = Double Crochet
- LDC = Long Double Crochet
- Shell = Shell Stitch
- SK = Skip
- SP = Space
- ST = Stitch
- STs = Stitches
- [ ] = Repeat Between
Pattern Notes
Written in US crochet terms.
Long double crochet stitches create the textured diagonal sections between the peaks.
Long double crochet stitches are worked two rows below. Depending on their location in the pattern, they are worked between two DC stitches or between two LDC stitches.
Pay close attention to the designated stitch placement, as the LDC stitches alternate between these locations to create the textured design.
The pattern begins with setup rows, followed by a one-row repeat.
The shell stitches are worked in the center CH 2 space of the previous row’s shell.
Turning chains: The chain 3 at the beginning of rows counts as a double crochet stitch.
Finishing: Weave in all yarn tails securely with a tapestry needle.
Links for Video Tutorials for the blanket are located after the written pattern.
Crochet Stitches
Chain Stitch (CH)
Begin the chain stitch by making a slip knot on the crochet hook. Leave about a 5-inch tail on the yarn. This will be woven in later.
Next snug up the yarn loop that is on the crochet hook; while it should be firm, it should also be loose enough to slide on the hook with ease.
Keeping the loop on the hook, insert the hook in the stitch, wrap the yarn over the crochet hook from back to front. Draw the yarn through the loop. (The first chain stitch is complete).
Double Crochet Stitch (DC)
Yarn over, insert the hook through both loops and pull up a loop. Next, yarn over and pull through two loops on the hook. Lastly, yarn over again and pull through the last two loops on the hook.
Long Double Crochet (LDC)
Yarn over, insert the hook into the designated stitch or space two rows below. Next, yarn over and pull up a loop to the height of your current row. Yarn over and pull through two loops on the hook. Finally, yarn over again and pull through the remaining two loops.
Special Stitches
Shell Stitch (Shell): In the same space, work (2 DC, CH 2, 2 DC).
Row Colors
- Rocky Mountain: 5 rows
- Badlands: 5 rows
- Acadia: 3 rows
- Mount Rainier: 2 rows
Continue repeating the yarn color sequence throughout the pattern.
Begin Crochet Pattern
Start with the Rocky Mountain yarn color.
Begin with a slip knot on the hook. Chain any multiple of 19 + 2.
- Baby: 154 chains
- Toddler/Lap Blanket (shown): 192 chains
- Small Throw: 230 chains
- Medium Throw: 268 chains
- Large Throw: 306 chains
- X-Large Blanket: 344 chains
- Twin Blanket: 382 chains
- Queen Blanket: 420 chains
- King Blanket: 496 chains

Row 1
SK 3 CH STs (Counts as 1 DC). Work a DC in the next CH. CH 2, SK 3 CH, 2 DC in the next CH. CH 2, SK 3 CH, Shell (2 DC, CH 2, 2 DC) in the next CH.
First peak complete. Next work on the valley and next peak.
[CH 2, SK 3 CH, 2 DC in the next CH. CH 2, SK 3 CH, 2 DC in the next CH. SK 2 CH, 2 DC in the next CH. CH 2, SK 3 CH, 2 DC in the next CH. CH 2, SK 3 CH, Shell (2 DC, CH 2, 2 DC) in the next CH]. Repeat between [ ] across until there are 9 STs left.
CH 2, SK 3 CH, 2 DC in the next CH. CH 2, SK next 3 CH, 1 DC in each of the last two CH. Turn
Row 2
CH 3 (Counts as DC). SK one ST, working around the first CH 2 SP, work 1 LDC in the middle CH in the row below CH 3 SP.
CH 2, SK two STs working around the CH 2 SP, work 2 LDC in the middle CH in the row below CH 3 SP.
CH 2, SK two STs in the CH 2 center of the Shell. Work a Shell (2 DC, CH 2, 2 DC).
[CH 2, SK two STs working around the CH 2 SP, work 2 LDC in the middle CH in the row below CH 3 SP. CH 2, SK two STs working around the CH 2 SP, work 2 LDC in the middle CH in the row below CH 3 SP.
SK 4 DC working around the CH 2 SP, work 2 LDC in the middle CH in the row below CH 3 SP. CH 2, SK two STs working around the CH 2 SP, work 2 LDC in the middle CH in the row below CH 3 SP.
CH 2, SK two STs in the CH 2 center of the Shell. Work a Shell (2 DC, CH 2, 2 DC)]. Repeat between [ ] across. Until there are 10 STs left. Then CH 2, SK two STs working around the CH 2 SP, work 2 LDC in the middle CH in the row below CH 3 SP. CH 2, SK two STs working around the next CH 2 SP, work 1 LDC in the middle CH in the row below CH 3 SP. SK 1 DC. Work 1 DC on the top ST of the first 3 SK chains. Turn

Row 3
CH 3 (Counts as DC). SK the first LDC. Working around the first CH 2 SP, work 1 LDC between the 2 DC STs two rows below.
CH 2, SK two STs working around the next CH 2 SP, work 2 DC between the 2 DC STs two rows below.
CH 2, SK two STs in the CH 2 center of the Shell. Work a Shell (2 DC, CH 2, 2 DC).
[CH 2, SK two STs working around the next CH 2 SP. Work 2 LDC between the 2 DC STs two rows below. CH 2, SK two STs working around the next CH 2 SP work 2 LDC between the 2 DC STs two rows below.
SK 4 DC working around the next CH 2 SP, work 2 LDC between the 2 DC STs two rows below. CH 2, SK two STs working around the next CH 2 SP, work 2 LDC between the 2 LDC STs two rows below.
CH 2, SK two STs in the CH 2 center of the Shell. Work a Shell (2 DC, CH 2, 2 DC)]. Repeat between [ ] across. Until there are 10 STs left. Then CH 2, SK two STs working around the next CH 2 SP, work 2 LDC between the 2 DC STs two rows below. CH 2, SK two STs working around the next CH 2 SP, work 1 LDC between the 2 DC STs two rows below. SK 1 DC. Work 1 DC in the top CH of the first CH 3. Turn
Row 4
CH 3 (Counts as DC). SK the first LDC, working around the first CH 2 SP, work 1 LDC between the 2 LDC STs two rows below.
CH 2, SK two STs working around the CH 2 SP, work 2 LDC between the 2 DC STs two rows below.
CH 2, SK two STs in the CH 2 center of the Shell. Work a Shell (2 DC, CH 2, 2 DC).
[CH 2, SK two STs working around the CH 2 SP, work 2 LDC between the 2 DC STs two rows below. CH 2, SK two STs working around the CH 2 SP, work 2 LDC between the 2 LDC STs two rows below.
SK 4 LDC working around the CH 2 SP, work 2 LDC between the 2 LDC STs two rows below. CH 2, SK two STs working around the CH 2 SP, work 2 LDC between the 2 DC STs two rows below.
CH 2, SK two STs in the CH 2 center of the Shell. Work a Shell (2 DC, CH 2, 2 DC)]. Repeat between [ ] across. Until there are 10 STs left. Then CH 2, SK two STs working around the CH 2 SP, work 2 LDC between the 2 LDC STs two rows below. CH 2, SK two STs working around the CH 2 SP. Work 1 LDC between the 2 LDC STs two rows below. SK 1 DC. Work 1 DC in the top CH of the first CH 3. Turn
Rows 5 and Beyond
Repeat Row 4.
I ended with Rocky Mountain yarn color for the last 5 rows.
- Baby: 50 rows
- Toddler/Lap Blanket (shown): 65 rows
- Small Throw: 80 rows
- Medium Throw: 95 rows
- Large Throw: 110 rows
- X-Large Blanket: 110 rows
- Twin Blanket: 125 rows
- Queen Blanket: 125 rows
- King Blanket: 125 rows
Finishing
Use the tapestry needle to weave in the yarn tails on the back side of the work. I like to weave back and forth 3 to 5 times. Cut off the excess yarn.

YouTube Video Tutorials for the Vintage Zigzag Stitch
We hope you have enjoyed this lovely crochet pattern.
Vicky and Casey
XO

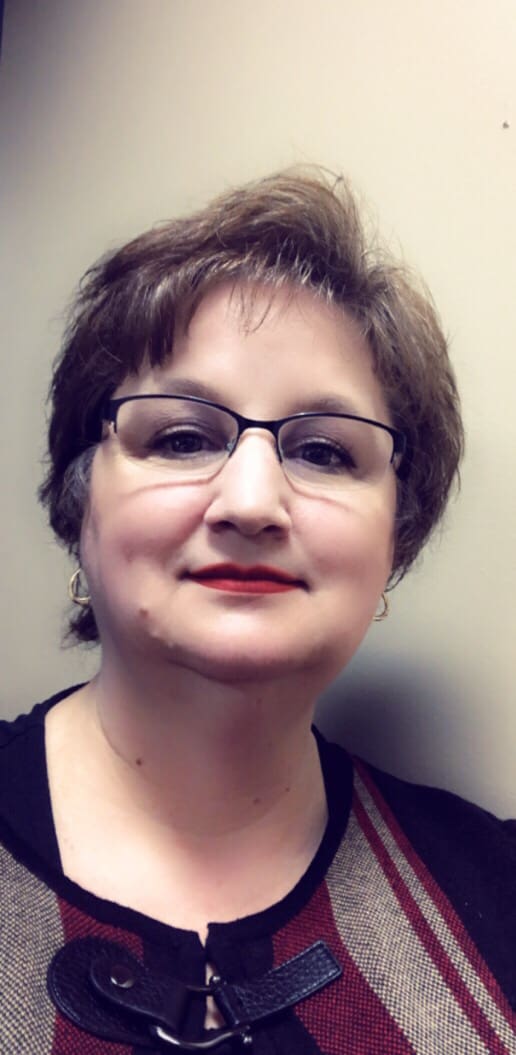
You can find Victoria crocheting, quilting, and creating recipes. She has cooked in restaurants for over 20 years, including many larger parties. She learned to crochet when she was just 11 years old and has been crocheting ever since; over 50 years now. Over 40 years ago, she loved her first class in sewing and continues to hone her skills in quilting. Many have enjoyed the handmade gifts over the years. In her professional career, she has worked in management in a wide variety of businesses including higher education as a dean of a division. All the while attending college part-time to achieve her doctorate in higher education with an emphasis in e-learning.
Stay connected with Pattern Princess
Add Pattern Princess as a preferred source in Google Search to make it easier to find our crochet patterns, recipes, quilt patterns, and other creative projects when you're looking for something new to make.
