Last updated on October 4th, 2025 at 03:09 pm
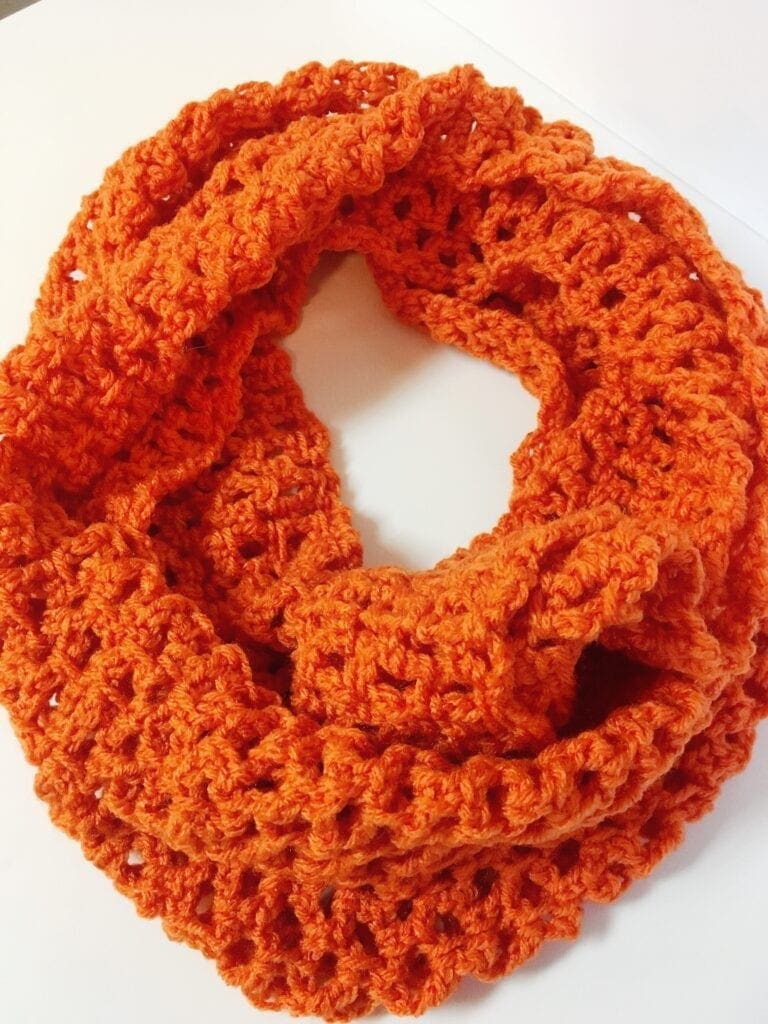
Having a quick, beginner crochet pattern is wonderful for an afternoon project. I love to make things where I don’t have to think too much when I am watching television with the family. This Pretty Pumpkin Infinity Cowl is so pretty to wear in the fall season.
*Post contains affiliate links*at no additional cost to you for more information please read the disclaimer on the About Us page.

Fall Colors
This pumpkin color is all around our neighborhood right now. We have a few neighbors that grow a lot of pumpkins and sell them so they are all over their front yards. It is such a pretty sight. We also visited a corn maze a few weeks ago and there is a shop with pumpkins, squash, and gourds as decorations and for sale. Fall is such a beautiful time of the year.

Brooch to Compliment the Cowl
Of course, I think that scarves and cowls look so much dressier with a brooch. Here are two that I think would look fabulous with this Pumpkin Infinity Cowl.
This Fall Leaf Pin would be just beautiful worn with this cowl.
A Pumpkin Brooch for a Pumpkin Infinity Cowl.
Scarf Worked Flat and Joined After
This crochet pattern is worked flat and joined at the end. If you would prefer to work this in the round, go ahead and chain an even number of stitches the length you want your cowl to be, slip stitch into the beginning stitch to join.
Great Beginner Crochet Pattern
This crochet cowl is very easy to work. If you can double crochet and complete the chain stitch, you can make this lovely crochet pattern.
Directions: How-to Make this Crochet Pretty Pumpkin Infinity Cowl
Gauge
Crochet Gauge: 12 sc – 15 rows = 4″ (10 cm)
Size
Approximately 10 inches wide X 65 inches in length. Change the width by increasing or decreasing by 2. The length can be changed by increasing or decreasing the rows.
Materials
1 Skein Red Heart Pumpkin Yarn
Size H Crochet Hook
Yarn Needle
Scissors
Abbreviations
CH = Chain
DC = Double Crochet
SP = space
ST = Stitch
YO = Yarn Over
Directions
Chain 30 and continue onto row 1.
Row 1:
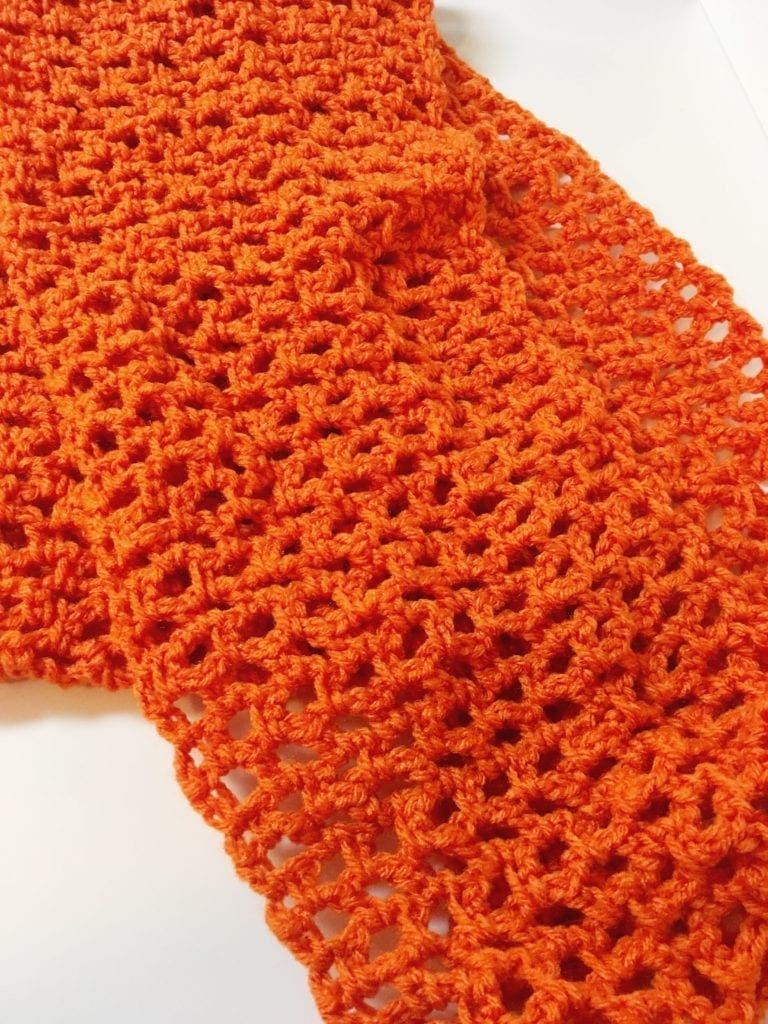
In 4th ST from hook, *DC, CH 1 skipping a ST, DC in next St*. Repeat from * until the last ST ending with a DC.
Row 2:
Turn, CH 4, insert hook into the previous row CH 1 space (not the stitch itself, the space between the two DC from the previous row) , YO draw through the yarn and complete a DC. *CH 1, insert hook into previous row CH 1 SP, YO draw through the yearn and complete a DC*. Repeat from * until the last ST ending with a DC.
Rows 3 and on:
Continue to repeat row 2 until desired length.I made mine 65 inches in length.
Joining:
Align the ends of the cowl so that they are flat against each other, and aligned with each other. (make sure not to twist the cowl when aligning the ends). Using a yarn needle, weave the yarn back and forth through the Stitches of each side until the cowl is joined. Once complete, weave in the ends.

If you loved this post, share on your fave social media links. It helps to show me that these types of posts are helpful – thank you!
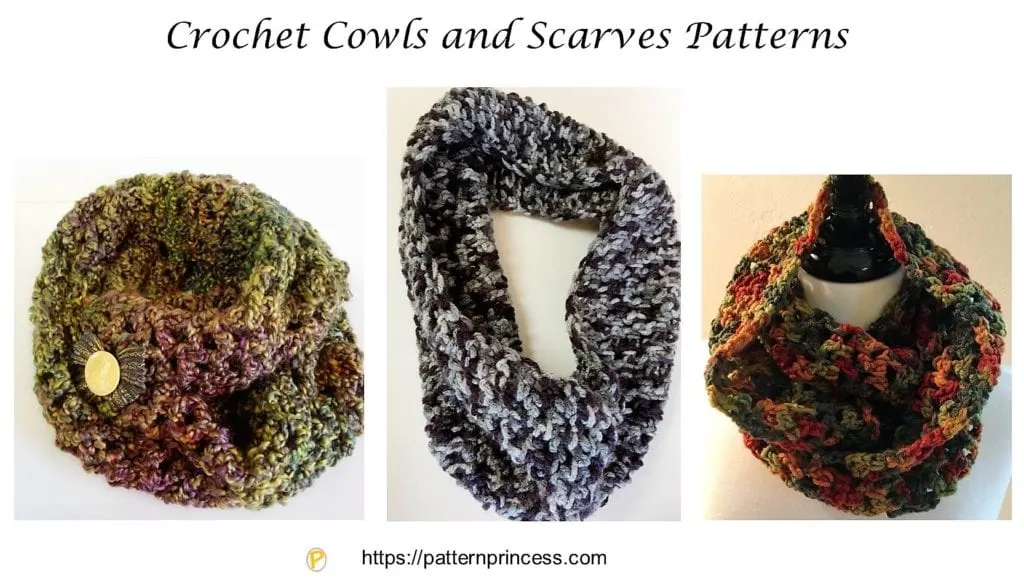
Here are a few crochet cowls you might be interested in.

You can find Victoria crocheting, quilting, and creating recipes. She has cooked in restaurants for over 20 years, including many larger parties. She learned to crochet when she was just 11 years old and has been crocheting ever since; over 50 years now. Over 40 years ago, she loved her first class in sewing and continues to hone her skills in quilting. Many have enjoyed the handmade gifts over the years. In her professional career, she has worked in management in a wide variety of businesses including higher education as a dean of a division. All the while attending college part-time to achieve her doctorate in higher education with an emphasis in e-learning.


