Last updated on July 4th, 2024 at 11:50 pm
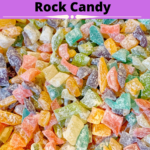
This old-fashioned stained-glass rock candy is one that I enjoyed while growing up. My grandmother made just a few sweets during the holidays and this was one recipe that she made each year. All the grandchildren would enjoy these sweets and wonder what the next color would taste like.
Post contains affiliate links and we earn commissions if you shop through the links on this page. For more information please read the disclaimer on the About Us page.
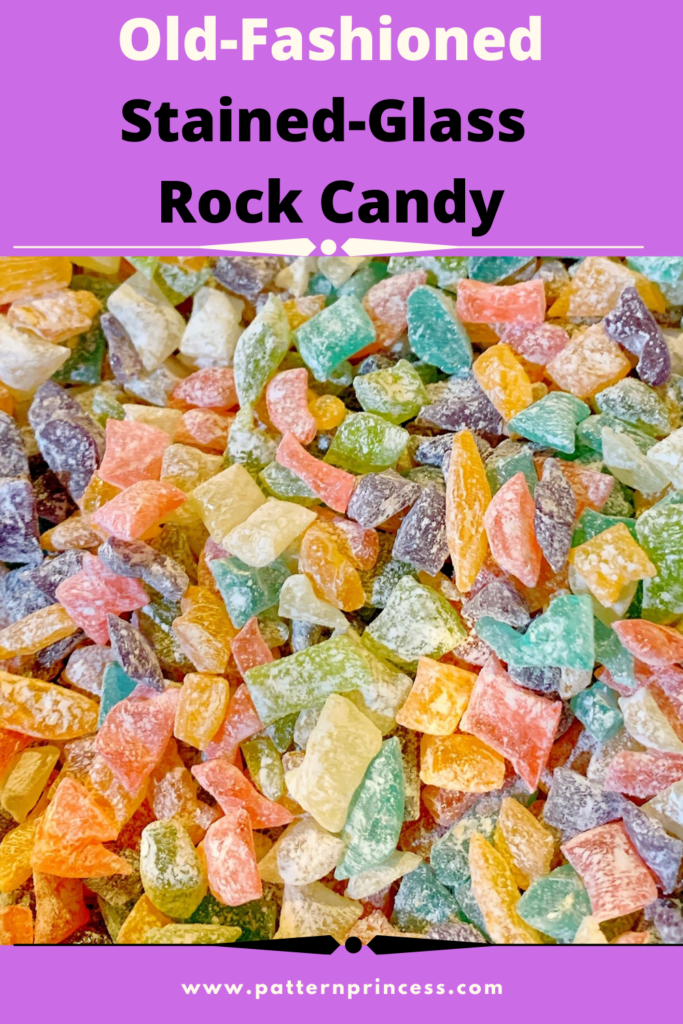
Old-Fashioned Stained-Glass Rock Candy Recipe
I never did learn how to make this fun and delicious candy treat. Just a few weeks ago, my daughter had the pleasure of making rock candy with her friend and her grandmother. What a fun day. They had to make many batches for a growing number of grandchildren. This is her time-tested recipe.
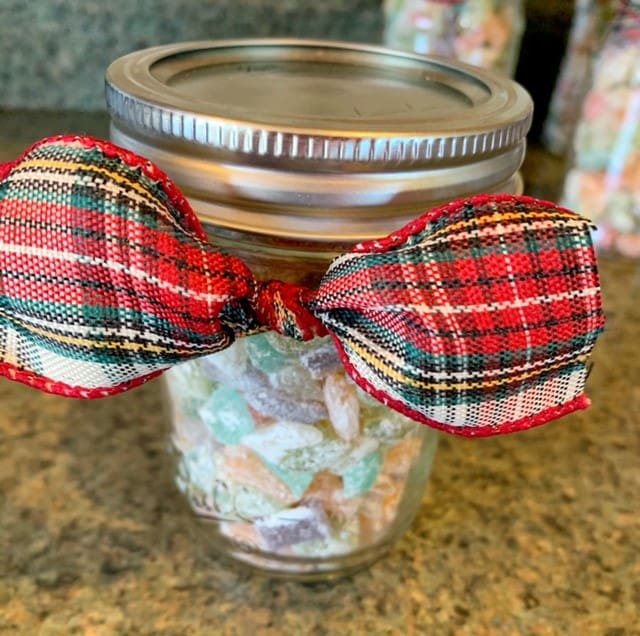
Decorating Jars of this Sweet Treat
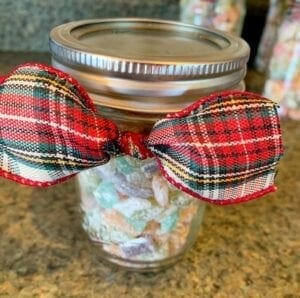
They also made extra batches to sell at a craft fair. There were small half pint jars and pint jars filled with these candies.
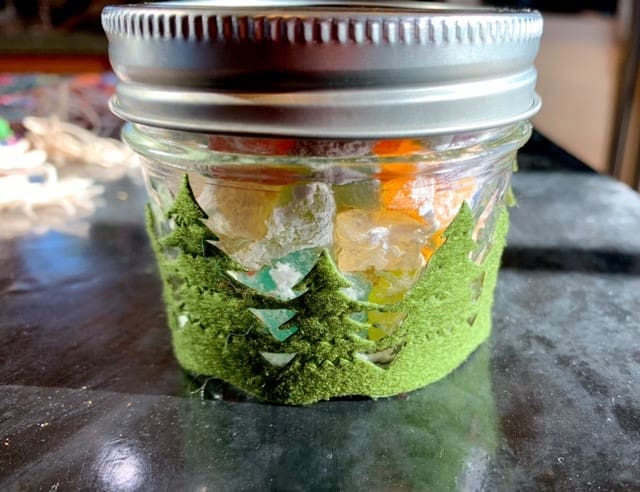
The smaller jars had ribbon that looked like pine trees strung together wrapped around the bottom. A few were decorated with a pretty ribbon.
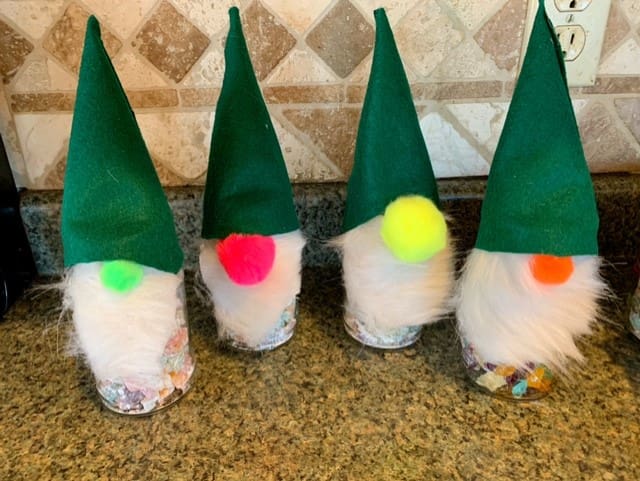
For the larger jars, they made these cute Gnomes. All the items used were from the local dollar store.
The Gnome hat is made from green felt that is cut into a circle. Make one cut on a side to the center, then bring the cut ends together to make a pointed hat. Hot glue that together.
For the nose, it is just a little felt pom-pom that came in a bag.
The beard is from a white furry piece of felt-type material they found. Just cut an oval shape.
Assembly for the Gnome. First cut the beard, then hot glue on the nose, then shape the hat. The hat can be hot glued onto the beard and the assembly can be set over the jar.
Stained-Glass Rock Candy Ingredients
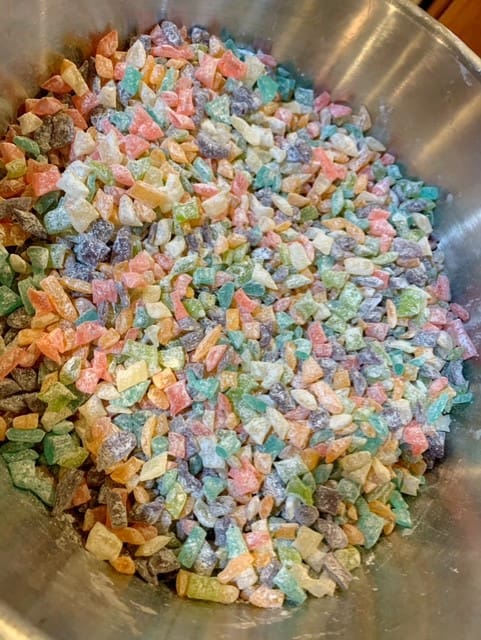
This confection uses sugar, corn syrup, water, and flavoring. The powdered sugar is for coating the candy pieces, so they do not stick together.
Make a rainbow assortment with a wide variety of flavorings. On the day that my daughter helped her friend’s family, they made many batches; therefore, the flavors were plentiful. This also created opportunity to make the candy different colors for a beautiful presentation.
Here are a few flavoring Ideas:
- Green apple
- Cherry
- Banana
- Orange
- Blue Raspberry
- Cotton Candy
- Vanilla
- Almond Vanilla
- Lemon Lime
- Black Licorice
- Black Cherry
- Butter Rum
- Coconut
- Cranberry
- Orange Cream
- Peach
- Pear
- Pineapple
- Strawberry Kiwi
- Cinnamon
- Spearmint
- Peppermint
- Wintergreen
- Butter mint
Not sure where to find flavorings? Here is a nice, starter pack. https://amzn.to/3r2SPsz
Stained-Glass Rock Candy Helpful Hints
If you are making more than one color and flavor of candy, prepare as many pans as types of candy you’re making.
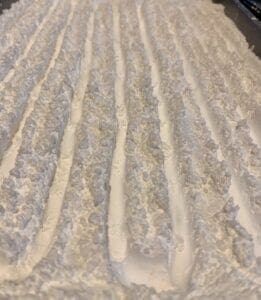
Prepare the sheet pan before starting to cook the sugar mixture. Line a baking sheet with foil. Add the powdered sugar to the pan and make “S” shaped wells in the powdered sugar – 9 total. See the photo. If you want the pieces smaller, set up another sheet pan with the powdered sugar and just drizzle less in each well.
In a large heavy saucepan, combine the white sugar, corn syrup, and water. Heat over medium-high heat, stirring constantly until sugar dissolves.
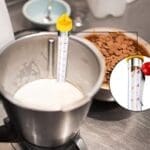
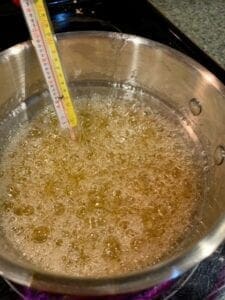
Once the sugar is dissolved, insert a candy thermometer, and let the mixture come to a boil. Continue to boil until you reach the hard crack stage at 300 F (150 C). There is no need to stir the mixture.
It is important to make sure that you reach the hard crack stage at 300 F (150 C). If it is only boiled to the soft stage, the candy will be a bit sticky and a few people might not like how it will stick to their teeth. This is one recipe where a thermometer is a must to make sure that you have boiled the mixture long enough.
When the mixture has reached the hard crack temperature, remove the pan from the heat and let the candy cool off a little until it stops bubbling completely.
Flavors and Colors of Candy
Now is the time to make two or more different colors and flavors of the candy. Using this one batch, pour parts of the syrup into separate pans before adding the extracts and food colorings. However, you will need to work quickly to avoid the candy setting in the pans. Carefully add different colors and flavors to the syrups as this sugar mixture is extremely hot.
Once mixed with the flavors, drizzle the sugar mixture in the wells in the powdered sugar.
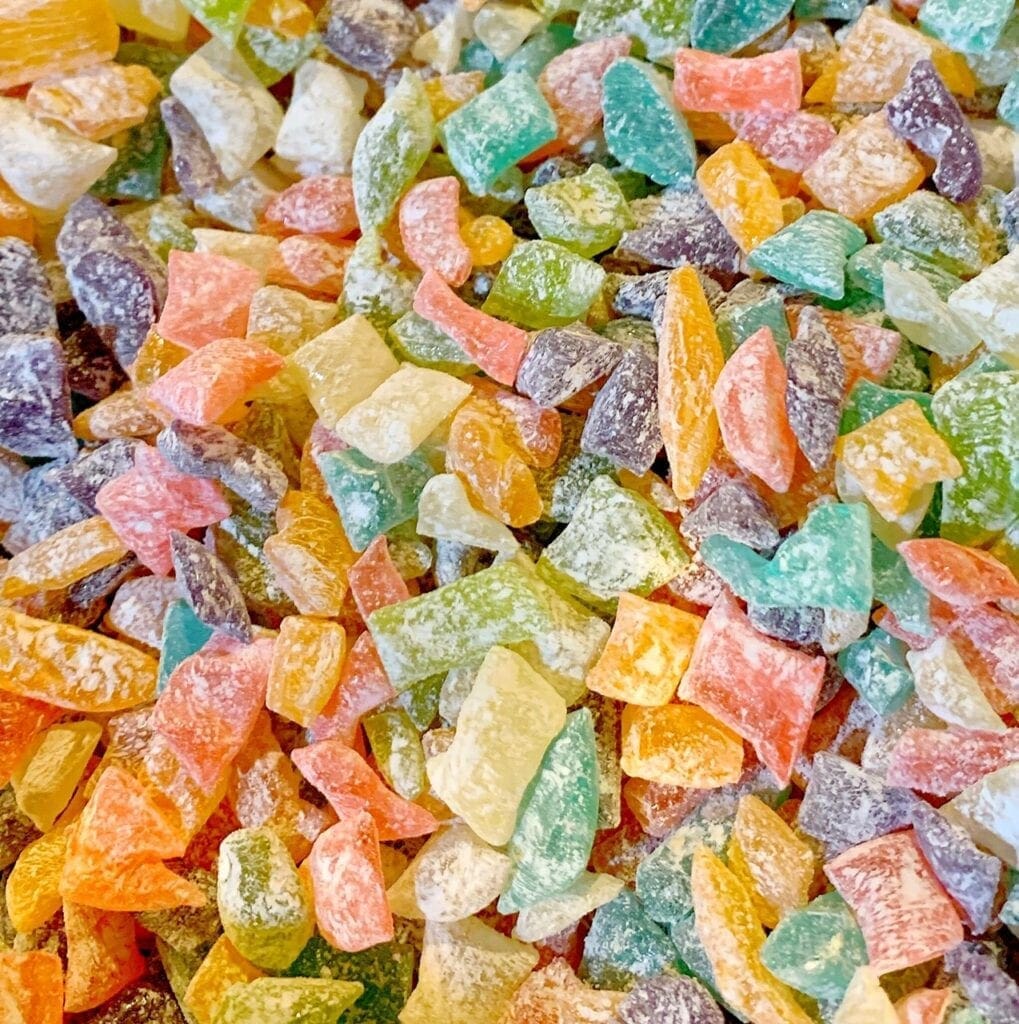
Allow to cool until hardened. This should take approximately 1 hour. Once hardened, use a scissors to cut the candy strips into little pieces.
Alternative Method of Pouring and Cracking the Stained-Glass
If you would prefer not to make the wells in the powdered sugar, you can. Line a baking sheet with a nonstick silicone mat or place a layer of aluminum foil in the pan and spray with nonstick cooking spray. Pour the sugar mixture in one large sheet over the powdered sugar. Let harden and use a mallet to break apart.
Flavored Oil Versus Extracts
Flavored oil is must stronger than extracts. Therefore, if you use 1 teaspoon of oil for a recipe this can be substituted with flavored extract by using 2 teaspoons instead of one.
Storing Rock Candy
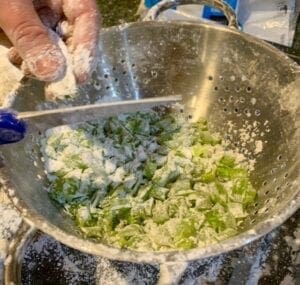
Dust with more powdered sugar before storing in any container. This will keep the candy pieces from sticking together. An easy way to do this is to place the powdered sugar in a plastic bag and add the pieces of candy. Shake the bag until the candy is coated with the powdered sugar.
This candy can last for several months. Keep at room temperature in an airtight storage container. Do not refrigerate as that will create condensation, which can cause the pieces to stick together.
Old-Fashioned Stained-Glass Rock Candy
As an Amazon Associate I earn from qualifying purchases.
Kitchen Essentials
Ingredients
- 1 Cup Water
- 4 Cups Granulated Sugar
- 1 1/2 Cups Corn Syrup
- 2 Teaspoons Flavoring 2 Tsp. Flavored Oil or 4 Tsp. Flavored Extract
- 1 Teaspoon Gel Food Coloring
- 1 1/2 Cups Powdered Sugar
text ingredients
Instructions
- If you are making more than one color and flavor of candy, prepare as many pans as types of candy you're making. Prepare the sheet pan before starting to cook the sugar mixture. Line a baking sheet with foil. Add the powdered sugar to the pan and make “S” shaped wells in the powdered sugar – 9 total. See the photo. If you want the pieces smaller, set up another sheet pan with the powdered sugar and just drizzle less in each well.

- In a large heavy saucepan, combine the white sugar, corn syrup, and water. Heat over medium-high heat, stirring constantly until sugar dissolves. Once the sugar is dissolved, insert a candy thermometer, and let the mixture come to a boil. Continue to boil until you reach the hard crack stage at 300 F (150 C). There is no need to stir the mixture. It is important to make sure that you reach the hard crack stage at 300 F (150 C).If it is only boiled to the soft stage, the candy will be a bit sticky and a few people might not like how it will stick to their teeth. This is one recipe where a thermometer is a must to make sure that you have boiled the mixture long enough.

- When the mixture has reached the hard crack temperature, remove the pan from the heat and let the candy cool off a little until it stops bubbling completely.Now is the time to make two or more different colors and flavors of the candy. Using this one batch, pour parts of the syrup into separate pans before adding the extracts and food colorings. However, you will need to work quickly to avoid the candy setting in the pans. Carefully add different colors and flavors to the syrups as this sugar mixture is extremely hot.
- Once mixed with the flavors, drizzle the sugar mixture in the wells in the powdered sugar.
- Allow to cool until hardened. This should take approximately 1 hour. Once hardened, use a scissors to cut the candy strips into little pieces.

- Dust with more powdered sugar before storing in any container. This will keep the candy pieces from sticking together. An easy way to do this is to place the powdered sugar in a plastic bag and add the pieces of candy. Shake the bag until the candy is coated with the powdered sugar.

Your Own Private Notes
Video
Notes
Nutrition
A few of my favorite things
The Power of Positivity
If you loved this post, please share. It helps to show me that these types of posts are helpful – thank you!
I hope that you liked this recipe. If you are looking for more ideas on what to make, here are a few other recipes that you may enjoy.

You can find Victoria crocheting, quilting, and creating recipes. She has cooked in restaurants for over 20 years, including many larger parties. She learned to crochet when she was just 11 years old and has been crocheting ever since; over 50 years now. Over 40 years ago, she loved her first class in sewing and continues to hone her skills in quilting. Many have enjoyed the handmade gifts over the years. In her professional career, she has worked in management in a wide variety of businesses including higher education as a dean of a division. All the while attending college part-time to achieve her doctorate in higher education with an emphasis in e-learning.

