Last updated on March 27th, 2026 at 09:42 am
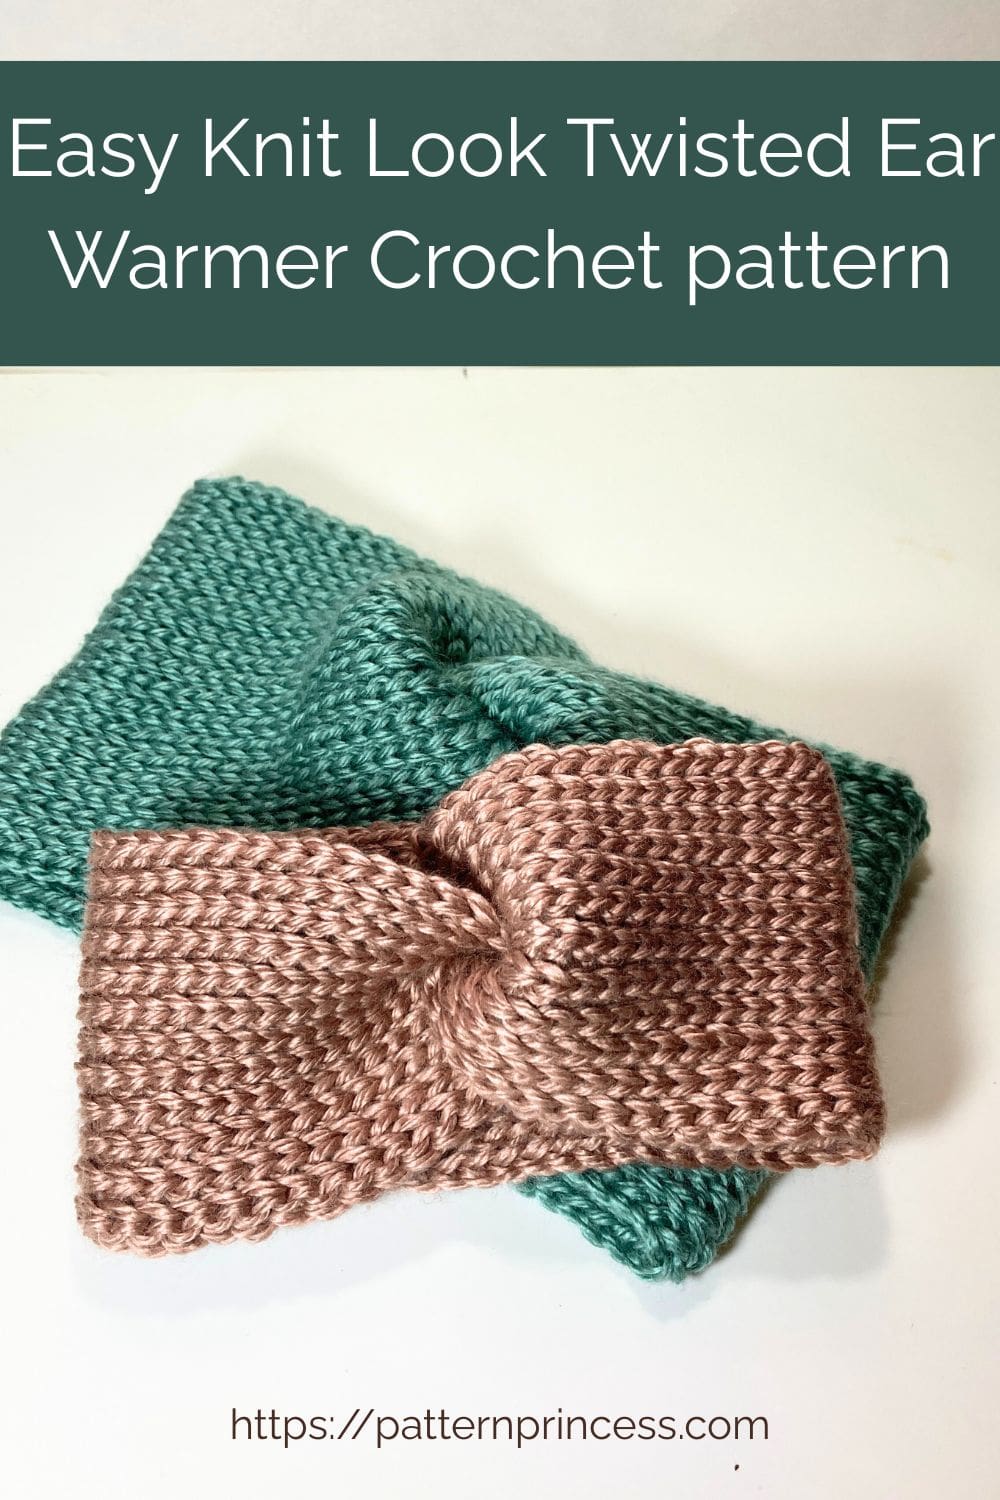
This Knit Look Twisted Ear Warmer Crochet Pattern is the ultimate beginner-friendly accessory. With just slip stitches, you can create a fabric that looks beautifully knit yet is 100% crochet.
This pattern is completely beginner-friendly and works up quickly. Even if you just want a relaxing, no-fuss project, this is a good one.
There are suggested chain stitch counts and rows for five different sizes to help get you started.
Stash-Busting Crochet Project
All you need is one skein of medium weight yarn, making this project budget-friendly and stash-busting. It’s quick, easy, and stylish enough to wear every day during the chilly months.
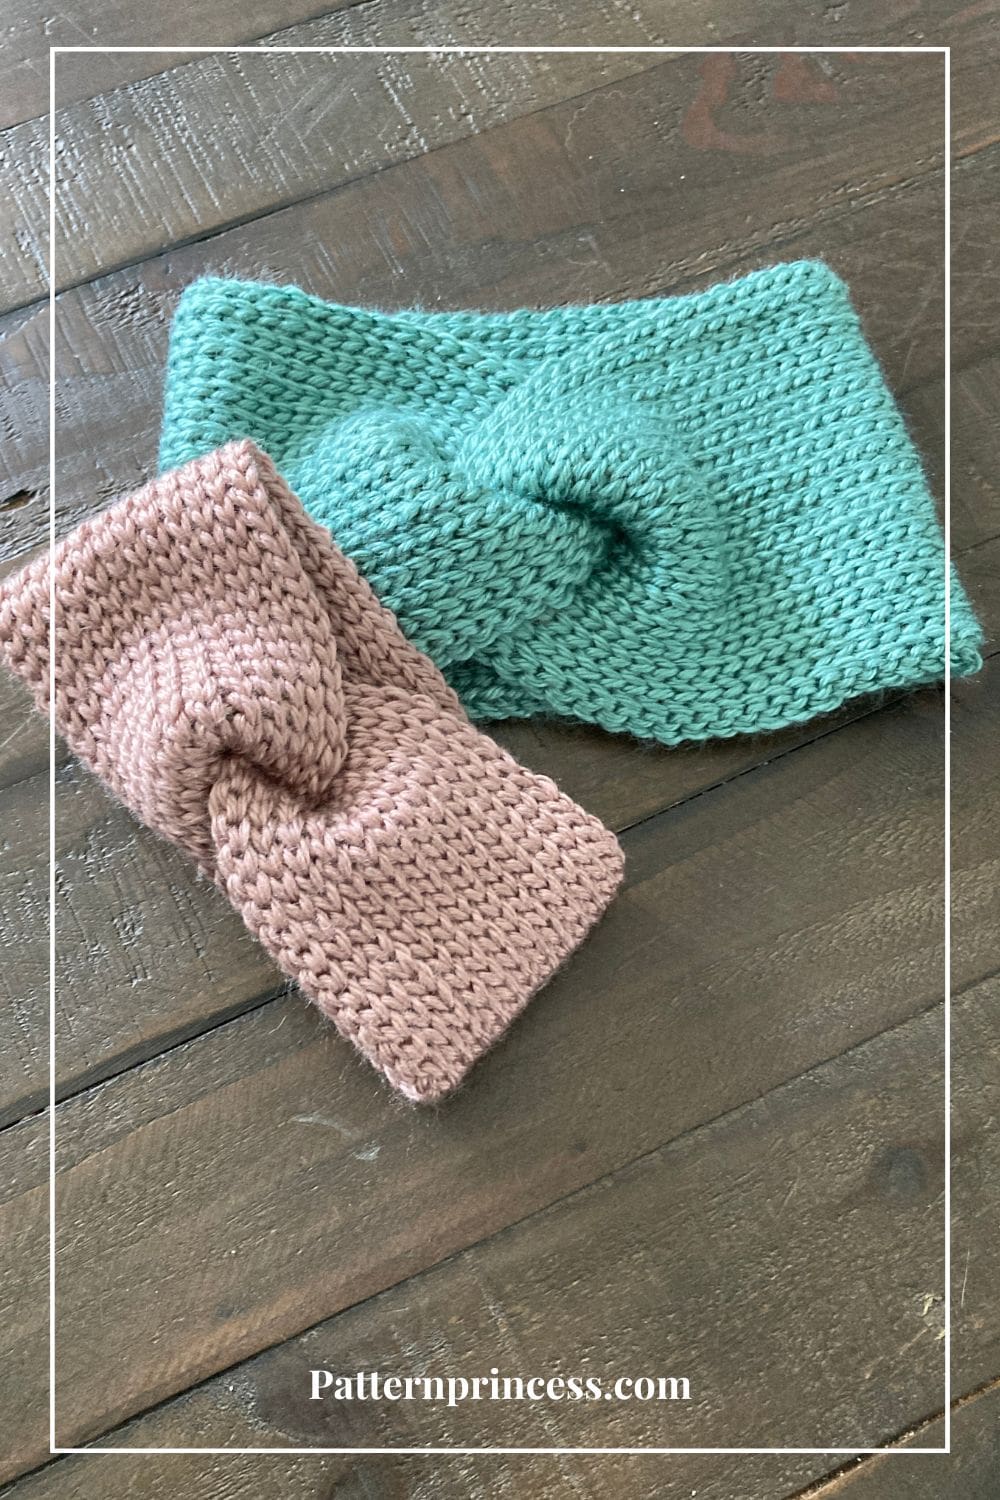
Solid colors give it a timeless, polished vibe, while variegated or gradient yarns can transform the twist into a bold, eye-catching detail. The possibilities are endless, and each version feels fresh and unique.
Cozy Crochet Wearable
Fast, fun, and endlessly wearable, this ear warmer also makes an excellent handmade gift for friends and family. I am making some for my nieces. I also think this would also be a great holiday market project.
Make one to match your favorite coat, whip up a few for gifts, or treat yourself to a whole stack of cozy ear warmers in every shade of yarn you love.

If you love the look of this ear warmer, make sure to check out this Beginner Crochet Thick Twisted Headband Pattern – Pattern Princess.
Get Your Ad Free Printable PDF in our Etsy Store.
Directions: Easy Knit Look Twisted Ear Warmer
Skill Level
Beginner Crocheter Friendly
Gauge
Approximately 17 stitches and 28 rows every 4 inches.
For accurate size, check your gauge as your crochet stitches may be looser or tighter than mine.
Size
This headband is slightly stretchy. The length will stretch at least an inch. The length is determined by the initial chain stitch length, and the width is determined by the number of rows crocheted.
Here are some suggested sizes for your convenience. * All measurements are taken with the rectangle laying flat.
- Child = 3” X 16”
- Small Adult or Teen = 4” X 18”
- Medium Adult = 5” X 20”
- Large Adult = 5” X 22”
- X-Large Adult = 5” X 24”
Changing the Size
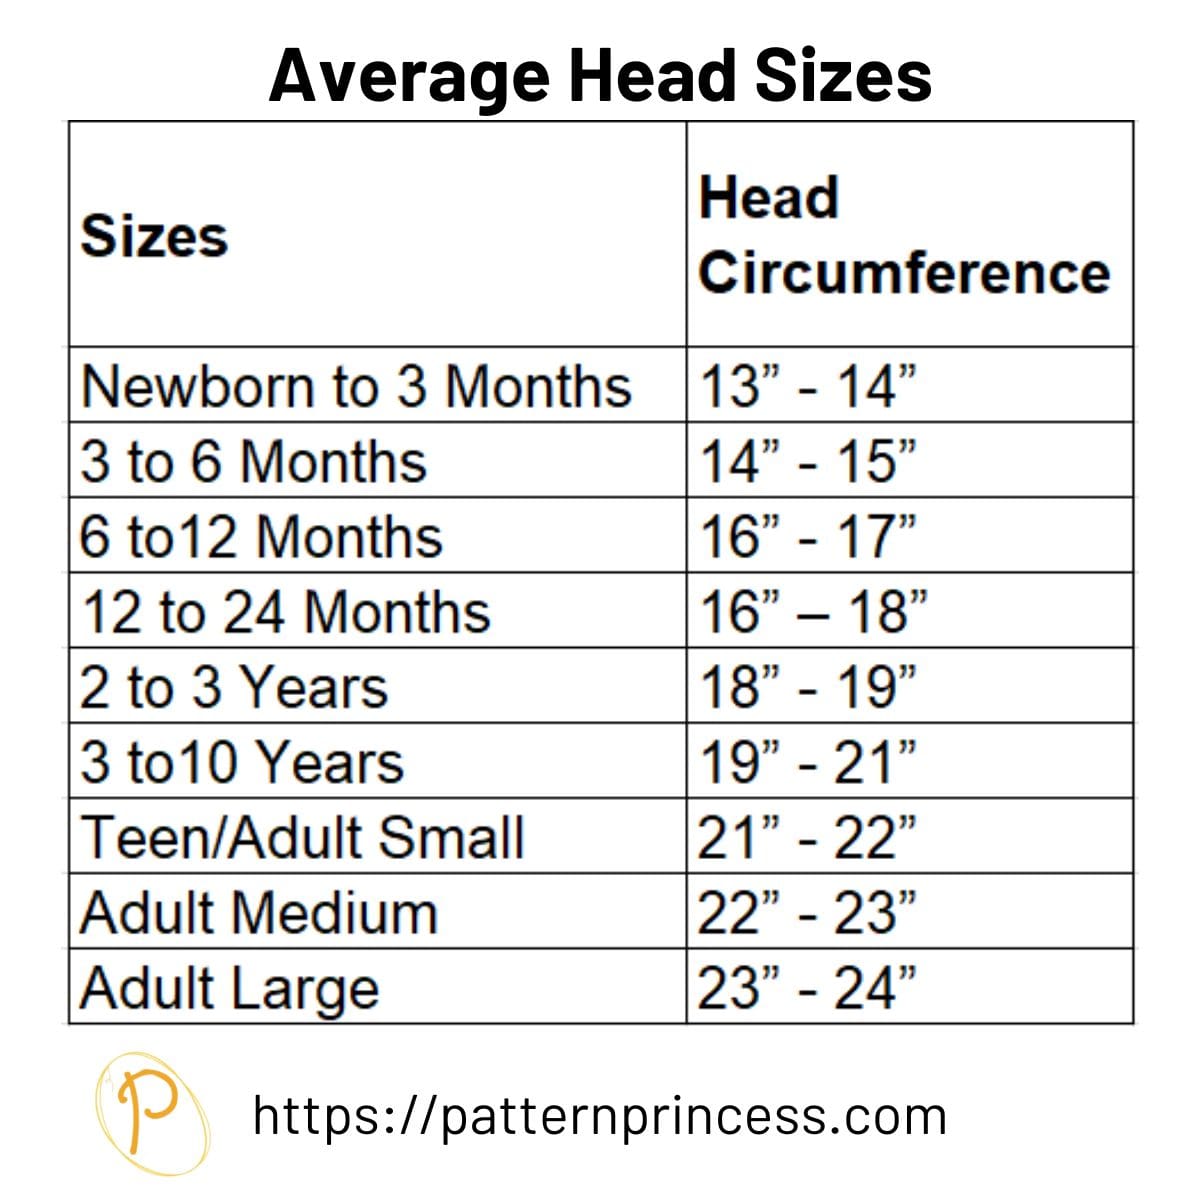
Measure as You Go. If you’re unsure about sizing, measure the headband around their head so you know how big around you need it. If you are not sure of what size to make it. I have a standard head size chart to help you.
You can make this with a different yarn rather than a medium weight. Just make sure you measure your beginning chain stitches to get the length and measure the width of the rows for the length.
Abbreviations
- CH = Chain Stitch
- SL ST = Slip Stitch
- SL ST BLO = Slip Stitch Back Loop Only
- ST = Stitch
- [ ] = Repeat Between
Materials
Wander Acrylic Yarn from Furls Fiber Arts. #4 medium weight yarn, 120 yards each skein.
For all sizes you will need 110 yards or less. 1 skein of yarn.
Colors Shown: Fawn and Agave
If you are not able to find the yarn locally, you can find it online. Check out the link for Furls on our Savings Center – Pattern Princess
Size I Crochet Hook 5.5 mm
Tapestry Needle
Scissors
Tape Measure
Stitches
Crocheting in the Back Bump
Appearance of Your First Row. By working into the back bumps of chains, the tops of the stitches align perfectly with the foundation row, giving your project a nice finish.
Strength and Durability. The back bump technique creates a sturdier foundation for your crochet projects.
Get all the details on our blog post. Crocheting in the Back Bump Changes Everything – Pattern Princess
Slip Stitch Back Loop Only (SC BLO)
Insert the hook in the back loop, pull up a loop and pull through the loop on the hook.
Pattern Notes
Pattern is written in US crochet terminology.
For accuracy, this one is a good pattern to measure the headband rather than count the rows as your gauge may be different than mine.
You can find You Tube Video step-by-step tutorials for both left hand and right hand crocheters below the written pattern.
Turn after each row.
The chain stitch at the beginning of each row does not count as a stitch. Place the beginning stitch of each row in the very first stitch.
Since this pattern is reversible, there isn’t a right side and wrong side.
Keep your crochet stitches loose. The slip stitch tends to snug up quite a bit and if you keep them on the loose side, it is easier to insert your hook into the back loop.
* When measuring the beginning chain length, it will be 2-3 inches longer than the final ear warmer length. So, measure after the second row of stitches for a more accurate length.
Crochet Pattern
Begin
Start by making a slip knot and adding the loop on the hook.
Work enough chains to make your desired length.
Here are some suggested starting chains for using a #4 medium weight yarn.
- Child = 68 chain stitches for 16”
- Small Adult or Teen = 77 chain stitches for 18”
- Medium Adult = 85 chain stitches for 20”
- Large Adult = 95 chain stitches for 22”
- X-Large Adult = 104 chain stitches for 24”
Row 1
In the 2nd chain from the hook work a SL ST and in each ST across. Turn
Row 2
CH 1 (Doesn’t count as a ST). Work a Slip Stitch in the Back Loop (SL ST BLO) in the first ST and in each ST across. Turn
Row 3 and Beyond
Repeat row 2.
You can make this as wide as you like. I have the suggested number of rows below.
- Child = 3” work 22 rows
- Small Adult or Teen= 4” work 28 rows
- Medium Adult = 5” work 36 rows
- Large Adult = 5” work 36 rows
- X-Large Adult = 5” work 36 rows
When you’re done, leave a long tail. About 15-20 inches. You will be using this to sew the ends together.
This photo is of a different headband, but it shows how to fold the ends together for seaming.
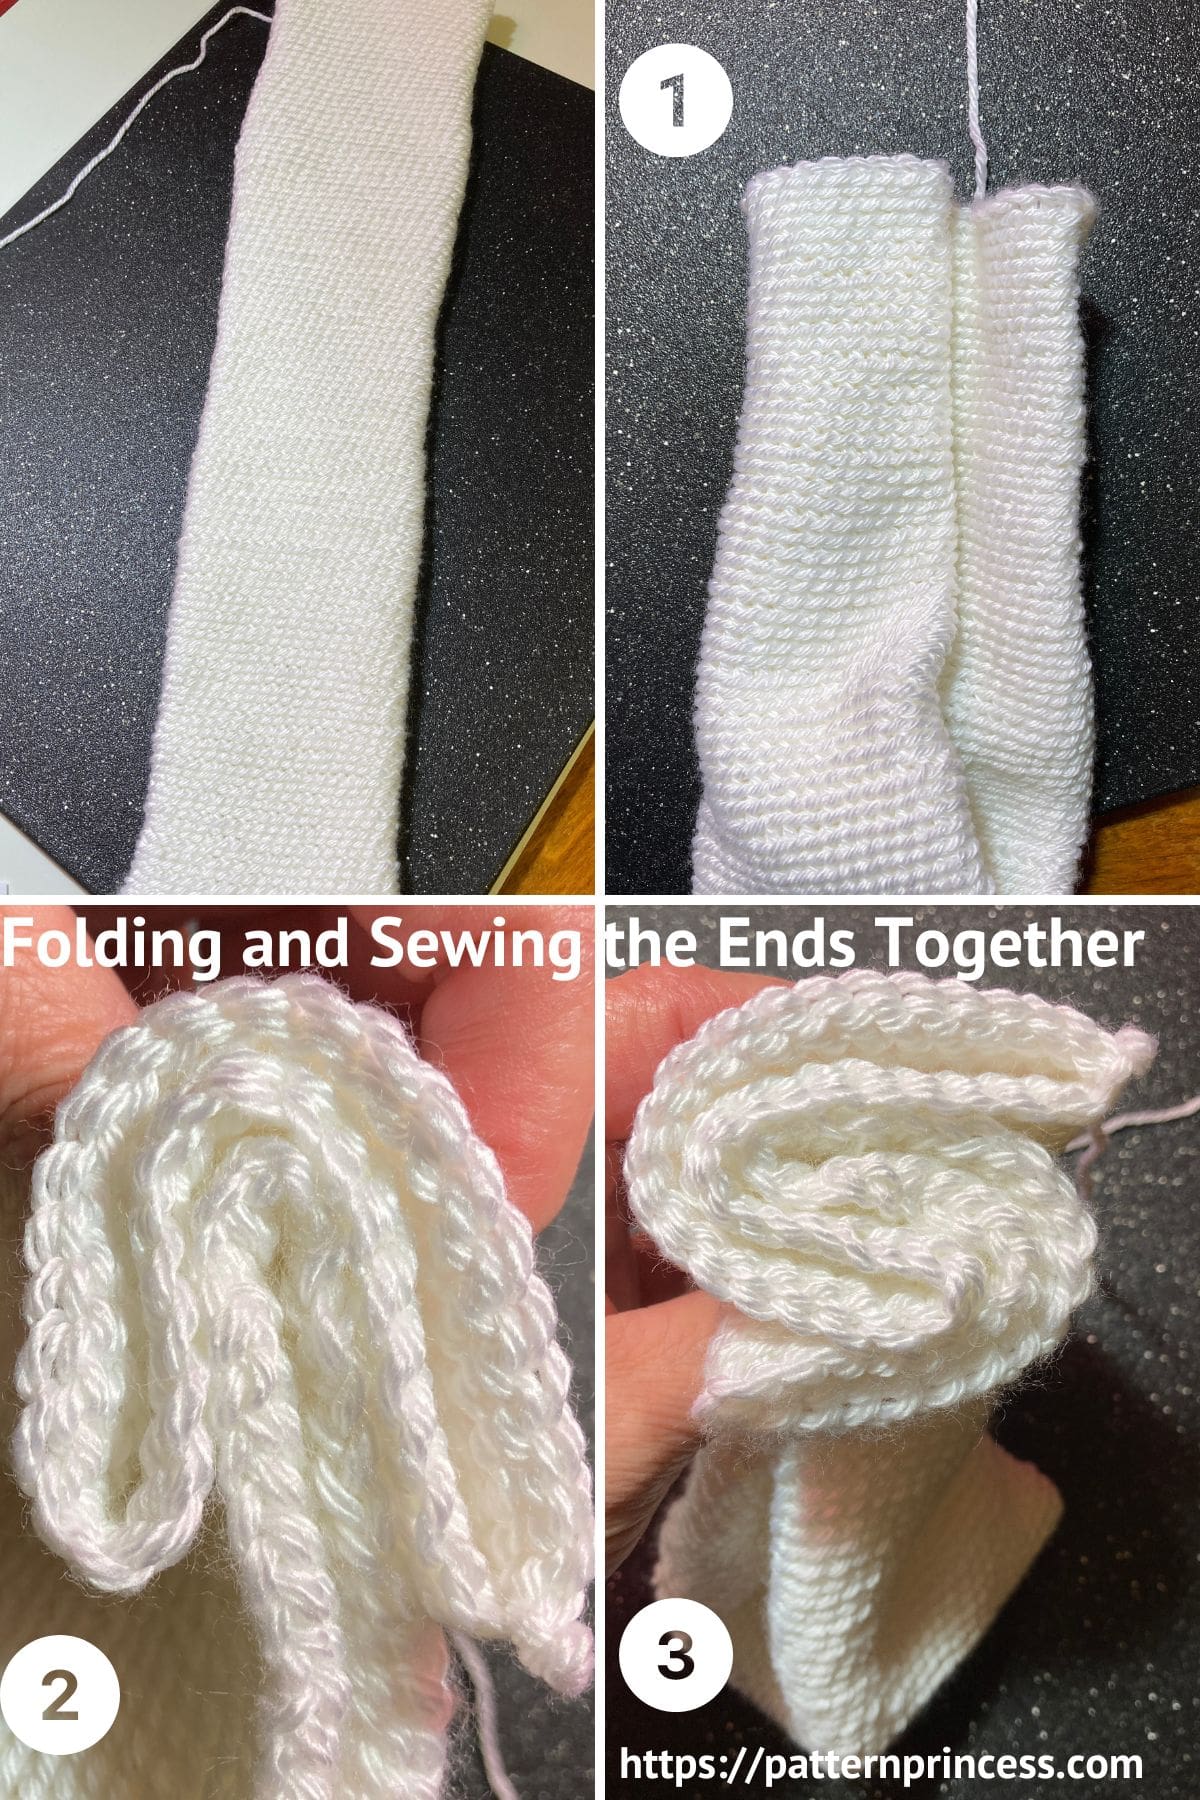
Final Steps
Seaming Instructions: Folding and Sewing the Ends Together
Fold the band in half matching the ends together.
Fold the ends in half matching one end to the center of the other band.
The other band fold over the other side to the front. (See photo for placement).
Use the long yarn tail and yarn needle to sew the ends together. Starting on one end, insert the hook through all four layers and pull out the other side. Moving the needle over a little, insert it back through the layers and out the other end.
When done, weave in the yarn ends and cut off the excess yarn.
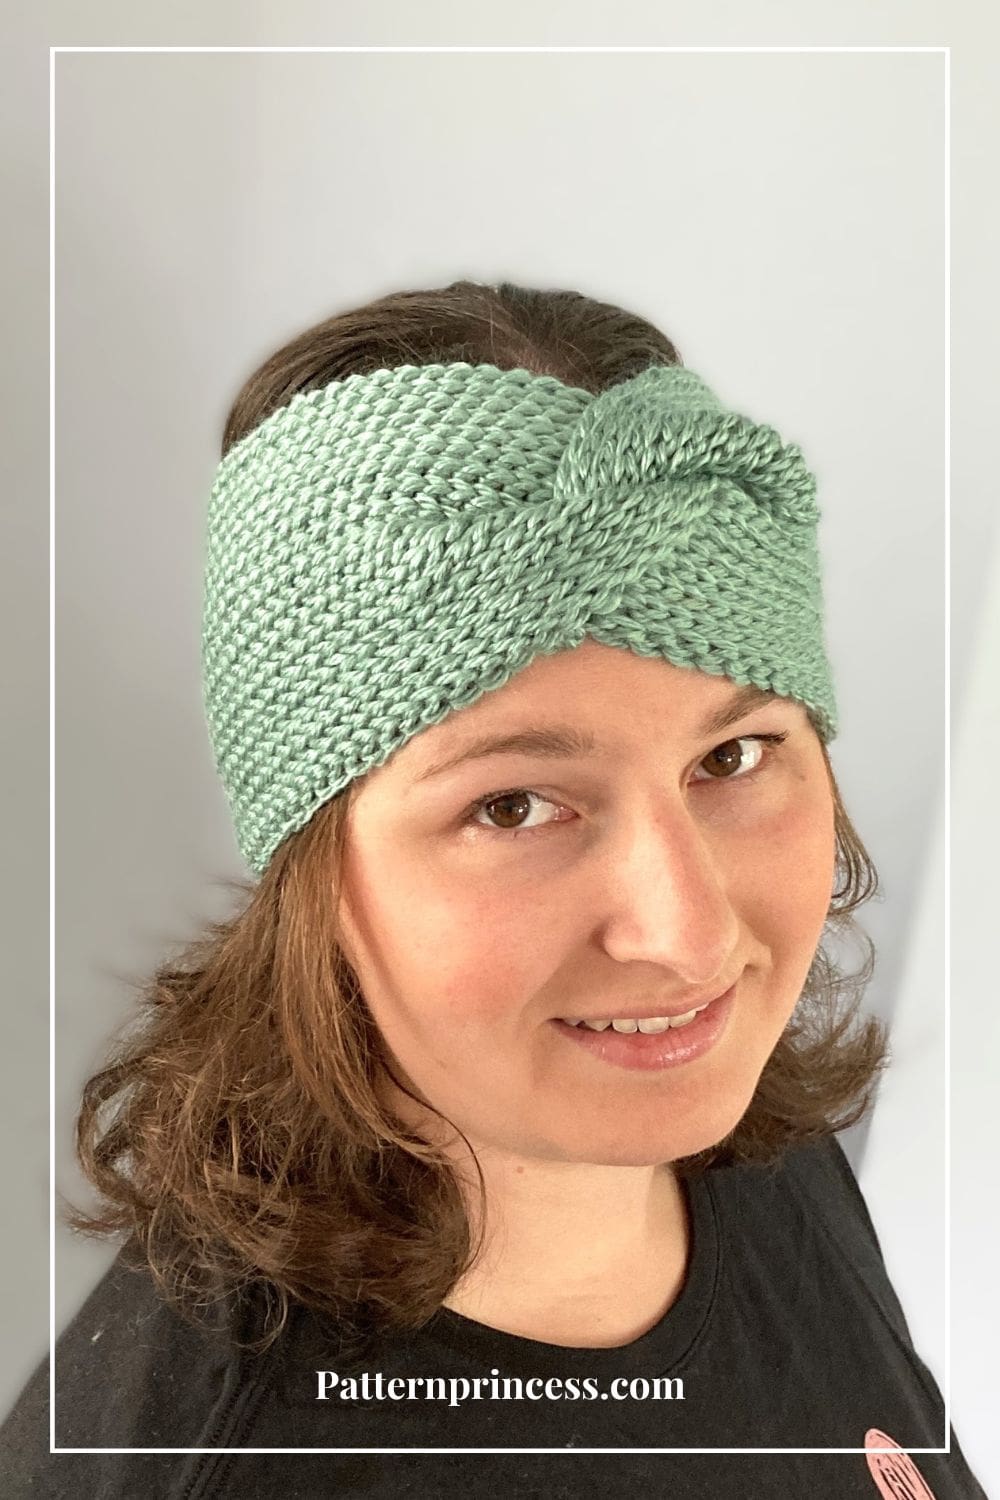
Enjoy your beautiful chunky twisted headband.
You Tube Video Tutorials
Crocheting in the Back Bump
Crocheting the Knit Look Ear Warmer
We hope that you have enjoyed this lovely crochet pattern. Here are a few other free crochet patterns for inspiring your next project.

You can find Victoria crocheting, quilting, and creating recipes. She has cooked in restaurants for over 20 years, including many larger parties. She learned to crochet when she was just 11 years old and has been crocheting ever since; over 50 years now. Over 40 years ago, she loved her first class in sewing and continues to hone her skills in quilting. Many have enjoyed the handmade gifts over the years. In her professional career, she has worked in management in a wide variety of businesses including higher education as a dean of a division. All the while attending college part-time to achieve her doctorate in higher education with an emphasis in e-learning.