Last updated on July 4th, 2024 at 11:50 pm
It takes just a few simple ingredients to make these lovely applesauce cinnamon ornaments. Now is the perfect time for this DIY Holiday Craft.
Post contains affiliate links and we earn commissions if you shop through the links on this page. For more information please read the disclaimer on the About Us page.
There is just over a week left before Christmas and it is the perfect time to make these quick homemade gifts to give to our family, friends, teachers, postal workers, and anyone else that you want to bring some Holiday cheer to.
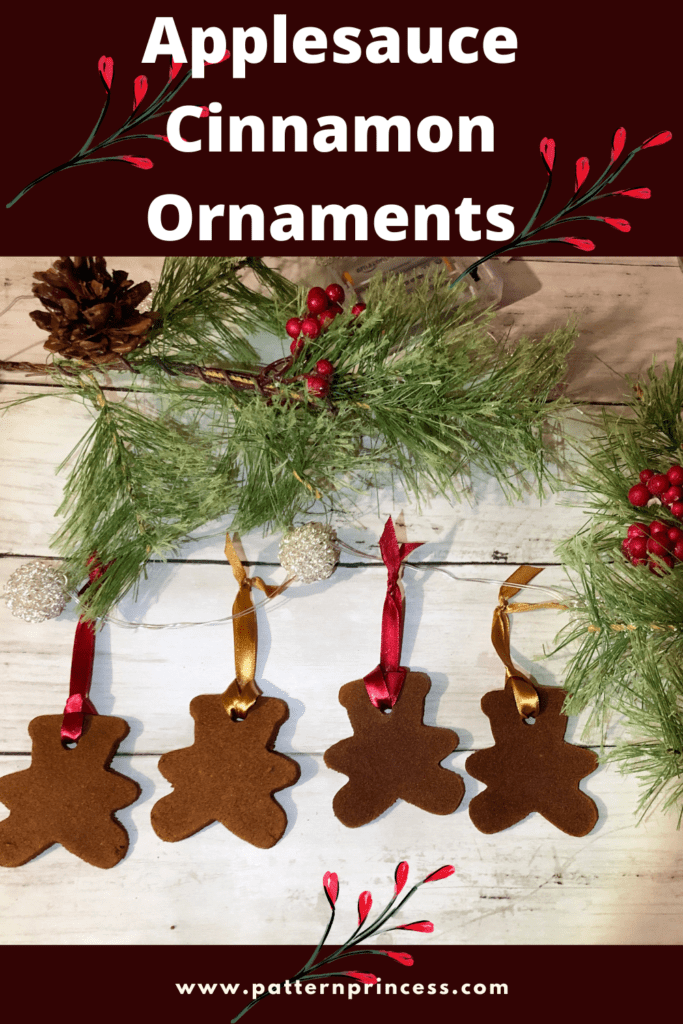
Cinnamon Salt Dough Ornaments
Here is another type of cinnamon ornament that adds that festive smell throughout our house.
Many years ago, I made cinnamon salt dough ornaments with my daughter. We felt it was time to make them together again this year. What a lovely afternoon we had together.
Most of the time was spent making our chocolates for the family as this takes just over two hours to bake in the oven. It gave us plenty of time to take a break and make some chocolate truffles too. We are sharing our recipe with you. https://patternprincess.com/cinnamon-salt-dough-ornaments/
Homemade Holiday Crafts to Make with Your Kids
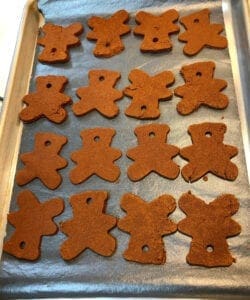
Once you mix the dough and roll it out, let the kids use cookie cutters and create their own ornaments. Place them on parchment paper or a silicone baking sheet and make the hole for the ribbon or string to go through for easy hanging.
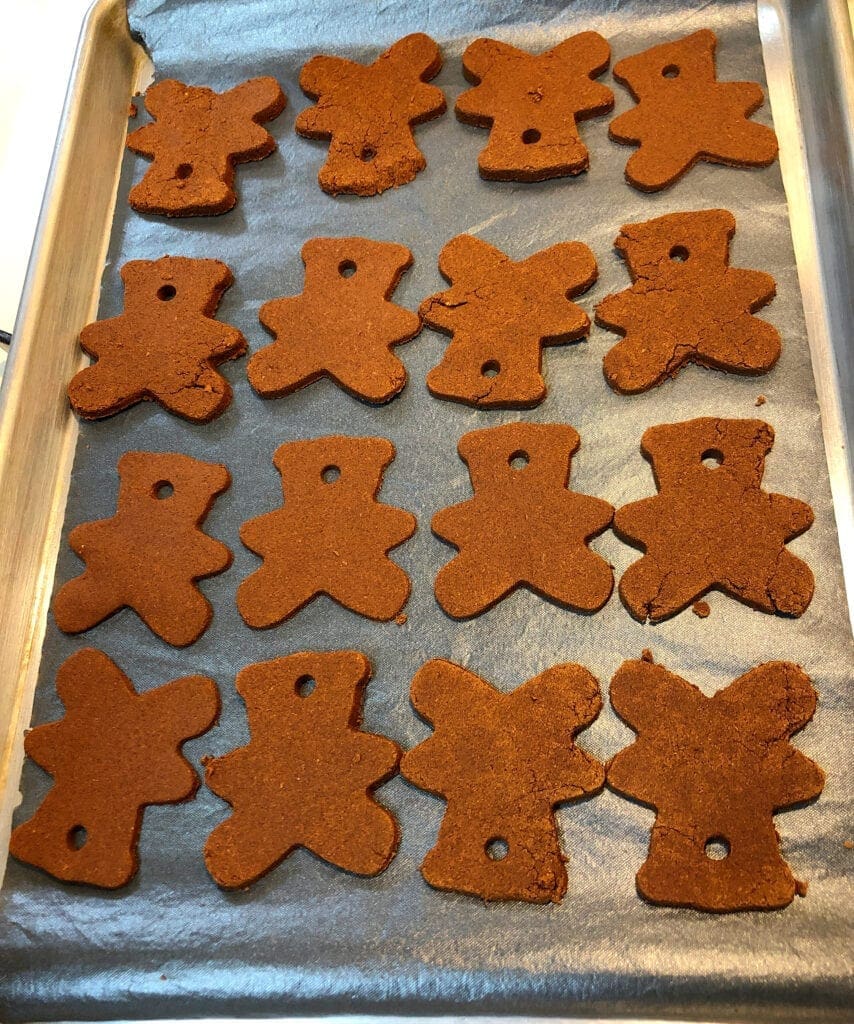
Use a Straw for an Easy Way to Make the Hole
This trick is wonderful and quick. Use the straw to make the hole for hanging. What happens is that the dough gets pushed up inside the straw and you are left with a clean hole. You can quickly move to the next ornament and make the next hole. No digging the dough out of the center!
Once the dough starts to push up a little hard into one side of the straw, flip it over and use the other hole.
Ingredients in These Cinnamon Ornaments
This is a simple recipe with just two ingredients. Applesauce and ground cinnamon. Some people have added glue to their mixture as these can be a bit fragile even after they have fully dried.
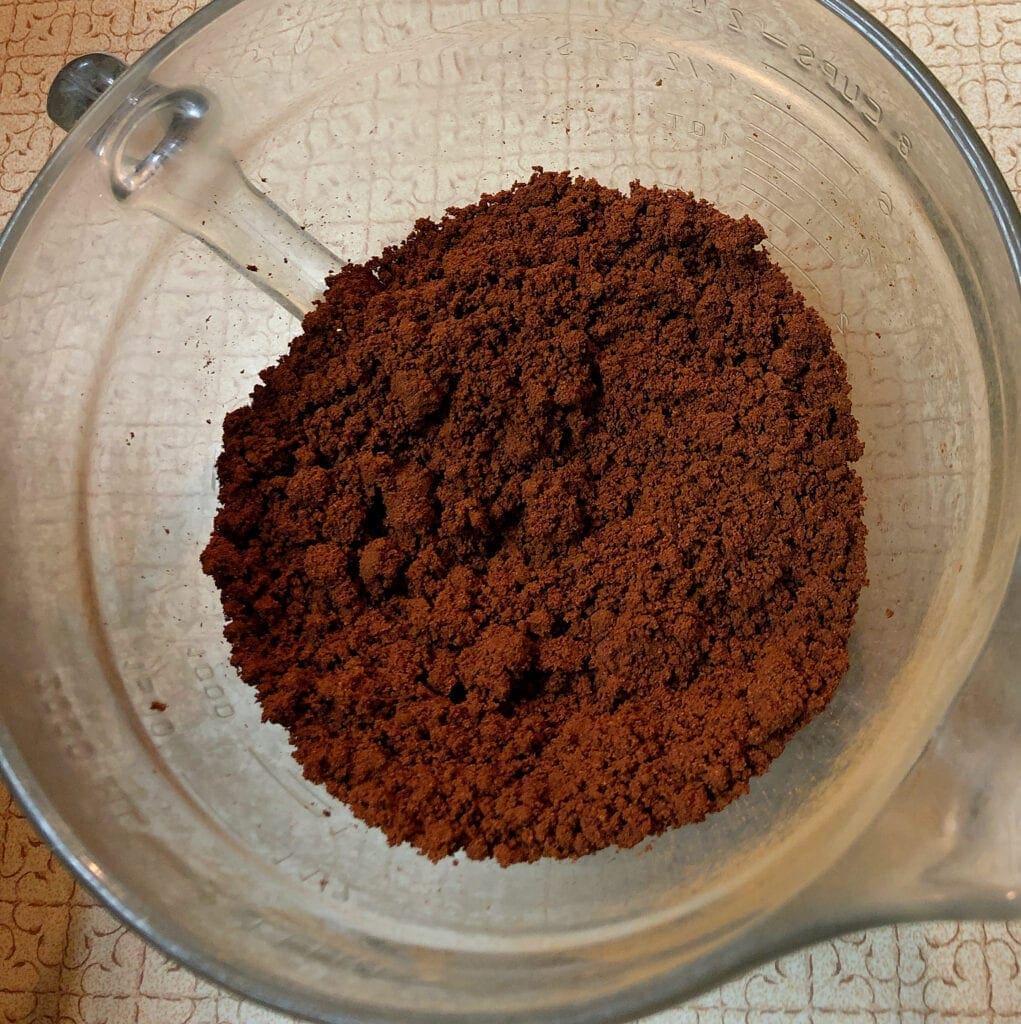
Applesauce Cinnamon Ornaments Steps
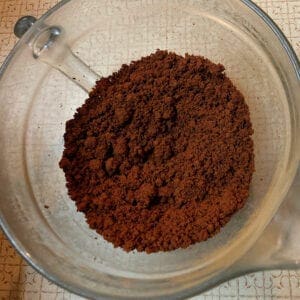
Combine the applesauce and the cinnamon. I found that the cinnamon is quite powdery and will make you cough a bit when mixing as the fine dust gets into the air. Therefore, add the cinnamon to the bowl first and then add the applesauce, it will help reduce the airborne cinnamon.
Mix the ingredients until it is fully incorporated, you might even want to use your hands near the end.
Roll out about a quarter of the dough at a time to a thickness of ¼ – 1/3-inches. I find that a bit thicker makes this a bit sturdier. However, it will give you less ornaments and take longer to dry.
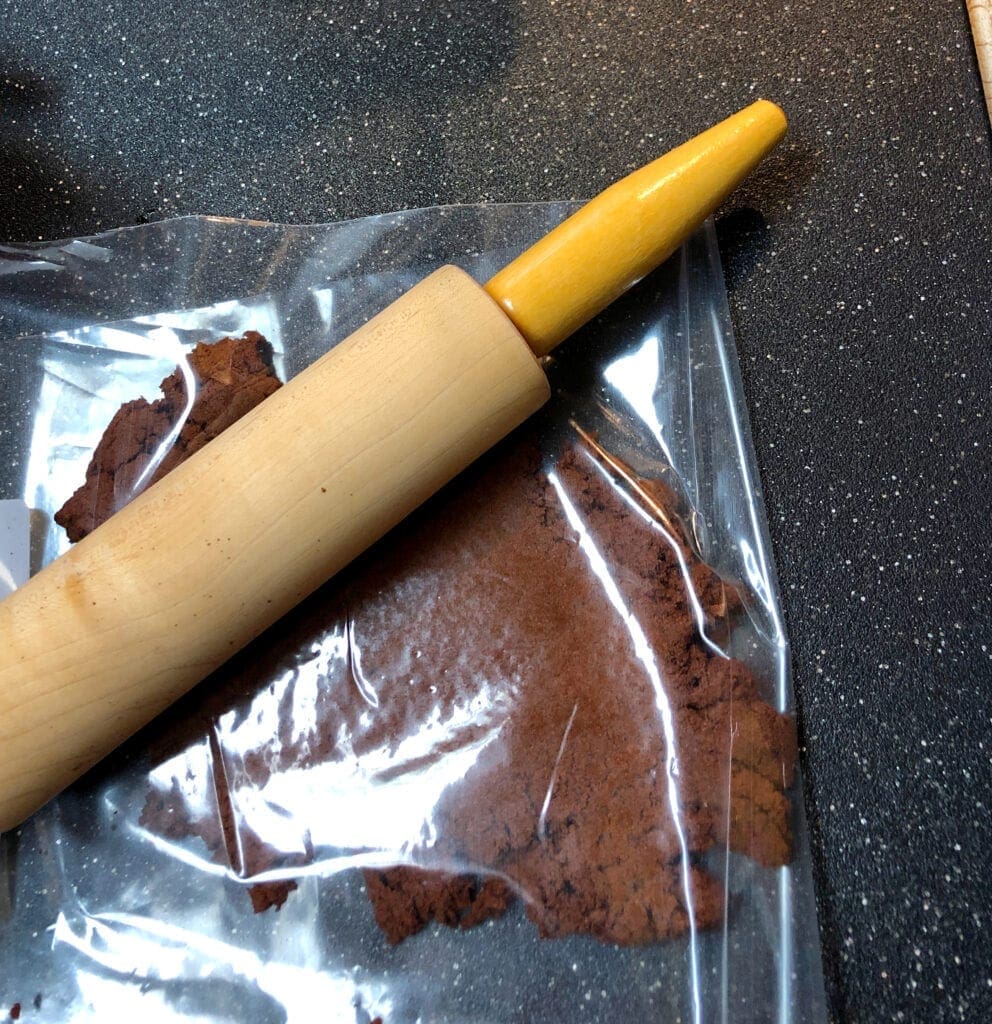
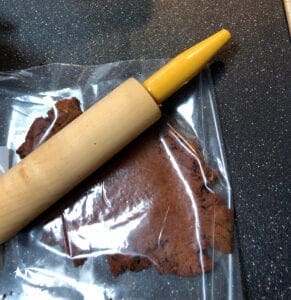
Roll between two pieces of plastic wrap, or as I have done, use a gallon size plastic storage bag that has been cut up the sides. Place the dough inside the folded bag and roll without the dough sticking to the counter or your rolling pin.
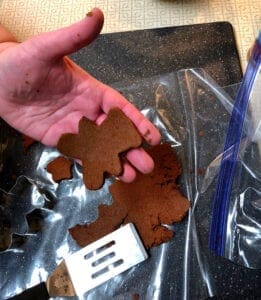
When cutting out the ornaments, keep rolling the extra dough pieces until all the dough has been used. Gather the leftover dough after the first cutting and again knead it several times, pressing it firmly into a ball. Repeat the rolling and cutting process.
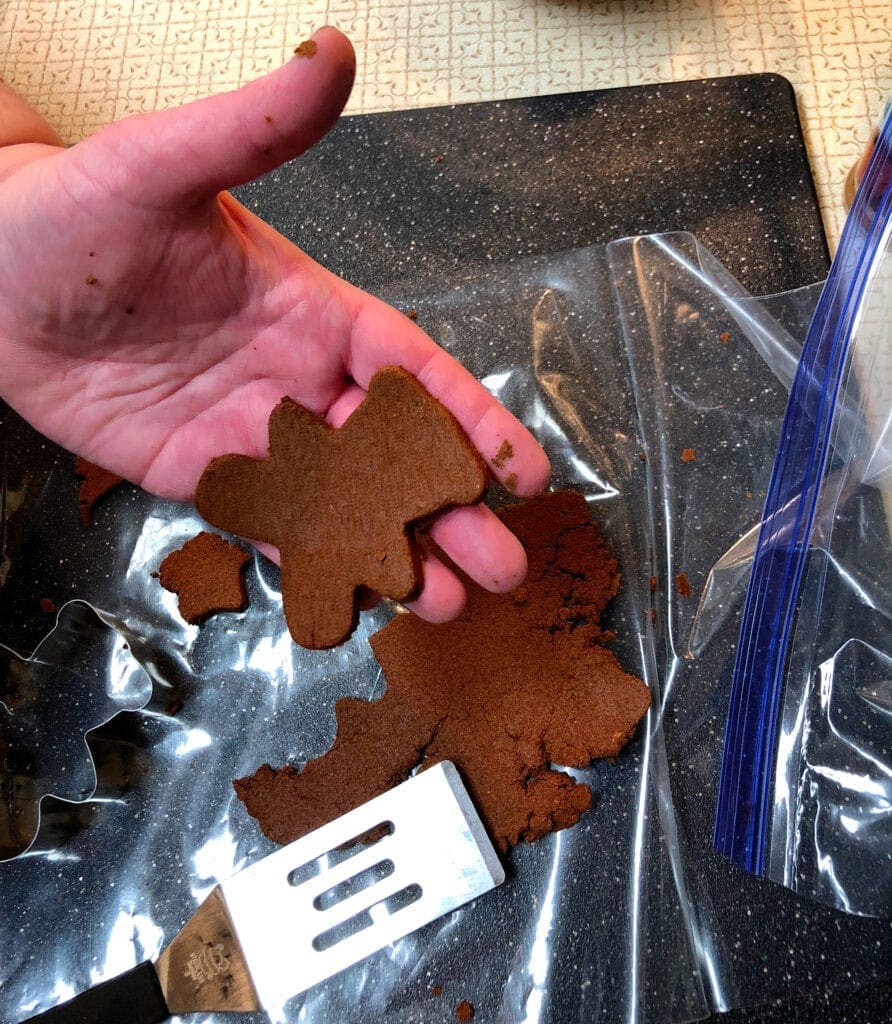
Place on a baking sheet that is lined with parchment or a silicone baking mat.
Make holes in the ornament to insert a ribbon or string for hanging. I used a straw to get the holes done quickly.
Bake at 250 degrees Fahrenheit for 2 ½ hours. Cool before moving them to a wire cooling rack.
It is best to let the ornaments stand for a few days to continue drying and hardening. If you leave them on the cooling rack, there is no need to turn them.
Decorating the Ornaments
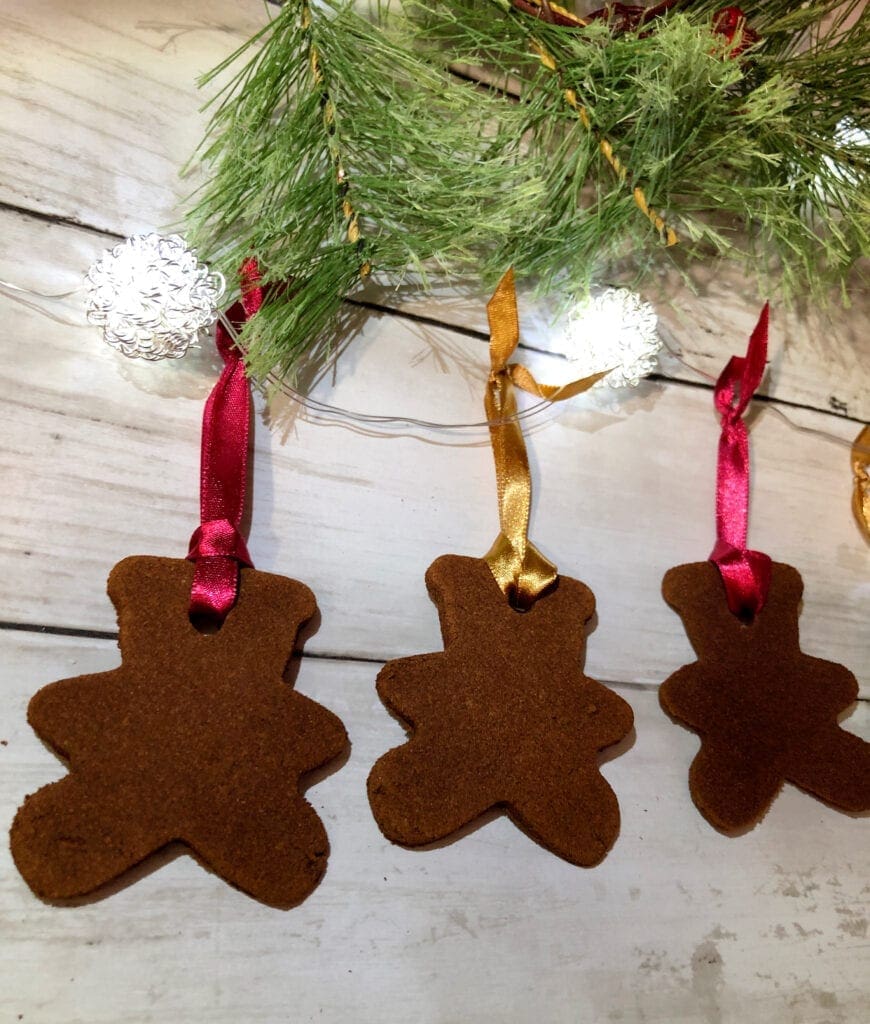
We generally just have the simple ornaments as is. However, if you wanted to paint a little bit on each one to make them even prettier, that can be come after they have cooled from the oven.
Optional Ingredients for Decorations
If you prefer an ornament that is a bit sturdier, then add 2 tablespoons of basic white glue. This will cause the mixture to be a bit stickier to work with but rolling out the dough between the plastic bag pieces will help with that.
If you want even more scent to your ornaments, add a tablespoon of ground nutmeg or cloves.
Applesauce Cinnamon Ornaments
Materials
- 3/4 Cup Applesauce Any kind will do
- 4.74 Ounces Ground Cinnamon 2 bottles (2.37 ounces each)
- baking sheet
- rolling pin
- cookie cutter
- ribbon
- straw or something to poke a hole in ornament before baking
Instructions
- Combine the applesauce and the cinnamon. I found that the cinnamon is quite powdery and will make you cough a bit when mixing as the fine dust gets into the air. Therefore, add the cinnamon to the bowl first and then add the applesauce, it will help reduce the air borne cinnamon. Mix the ingredients until it is fully incorporated, you might even want to use your hands near the end.

- Roll out about a quarter of the dough at a time to a thickness of ¼ – 1/3-inches. I find that a bit thicker makes this a bit sturdier. However, it will give you less ornaments and take longer to dry. Roll between two pieces of plastic wrap, or as I have done, use a gallon size plastic storage bag that has been cut up the sides. Place the dough inside the folded bag and roll without the dough sticking to the counter or your rolling pin.

- When cutting out the ornaments, keep rolling the extra dough pieces until all the dough has been used. Gather the left over dough after the first cutting and again knead it several times, pressing it firmly into a ball. Repeat the rolling and cutting process.

- Place on a baking sheet that is lined with parchment or a silicone baking mat. Make holes in the ornament to insert a ribbon or string for hanging. I used a straw to get the holes done quickly.

- Bake at 250 degrees Fahrenheit for 2 ½ hours. Cool before moving them to a wire cooling rack. It is best to let the ornaments stand for a few days to continue drying and hardening. If you leave them on the cooling rack, there is no need to turn them.

Notes
If you loved this post, please share. It helps to show me that these types of posts are helpful – thank you!
I hope that you liked this recipe. If you are looking for more ideas on what to make, here are a few other recipes that you may enjoy.

You can find Victoria crocheting, quilting, and creating recipes. She has cooked in restaurants for over 20 years, including many larger parties. She learned to crochet when she was just 11 years old and has been crocheting ever since; over 50 years now. Over 40 years ago, she loved her first class in sewing and continues to hone her skills in quilting. Many have enjoyed the handmade gifts over the years. In her professional career, she has worked in management in a wide variety of businesses including higher education as a dean of a division. All the while attending college part-time to achieve her doctorate in higher education with an emphasis in e-learning.


