Last updated on July 5th, 2024 at 12:43 am
New to crochet? Here is a great pattern to get you started. This Easy Kitchen Pot Holder Crochet Pattern is so pretty and simple. it is a good project to practice making your single crochet stitches. When first starting, it takes time to make even stitches. Making a quick project like this can be so satisfying and fun.
*Post contains affiliate links*at no additional cost to you for more information please read the disclaimer on the About Us page.
Kitchen Pot Holder-Great Beginner Crochet Pattern
If you can complete a chain stitch and a single crochet stitch, you can make this easy beginner kitchen pot holder. This a simple DIY project, but it is so useful. Anyone would just love to have one as a gift. In fact, they would make great Christmas gifts, bridal shower gifts, no home gift, or even a birthday gift for that person, like me, that just loves hand-made items.
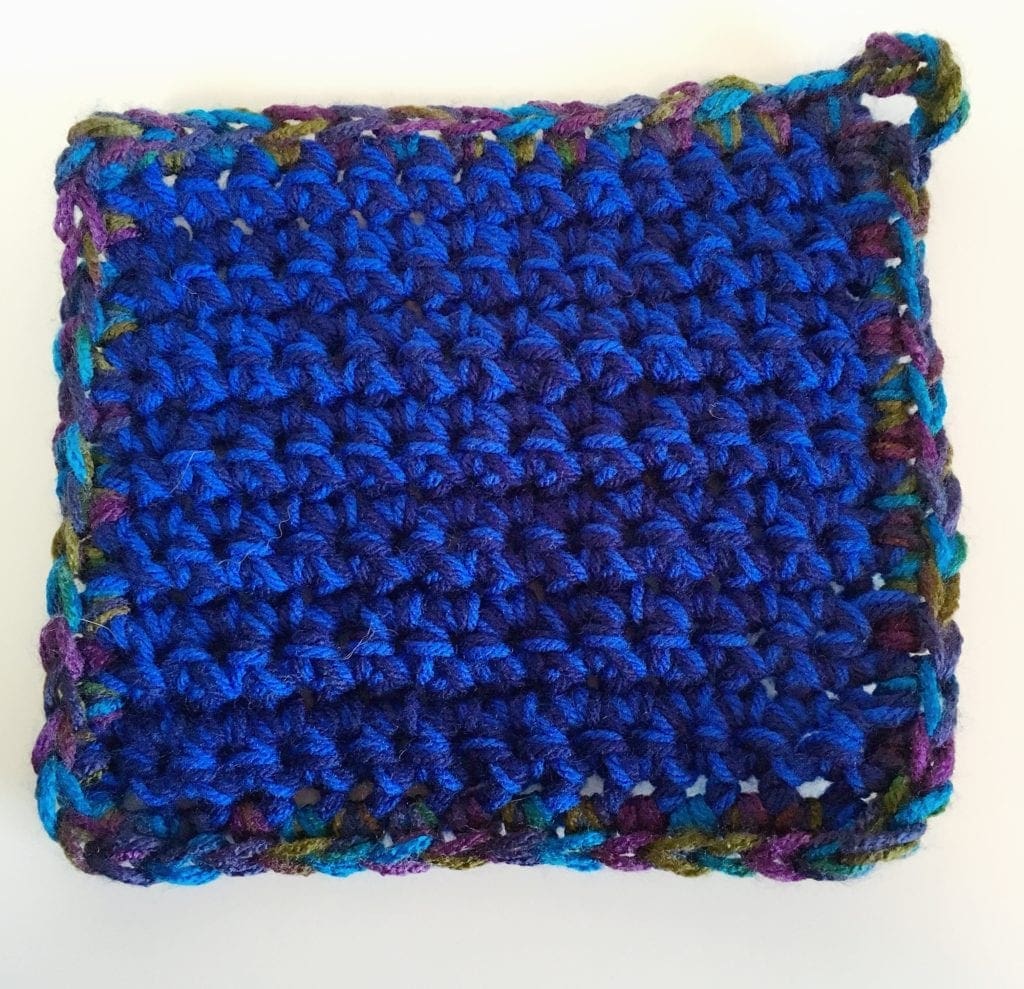
Two Strands of Yarn
The pot holder is made quickly by using two strands of yarn held together. I chose colors that I thought would look well together. Then I thought that the pot holder needed to have a bit more finished look and wanted to use a beautiful yarn that would help it pop. This peacock yarn is just so beautiful.
Materials
Boye Crochet Hook Size N
Yarn Needle
Scissors
Peacock Yarn Caron (less than a skein)
Royalty Redevance Canon yarn Caron (less than a skein)
Midnight Blue yarn Caron (less than a skein)
Abbreviations
CH = Chain Stitch
SC = Single Crochet
SL ST = Slip Stitch
ST = Stitch
Directions
Holding a strand of the Royalty yarn and Midnight Blue yarn (2 strands), start the beginning CH by making a slip stitch and inserting the hook in the loop.
CH 15
Row 1
SC In the second CH from the hook. Continue to SC in each ST across to the end. Turn
Row 2
CH 1, SC in each ST across to the end. Turn.
Rows 3 – 13
Repeat row 2.
Adding the border
Switch to the Peacock yarn and add the border.
Holding two strands of the yarn together, start in a corner and completing three SC in the corner ST. Continue to SC in each ST until the corner ST. Complete three SC in the corner ST and SC in each ST until the next corner ST. in the last corner, three SC in the corner ST and SC in each ST. When you reach end of the row, all four sides of the pot holder should have the Peacock yarn in each ST with 3 stitches in each corner.
Making the Loop
When you reach the end of the last row, CH 5 and SL ST into the first ST that was made with the Peacock yarn for the border of the pot holder.
Finishing
Using the yarn needle, sew in the ends of the yarn weaving back and forth in stitches. Snip off the excess yarn.
If you loved this post, share on your fave social media links. It helps to show me that these types of posts are helpful – thank you!
Here are a few other crochet patterns you may enjoy.


You can find Victoria crocheting, quilting, and creating recipes. She has cooked in restaurants for over 20 years, including many larger parties. She learned to crochet when she was just 11 years old and has been crocheting ever since; over 50 years now. Over 40 years ago, she loved her first class in sewing and continues to hone her skills in quilting. Many have enjoyed the handmade gifts over the years. In her professional career, she has worked in management in a wide variety of businesses including higher education as a dean of a division. All the while attending college part-time to achieve her doctorate in higher education with an emphasis in e-learning.
I used to crochet years ago. I am trying to learn how to again, It is a great way to make things when relaxing.
I did too when my life was too busy to even think about starting a project. I am so glad my grandmother taught me how to crochet years ago. Glad you are taking crochet back up again. Take Care
Acrylic yarn is not good for pot holders. it will melt. You need to use 100% cotton.
I have used the Acrylic with no problems; however, I know that some folks have had issues. I do mention that the cotton is another option. Thanks for pointing this out again for our readers. Safety is number one. Take care.