Last updated on July 4th, 2024 at 11:19 pm
Discover the magic of crochet puff stitches in the round! Dive into our detailed tutorial, complete with photos and a video. To help you master the art of creating these delightful textured stitches.
What is a Crochet Puff Stitch?
The puff stitch creates a thick and fluffy double-sided bobble. This stitch is a bit like working an unfinished half double crochet, which is abbreviated (HDC). However, rather than completing the HDC as you usually would, you add more loops on the hook, creating the “puffy stitches”. The half-finished half double crochet puff stitch is created by starting 3 half double crochet stitch but leaving the last loop on the hook unfinished. Close the stitch by working a chain one.
By adjusting the number of yarn overs or number of loops on the hook, you can create flatter or thicker crochet puff stitches.
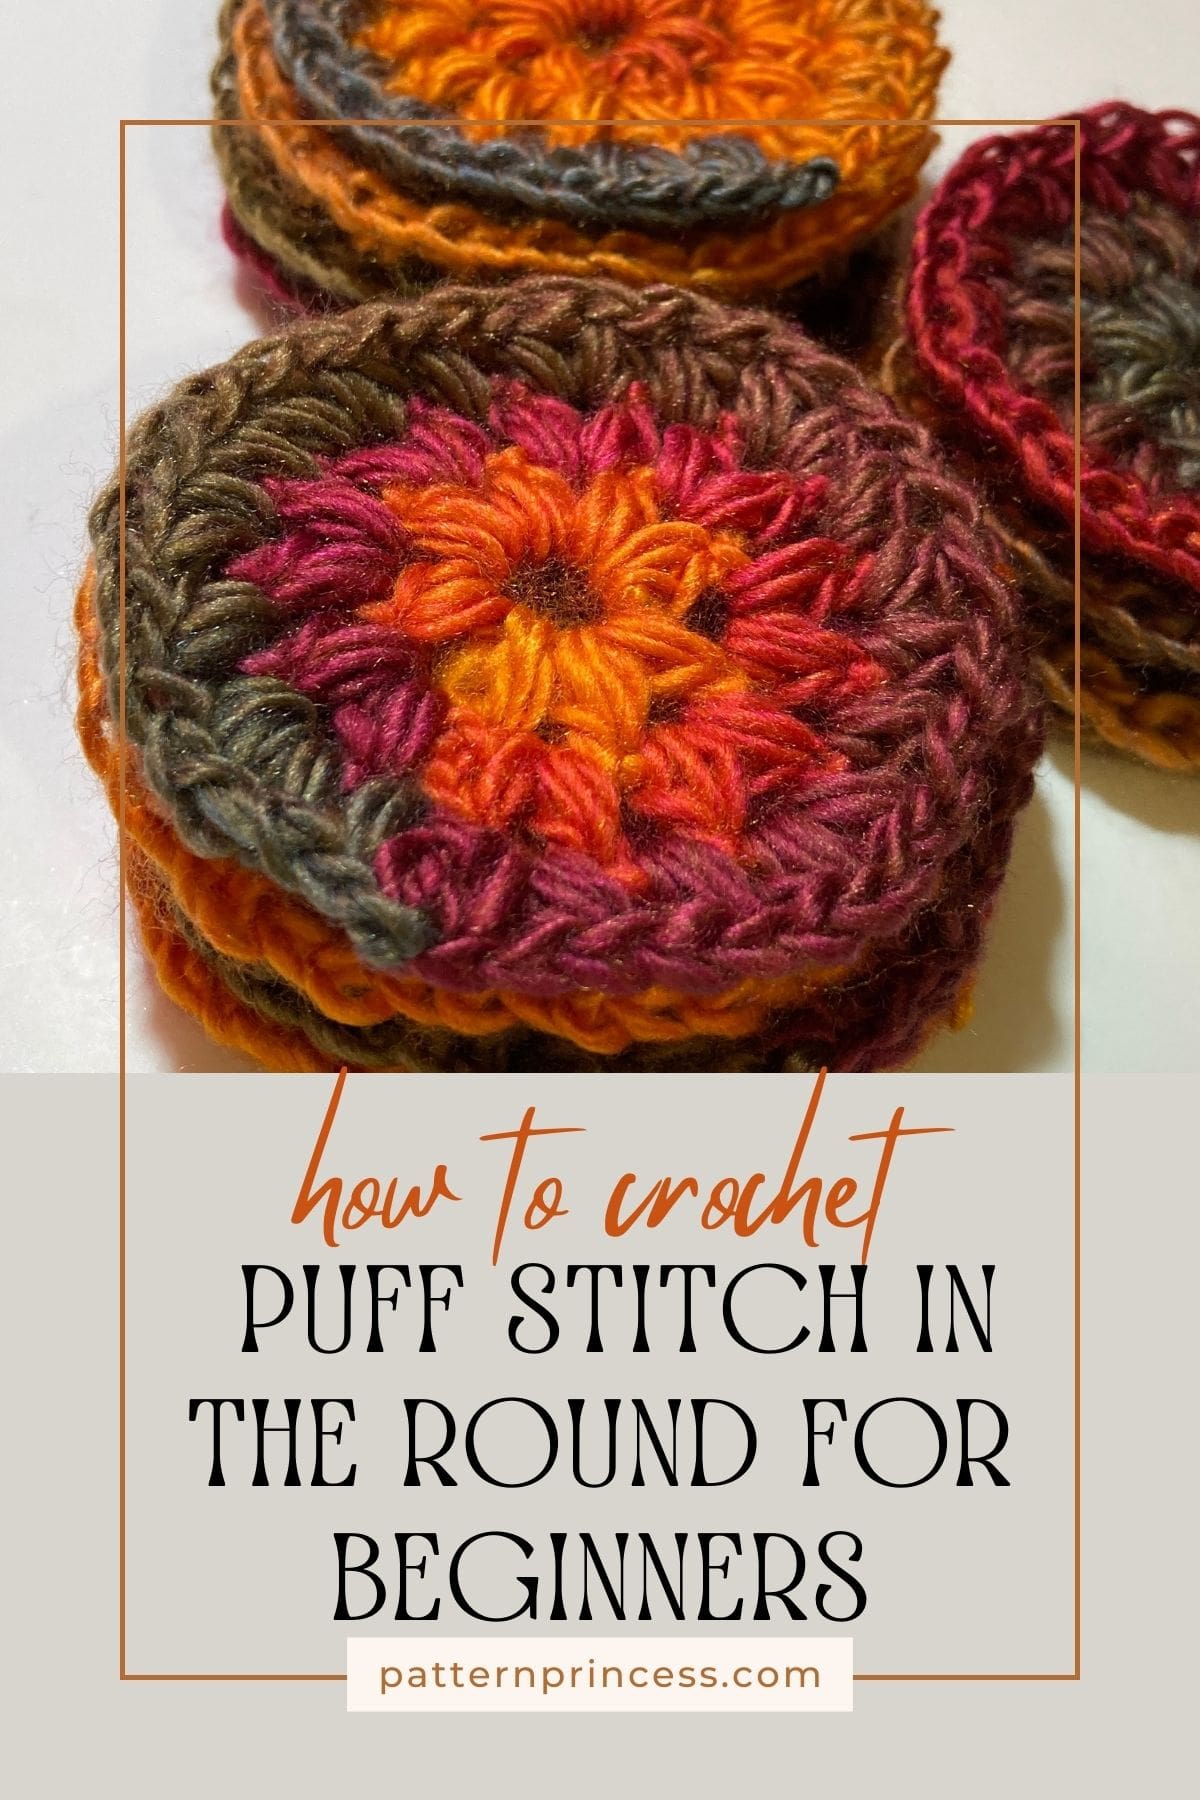
These work up quickly. I can crochet one in about 15 minutes. They are great for adding texture and interest to crochet projects like sweaters, afghans, scarves, and even granny squares. Use it to create smaller motifs, work in circles and rows. Today, we’ll focus on working the puff stitch in a circle.
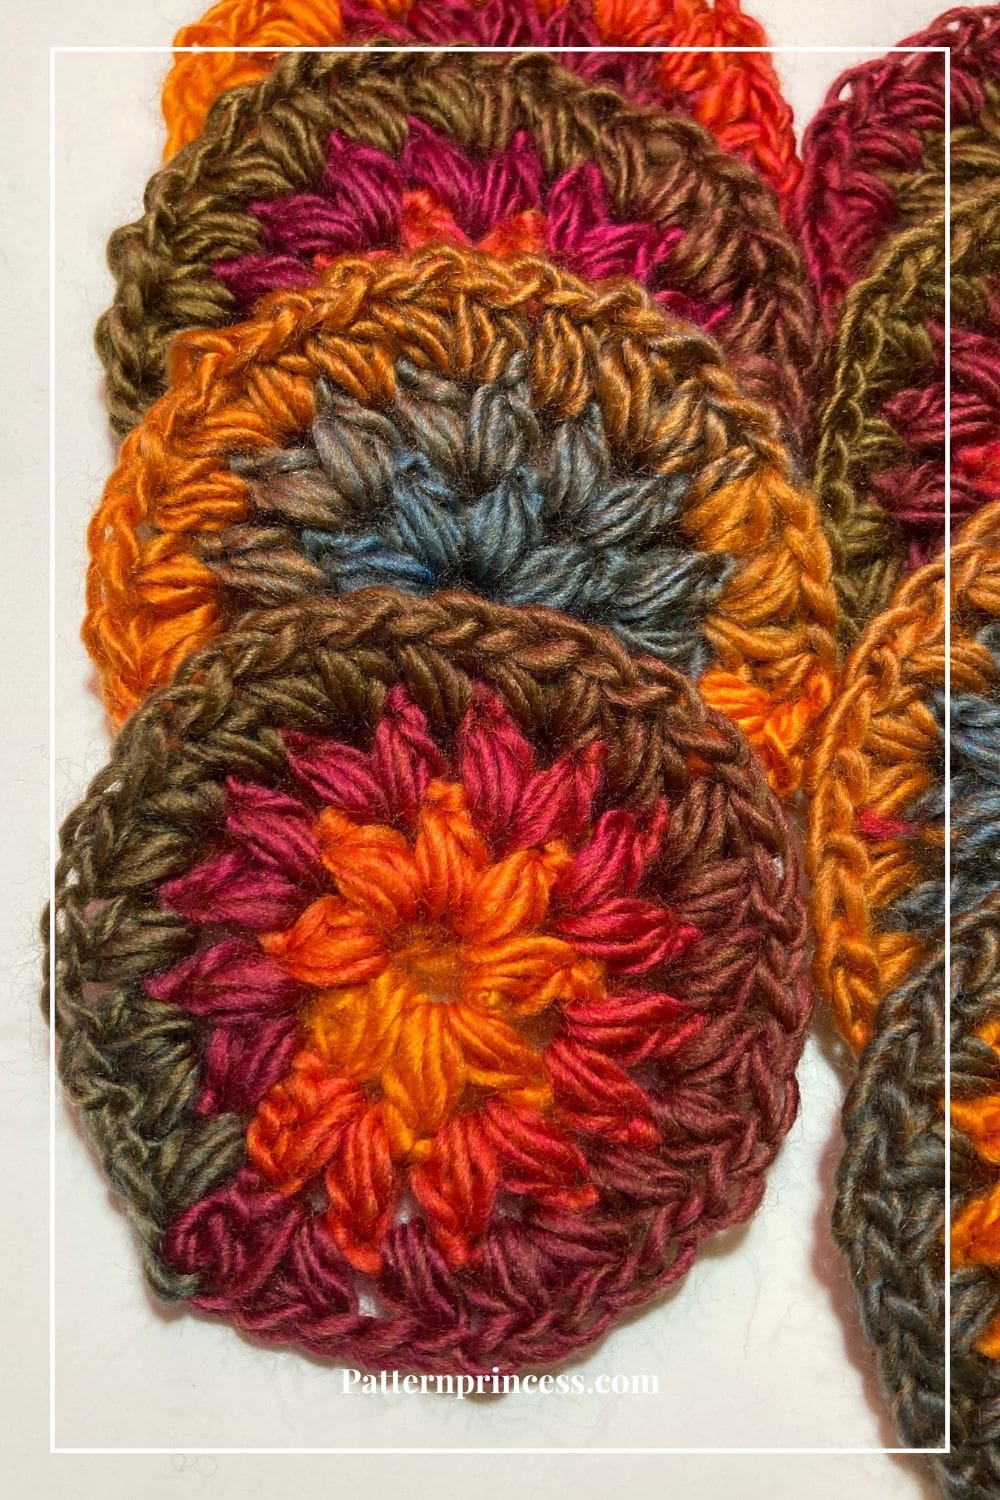
This makes a nice reversible crochet fabric. In other words, there is no right side and wrong side. It looks the same on both sides.
I plan on making a Dahlia Scrapgan Blanket one of these days with this beautiful stitch.
Crochet Puff Circle Video Tutorial
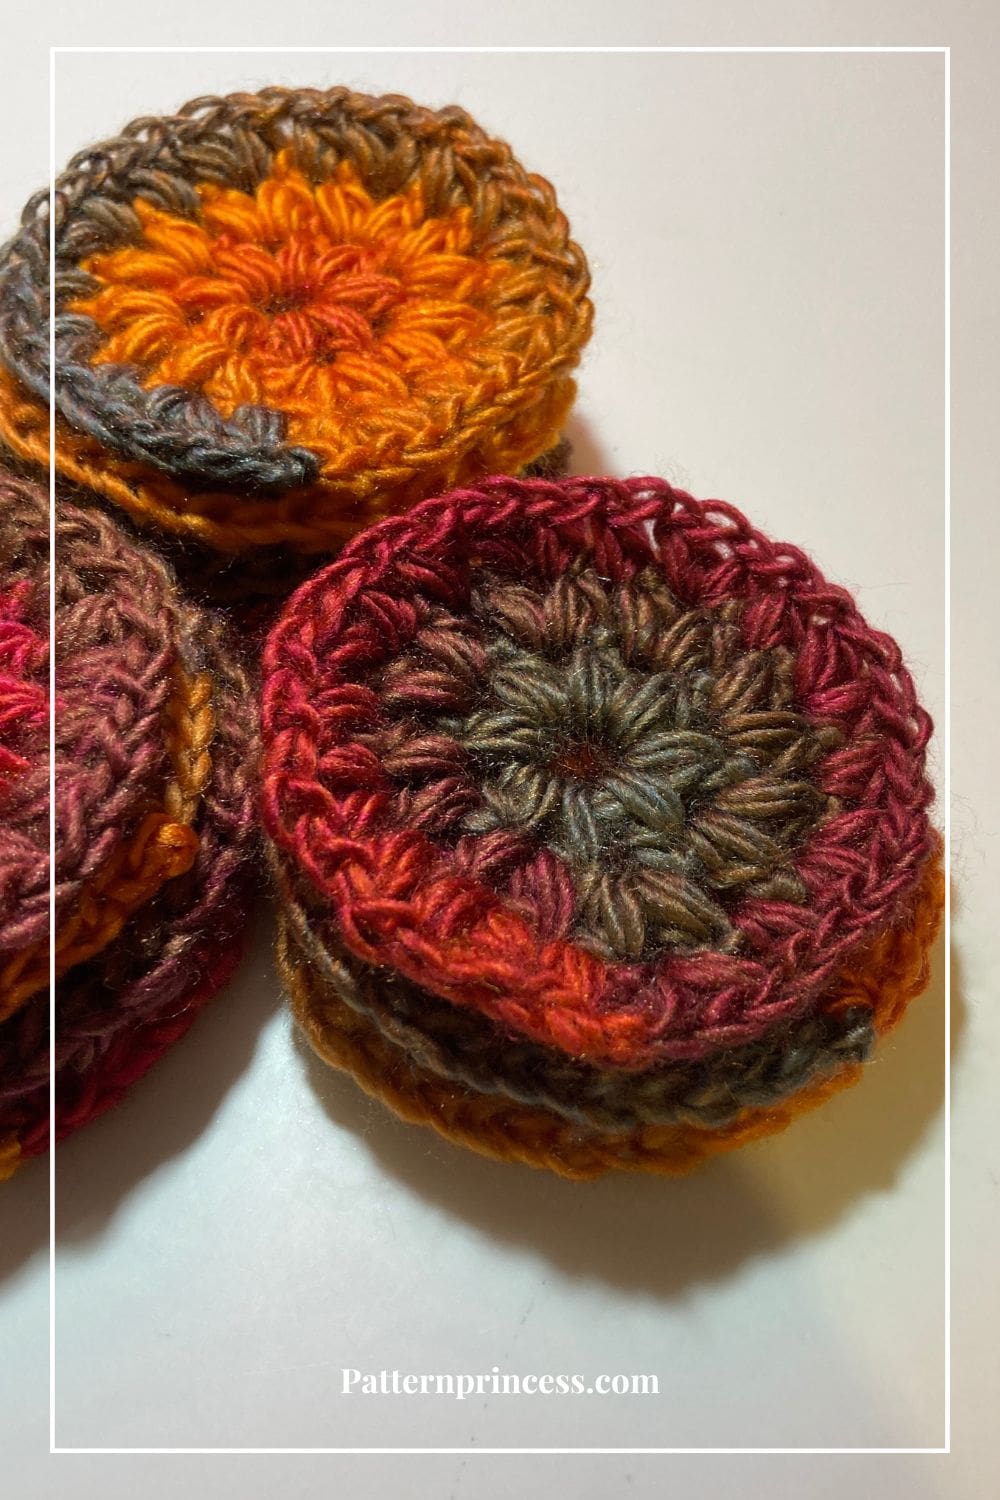
These cute little puff crochet stitch circles are perfect for using up scraps of yarn. You can use a variety of weights of yarn to crochet them. Watch the video tutorial below to learn how to make a puff stitch crochet circle step by step.
Get an Ad Free Printable PDF of the Pattern in our Etsy Shop
Directions: How to Crochet Puff Stitch in the Round for Beginners
Skill Level
This stitch is perfect for a confident beginner.
The hardest part is bringing the hook through all the loops.
Size
For the sample shown in the video, I used a medium weight yarn and I completed three rounds using eight puff stitches in the beginning round. The finished size is 4-inches round.
Gauge
This will depend on the yarn and crochet hook you choose for your project.
Materials
Yarn. While you can use any yarn weight for this pattern, I suggest a worsted weight yarn to practice.
Crochet hook size that matches your yarn weight.
Scissors
Tapestry needle
Abbreviations
CH = Chain
HDC = Half Double Crochet
PS = Puff Stitch
SK = Skip
SL ST = Slip Stitch
SP = Space
ST = Stitch
STs = Stitches
[ ] = Repeat Between
Pattern Notes
Round one can be any number of puff stitches. This pattern uses 8 puff stitches in the first round.
Each round begins with a partial puff stitch.
This stitch works well with any weight yarn.
Written in US crochet terms.
To keep your circle flat, however many puff stitches you start with in round 1 is the amount you need to increase stitches by in the subsequent rounds. For example, we started with 8 puff stitches, round 2 there should be 16 stitches, round 3 there should be 24, and so on. If you are a beginner crocheter, you may want to check out How to Crochet Round Circles for Beginners.
Two Methods to Begin a Circle
The first thing we do is make a circle to crochet round 1 in. This can be done using one of two methods.
- Use a magic ring to form a circle. If you are new to crochet, here is a tutorial on How to Crochet the Magic Circle (magic ring).
- Chain 4 or 5 stitches and slip stitch back into the first chain to form a circle.
There are pros and cons to each method. Using the magic ring allows you to pull the center closed after crocheting the first round of stitches. However, it may not have as much strength as creating the circle with chain stitches.
Special Stitches
Puff Stitch.
3 HDC Cluster Puff Stitch. To make a puff stitch, it’s as if you’re crocheting a group of half-double crochet stitches all together in the same stitch. These instructions are for a puff stitch with 3 stitches. Remember, you can have any number of stitches in your puff stitch, depending on how puffy you want your texture to look. Today, I will be showing you using the 3 stitches for the puff.
A regular puff stitch in this pattern is to yarn over, insert hook, yarn over again and pull up a loop. You will need to do this a total of three times. So, yarn over and pull up a loop. Now you’ve done it twice. At this point, you should have five loops on your hook. You have one more time to go. Yarn over and pull up another loop. Now there should be seven loops on your hook. In this pattern, every regular puff stitch should have seven loops on the hook. Now you’re ready to yarn over and pull through all seven loops on your hook. Work a chain one to close the top. That’s it.
Step-By-Step Puff Stitch Instructions
Begin
For the crochet tutorial today, I used the chain stitch method.
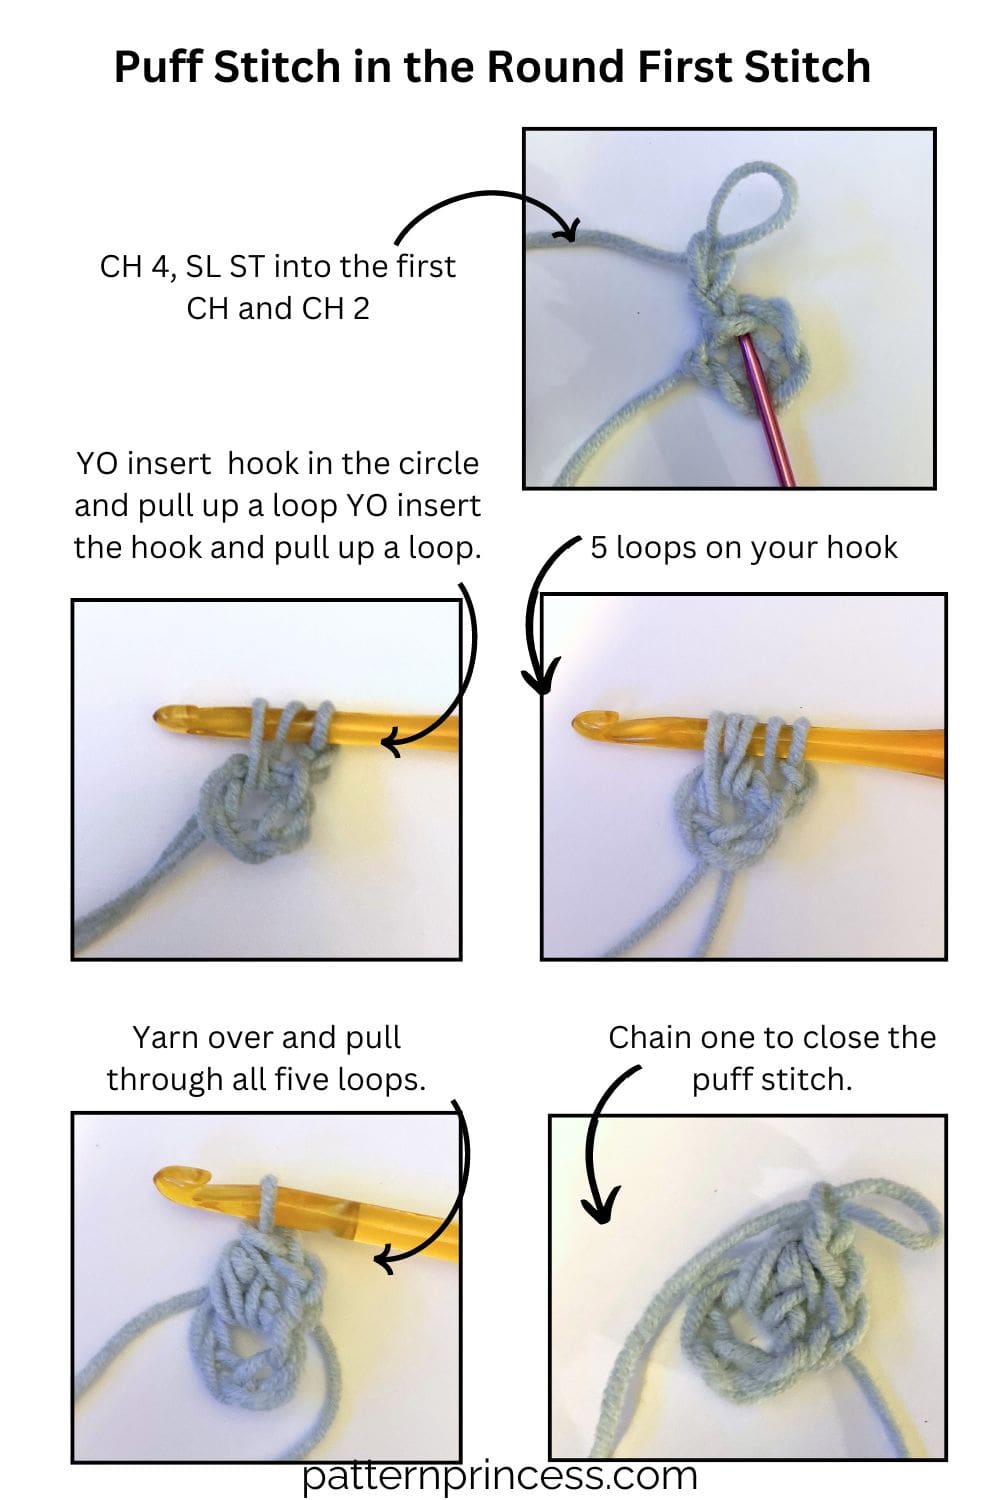
Chain 4, Slip Stitch back into the first chain to close the circle and make a ring.
Round 1
This round and each round start with a partial puff stitch. Also, for round 1, you will be working your stitches inside the circle.
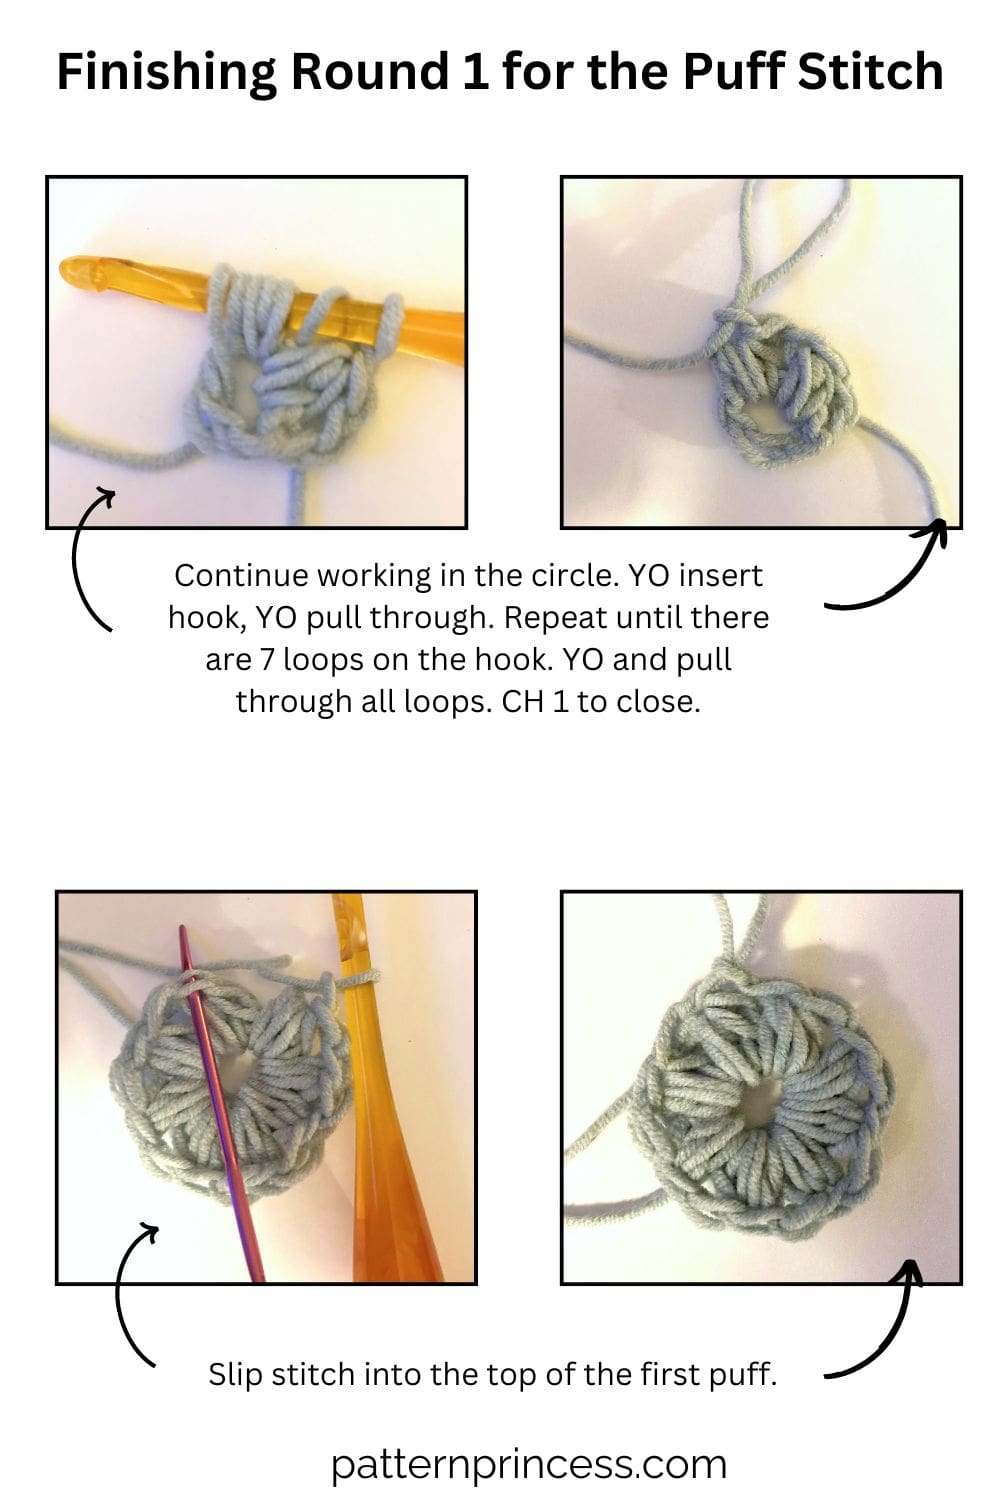
CH 2 (counts toward your first puff stitch). Now you need to work 2 more stitches. Work a partial puff stitch. Yarn over insert your hook in the circle and pull up a loop and then yarn over insert the hook and pull up a loop. At this point, you should have 5 loops on your hook. Yarn over and pull through all five loops. Finish with a chain one to close the puff stitch.
Since we are starting with 8 puff stitches for round 1. We need to make 7 more puff stitches.
Yarn over, insert the hook in the circle. Yarn over again and pull up a loop. This is the first stitch. Yarn over, insert the hook in the circle, yarn over and pull up a loop. This is the second stitch and there should be five loops on your hook. Let’s work the last stitch. Yarn over, insert the hook in the circle, yarn over and pull up a loop. Now there should be seven loops on your hook. Now close it up by completing a chain one.
Repeat the PS 6 more times.
At this point, you should have a total of 8 puff stitches complete. Let’s close round 1. Slip stitch into the top of the first puff.
Round 2
In this round, you will double the number of puffs.
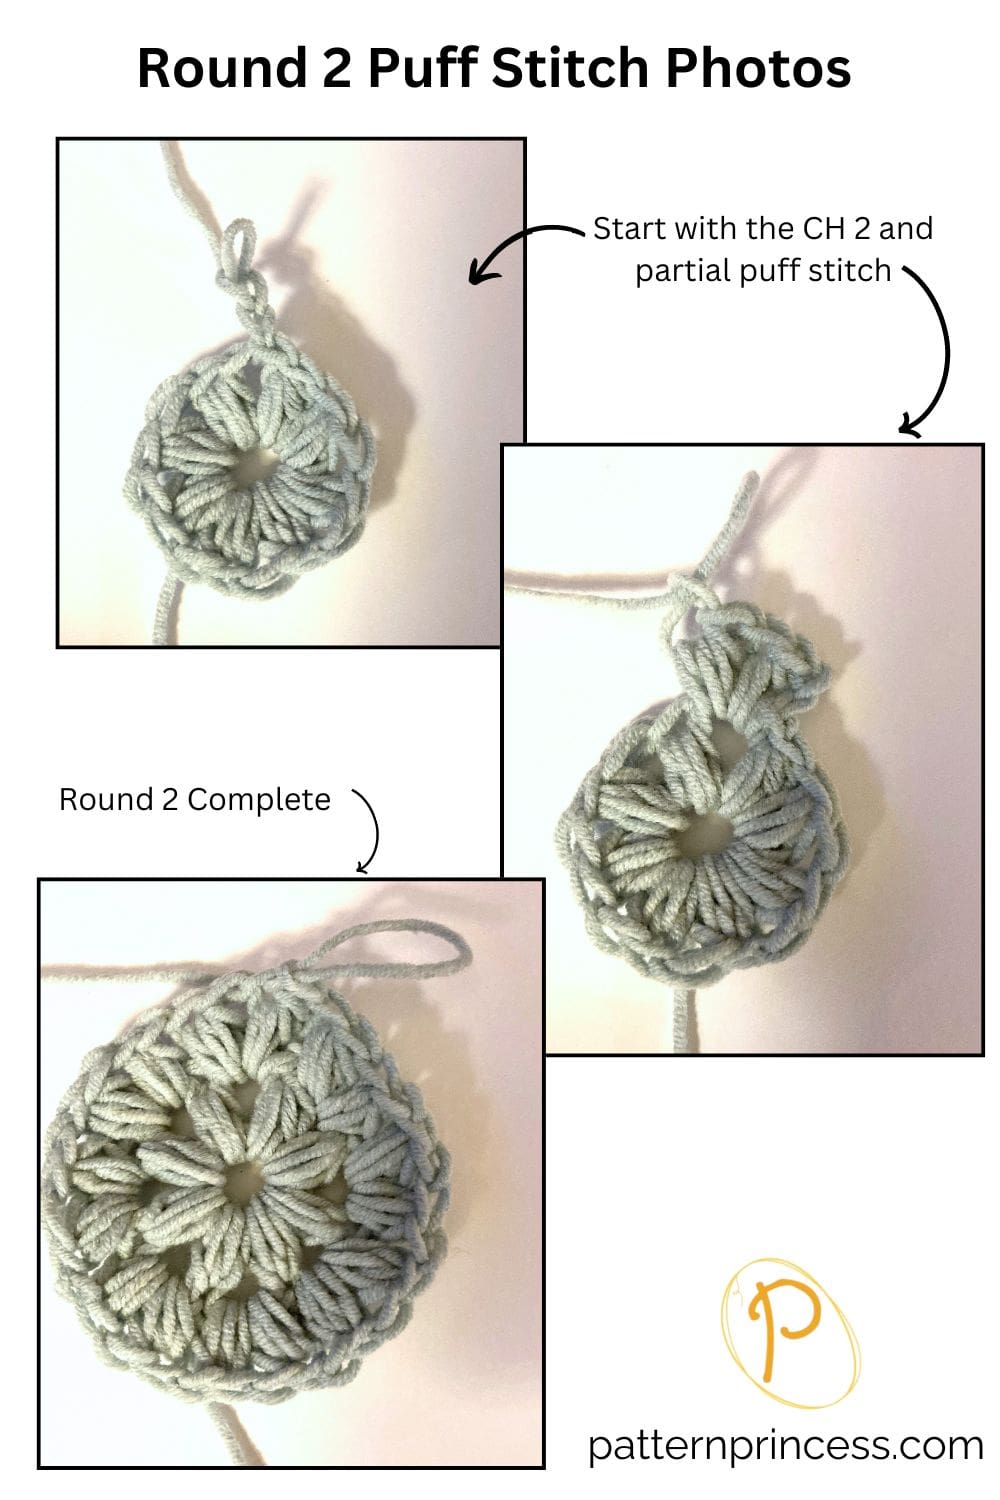
SL ST into the first chain space between the puffs.
Begin with the partial puff again. CH 2 (counts toward your first puff stitch). Work 2 more stitches. Yarn over insert your hook in the SP and pull up a loop and then yarn over insert the hook in the SP and pull up a loop. There should be 5 loops on the hook. Finish with a chain stitch.
In the same SP, work full PS. Yarn over, insert the hook in the circle. Yarn over again and pull up a loop. This is the first stitch. Yarn over, insert the hook in the circle, yarn over and pull up a loop. This is the second stitch and there should be five loops on your hook. Let’s work the last stitch. Yarn over, insert the hook in the circle, yarn over and pull up a loop. Now there should be seven loops on your hook. Finish with a chain stitch.
Insert your hook in the next stitch, which is the Cain Stitch Space and work a complete PS. Chain to finish. In the same SP work another complete PS. CH ST to finish.
Continue moving around to each SP working 2 PS in each SP. When you have 16 STs completed, close round 2 by SL ST to the top ST of the first puff.
Round 3
In this round you will add 8 more puffs. We keep the circle flat by adding the extra puff every other space.
Work a partial PS. CH 2 (counts toward your first puff stitch). Work 2 more stitches. Yarn over insert your hook in the SP and pull up a loop and then yarn over insert the hook in the SP and pull up a loop. There should be 5 loops on the hook. Finish with a chain stitch.
In the same SP work another PS. Move to the next SP and work 1 PS. [In the next SP work 2 PS, in the next SP work 1 PS]. Repeat between [ ] until you have completed 24 Puff STs in this round. Close round 3 by SL ST to the top ST of the first puff.
Finishing
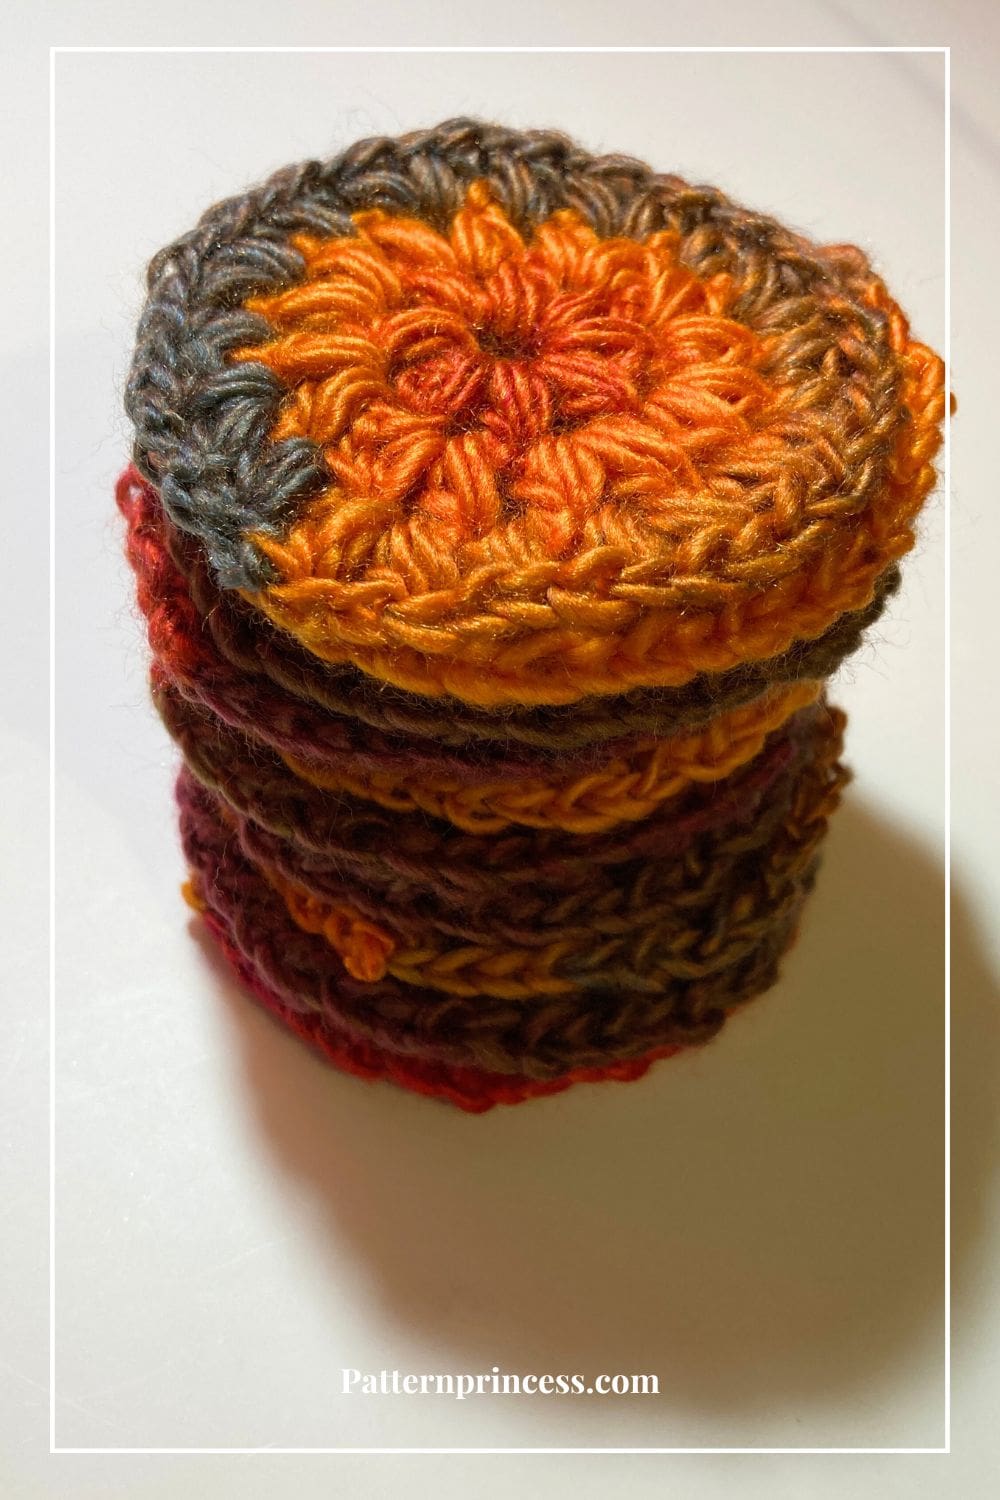
Cut off a long tail about 10-12 inches. Pull the yarn through the last stitch. Use the tapestry needle to weave the yarn back and forth through the crochet stitches. At least 4 or 5 times. Cut off any excess yarn.
If you want to continue adding rows, keep adding 8 STs to each row.
Video Tutorials
Right hand crochet video: https://youtu.be/gWCzvFqJF7g
Left hand crochet video: https://youtu.be/iOM_GpAIZpw
We hope you enjoyed this crochet stitch tutorial. We have other crochet patterns for you to try out. Including this Serendipity Asymmetrical Shawl that uses the puff stitch with a thread yarn.
Then we have this Dancing Baubles Rectangular Shawl Wrap that has decorative elements of bobbles using basic stitches, which are similar to this pattern.
Another stitch that is similar to this is the cluster stitch.

You can find Victoria crocheting, quilting, and creating recipes. She has cooked in restaurants for over 20 years, including many larger parties. She learned to crochet when she was just 11 years old and has been crocheting ever since; over 50 years now. Over 40 years ago, she loved her first class in sewing and continues to hone her skills in quilting. Many have enjoyed the handmade gifts over the years. In her professional career, she has worked in management in a wide variety of businesses including higher education as a dean of a division. All the while attending college part-time to achieve her doctorate in higher education with an emphasis in e-learning.
