Last updated on July 4th, 2024 at 11:40 pm
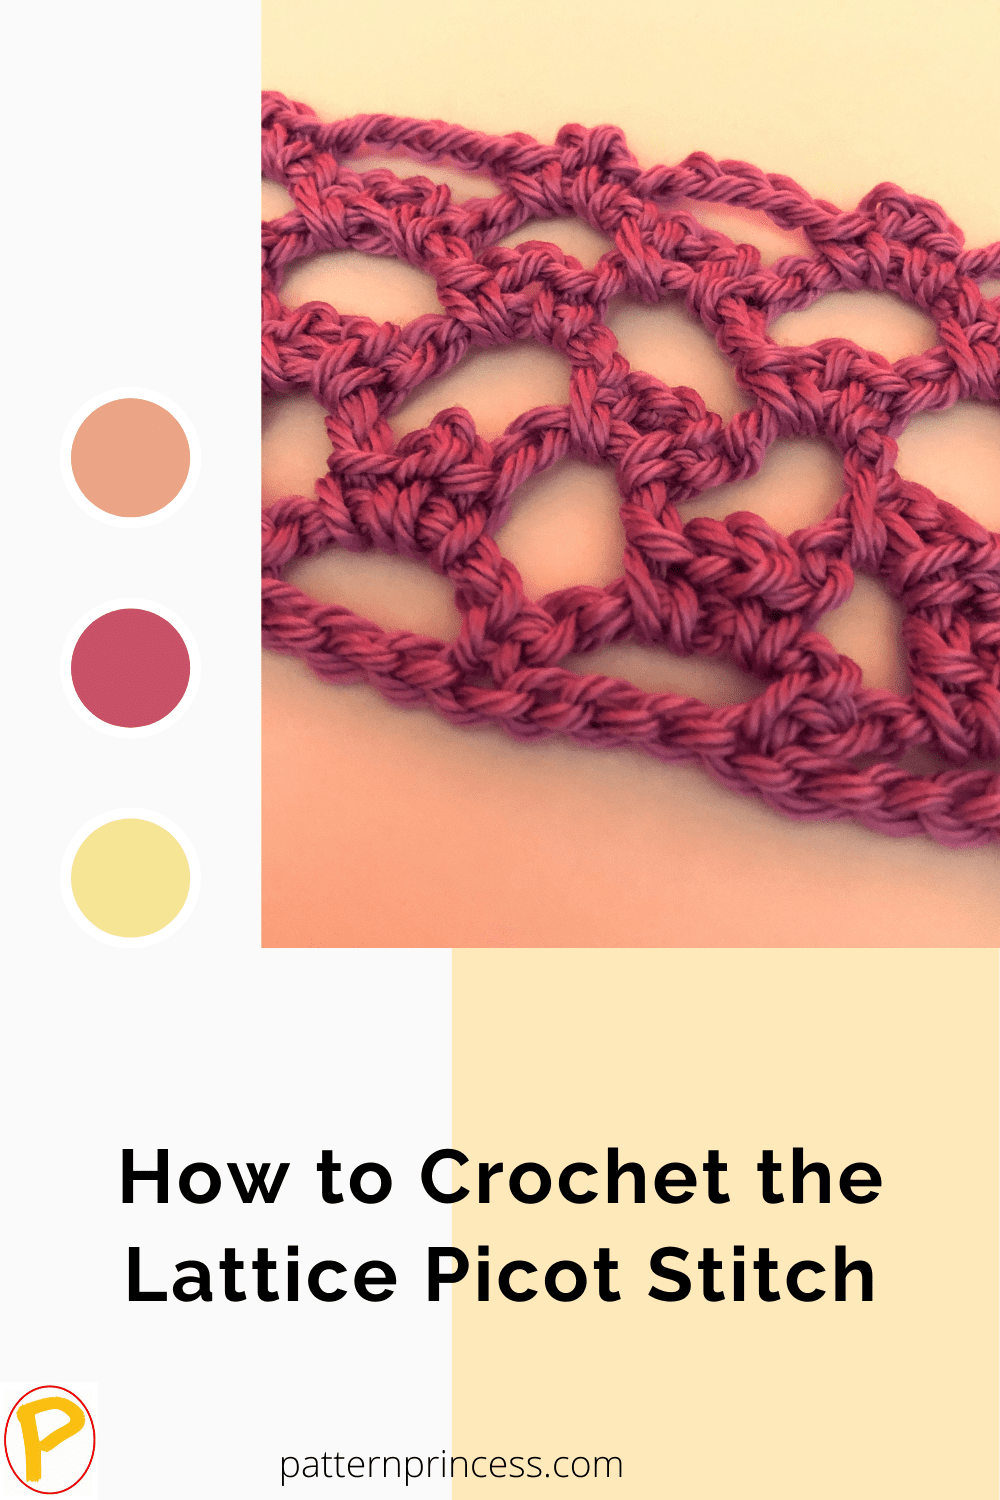
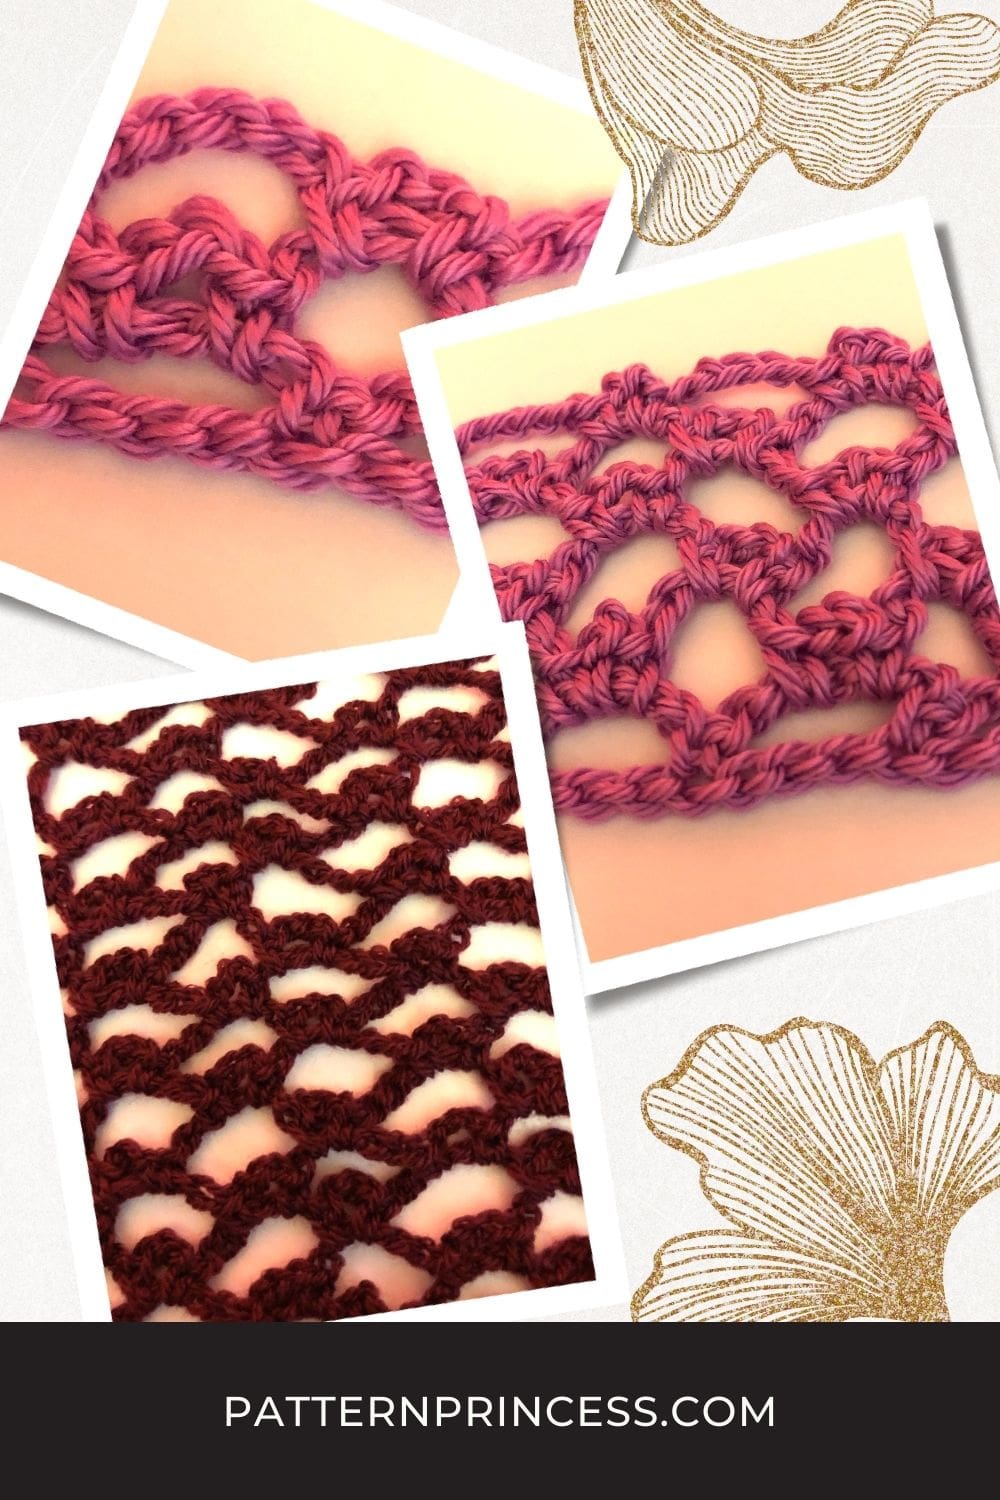
Learn how to crochet the lattice picot stitch for adding detail to your crochet projects. It’s easy to learn, and once you get the hang of it, you’ll be able to create a beautiful crochet project. This stitch creates a pretty lace pattern that’s perfect for lightweight projects.
Picot Trellis Versus this Lattice Picot Stitch
Just so there is no confusion, this pattern is a bit different than the normal picot trellis stitch. My lattice picot stitch uses multiples of 4 +6, the traditional picot trellis uses multiples of 5 + 2. Additionally, the picot lattice is worked right into a chain stitch, whereas mine is worked into the chain space.
I found that when working with a finer yarn, it is a challenge getting the hook into the chain stitch. Therefore, I just worked into the chain space, which is so much easier. The picot stitch is not as defined, but it does add a lovely texture to the open, lace stitch.
Post contains affiliate links, and we earn commissions if you shop through the links on this page. For more information, please read the disclosure section under the About Us page.

Easy Crochet Stitch Pattern
This stitch pattern is a repeat of the second row. It is a nice pattern to work while watching a movie with your family. Let the crocheting rhythm kick in and enjoy creating something pretty.
Directions: How to Crochet the Lattice Picot Stitch
Skill level
Beginner. Be able to crochet the single crochet and chain stitches.
Gauge
The gauge will depend on what type of yarn you use and the crochet hook size.
Materials
Yarn, I have used this stitch pattern with worsted yarn, chunky yarn, and light number 1 and 2 yarns
Crochet hook
Yarn needle
scissors
Abbreviations
CH = Chain
SC = Single Crochet
SK = Skip
SP = Space
ST = Stitch
STs = Stitches
[ ] = Repeat Between

Crochet Pattern Notes
This lattice stitch is worked in multiples of 4 plus 6. That means that your beginning chain stitch row should be divisible by 4 once you subtract 6. For instance, if I made a sample swatch, I might start with 22 stitches. 22 – 6 = 16. 16 ÷ 4 = 4.
The pattern is a repeat of row 2.
The last SC will always be worked in the previous row hole. The first SC will always be worked in the previous row first hole.
Begin
Begin with a Base Chain in the desired number of chain stitches using multiples of 4 plus 6.
Row 1
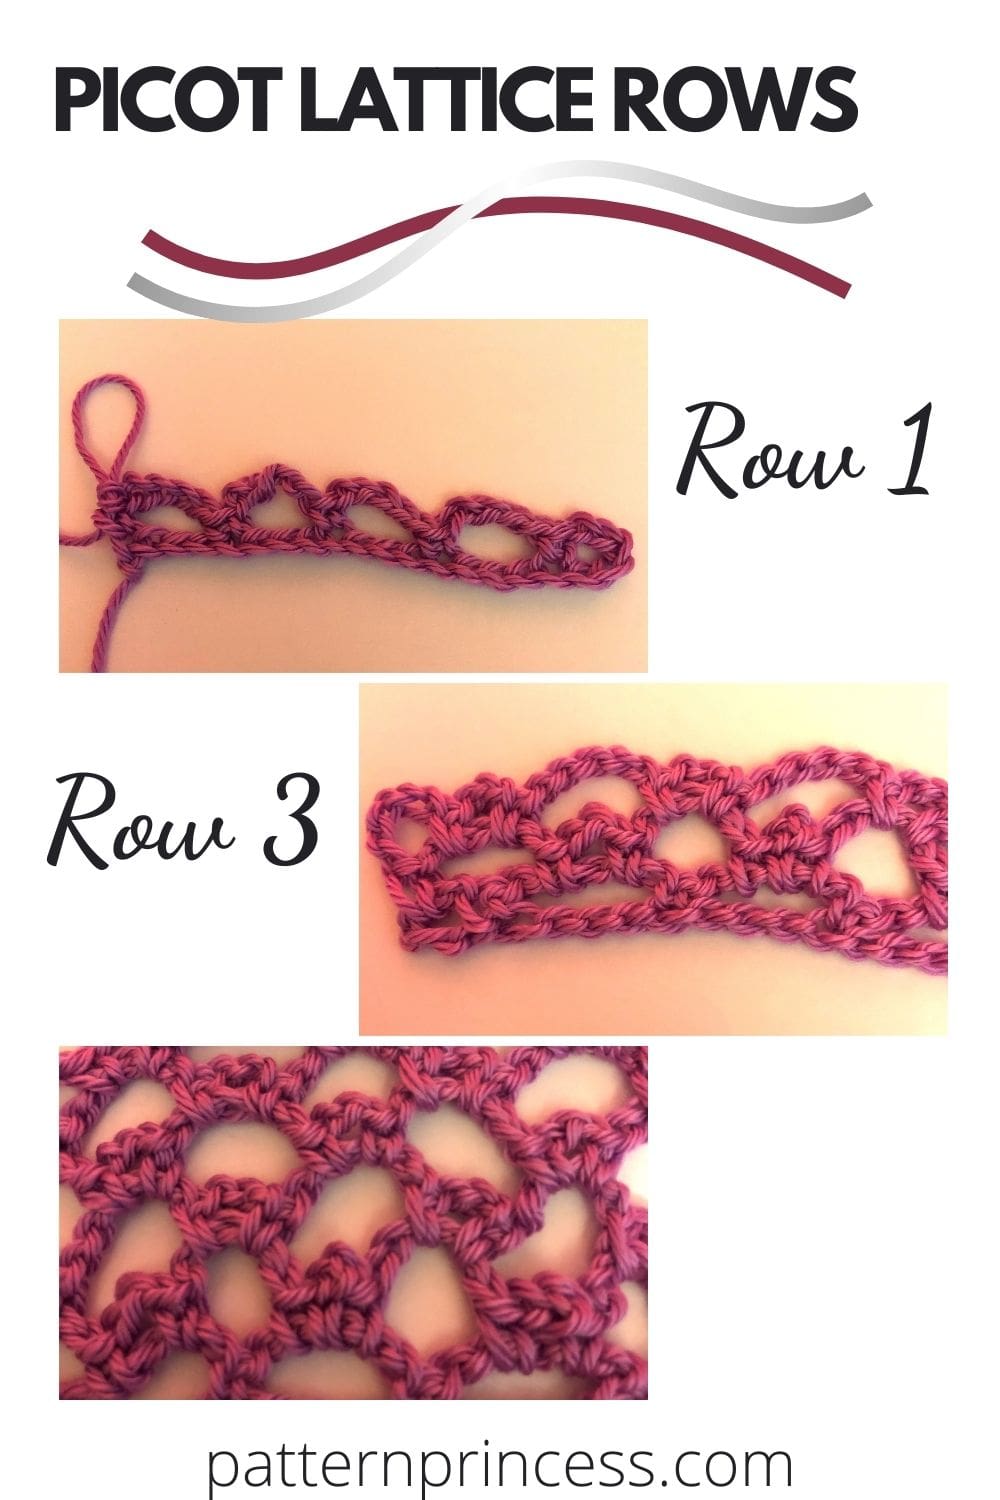
In the 6th ST from the hook, insert hook and work a SC. [CH 5, SK 3 STs, SC in the 4th CH]. Repeat across between [ ]. End with a SC in the last stitch.
Row 2
CH 5, SC in the first hole of the previous row. [CH 5, SC, CH 3, SC in the next hole]. Repeat across between [ ]. End with a SC in the last hole SP.

Rows 3 and beyond
Repeat Row 2
Finishing
Weave in yarn ends and remove the excess.
Easy Lattice Stitch Crochet Tutorial Here is the tutorial for the lattice stitch without the picot stitch in the middle.
Crochet You Tube Tutorial for the Lattice Picot Stitch
Right hand tutorial
Left hand tutorial

You can find Victoria crocheting, quilting, and creating recipes. She has cooked in restaurants for over 20 years, including many larger parties. She learned to crochet when she was just 11 years old and has been crocheting ever since; over 50 years now. Over 40 years ago, she loved her first class in sewing and continues to hone her skills in quilting. Many have enjoyed the handmade gifts over the years. In her professional career, she has worked in management in a wide variety of businesses including higher education as a dean of a division. All the while attending college part-time to achieve her doctorate in higher education with an emphasis in e-learning.
