Learning how to make cherry pie filling from scratch is a game-changer when it comes to desserts. I’ll admit, I’ve used store-bought pie fillings many times.
They’re convenient and can get dessert on the table fast. But truthfully, they often fall flat in flavor and texture.
Making cherry pie filling at home gives you the chance to truly make it your own. Whether you’re after a sweet, tart balance, a thicker consistency, or just that rich, bold cherry flavor that the canned versions never quite deliver.
Another benefit is when you start with fresh or frozen cherries, you know exactly what’s going into your dessert.
Learning How to Make Cherry Pie Filling
When I was just thirteen years old, I had a job as a dishwasher at a truck stop restaurant. After a few weeks, I ended up having cooking added to my job duties. There was a steep learning curve the first few weeks, but they are skills that I still use today.
Every weekend, I made 20 pies of all different flavors. They went fast too. This is where I learned how to make pie fillings from scratch, and this is one of those recipes I still make today. Delicious and easy!
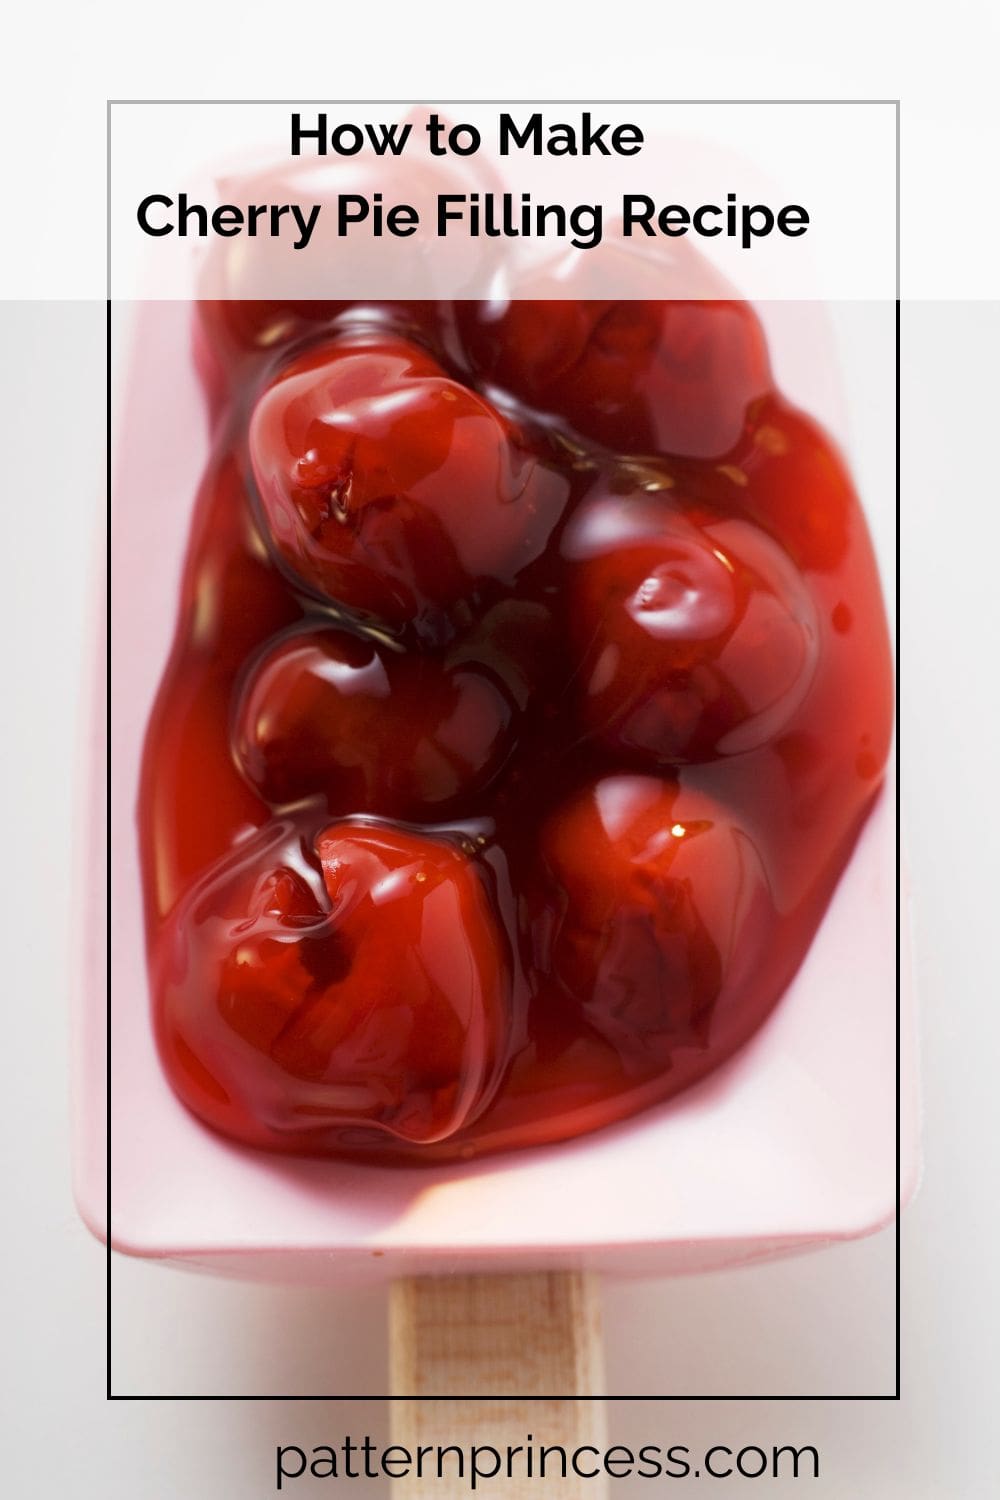
In this post, I’ll walk you through the easy steps to make cherry pie filling that’s bright, glossy, and just the right thickness to nestle into your pie crust, top a cheesecake, or swirl into a coffee cake.
This recipe works for both fresh cherries and frozen cherries or even a mix. You can use the cherry variety you like the taste of best or mix and match for that perfect blend. This recipe is versatile and always delicious.
Read on for a simple, step-by-step guide to making your own homemade cherry pie filling that beats anything from a can. However, canned is pretty good and easy too. There is something to be said for that, but it just takes a few more minutes to make your own.

How to Make Cherry Pie Filling Recipe
As an Amazon Associate I earn from qualifying purchases.
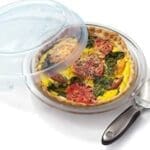
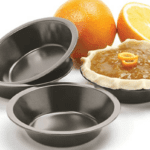
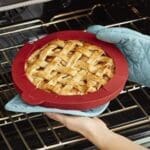
Kitchen Essentials
Ingredients
- 5 Cups Cherries pitted, fresh or frozen
- ¾ Cup Granulated Sugar adjust to taste
- ¼ Cup Cornstarch
- 2 Tablespoons Lemon Juice
- ½ Teaspoon Almond Extract or vanilla extract
- 1 Tablespoon Butter optional, for richness
- Pinch Salt
- Optional: ¼ teaspoon ground cinnamon
text ingredients
Instructions
- In a large saucepan, whisk sugar, cornstarch, salt, and lemon juice. Heat over medium heat, stirring constantly.¾ Cup Granulated Sugar, ¼ Cup Cornstarch, Pinch Salt, 2 Tablespoons Lemon Juice
- Once mixture begins to thicken, stir in cherries.5 Cups Cherries
- Simmer 5–8 minutes until the mixture is bubbly and thickened. Remove from heat.
- Stir in almond extract, butter, and cinnamon if using.½ Teaspoon Almond Extract, 1 Tablespoon Butter, Optional: ¼ teaspoon ground cinnamon
- Cool to room temperature before using in pies or storing.
Your Own Private Notes
Nutrition
A few of my favorite things
The Power of Positivity
???? How to Prepare Fresh Cherries
Start by pitting the cherries. This is the most time-consuming step, but it’s a must. You can use a paring knife and slice the cherry open in the middle and dig out the pit. Or use a cherry pitter, a metal straw, the blunt end of a chopstick, or even a paper clip if you’re in a pinch to easily push the pit out.
Sweet cherries like Bing or dark sweet cherries work great, but sour cherries give that classic, tangy pie flavor. You can even mix cherry varieties for a deeper flavor. If using frozen cherries, thaw them to room temperature and drain off any excess liquid before starting.

Cherry Pie Filling Recipe Pro Tips
✔ Constantly Stir While Cooking
Cherries can stick and burn quickly if left unattended. Keep the filling moving gently over medium heat. Constantly stir the mixture while cooking.
Cornstarch can become sort of stuck in one place in gravies, pie fillings, and other sauces. So, it’s a good idea to stir to everything is fully incorporated and keep things from sticking to the bottom.
✔ Add the Fresh or Frozen Cherries at the End
Cook your sugar mixture and thickener first for best texture, then stir in the cherries and simmer briefly.
✔ How to Thicken Cherry Filling
Use cornstarch for a glossy finish, or tapioca starch/flour if you prefer a more traditional feel. Stir until the mixture becomes thick enough to coat the back of a spoon.
Only cook the filling until it is bubbling and starts to thicken up; approximately 8 minutes. It will continue to thicken as it cools and even more when it cools in the refrigerator.
✔ Cool Before Using
Always let your cherry pie filling cool to room temperature before adding it to a pie shell or dessert. This prevents sogginess and helps the filling set properly.

❄️ Can I Use Frozen Cherries?
Absolutely. This recipe works wonderfully with frozen cherries. Just be sure to thaw and drain them first. Too much liquid can lead to a runny pie. If needed, increase the cornstarch slightly to compensate.
Can I Use Canned Cherries Instead of Fresh?
You can, but be sure you’re using unsweetened canned cherries or cherries in water, not cherry pie filling. Rinse and drain them, then follow the recipe as written, adjusting sugar to taste.
???? What to Serve with Homemade Pie Filling
Your cherry pie filling isn’t just for pies. Spoon it over:
- A slice of cheesecake
- Vanilla ice cream
- Pancakes or waffles
- Yogurt parfaits
- Pound cake or angel food cake
It’s a versatile fruit topping that adds a homemade touch to just about any treat.
???? How to Make a Pie with Precooked Pie Filling
- Roll out your homemade pie crust or use a quality store-bought one.
- Add the cooled cherry pie filling to the bottom crust.
- Top with a lattice crust or solid crust with vent holes.
- Bake at 400°F on the center oven rack for 40–45 minutes or until the crust is golden brown.
- Let the cooled pie rest before slicing.

???? Make Your Own Homemade Pie Crust
Homemade crust takes this pie to the next level. If you’re up for it, make your own flaky pie crust using flour, butter, and a bit of love. Otherwise, a good quality refrigerated dough will do just fine.
Here is our recipe for a Double Pie Crust.
Preserving Cherry Pie Filling
Make a large batch and freeze the extra! Spoon into a mason jar or airtight container and freeze for up to 3 months. Let thaw in the fridge before using. You can also can this for even longer storage.
⏳ How Long Does Cherry Pie Filling Last in the Fridge?
Stored in an airtight container, it lasts about 4–5 days in the refrigerator. Be sure to cool it completely before sealing.
Variations for Cherry Pie Filling
- Cherry-lemon filling. Enhance with the zest of half a large lemon for a burst of citrus flavor. If using in homemade pie crust or fruit cobbler, blend the remaining zest into the dough.
- Spiced cherry filling. Cherries complement a variety of spices. Stir in 1 teaspoon almond extract or vanilla during cooking, or add up to 1/2 teaspoon cinnamon, cardamom, cloves, ginger, or nutmeg. For a unique twist, experiment with fresh herbs like mint, basil, rosemary, or thyme after removing from heat.
- Boozy cherry filling. Infuse with a couple of tablespoons of brandy, bourbon, or kirsch (a clear brandy made from fermented cherries) to add depth of flavor.
- Fruitful cherry filling. Substitute some cherries with another fruit or add a second fruit for larger or deep-dish pies. Tart options include cranberries and raspberries, while sweeter choices include peaches and apples.
This recipe is one I have in my recipe box that has well-worn edges. After just one bite of a pie with a homemade cherry pie filling, you’ll be sold. It’s the real deal with a deep, rich cherry taste.

You can find Victoria crocheting, quilting, and creating recipes. She has cooked in restaurants for over 20 years, including many larger parties. She learned to crochet when she was just 11 years old and has been crocheting ever since; over 50 years now. Over 40 years ago, she loved her first class in sewing and continues to hone her skills in quilting. Many have enjoyed the handmade gifts over the years. In her professional career, she has worked in management in a wide variety of businesses including higher education as a dean of a division. All the while attending college part-time to achieve her doctorate in higher education with an emphasis in e-learning.
My family loved this!