Last updated on October 4th, 2025 at 03:13 pm
This Quick and Easy Beginner Fingerless Gloves Crochet Pattern is perfect for a one-day project. A simple project that adds a little extra warmth while allowing the use of your fingers.
With its uncomplicated simple design and basic crochet stitches, it’s a great way to create a handmade gift for chilly spring days. The perfect accessory for the cooler months, or the holiday season.
I made this set in a day using yarn leftover from a hat. Now I have a set to give as a great gift or wear myself. You can work on these while watching your favorite show.
Great for a Beginner Crocheter
These wrist warmers are a perfect project to practice your crochet skills. By using simple, basic crochet stitches, you can easily create a pair of stylish and cozy fingerless gloves.
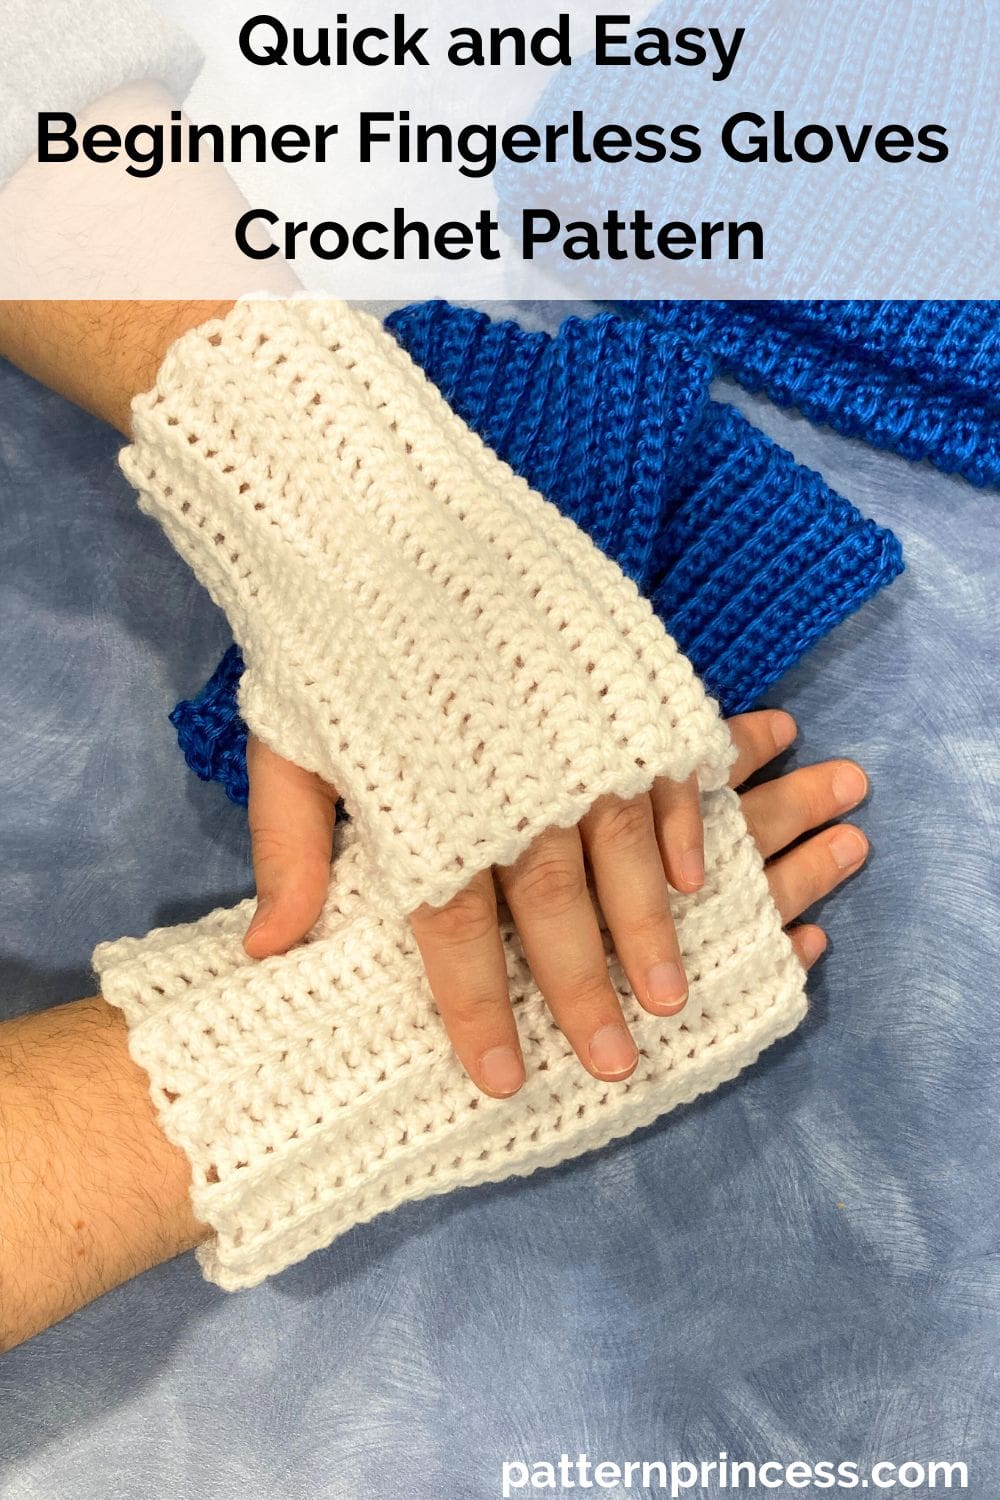
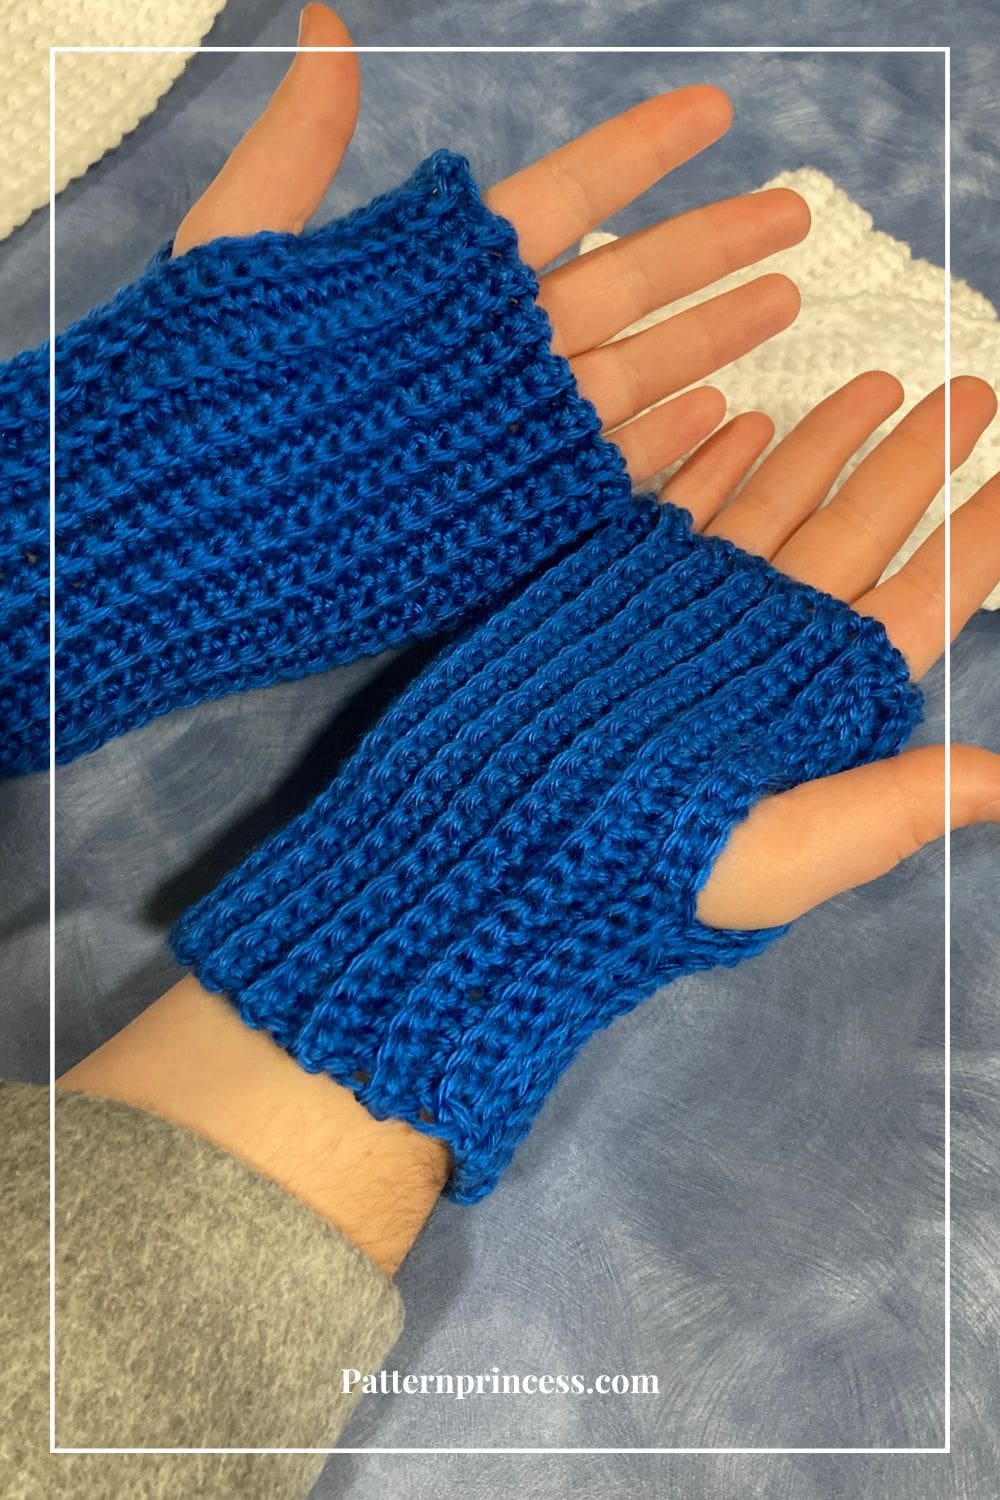
This easy crochet pattern uses the back loop single crochet stitch, creating a beautiful crochet stitch. You will often see the single crochet back loop crochet abbreviated as (SC BLO). It’s simple to do and is a great beginner technique to dip into to expand your crochet skills.
Working in the back loop with a single crochet will create a ridged texture. It adds stretch and comfort to your gloves.
Winter Crochet Set Blog Hop 2025
This pattern was part of the blog hop. Each day January 5th through the 22th, find a new free pattern.
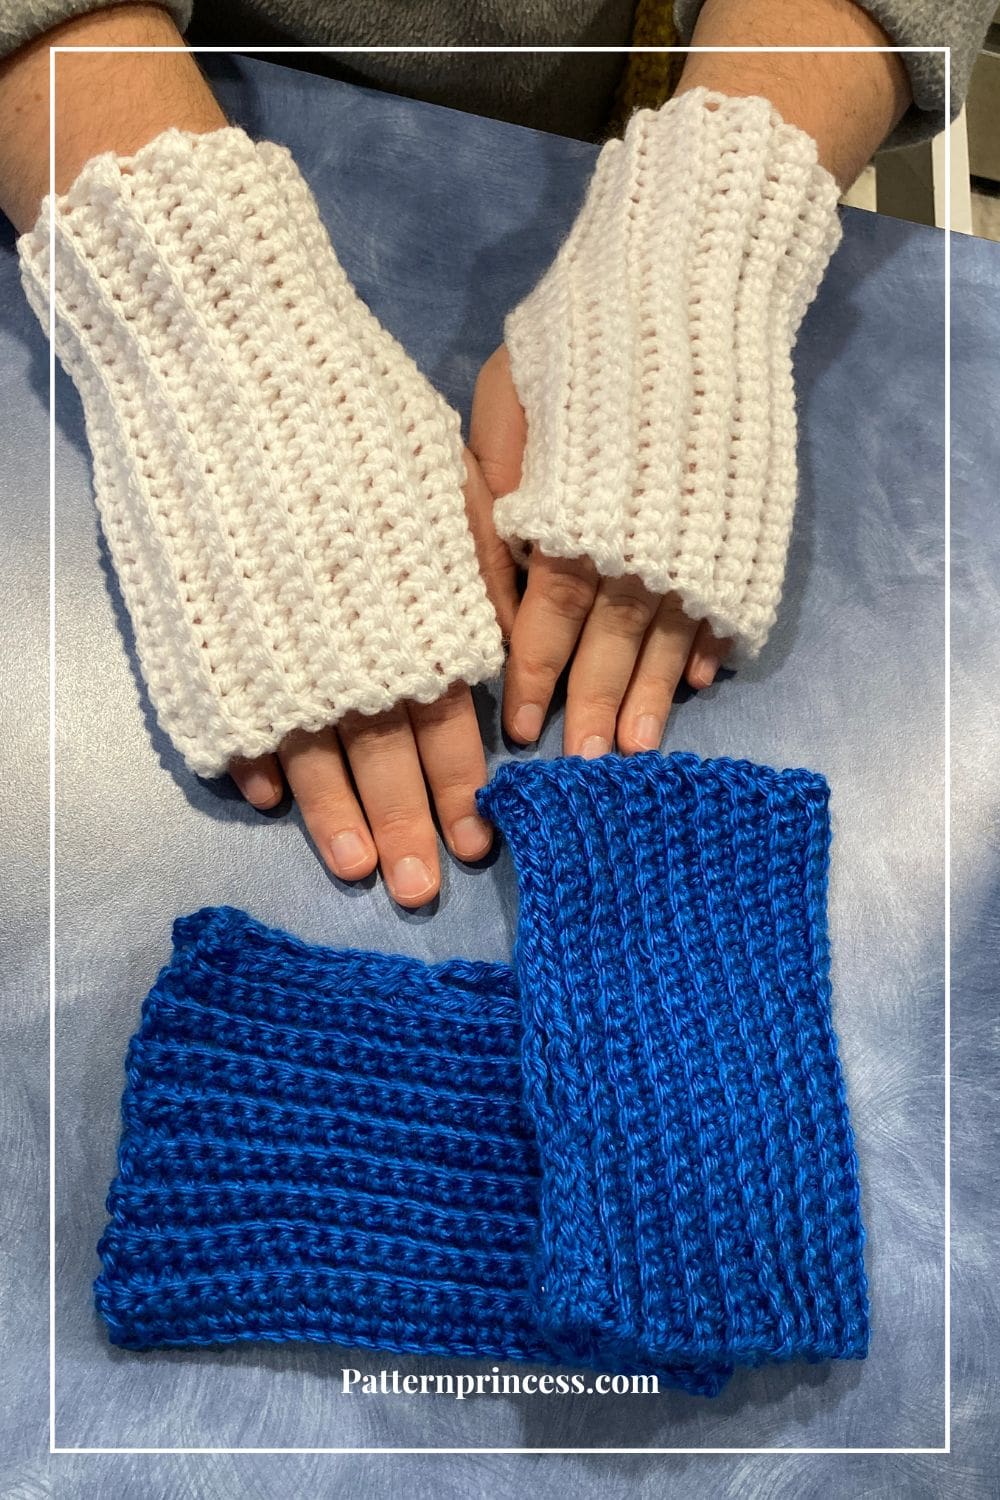
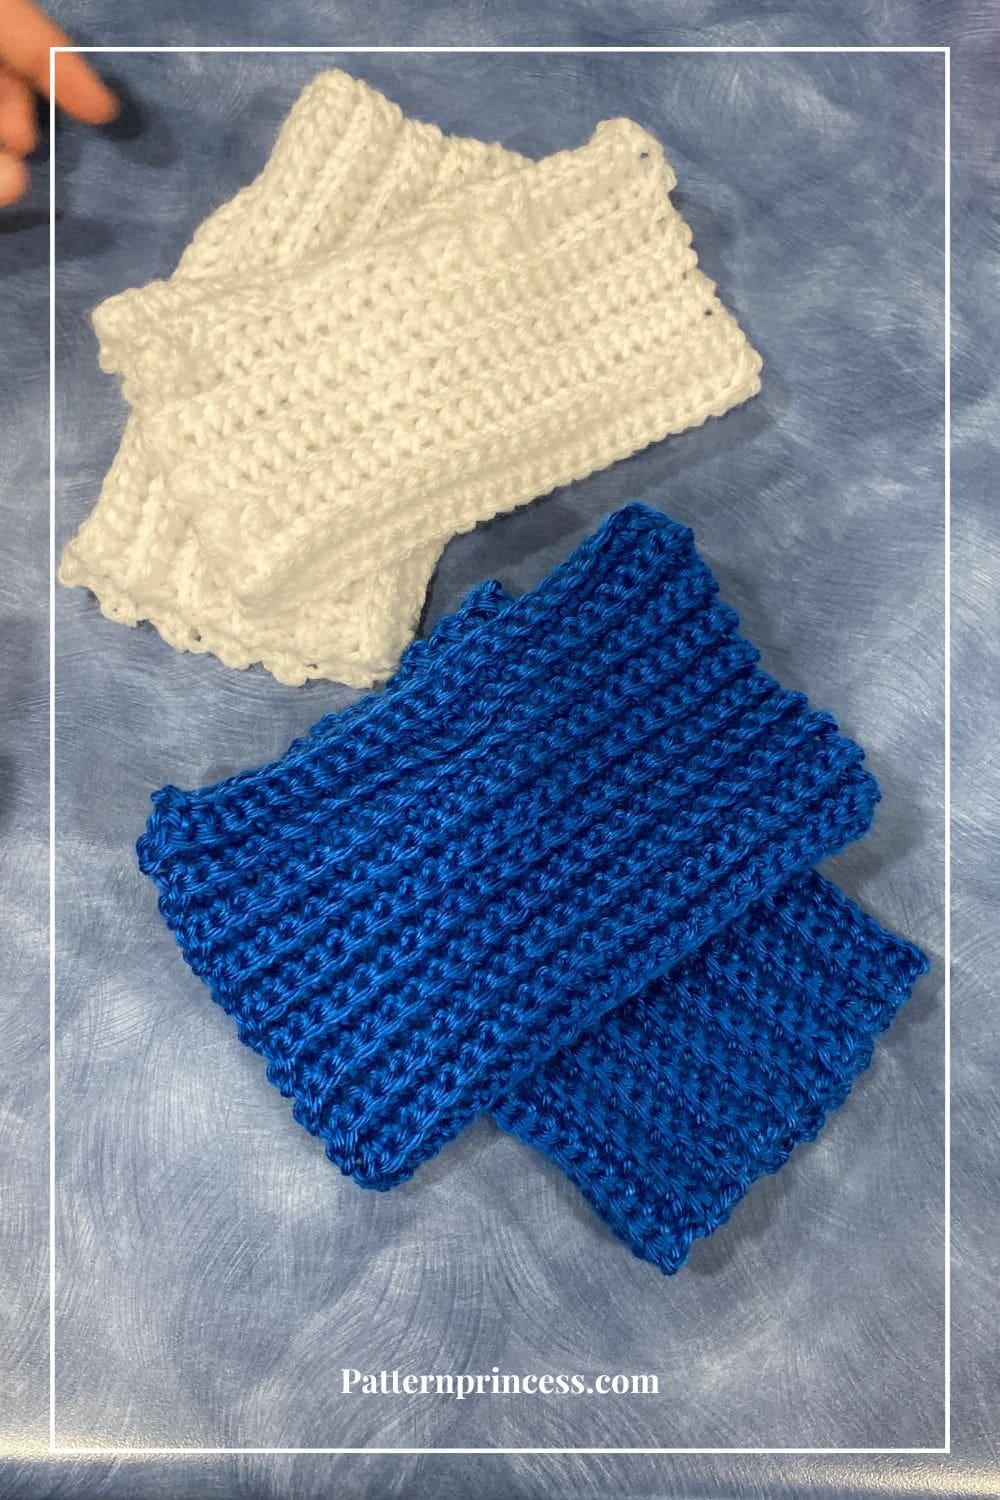
The pattern is crocheted flat in rows then seamed leaving a hole for the thumb. There’s no shaping involved. It’s as simple as crocheting a rectangle and sewing it together, leaving a space for the thumb hole.
Knit Look Ribbed Fingerless Gloves Crochet Pattern
Using medium-weight yarn or a soft, cozy blend, you’ll create a stretchy, comfortable fit that suits all sizes.
For this pattern, a soft worsted weight yarn (medium weight #4) works best. Look for yarns like Caron Simply Soft, Red Heart Soft, or Lion Brand for a warm and comfortable finish. Variegated yarn would look nice or you can use your yarn scraps in a different color.
We have step-by-step pattern instructions including a video tutorial to help you get going. Get ready to create a DIY winter accessory that’s as stylish as it is functional. Let’s crochet the chill away.
Get Your Ad Free Printable PDF in our Etsy Shop
Directions: Quick and Easy Beginner Fingerless Gloves Crochet Pattern
Skill Level
Beginner Friendly
Gauge
12 Single Crochet and 19 rows every 4 inches.
Size
- Small = 7” long X 7” around
- Medium = 7” long X 8” around
- Large = 8” long X 9” around
- X-Large = 8” long X 10” around
Make this in Different Sizes
The length is determined by the initial chain stitches and the width around the hand is determined by the number of rows.
Measure as You Go or Make a Gauge Swatch. If you’re unsure about sizing, measure the rectangle for the gloves around your hand so you know how big around you need it. If you are not sure of what size to make it. I have some suggested sizes to get your started.
You can make this with a different yarn rather than a medium weight. Just make sure you measure your beginning chain stitches to get the length and measure the width of the rows for the length.
These gloves are stretchy. The width will stretch 1-3 inches.
Abbreviations
- CH = Chain Stitch
- SC = Single Crochet Stitch
- SC BLO = Single Crochet Back Loop
- SL ST = Slip Stitch
- ST = Stitch
- [ ] = Repeat Between
Materials
150 yards of any medium weight yarn.
I made the white fingerless gloves in Caron one Pound and the blue using Caron Simply Soft in Royal blue
Crochet Hook Size H 5.0 mm
Tapestry Needle
Scissors
Tape Measure
Crochet Stitches
Single Crochet in the Back Bump of the Chain Stitch
Insert the hook in the back bump of the chain stitch, pull up a loop. Yarn over and pull through the two loops on the hook.
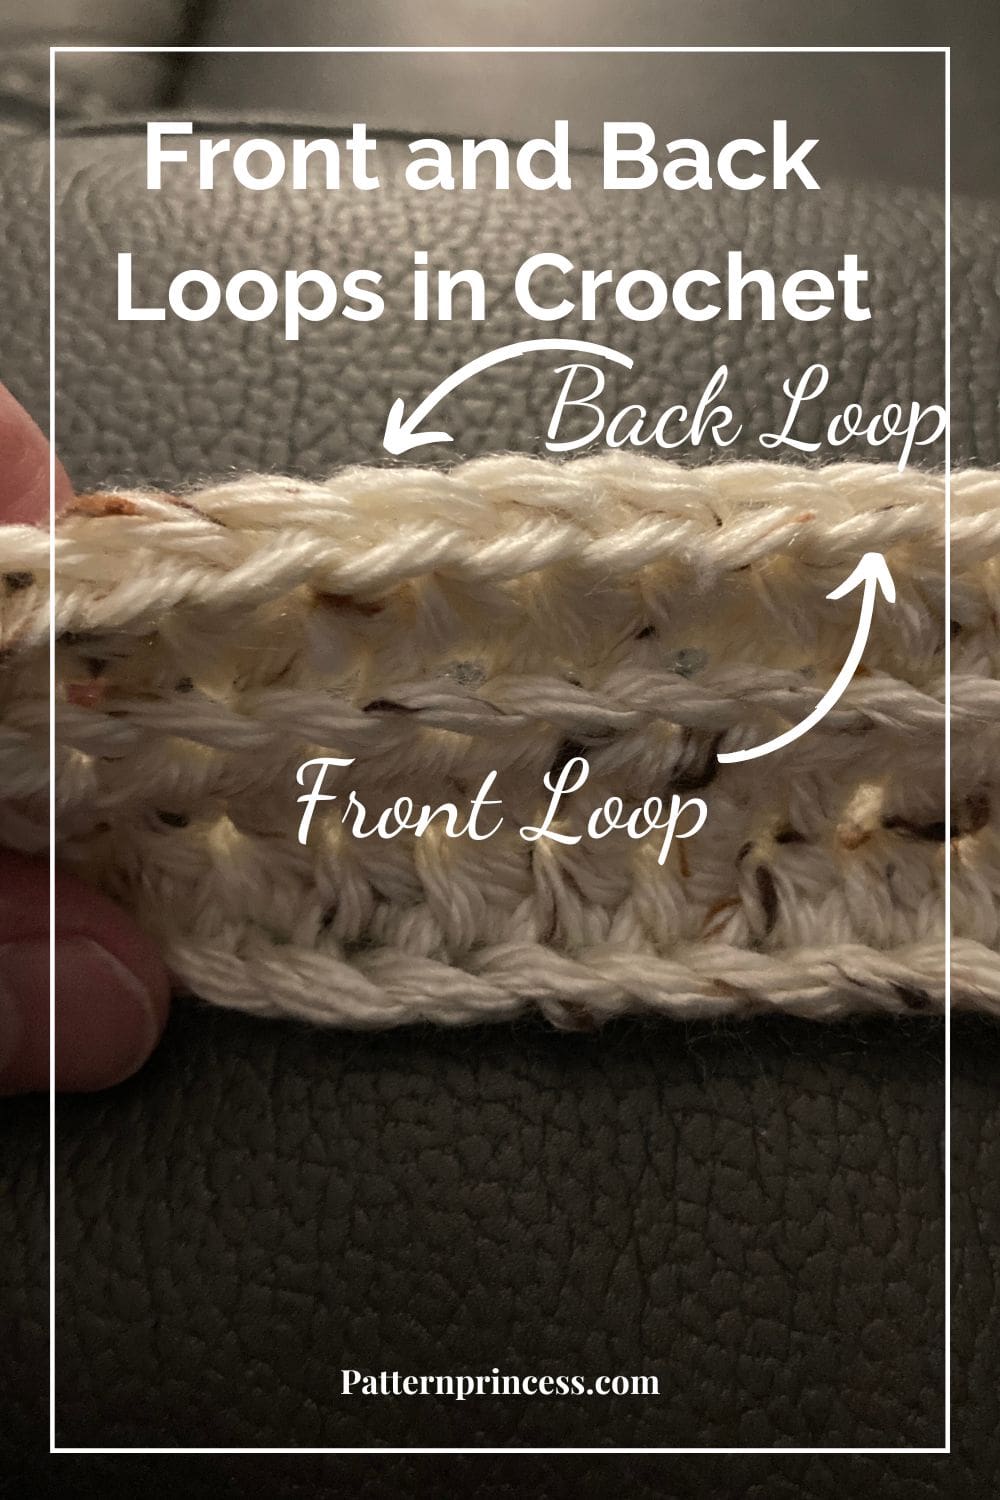
Single Crochet Back Loop Crochet (SC BLO)
Insert the hook in the back loop, pull up a loop. Yarn over and pull through the two loops on the hook.
Pattern Notes
Pattern is written in US crochet terminology.
Measure the rectangle size rather than count the rows. This way, you can use any leftover yarn you happen to have. For the width, make sure to make the rectangle about 2-inches less than the desired final width around.
You can find a YouTube Video tutorials for both left hand and right hand crocheters below the written pattern.
Turn after each row.
The chain stitch at the beginning of each row does not count as a stitch. Place the beginning stitch of each row in the very first stitch.
Since this pattern is reversible, there isn’t a right side and wrong side.
Crochet Pattern
Start by making a slip knot and adding the loop on the hook.
Work a foundation chain long enough to make your desired length.
Here are some suggested starting chains for using a medium weight yarn.
- Small = CH 26
- Medium = CH 26
- Large = CH 30
- X-Large = CH 30
Reminder, you can make this with any weight yarn. Just use a tape measure to check.
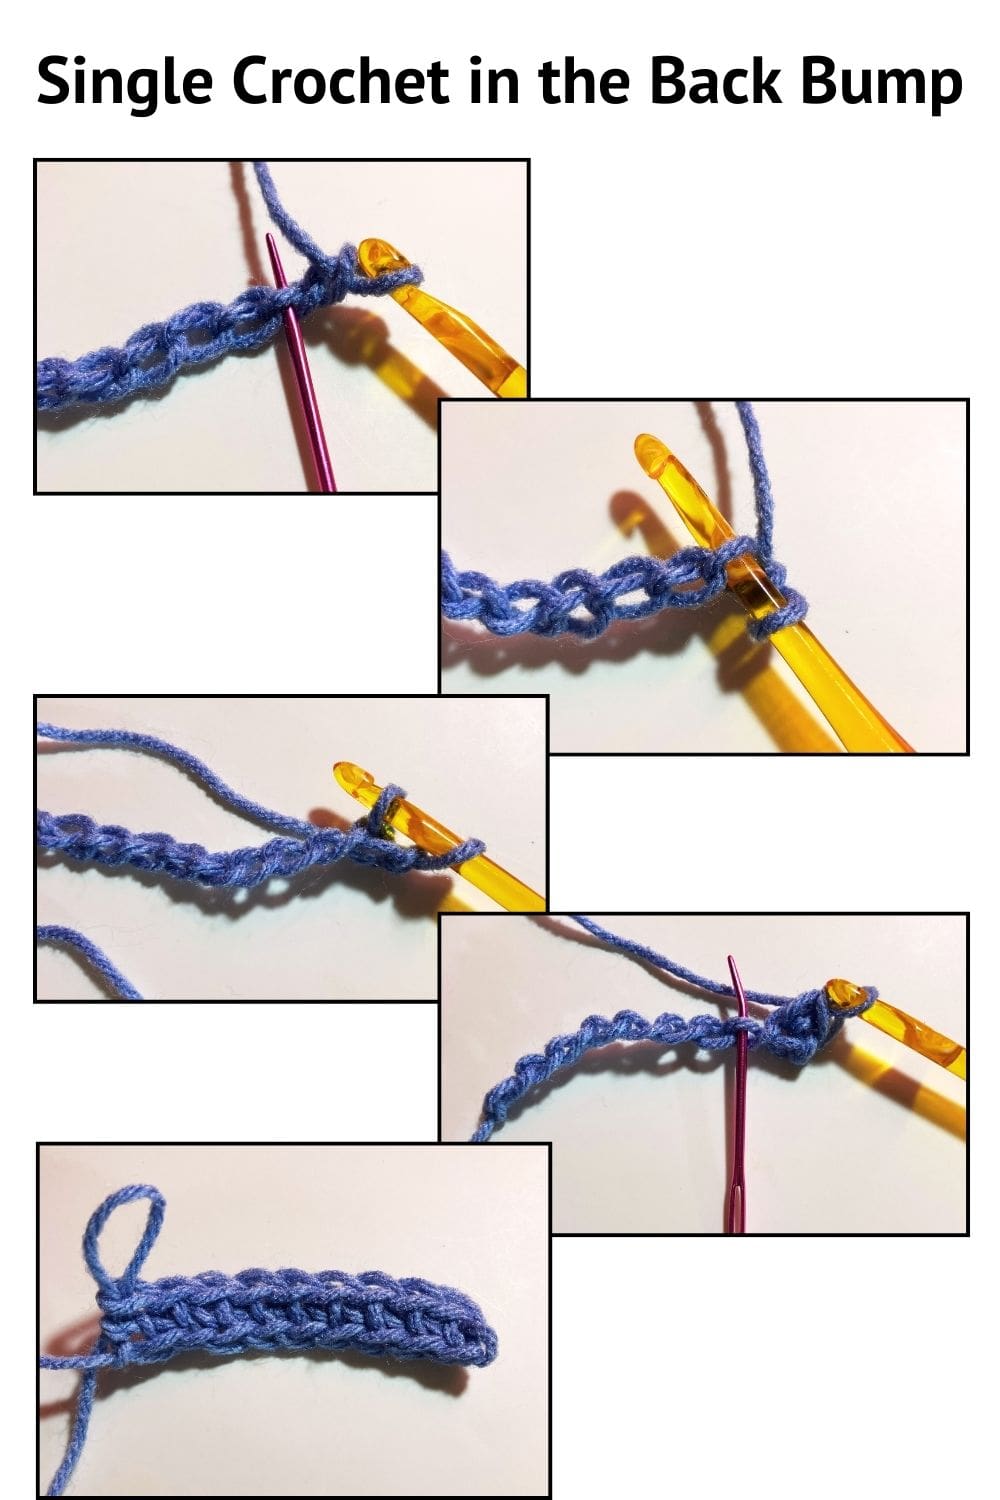
Row 1
Work in the back bump for this row. In the 2nd chain from the hook work a SC in the back ridge loop and in each ST across. Turn
Row 2
CH 1 (Doesn’t count as a ST). Work a Single Crochet Back Loop Crochet (SC BLO) in the same ST and in each ST across. Turn
Row 3 and Beyond
Repeat row 2.
You can make this as wide as you like.
I worked this pattern 38 rows, which made mine 8 inches wide. It stretches to at least 10-inches around. Use the tape measure to double check your size.
When you’re done, leave a long tail. About 15-20 inches. You will be using this to sew the sides together.
Joining the Sides and Making the Thumb Hole
Fold your piece in half lengthwise, matching the edges.
Sew the two sides together with the yarn needle, leaving a hole for your thumb.
Optional. Use stitch markers to mark the start of the thumb hole, about 2 inches from the top. Skip about 1 ½ inches from the 2-inch mark and place another stitch marker.
You can use a slip stitch to join the edges. I used the yarn needle and weaved the yarn back and forth through the back loops.
When making the hole for the thumb, stitch on one side only so you don’t have to cut the yarn.
Finishing
Weave in the ends with a tapestry needle. Cut off excess yarn.
Make the Next Fingerless Glove
Repeat for the next pair of fingerless gloves.
Beginner Fingerless Gloves Video Tutorials
For those who prefer visual learning, I’ve included a video tutorial to walk you through these easy fingerless gloves pattern step-by-step.
Video Tutorial Sewing Fingerless Gloves Together
Video Tutorials Single Crochet in the Back Bump and Single Crochet in the Back Loop
We hope you loved this free crochet pattern for fingerless mittens. Here are a few other crochet pattern ideas to inspire your next project.

You can find Victoria crocheting, quilting, and creating recipes. She has cooked in restaurants for over 20 years, including many larger parties. She learned to crochet when she was just 11 years old and has been crocheting ever since; over 50 years now. Over 40 years ago, she loved her first class in sewing and continues to hone her skills in quilting. Many have enjoyed the handmade gifts over the years. In her professional career, she has worked in management in a wide variety of businesses including higher education as a dean of a division. All the while attending college part-time to achieve her doctorate in higher education with an emphasis in e-learning.
