Last updated on July 5th, 2024 at 12:43 am
Simple Everyday Clutch Pattern is so fun to make. Step-by-step directions to this everyday clutch pattern. This beautiful clutch is just right for taking a few things with you. This is a great afternoon project. Anyone would love to get as a gift.
*Post contains affiliate links*at no additional cost to you for more information please read the disclaimer on the About Us page.
Practice Clutch
This clutch was my practice one. My goal is to make one for my daughter for her wedding. I think this one turned out pretty good. For the wedding one, I think that I will make it a few less stitches long so it fits in the hand better.
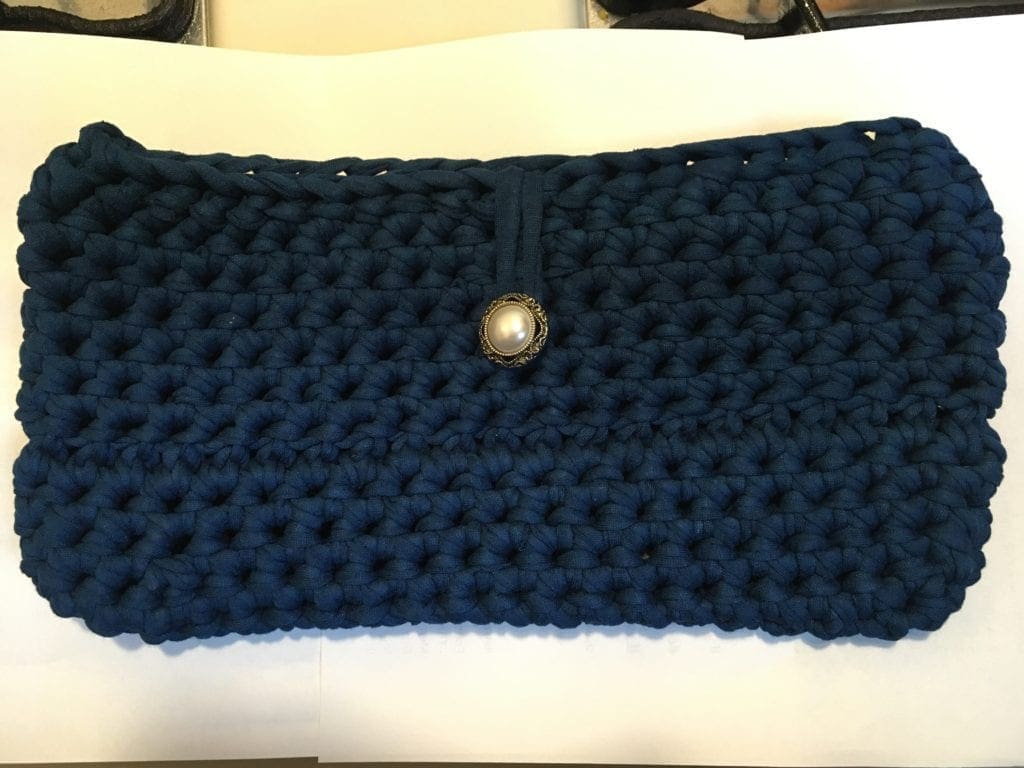
No-Lining Clutch
It is not lined. However, the crochet stitch used creates a nice and tight weave. Therefore, the items inside are secure from falling out through any holes. For the wedding clutch, I think I should line it just because it will look a bit fancier.
Size
Size 5 inches tall by 10 inches wide
Supplies
- Size N Hook
- T-shirt Yarn Cotton Fettuccini Zpagetti (note, the color I used I can’t find at this time) A bit less than one skein.
- Stitch Marker
- Scissors
- Yarn Needle
- Sewing Needle
- Matching Thread
- 1-Inch Button
Abbreviations
SC = Single Crochet
HDC = Half Double Crochet
ST = Stitch
Note-you will want to mark each row with a stitch marker to help you keep track of your starting and ending stitches.
Directions: Simple Everyday Clutch Pattern
CH 24
Round 1:
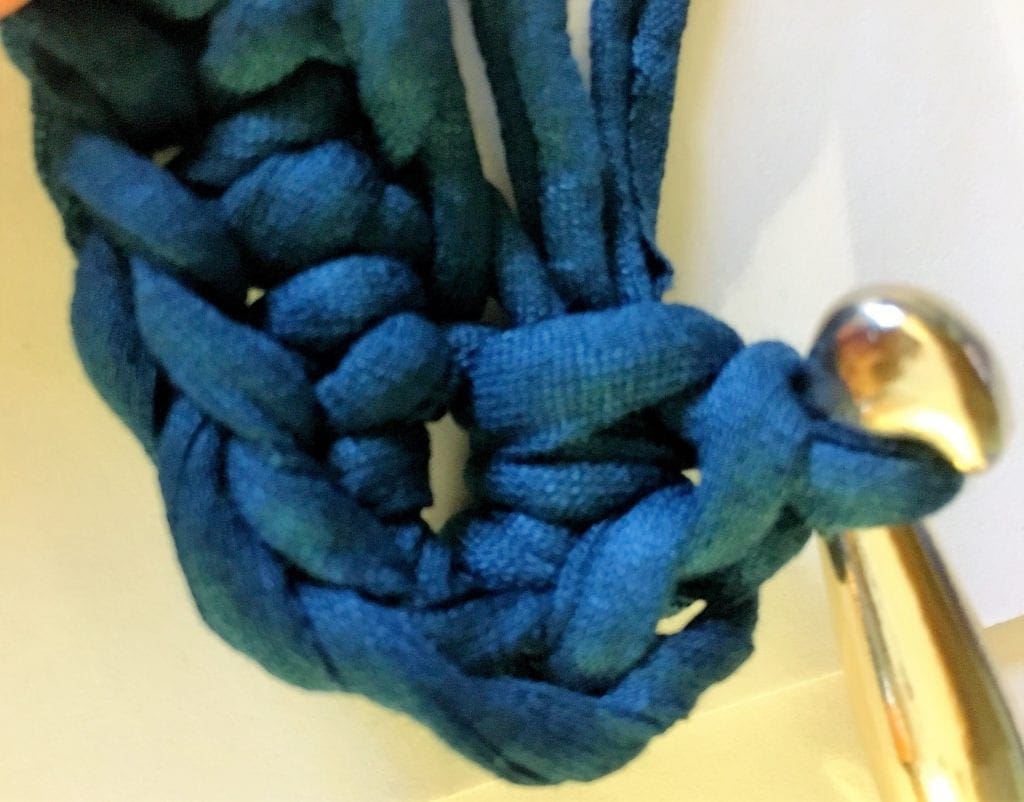
SC in 2nd CH from hook and in the next 22 ST. 3SC in the last ST, rotate your work in order to work on the opposite side of the beginning CH, SC in the next 21 ST, ending with 3 SC in the last ST.
Notice in the picture how I am coming around the end. I am also crocheting over the beginning tail from my original slip stitch that started the CH. This helps keep that secure and can be easily hidden and cut off later. (hint: I kept mine on until the end so I didn’t have to use a stitch marker. This helped me know exactly want side of my work I started on).
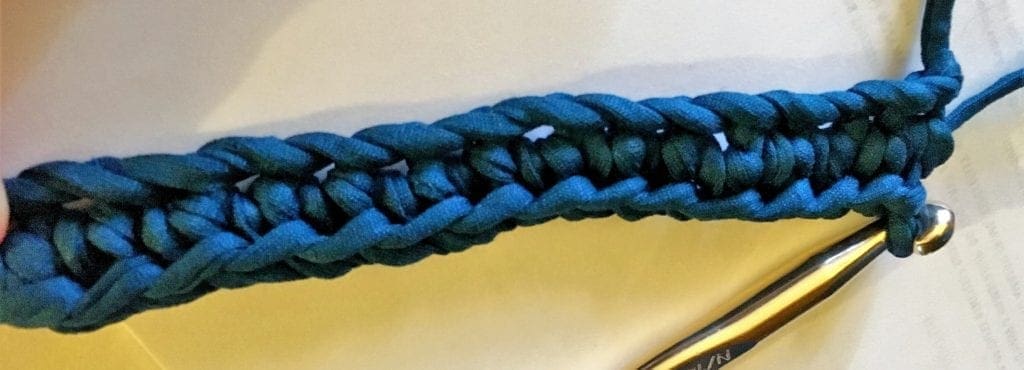
In the picture above, I am just past the first few rounds.

Round 2-5:
SC in each ST around.
In the picture below, I have a few rounds completed already and the clutch is starting to take shape. Notice how the beginning tail has been crochet over. I will be eventually cutting that off.
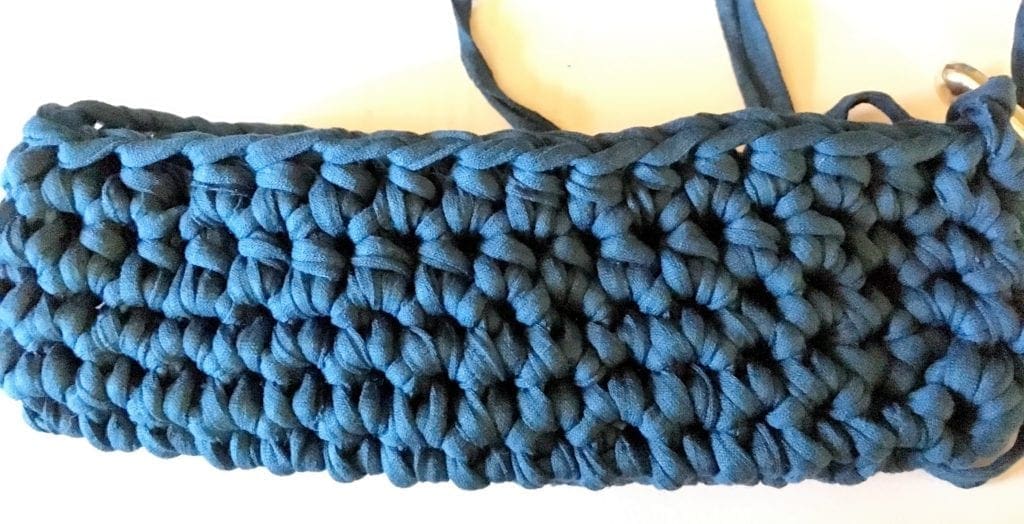
Round 6:
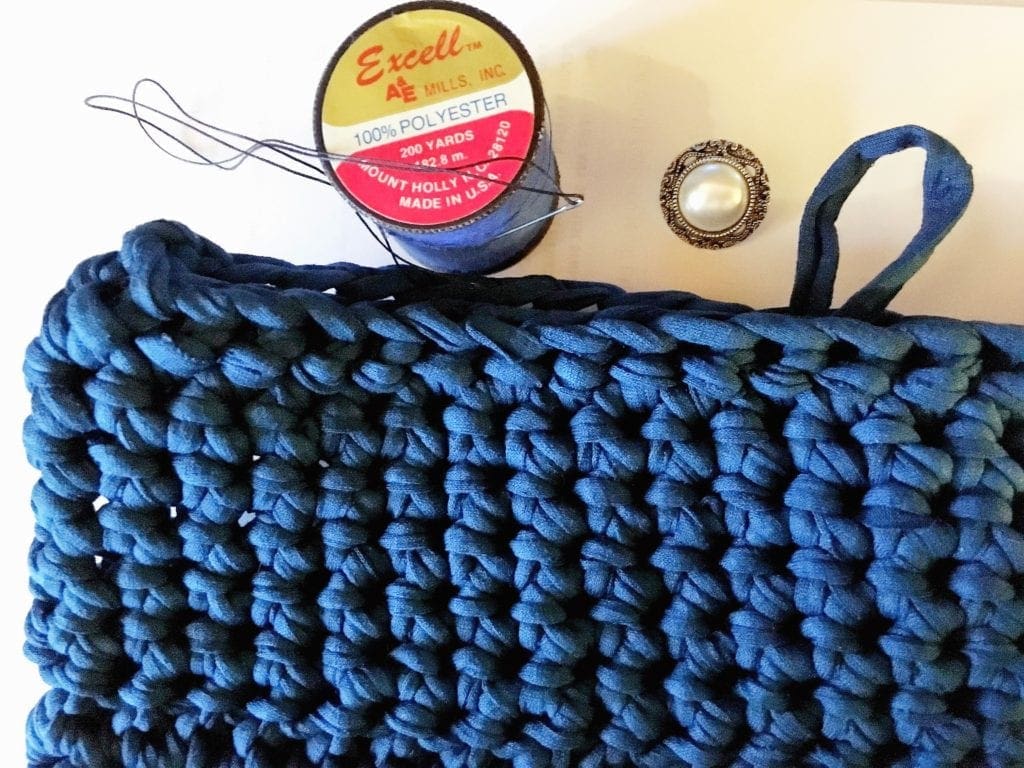
HDC in each ST around. It is hard to tell I think from the picture below, but the HDC is complete. Once the next row or two are added, there is a different stitch in the clutch as it makes a line across. I just think it adds a bit more visual appeal. If you look at the picture below, the row just a few down from where the button is position looks different, this is the HDC row.
Round 7-10:
Sc in ST around.
Round 11:
SC half way on one of the sides-about 12 ST in. Visually check that it looks like the middle just in case you have used a different number of ST. Draw up a loop of the t-shirt yarn-check that the loop is long enough to get over a button that you will be sewing on later-but not too long that it will slip off the button. Keeping the loop of yarn in place, continue SC around.
Round 12:
SC around making sure to SC on the outside of the loop. This will help hide the loop in the clutch a bit and make it more attractive.
Weave in the end using a smaller crochet hook and cut off any amount dangling.
You have completed the crochet portion of the clutch.

Button
Now find a pretty button-about 1 inch in size, use matching thread and sew on the outside of the clutch (opposite the loop). This allows you to be able to close the clutch by securing the loop over the button.
medianet_width = “300”;
medianet_height = “250”;
medianet_crid = “136386103”;
medianet_versionId = “111299”;
(function() {
var isSSL = ‘https:’ == document.location.protocol;
var mnSrc = (isSSL ? ‘https:’ : ‘http:’) + ‘//contextual.media.net/nmedianet.js?cid=8CUSJ3TS2’ + (isSSL ? ‘&https=1’ : ”);
document.write(”);
})();
If you loved this post, share on your fave social media links. It helps to show me that these types of posts are helpful – thank you!
Here are other crochet patterns you might be interested in.

You can find Victoria crocheting, quilting, and creating recipes. She has cooked in restaurants for over 20 years, including many larger parties. She learned to crochet when she was just 11 years old and has been crocheting ever since; over 50 years now. Over 40 years ago, she loved her first class in sewing and continues to hone her skills in quilting. Many have enjoyed the handmade gifts over the years. In her professional career, she has worked in management in a wide variety of businesses including higher education as a dean of a division. All the while attending college part-time to achieve her doctorate in higher education with an emphasis in e-learning.

