Last updated on January 19th, 2026 at 10:13 pm
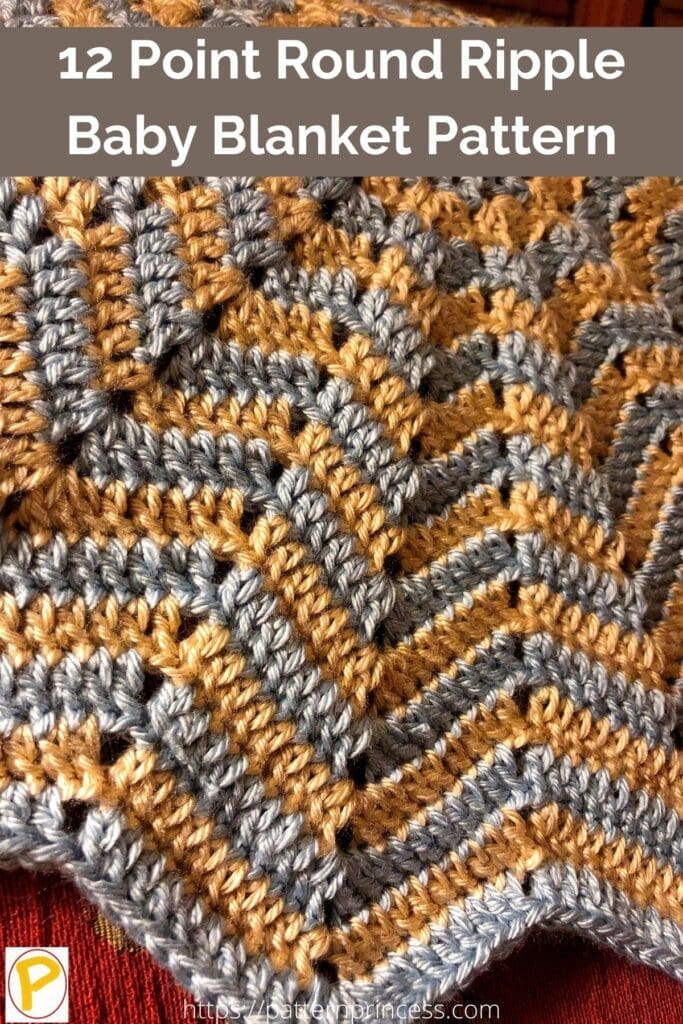
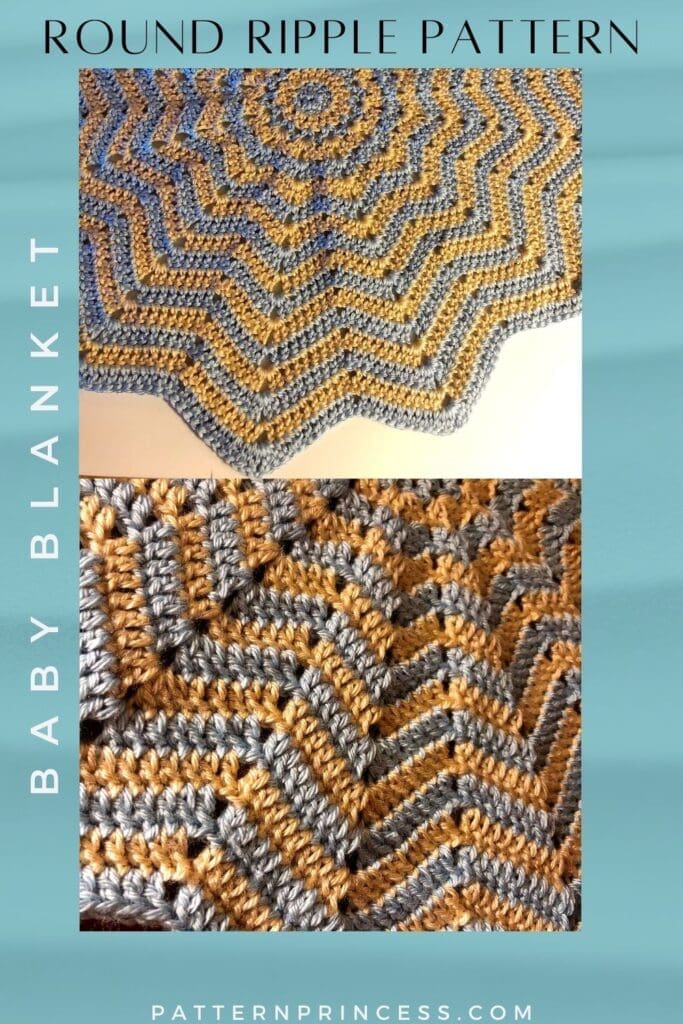
This 12 Point Round Ripple Baby Blanket is perfect for a new baby. Just the right amount of blanket for a newborn receiving blanket. It’s soft and snuggly, and the ripple pattern makes it interesting to crochet.
Use basic stitches such as double crochet stitches to create this beautiful round baby blanket. Crocheting is a great way to relax and unwind. It’s also a great way to make lovely blankets too.
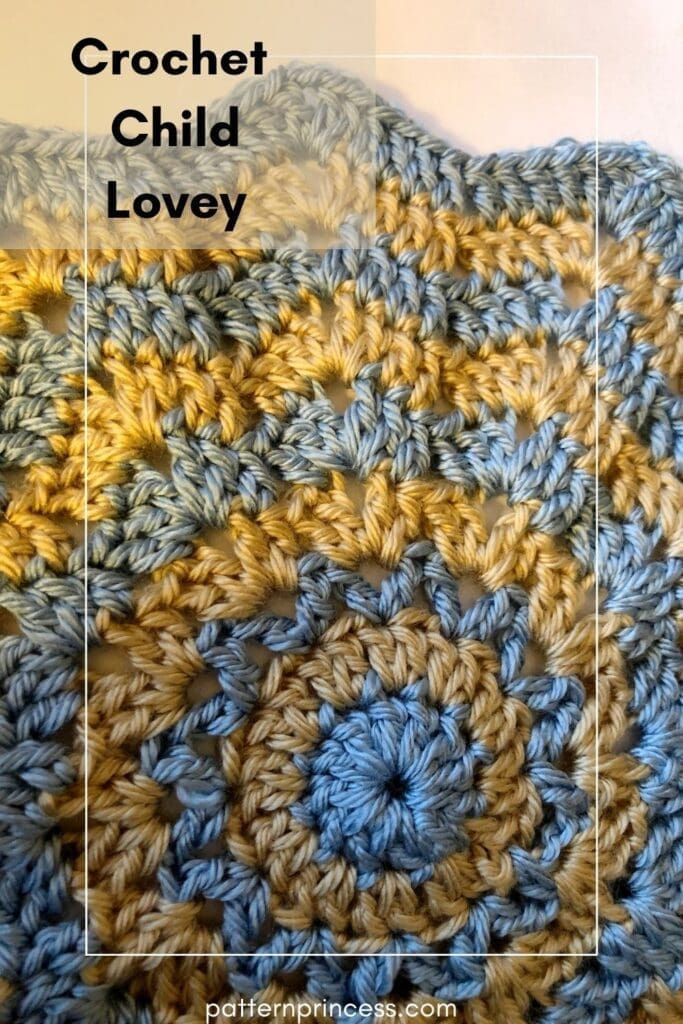
Crochet Child Lovey
The size of this round blanket is 23-inches around, which makes it a great option for a receiving blanket or a child’s lovey. There is just enough texture and softness with this mini blanket. The smaller size makes it perfect to take along anywhere and everywhere the child goes.

This will wash up well in the washer for a once-a-week cleaning.
Post contains affiliate links, and we earn commissions if you shop through the links on this page. For more information, please read the disclosure section under the About Us page.
What is a Child’s Lovey?
It is a smaller crochet blanket that is used by children as something of comfort. Lovies can be smaller blankets just like larger blankets. Often, the larger size of baby blankets makes it cumbersome for a child to carry with them and snuggle with.
My daughter used her little lovey a few years.
Often, I will see crochet patterns with animals attached to them; however, she preferred the blanket itself. Therefore, I made this baby blanket without any amigurumi animal attached.

Round Crochet Pattern
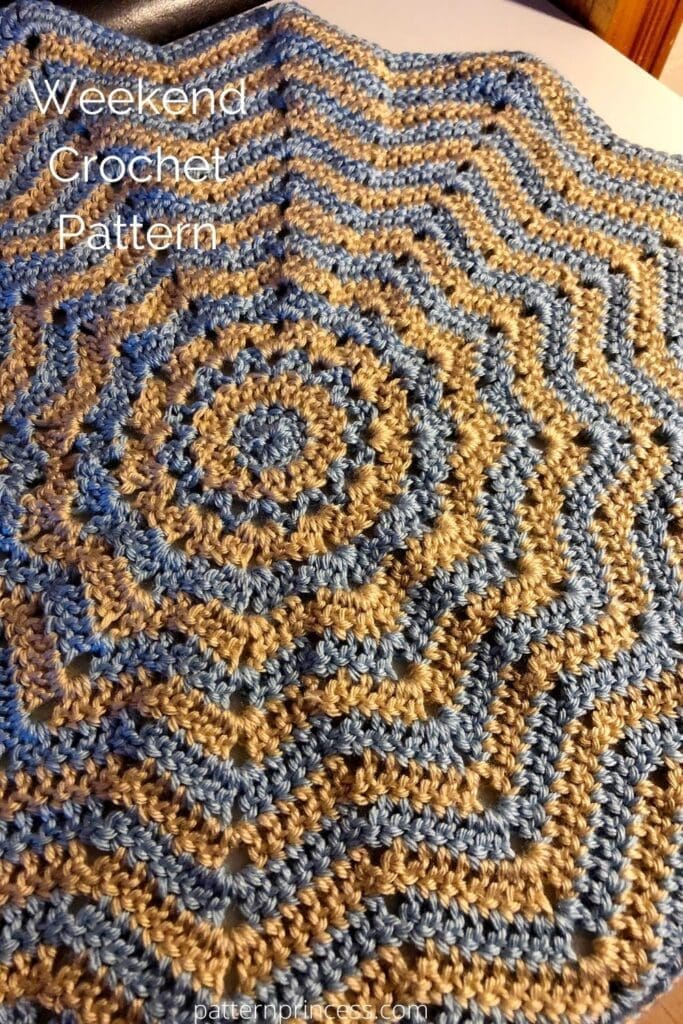
This free pattern is worked in the round with a chevron pattern. Each round adds crochet stitches to allow the blanket to grow while crocheting the 12 points around.
A twelve-point star and can be made in a solid color or with various colors. It can be made as a baby blanket, lap blanket or throw. If you are interested in making the larger size, I have made a larger blanket using this same stitch pattern. The free crochet pattern is called the crochet 12-point star blanket.
Yarn Scraps Crochet Pattern
In just seventeen rounds, this baby blanket is complete. Therefore, this can be made quickly in one weekend.
It is also a great pattern to use up those yarn scraps. I used partial skeins of two different colors of yarns to create a pretty country color palette for this baby blanket. The color changes on each round. Crochet this in rainbow colors.
This round ripple patterns work well for any yarn weight.
I have made this with a fingering yarn and turned this into a tablecloth.
Here is another 12-Point Star Stitch project. The Crochet Gothic Center Piece was made with one skein of yarn.

Directions: 12 Point Round Ripple Baby Blanket Pattern
Skill Level
Advanced Beginner.
Gauge
13 stitches per 4-inches
Size
23-inches around
Materials
Caron Simply Soft in two colors each Bone and Light Blue. Approximately 300 yards each. If you are not able to find the yarn locally, you can find it here on Amazon.
Size H Crochet Hook
Tapestry Needle
Scissors
Abbreviations
CH = Chain
DC = Double Crochet
SK = Skip
SL ST = Slip Stitch
ST = Stitch
Pattern Notes
It is important to keep the star points in the same place as you add each row. Therefore, counting the stitches is important in this pattern.
The pattern is not turned on after each round.
This pattern begins with a CH 4 and SL ST to form a ring. However, you can use a magic circle to start this crochet pattern.
Crochet over yarn ends to help minimize weaving in yarn ends and hold the yarn securely.
Always Chain 2 at the beginning of a round, not 3. This will help make the join less visible.
Starting with Round 5 and beyond, you will be completing between 2 rounds of the large shell and 1 round of the small shell. Adding stitches between the shells as needed and making the valley by skipping two stitches.
Special Stitches Used in the Round Ripple Baby Blanket
Small Shell: (DC, CH 2, DC) in same space.
Large Shell: (2 DC, CH 2, 2 DC) in same space.
Directions
Begin
CH 4, Join with ST ST to form a ring.
Round 1
CH 2 (Counts as first DC throughout the pattern), work 11 DC inside the ring. (12 DC). Join with SL ST into the top of the beginning CH 2 ST. (Continue to join the end of the round in this manner throughout the pattern).
Round 2
CH 2, DC in same ST, 2 DC in each DC around. (24 DC). Join with a SL ST into the top of the beginning CH 2 ST.
Round 3
CH 2, [SK next DC, work (DC, CH 2, DC) in next DC]. Repeat between [ ] around, ending with DC in the base of the beginning ST, CH 2. Join with a SL ST into the top of the beginning CH 2 ST. At the end of this round, you should have (12 small shells). I will note this at the end of the rows as we continue the pattern throughout.
Round 4
In CH 2 SP, Work (CH 2, DC, CH 2, 2 DC) in CH 2 SP. [Work large shell in each CH 2 SP]. Repeat between [ ] around. Join with a SL ST into the top of the beginning CH 2 ST. (12 large shells)
Round 5
CH 2 (counts as DC). [work large shell in CH 2 SP, DC in next DC, Sk next 2 DC, DC in next ST]. Repeat between [ ] around. Join with a SL ST into the top of the beginning CH 2 ST. (large shells, plus 1 DC)
Round 6
CH 2, DC in next ST [work large shell in CH 2 SP, DC in each of the next 2 DC, SK the next 2 STs, DC in each of the next 2 DC] Repeat between [ ] around. Ending with SK 2 STs. Join with a SL ST into the top of the beginning CH 2 ST. (large shells, plus 2 DC)
Round 7
CH 2, DC in next 2 STs [work small shell in CH 2 SP, DC in next 3 STs, SK 2 STs, DC in the next 3 STs]. Repeat between [ ] around. Ending with SK 2 STs. Join. (small shells, plus 3 DC)
Round 8
CH 2, DC in next 2 STs [work large shell in CH 2 SP, DC in next 3 STs, SK next 2 STs, DC in next 3 STs]. Repeat between [ ] around. Ending with SK 2 STs. Join. (large shells, plus 3 DC)

Round 9
CH 2, DC in next 3 STs [work large shell in CH 2 SP, DC in next 4 STs, SK next 2 STs, DC in next 4 STs]. Repeat between [ ] around. Ending with SK 2 STs. Join. (large shells, plus 4 DC)
Round 10
CH 2, DC in next 4 STs [work small shell in CH 2 SP, DC in next 5 STs, SK next 2 STs, DC in next 5 STs]. Repeat between [ ] around. Ending with SK 2 STs. Join. (small shells, plus 5 DC)
Round 11
CH 2, DC in next 4 STs [work large shell in CH 2 SP, DC in next 5 STs, SK next 2 STs, DC in next 5 STs]. Repeat between [ ] around. Ending with SK 2 STs. Join. (large shells, plus 5 DC)
Round 12
CH 2, DC in next 5 STs [work large shell in CH 2 SP, DC in next 6 STs, SK next 2 STs, DC in next 6 STs]. Repeat between [ ] around. Ending with SK 2 STs. Join. (large shells, plus 6 DC)
Round 13
CH 2, DC in next 6 STs [work small shell in CH 2 SP, DC in next 7 STs, SK next 2 STs, DC in next 7 STs]. Repeat between [ ] around. Ending with SK 2 STs. Join. (small shells, plus 7 DC)
Round 14
CH 2, DC in next 6 STs [work large shell in CH 2 SP, DC in next 7 STs, SK next 2 STs, DC in next 7 STs]. Repeat between [ ] around. Ending with SK 2 STs. Join. (large shells, plus 7 DC)
Round 15
CH 2, DC in next 7 STs [work large shell in CH 2 SP, DC in next 8 STs, SK next 2 STs, DC in next 8 STs]. Repeat between [ ] around. Ending with SK 2 STs. Join. (large shell, plus 8 DC)
Round 16
CH 2, DC in next 8 STs [work small shell in CH 2 SP, DC in next 9 STs, SK next 2 STs, DC in next 9 STs]. Repeat between [ ] around. Ending with SK 2 STs. Join. (small shells, plus 9 DC)
Round 17
CH 2, DC in next 8 STs [work large shell in CH 2 SP, DC in next 9 STs, SK next 2 STs, DC in next 9 STs]. Repeat between [ ] around. Ending with SK 2 STs. Join. (large shells, plus 9 DC)
Finishing the Round Ripple Baby Blanket
Work a chain stitch, cut the yarn off leaving about a 12-inch tail. Draw the yarn through the chain stitch and pull snug. Use the yarn needle to weave in the yarn tail and snip off excess yarn.
Crochet Baby Blankets
I love making baby blankets, they are always a welcomed gift at baby showers. They often work up rather quickly too.
Crochet Video Tutorial for the Round Chevron Baby Blanket
Right Hand and Left Hand Crochet Tutorial for this crochet pattern that is worked in the round.
Here are other free crochet patterns to inspire your next crochet project.

You can find Victoria crocheting, quilting, and creating recipes. She has cooked in restaurants for over 20 years, including many larger parties. She learned to crochet when she was just 11 years old and has been crocheting ever since; over 50 years now. Over 40 years ago, she loved her first class in sewing and continues to hone her skills in quilting. Many have enjoyed the handmade gifts over the years. In her professional career, she has worked in management in a wide variety of businesses including higher education as a dean of a division. All the while attending college part-time to achieve her doctorate in higher education with an emphasis in e-learning.

Thank you for sharing this beautiful baby lovey/blanket. I was excited about the colour combinations I could use with this, and I also thought about using a varigaded yarn so I don’t have to weave in yarn ends. {so tiresome, or maybe I’m just lazy} 🙂
I also took note of the fact that you mentioned making a table cloth with this design. What a great idea! My daughter-in-law has a large round table in her kitchen that was her grandmothers. I could consider crocheting a tablecloth in cotton yarn for her–big project, but it’s something I could do during the summer months.
Thanks for the inspiration.
Hello Trish, I am so happy that you are loving this one as much as I did. It is amazing how much the same pattern can be transformed with different yarn colors and weights of yarn. Enjoy the pattern!
Vicky