Last updated on November 6th, 2024 at 09:19 pm
Make this cute crochet tote bag with fringe using yarn scraps. Looking for a fun and functional crochet project? Made from yarn scraps, it’s an ideal way to use up leftover yarn and create something beautiful.
With just four simple rectangles, a bit of fringe, and handles, you can whip up this charming tote that’s perfect for everything from groceries to beach essentials.
Crochet Bucket Bag
Make your own bag that is big enough to take to the market but not so big you can’t use it as a purse if you choose to line it. It also makes a great craft bag or WIP bag. The bottom of the bag is pretty big, so you can carry a water bottle or other heavier items.
This gorgeous bag with a unique design makes a great gift for someone special.
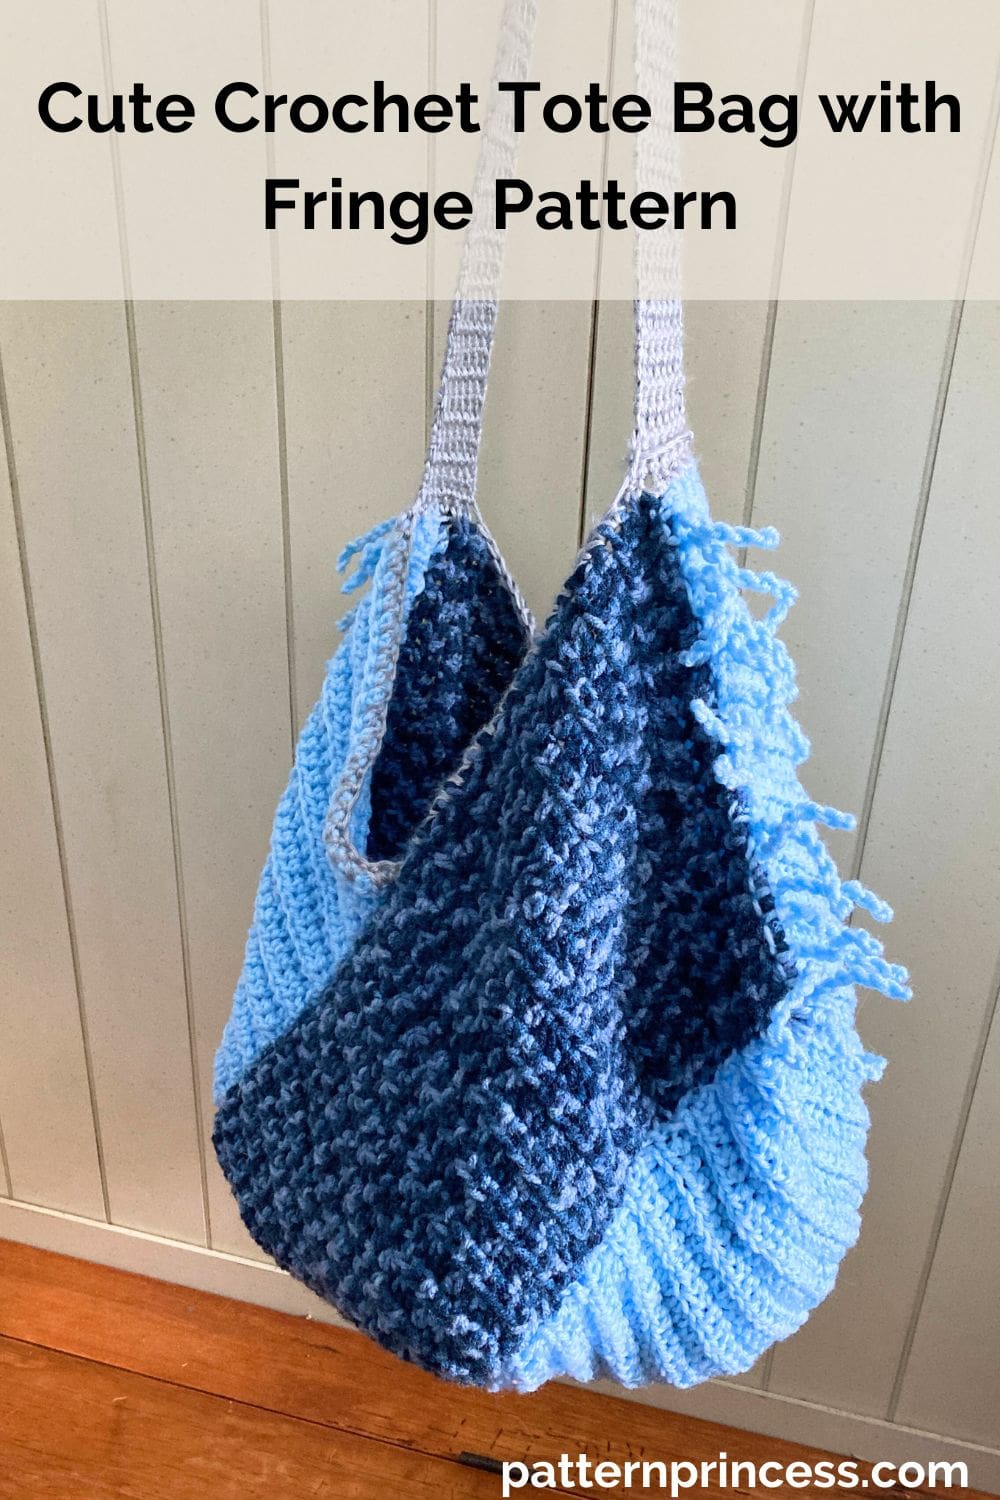
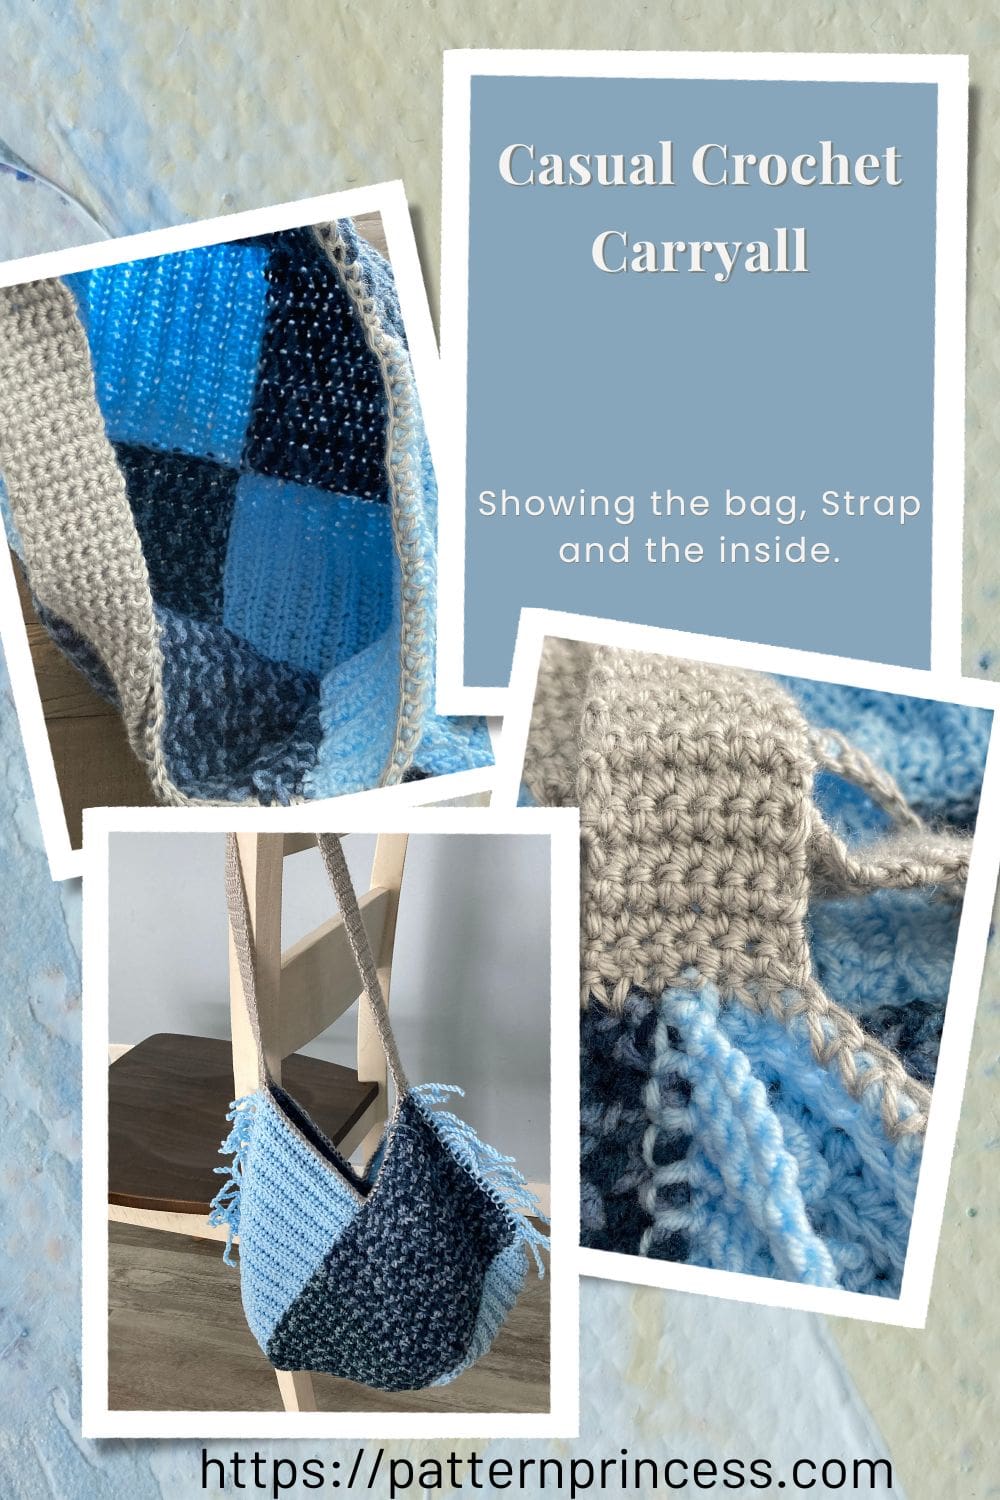
Casual Crochet Carryall
It’s the perfect size beach bag or market bag for summer. Better than using plastic bags. This crochet bag is relatively easy to crochet, and the striped details are unique. Stitch it up quickly before or during your summer vacation and bring everything around during summertime.
Trendy Rustic Fringe Tote
Crochet bags and purses are trendy because of their eclectic designs. They are also really versatile and can be used for many occasions.
It is large enough to hold your essentials, phone, money, lipstick, etc. You could adapt the strap or bag body size to your own specifications. For instance, making the strap shorter or adding some sort of fastening to close the bag.
Easy Crochet Project
Just make four rectangles and join them together. Crochet the handle and add the fringe.
When all the rectangles are complete, they are laid out in a fan shape and joined together on the side seams. Crochet the strap using single crochet stitches.
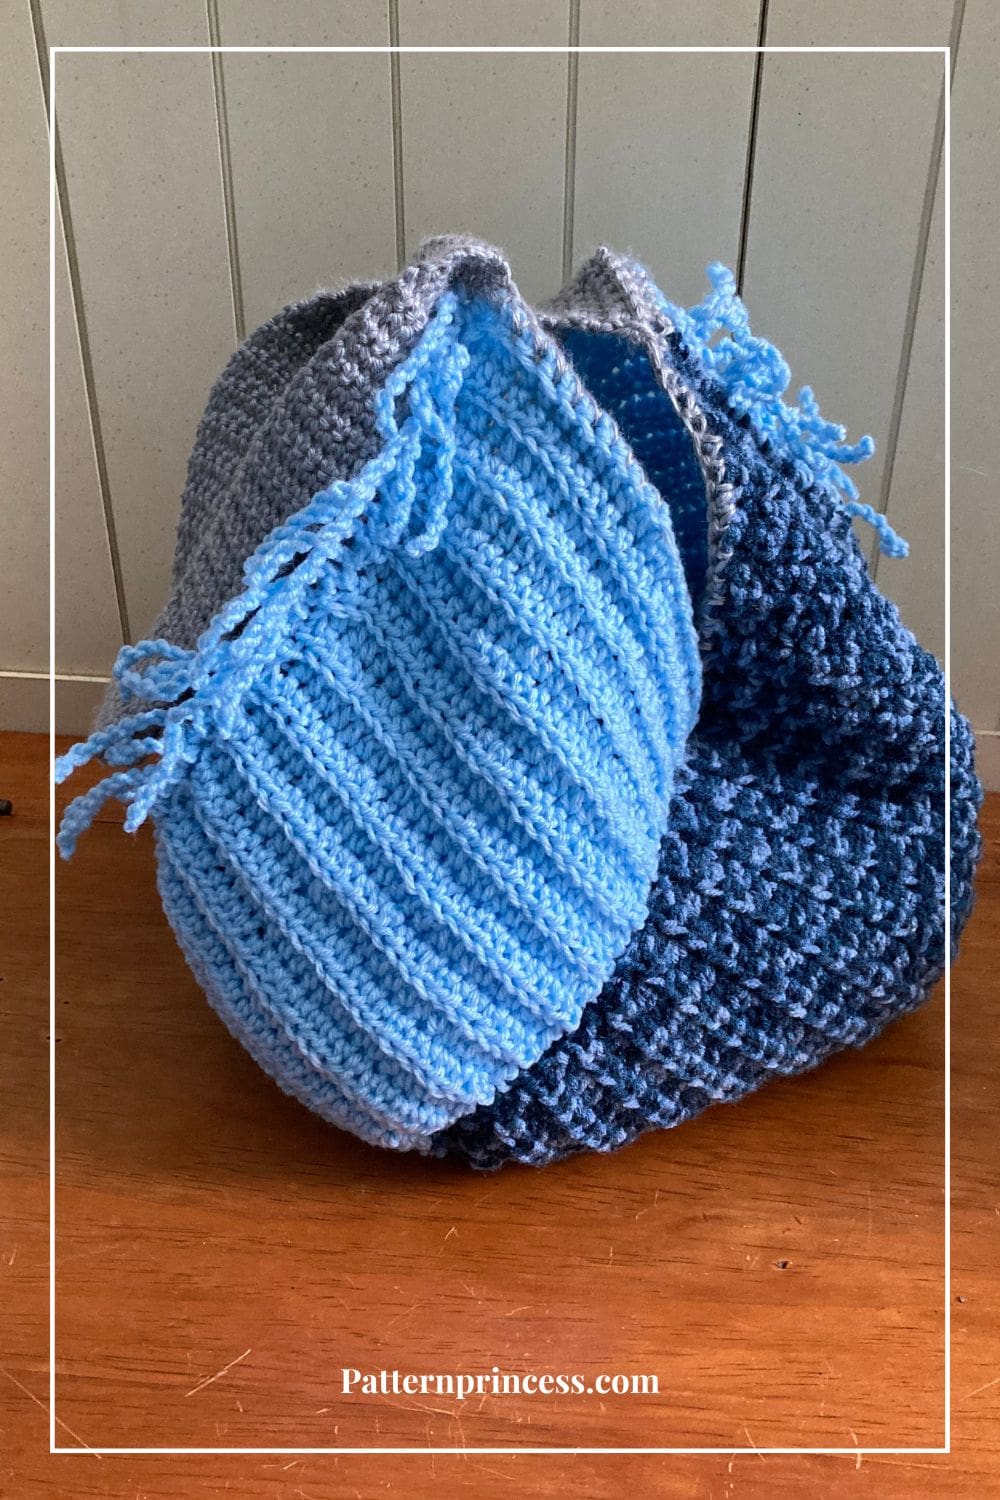
Add the fun twisted fringe embellishment for a boho bag style. It can be in the same color as the rest of the tote or a different color. Weave in the yarn ends and your one-of-a-kind beautiful bag is ready for use.
What yarn works well for a market tote?
You can make this in three different colors like we did or use a solid color. The best yarn for a market tote, you’ll want a yarn that’s durable, sturdy, and can handle a bit of weight.
Cotton Yarn. Cotton is a popular choice for market totes because it’s strong, holds its shape, and is washable. It also doesn’t stretch much, which is helpful when you’re carrying heavier items. Look for worsted or medium-weight cotton, like Lily Sugar’n Cream or Bernat Handicrafter Cotton.
Recycled Cotton/Blends. These yarns offer the benefits of cotton with a more eco-friendly touch. Some recycled yarns are blended with polyester or other fibers to add durability, making them perfect for market bags.
Jute or Hemp Yarn. Jute and hemp are great for creating a rustic, natural-looking shoulder bag that’s extra sturdy. Keep in mind that these fibers are rougher, so they might be harder to crochet with but are excellent for heavy-duty use. A great durable yarn choice.
Linen Yarn. Linen is another strong, lightweight, and durable fiber. It softens with use, making it a great choice if you’re looking for a long-lasting tote.
Polyester Blends. If you prefer a bit of stretch or are looking for bright colors, polyester blends can work well. They add some flexibility to the bag without compromising strength.
Macramé Cord or Twine. If you’re aiming for an even sturdier look, macramé cords or cotton twine is a great option. It can make a durable market bag with a more structured feel.
These are all great choices. When choosing yarn for a market tote, consider durability, washability, and weight-bearing capability to ensure your bag will be both stylish and functional.
Get Your Ad Free Printable PDF of this Tote Bag Pattern in our Etsy Shop.
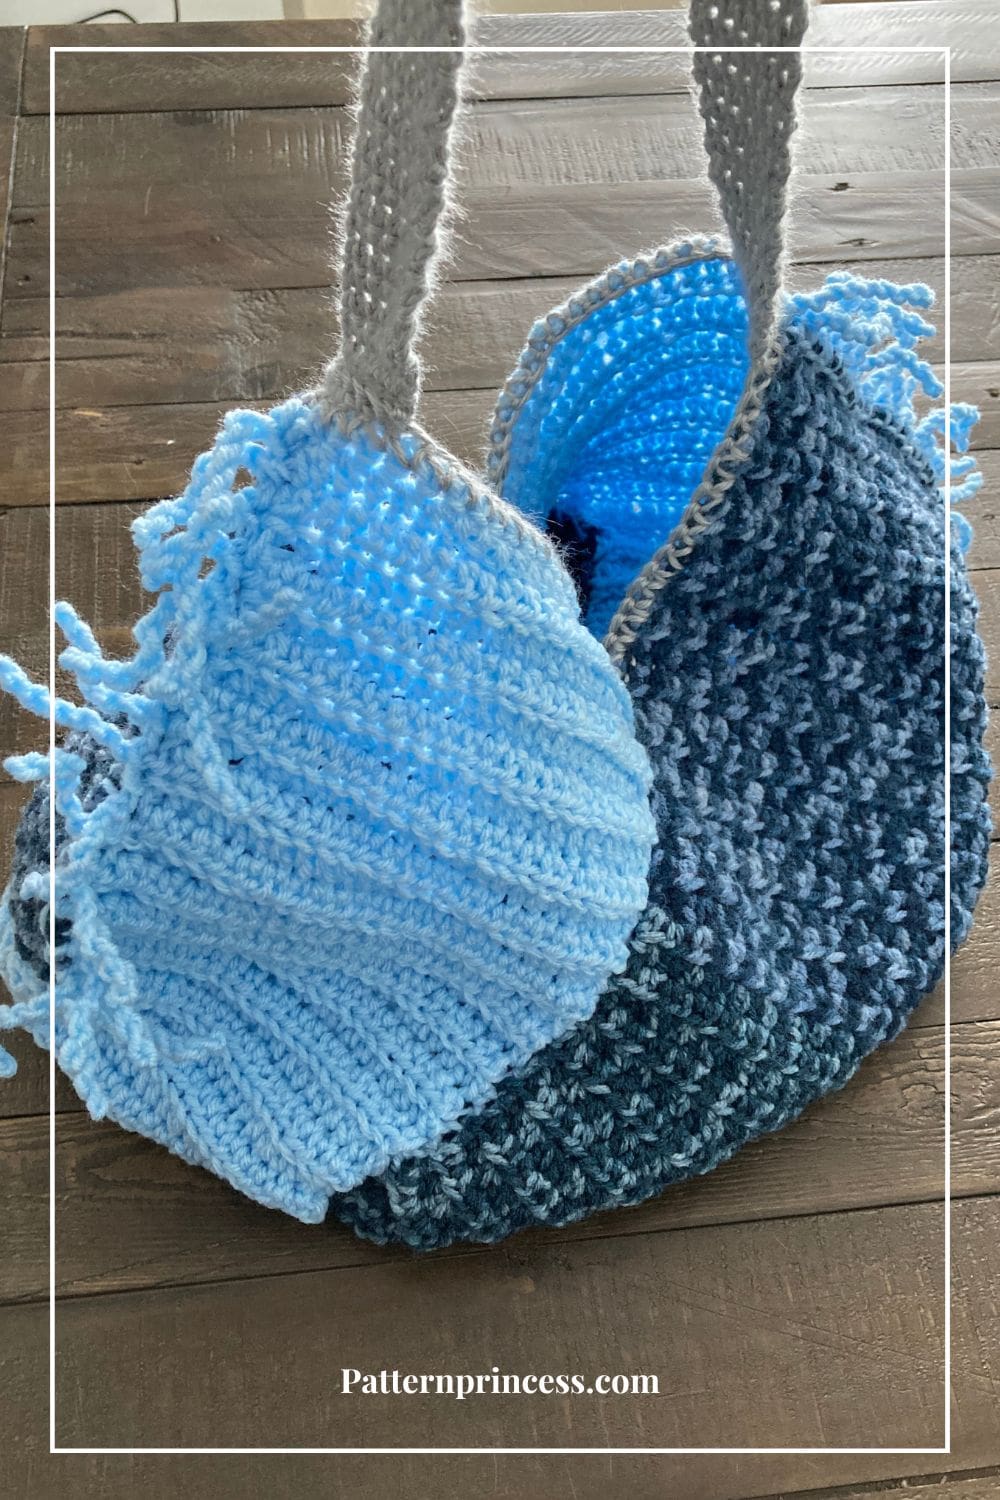
Making Twisted Fringe
If you have yet to try this fun method of making fringe, you are in for a treat. It is super easy and there is no cutting involved.
What I love about this fringe is that you can gently wash your bucket bag without worrying about the fringe coming loose and falling out.
We have a whole tutorial on How to Make Twisted Fringe that includes a video tutorial.
Here are the basics.
- Begin with a Slip Knot. Create a slip knot and place it on your crochet hook.
- In the first stitch, work a slip stitch. Yarn over and pull the yarn through the stitch and loop on the hook.
- Pull up a loop to your desired length, measuring if you’d like each fringe loop to be consistent. My example was approximately 7 inches.
- Twist the Loop. Pinching the slip knot at the base so it doesn’t stretch out, rotate the hook twisting the loop.
Count the number of twists according to your pattern or until the fringe has the desired tightness.
Complete the Fringe. Fold the twisted loop in half holding snug. I like to place a finger in the middle to hold taught. Work another slip stitch back into the original stitch to secure the twisted fringe.
Fluff the fringe gently to encourage it to lay nicely and add fullness if desired.
Continue Adding Fringe
Slip stitch to the next stitch in your project to begin the next twisted fringe, repeating steps 1–6 for each section.
Directions: Cute Crochet Tote Bag with Fringe Pattern
Skill Level
Confident Beginner
Gauge
18 single crochet and 24 rows every 4 X 4 Square.
Size
Laying flat, the bucket bag is 19 inches wide and 13 inches deep. We made the handle 1 ½ inches wide X 23 inches long.
Materials
Yarn. You can use one color or three colors like we did. Plan on using a total of 1,250 yards.
- Fringe 200 yards.
- Handle 150 yards.
- Four Rectangles 900 yards.
More on the Yarn Scraps
For our bag, we wanted to use yarn that was given to us. There was a light blue blanket that someone started, we did not know the exact pattern, so we took out the stitches and made a ball of yarn. There was another full skein of multi-color yarn, and a partial skein of grey.
All are medium weight yarn from Main Stays Crafts. It is 100% acrylic yarn. This was great for our practice bag. When we have the time, we would like to make it using one of the yarns discussed previously.
You could make this all using one yarn color or different colors like this one.
Crochet Hook Size H 5.0 mm
Yarn Needle
Scissors
Stitch Markers, optional. You may want to use it to keep track of your rows. However, we used our tape measure to help make sure that each rectangle was the same size.
Abbreviations
- CH = Chain
- HDC = Half Double Crochet
- SC = Single Crochet
- SK = Skip
- SL ST = Slip Stitch
- SP = Space
- ST = Stitch
- STs = Stitches
- YO = Yarn Over
- [ ] = Repeat Between
Pattern Notes
Written in US Terms.
This bag is constructed of 4 rectangle panels that are seamed together.
Make the Panels to Measurements. When making the 4 panels, if the yarn varies in thickness, like the yarn we used did, make the panels based on measurements, not just number of stitches and rows.
You can adjust the length of the strap based on where you want the bag to hang by increasing or decreasing the rows.
Special Stitches with Video Tutorials of Each
Chain Stitch (CH ST)
Begin the chain stitch by making a slip knot on the crochet hook. Leave about a 5-inch tail on the yarn. Weave this in later.
Next snug up the yarn loop that is on the crochet hook; while it should be firm, it should also be loose enough to slide on the hook with ease.
Keeping the loop on the hook, wrap the yarn over the crochet hook from back to front using the hook to draw the yarn through the loop that is currently on the hook. (The first chain stitch is complete).
HOW TO CROCHET THE CHAIN STITCH video tutorial
Half Double Crochet (HDC)
Yarn over, insert the hook through both loops of the next stitch and pull up a loop. Yarn over and pull through all three loops on the hook. For height, this stitch is between the single crochet and double crochet.
HOW TO CROCHET THE HALF DOUBLE CROCHET STITCH video tutorial
Single Crochet (SC)
Insert the hook, pull up a loop. Yarn over and pull through the two loops on the hook.
HOW TO CROCHET THE SINGLE CROCHET STITCH video tutorial
Slip Stitch (SL ST)
Insert the hook through the loop, yarn over and pull up a loop. Pull the loop through the loop on the hook.
Crochet Pattern
Begin the Tote Bag by Making 4 Rectangle Panels measuring 6.5 inches by 15.5 inches.
We made our four rectangles with the light blue yarn and two and the dark blue multi-colored yarn, two of each.
Begin
Make a slip knot and add a loop to the hook.
Make a foundation chain that measures 6 1/2 inches long. One of our yarn colors was 25 chain stitches and the other took 29 chain stitches to achieve this length. Turn
Row 1
SC in the 2nd CH from the hook and in each ST across. Turn
Row 2
CH 1 (Doesn’t count as a stitch). SC in the same ST and in each ST across. Turn
Row 3 through 40
CH 2 (Counts as a Half Double Crochet). Work a HDC in each ST across. Turn
Note: you may end up with more or less rows depending on the thickness of your yarn. It should measure 15 ½ inches.
Finishing
Cut off about a 20-inch yarn tail. Pull the yarn through the last loop on the hook. Let it hang as you will be using this later to sew the rectangles together. Use the tapestry needle to weave in the yarn tail from the first row of chain stitches.
Repeat this process 3 more times for the next 3 rectangles.
Arrange Panels
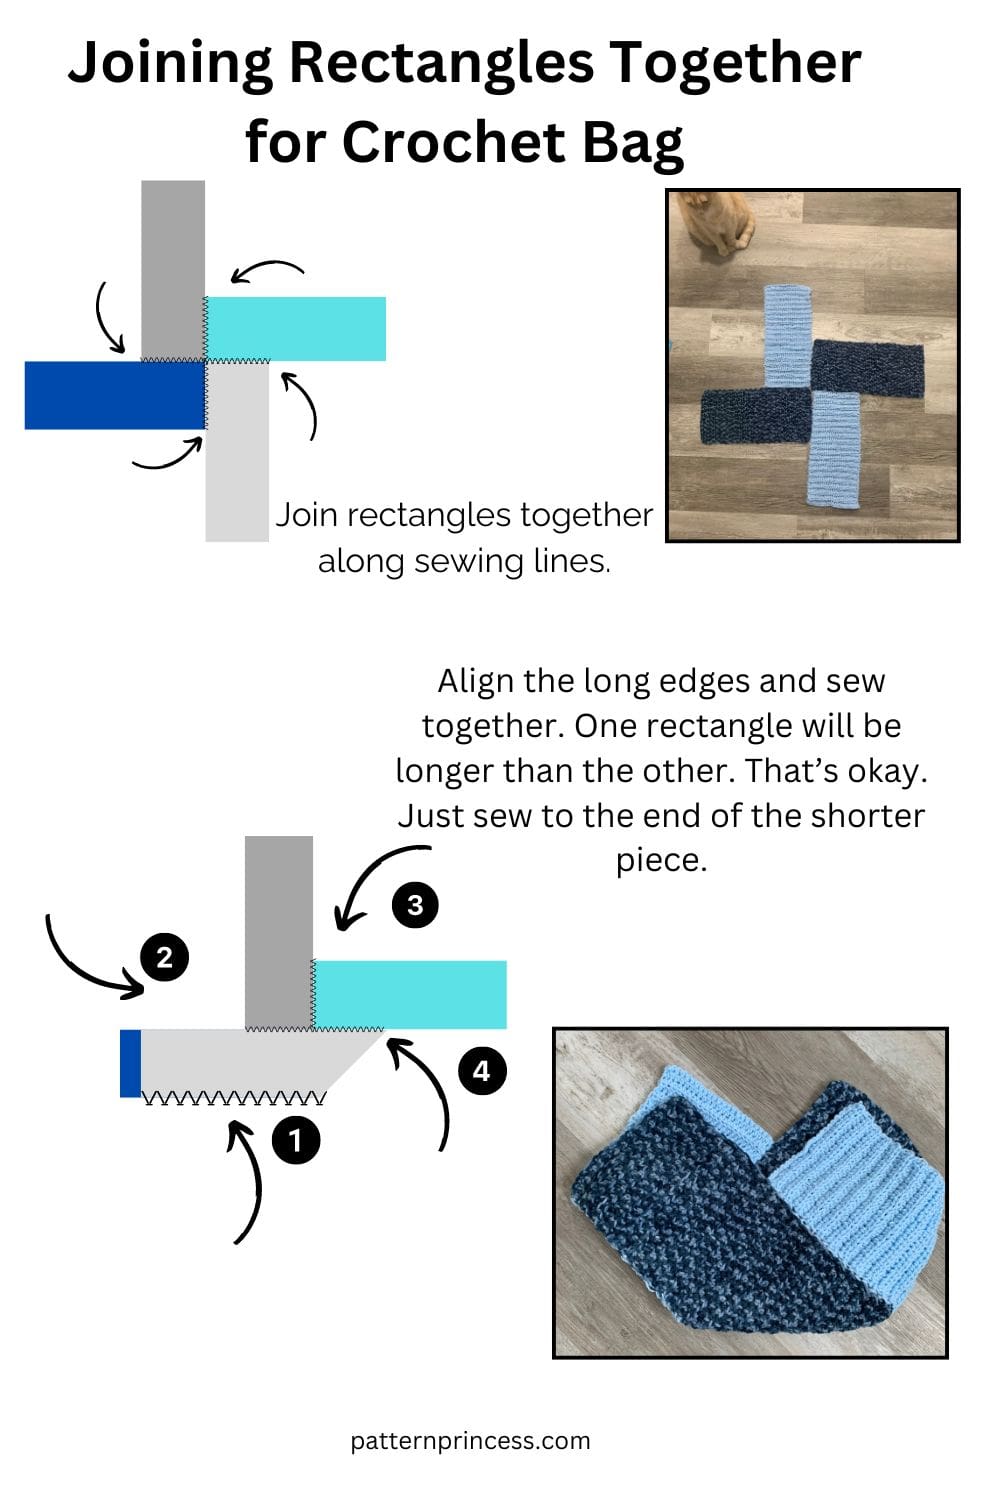
To arrange panels, lay them down wrong side up and lay one panel short side along the long side of the next (perpendicular) keeping it flush to one edge, just do all of them the same way. All panels should have a corner in the center. As indicated in the diagram.
I found it was easier to join where the bottom squares met first. Then I seamed the rest of the rectangle together. Note: When joining, you will notice one side is longer than the other. Not to worry, it is supposed to be. Just make sure that you align the stitches and sew the seams together.
Begin to form the bag by using the tails to sew the short edges to the long edges of each panel.
To stitch up the sides of the bag, pick a spot to begin and bring the remaining long sides together. It’s ok that they don’t line up as this excess will form the top of the bag.
Weave in the Yarn Tails
Use the tapestry needle to weave in the yarn tails on the back side of the work. I like to weave back and forth 3 to 5 times. Cut off the excess yarn.
Adding the Fringe
Turn bag right side out.
Add fringe on the two sides of the bag where the two colors meet.
Join the yarn to a ST on the side. YO and pull up a loop 5 to 7 inches long. While keeping the loop on the hook. Twist the yarn 15 to 21 times depending on the length of your beginning loop. I like to tape a tape measure on the table and pull my loop out to the same length each time. I made mine 7 inches and twisted 21 times.
Fold the twisted yarn in half over a free finger. It should still be on the hook.
Push the hook into the same ST and work a SL ST (YO and bring the loop through the loop on the hook).
You can tug on it gently to straighten it out more.
Work a SL ST in the next ST and repeat the process of making the twisted fringe. Continue to do this until there is fringe in each stitch on both sides of the bag.
Crocheting the Top of the Bag
Lay the bag flat so it is easier to tell where the sides of the bag are. The sides will be longer than the middle.
Using the third color or your desired color, SL ST onto the mouth of the bag on one of the flat sides where the two colors meet in a “V” shape. Work a SC around the top of the bag’s edge. It helps secure the rectangles and gives a nice base to work the handle.
Tie off and weave ends.
Crocheting the Handle
Your fringe marks the center of each side of the bag. Using the third color and that fringe row as a guide, work 7 SC on the SC rim you just made with the 4th SC landing on the fringe/side center.
Row 1
CH 1 (Doesn’t count as a stitch). Work SC in the same stitch and in each one across. Turn.
Row 2 through 104
Continue to repeat row 1 until the strap measures 23 inches long or your desired length.
Row 105
In this row, you will be joining the strap to the other side of the bag. Make sure not to twist the strap.
Secure the handle on the opposite side by working the SC through the SC you had worked as the rim, making sure again to line up the 4th SC ST on the center of the side using the fringe as a guide.
Finishing
Cut off the yarn leaving about a 10-inch yarn tail. Pull it through the last loop. Use the tapestry needle to weave in the yarn tails on the back side of the work. Cut off the excess yarn.
Done!
This is just a practical project and great way to use up some yarn scraps. If you like crochet purses and bags using this round shape, we also have a free pattern for a Retro Daisy Tote Bag you might want to check out.
We hope you enjoyed this free crochet pattern. Here are a few others to inspire your next project.

You can find Victoria crocheting, quilting, and creating recipes. She has cooked in restaurants for over 20 years, including many larger parties. She learned to crochet when she was just 11 years old and has been crocheting ever since; over 50 years now. Over 40 years ago, she loved her first class in sewing and continues to hone her skills in quilting. Many have enjoyed the handmade gifts over the years. In her professional career, she has worked in management in a wide variety of businesses including higher education as a dean of a division. All the while attending college part-time to achieve her doctorate in higher education with an emphasis in e-learning.
