Last updated on March 27th, 2026 at 09:46 am
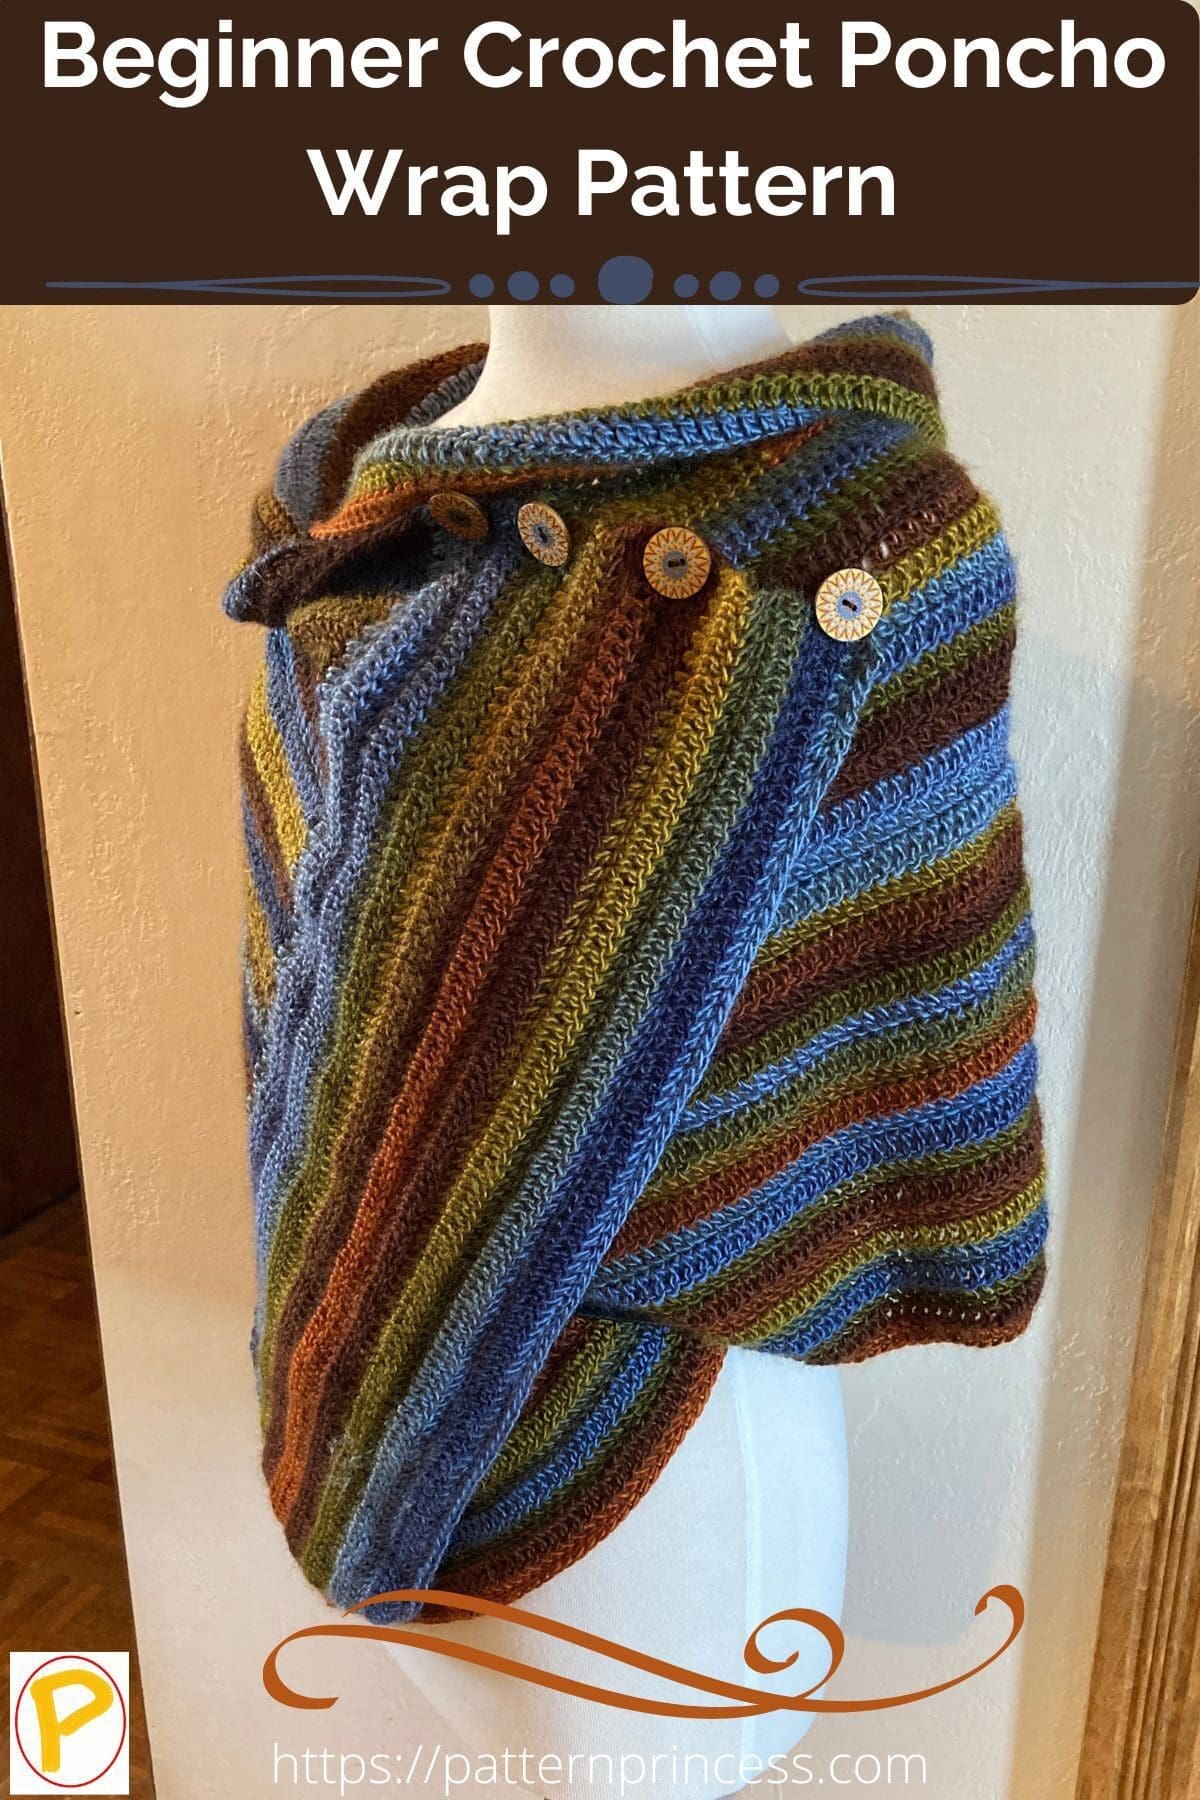
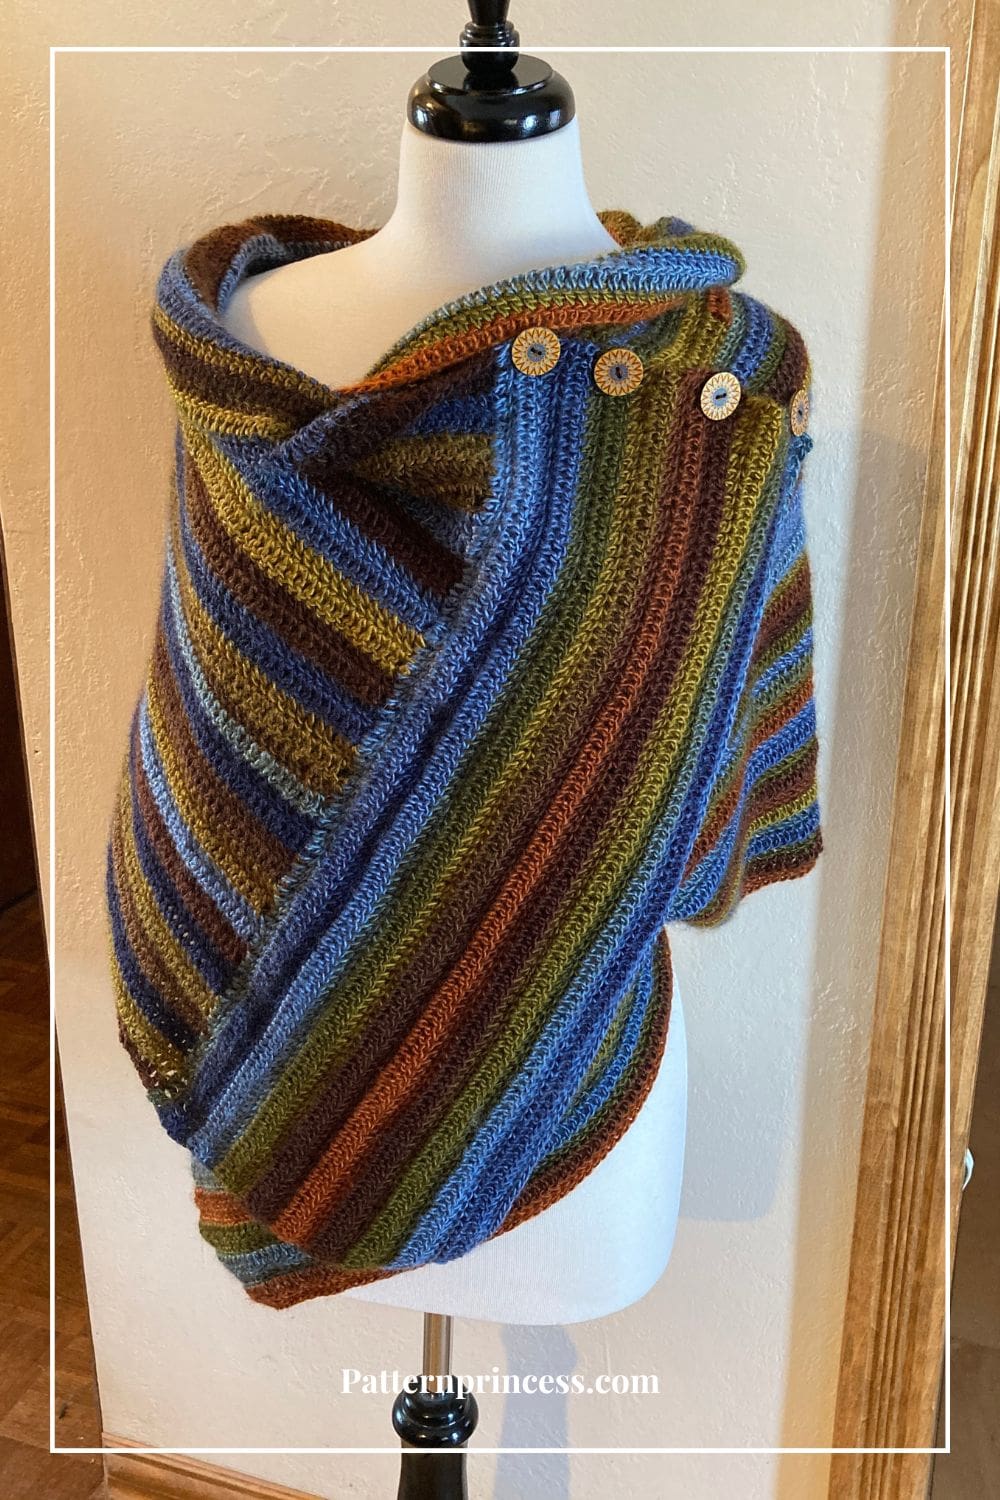
With simple stitches and minimal shaping, this Beginner Crochet Poncho Wrap pattern is perfect for those just starting out with crochet.
Are you new to crochet and looking for an easy project to get started? Look no further than this beginner crochet poncho wrap free pattern. Plus, the result is a stylish and cozy wrap that you’ll love to wear all season long.
Ponchos are a versatile and stylish addition to any wardrobe, and with this beginner crochet pattern, you can make your own.
Even if you’re new to crochet, this pattern is easy to follow and produces a beautiful finished product.
Whether you’re looking for a cozy layer to wear on chilly days during the winter months or a fashionable accessory to dress up any outfit, this poncho wrap has got you covered.
What is a crochet poncho?
There are different types of Ponchos from simple rectangles to easy triangles or even asymmetrical style. Often, they are worked using a beginner stitch pattern such as single crochet, half double crochet, or Double crochet stitches.
However, overall, a crochet Poncho is a loose-fitting crochet garment. It is a stylish coverup and great for layering and comfort wear. They can be lacy for that sheer cover or solid stitch to keep you warm during the fall and winter season.
No matter the style, there is either a hole in the center for the head to pass through or the oversized wrap is secured with complimentary buttons or a brooch.
This helps hold the long rectangular sections in place as it is styled as a poncho. With the fabric hanging down from the shoulders and covering the torso and arms.
Sometimes, ponchos are made with a cowl neck. Currently, I am working on another free crochet pattern for a lovely cotton yarn. This one will be made using two rectangles joined. I plan on adding a cowl for the neck and head opening after I join the shoulder seams.
Crochet Blog Hop
As the weather cools and the skies clear, what better way to add a dash of style to your fall wardrobe. This pattern is part of a blog hop that features a different crochet designer each day throughout the month of September 2024. Make sure to check out the Shrugs & Wraps that Hug Blog Hop for more information.
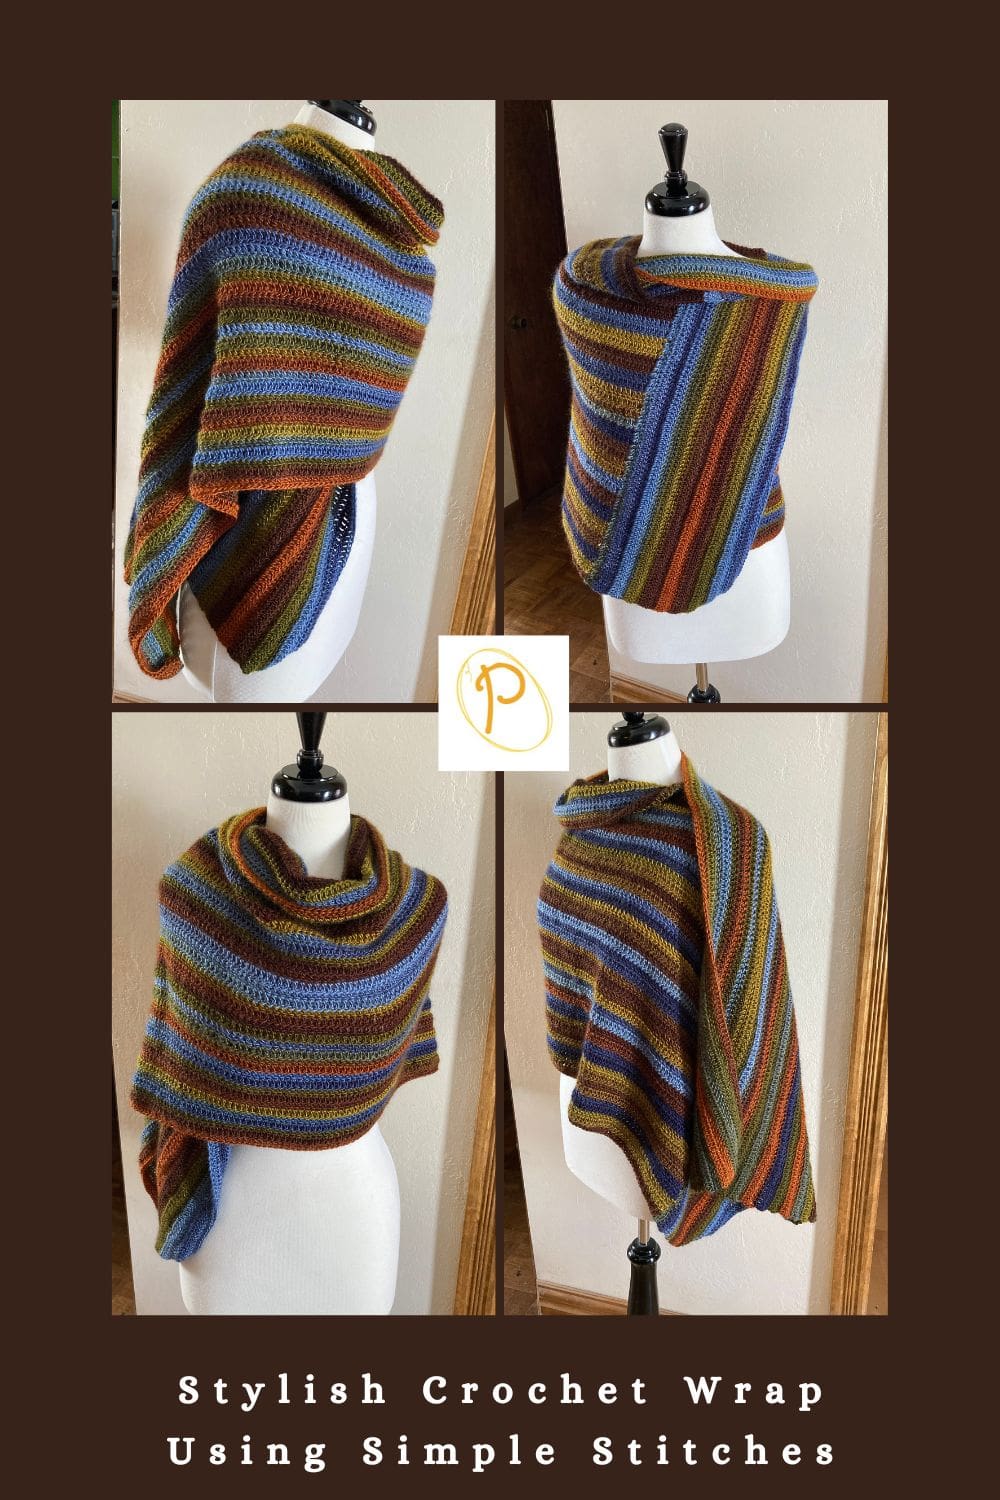
They make a great addition to your wardrobe and there are so many different styles and many ways to style one too. Because of the generous side and drape, it is often complimentary for many body types.
Are Ponchos Easy to Crochet?
Ponchos are great choice for beginner crocheters. However, all levels of crocheters find easy patterns fun to work. Since they are often made using simple rectangles and basic crochet stitches, they work up quick.
Additionally, due to the relaxed fit without shaping or sleeves, it is easy to find that perfect fit. They are great for DIY gifting.
Easy Crochet Poncho Patterns
Crochet is a wonderful hobby that allows you to create beautiful, handmade items for yourself and your loved ones. If you’re just getting started with crochet, this beginner poncho wrap pattern is a great place to begin.
You’ll be able to create a stylish and functional wrap that you can be proud of.
However, I have three more free poncho crochet patterns to share with you. So, if you love the look and versatility of wraps and ponchos, these are for you.

These ponchos and wraps use various styles to create a stylish crochet poncho. Find the next perfect choice for your crochet projects.
Another simple poncho pattern is the Secret Pathways Triangle Poncho.
This is one of those classic designs. For this beginner pattern a simple stitch pattern paired with beautiful yarn colors creates a lovely accessory.
You make two triangle shawls using the granny stitch cluster. Then simply join the shawls at the shoulder seams and sides if you wish. To adjust the size, just make increase or decrease the rows crocheted for the triangle shawls.
This dancing baubles rectangular shawl poncho is an easy rectangular crochet pattern that is worked up in a lightweight yarn. It can be worn as a wrap or pin in place with a stylish pin and you have a poncho.
Holiday Celebration Crochet Poncho Wrap. This asymmetrical triangular pattern is beginner-friendly and easy to follow. With just a few basic stitches, you’ll have a beautiful poncho wrap in no time.

About This Pattern for Crochet Poncho for Beginners
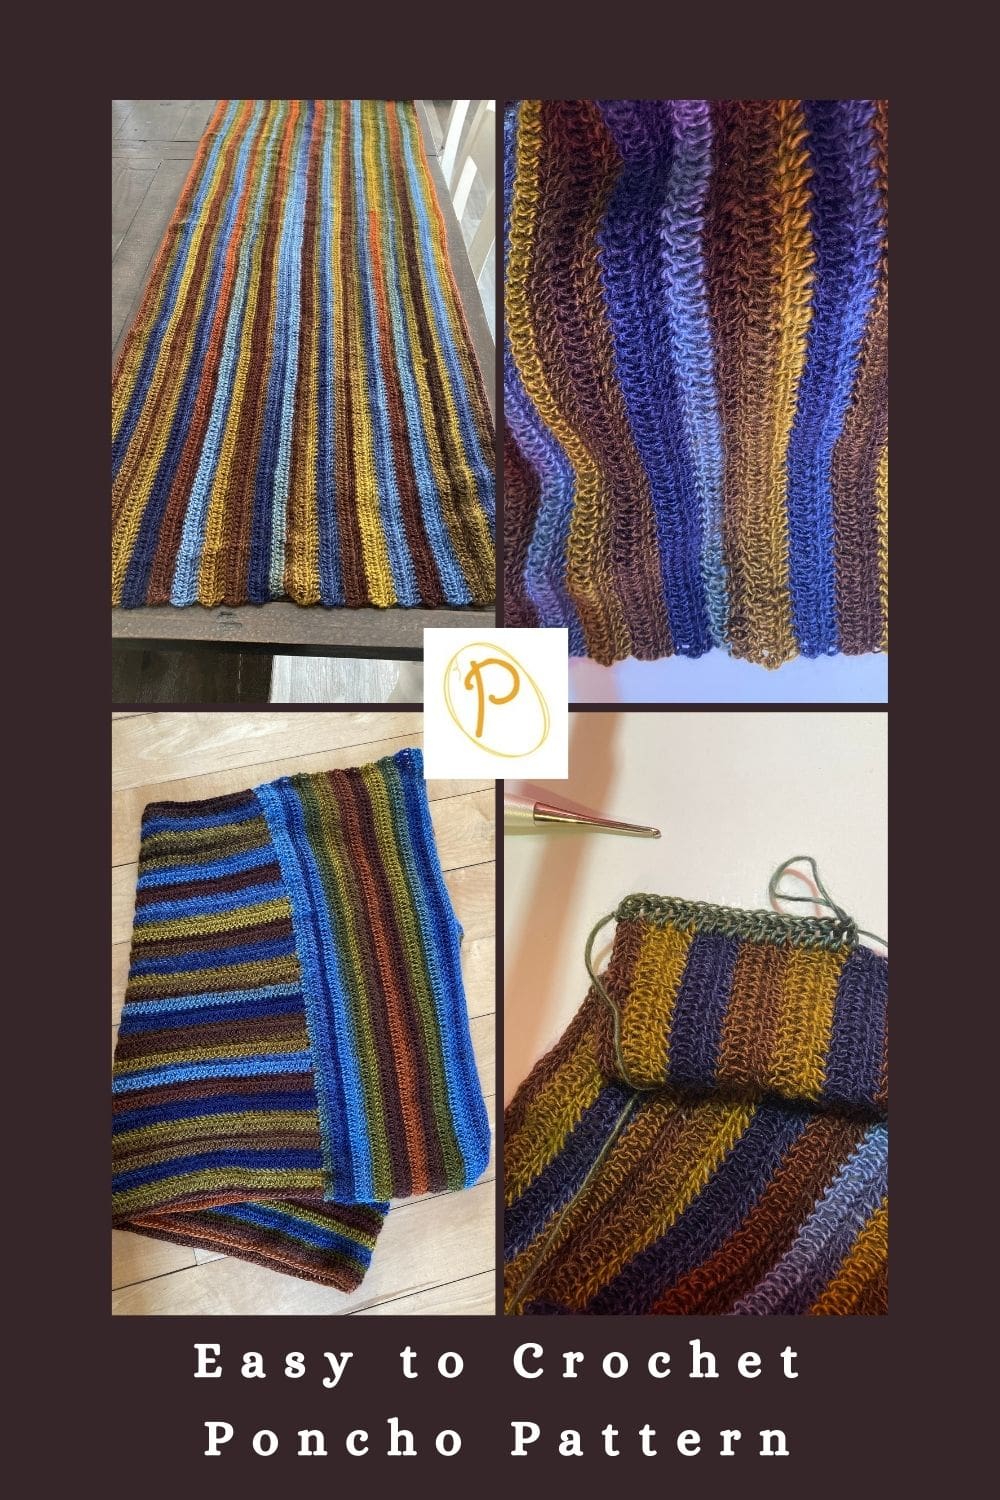
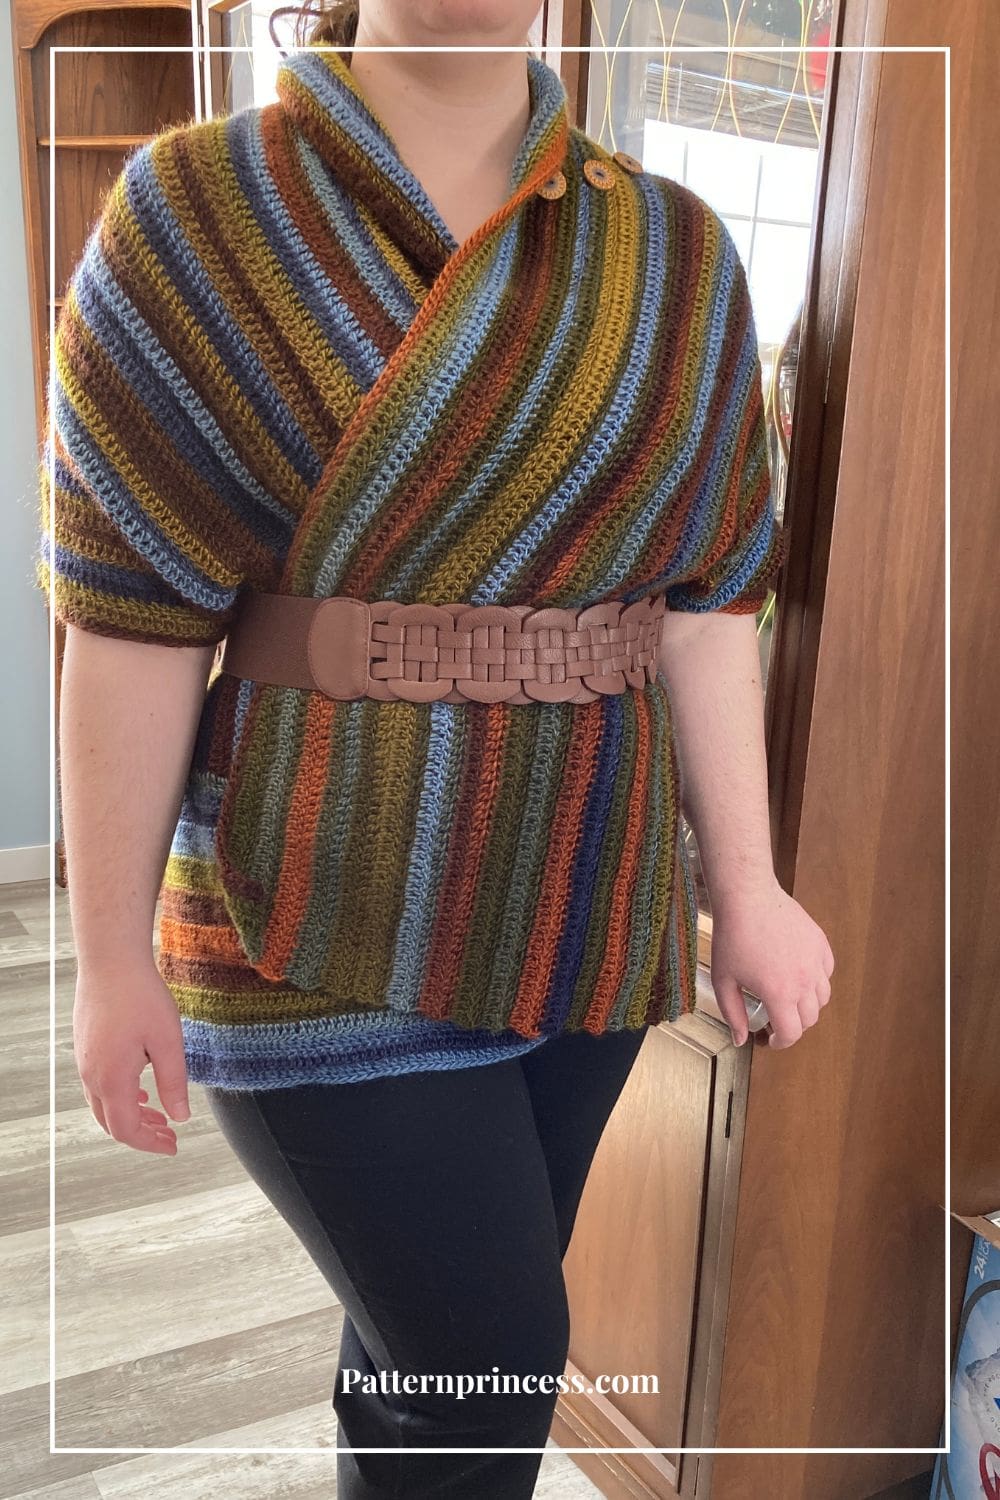
A little about this easy pattern. But first, the best part. It uses basic crochet stitches like the double crochet stitch. The vertical lines are achieved by using variegated yarn. The main body of the wrap is worked lengthwise in a large rectangle, which creates a gorgeous slimming effect.
However, on one end, the double crochet stitches are worked into the side of the poncho. This not only provides an interesting visual effect, when buttoned, the lines are vertical too.
Simple Rectangle Shape
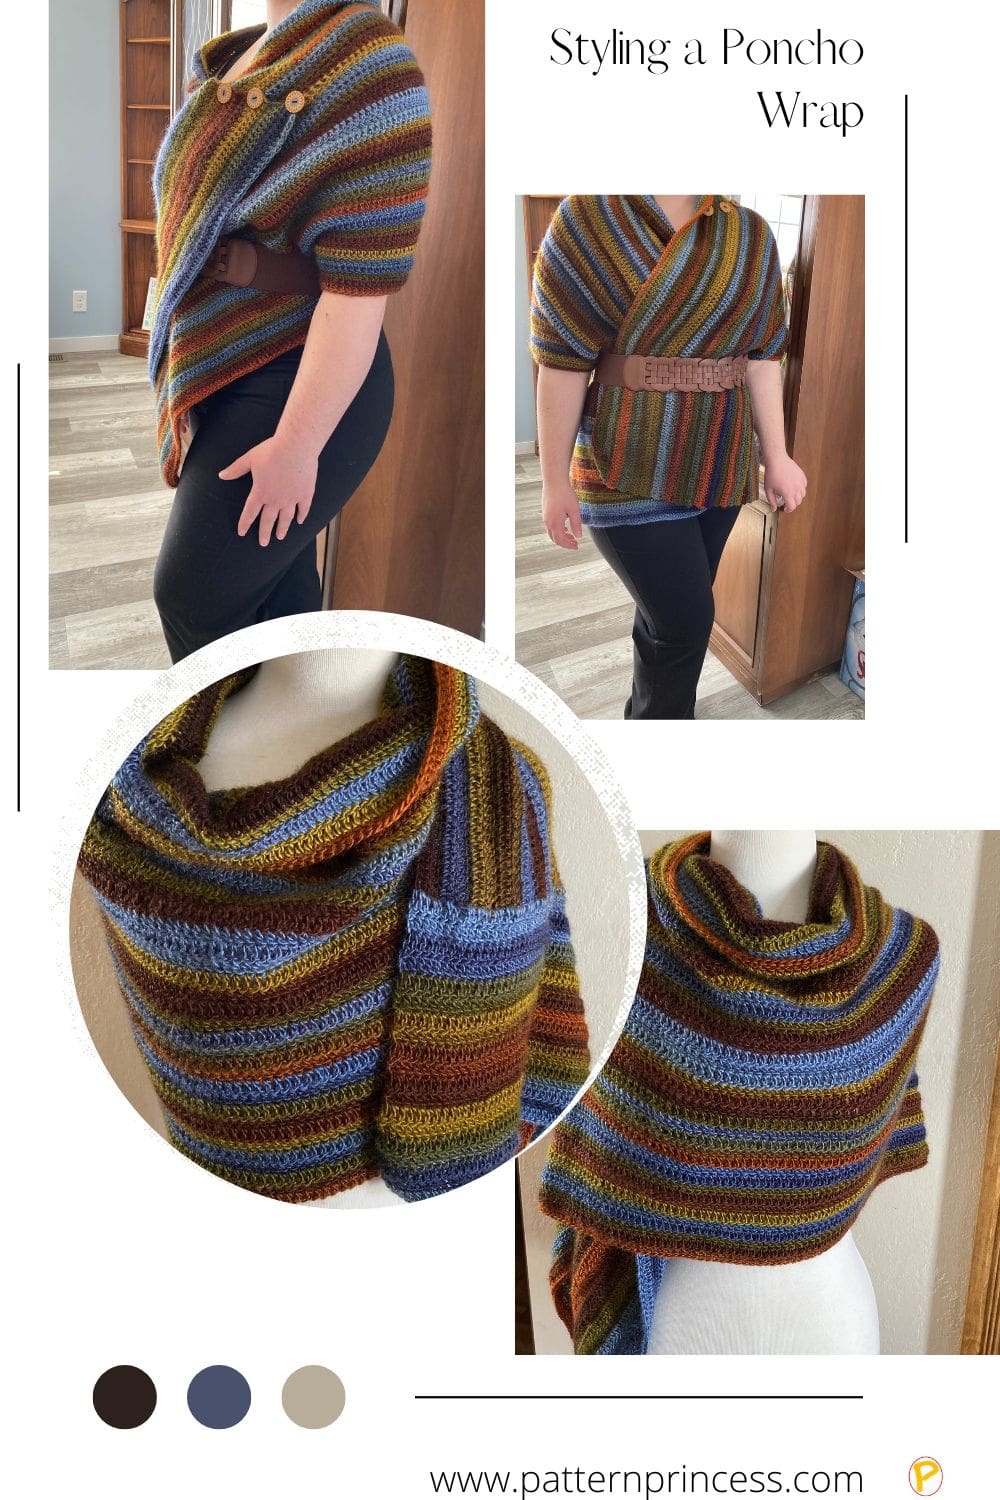
It’s a simple shape, but it can be styled in a wide variety of modern and comfortable ways.
Once you get past the beginning chain stitch row, it is really not necessary to track stitch counts. Just make sure that you are crocheting into the last stitch of the previous row. Which is the top Chain space of the beginning chain three of the previous row.
If you are a new crocheter, you might want to use stitch markers inserted into that stitch. It will assure that you are crocheting into the last stitch. This will give you nice and straight edges.
The simple design makes this easy crochet project a very fun project to work. Even if you are a newer crocheter. This features a one-row repeat. The clear instructions help with the pattern along with photos and video tutorials.
Make this in various colors, a solid color, two-toned colors, or variegated yarn. Use worsted weight yarn for beautiful texture. Or use a fingering yarn for a completely different look. Just make sure to measure the length of the beginning chain stitch row so you end up with your desired size garment.
Crocheting your own wearables is a perfect way to tailor this pattern to your personal size by starting with more or less chain stitches and crocheting more or less rows.
Directions: Beginner Crochet Poncho Wrap Pattern
Skill Level
Beginner
Finished Size
The finished measurement is 81-inches long x 26-inches wide. The center panel is 73” X 26” and the side panel is 8” X 26”.
Changing the size. To make longer or shorter, add or remove stitches from the beginning chain stitches. Make this wider or narrower by adding or decreasing the rows.
Gauge
16 stitches every 4-inches. 9 double crochet rows every 4—inches.
Post contains affiliate links, and we earn commissions if you shop through the links on this page. For more information, please read the disclosure section under the About Us page.
Materials
Red Heart Unforgettable in the Woodlands color. 5 skeins or 1,282 yards. If you are not able to find the yarn locally, you can find it on Amazon.
Size H Crochet Hook 5.0 mm
Tapestry Needle
Scissors
4, 1-inch buttons. These are the buttons I chose. I ordered them through Amazon.
Needle
Thread
Abbreviations
- CH = Chain
- DC = Double Crochet
- SP = Space
- ST = Stitch
- STs = Stitches
- [ ] = Repeat Between
Pattern Notes
The chain three at the beginning of each row counts as a double crochet.
Turn the work after each row.
The center body of the poncho is worked first. Then the side panel is crocheted onto one side.
Sizing the Poncho Wrap Pattern. Measure your bust size, neck circumference, your arm length, and your torso. This can help you determine how long and wide you desire for your own project.
Center Body Panel
Begin
Chain 220 STs
Row 1
In the fourth CH from the hook work a DC and in each ST across. Turn
Row 2
CH 3 (Counts as DC), work a DC in the first ST and each ST across. Turn
Rows 3 – 45
Repeat row 2.
Finishing
Weave in the yarn ends before adding the side panel.
Cut off the yarn leaving a 10-inch tail or so. Pull the end of the yarn through the last stitch loop to secure. Weave in yarn ends and snip off excess yarn before staring the side panel.
Side Panel
Row 1
Join the yarn in a corner ST on your preferred end of the center body panel of the poncho. CH 3 (Counts as DC). Work 2 DC STs for each DC ST. Here is what I did. [1 DC in the DC SP and 1 DC where the DC ST starts]. Repeat across to the end of the row. Turn.
Note: the reason I don’t just work 2 DC in each DC SP is that it pulls more this way. I like to place just 1 in the DC SP and 1 at the base of the DC ST itself as it holds in place better.
Rows 2 – 19
CH 3 (Counts as DC), work a DC in the first ST and each ST across. Turn
Finishing
Cut off the yarn leaving a 10-inch tail or so. Pull the end of the yarn through the last stitch loop to secure. Weave in yarn ends and snip off excess yarn.
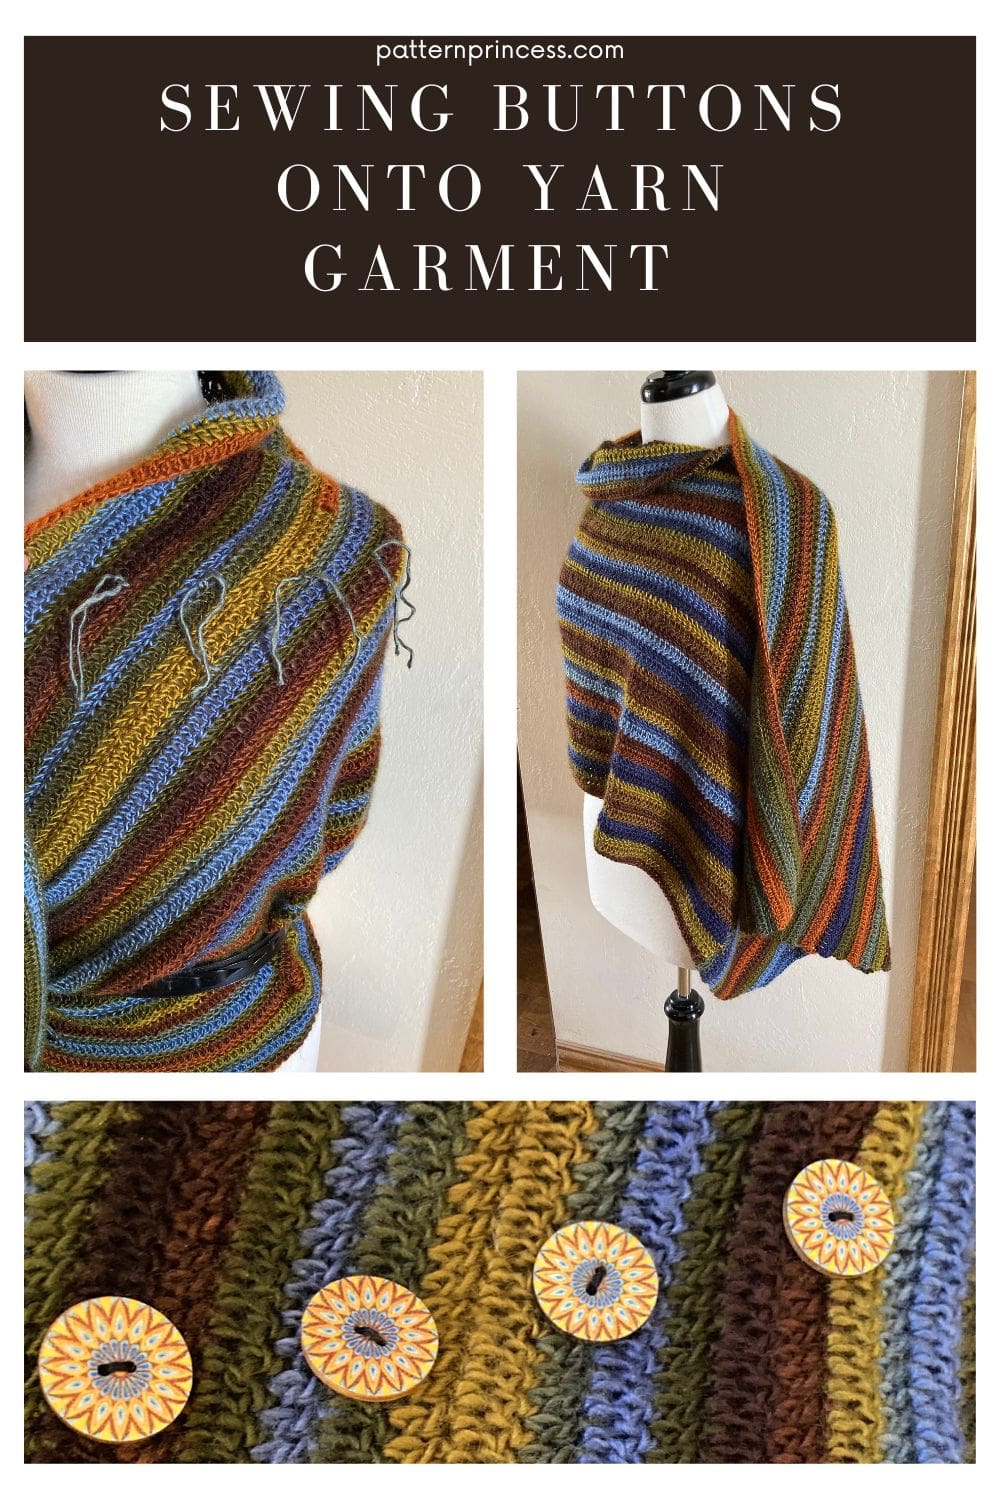
Sewing on the Buttons
Determine where you want the side panel to button on the center panel and sew the four buttons in place.
Mark the Button Placement with Yarn. I styled the wrap and determined how I wanted the front panel to hang. Then I used scrap pieces of yarn to mark where I wanted the buttons to attach. It made it very easy to sew the buttons in the correct place.
If you use the 1-inch buttons, you will not have to crochet any buttonholes.
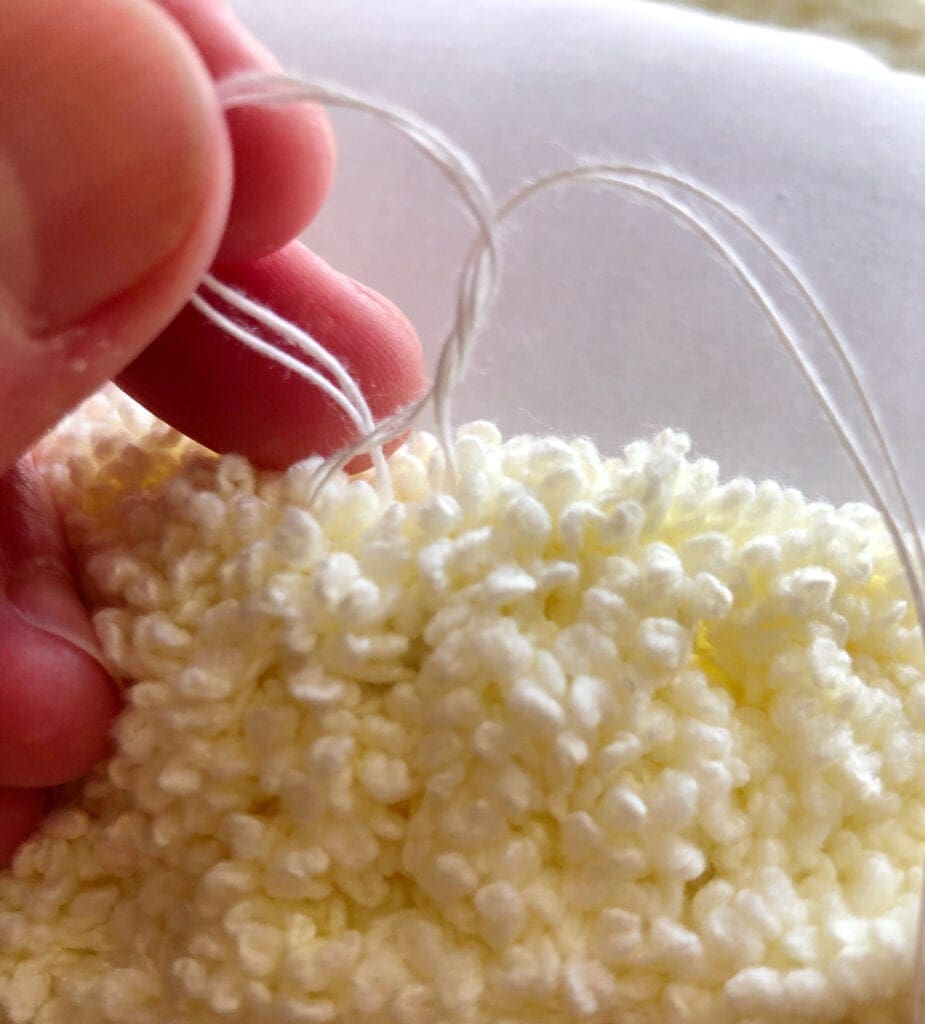
Threading the Needle and Securing with a Knot
Use about a 20 inch piece of thread that is folded in half and joined with a knot. This will give you about a 10-inch piece of double thickness thread.
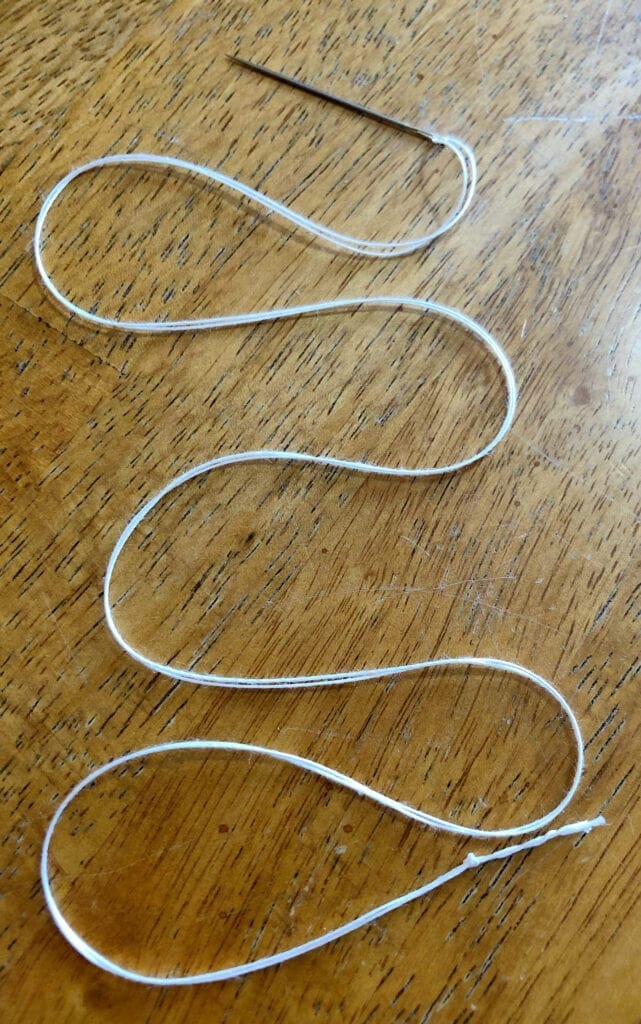
This makes the thread stronger and it will require less passes through the button holes to secure. The know at the end is a great way to secure your thread without pulling through the holes.
The photos used for showing how to sew a button on are from a fluffy crochet pillow cover. Use this link for the free pillow cover pattern with buttons.
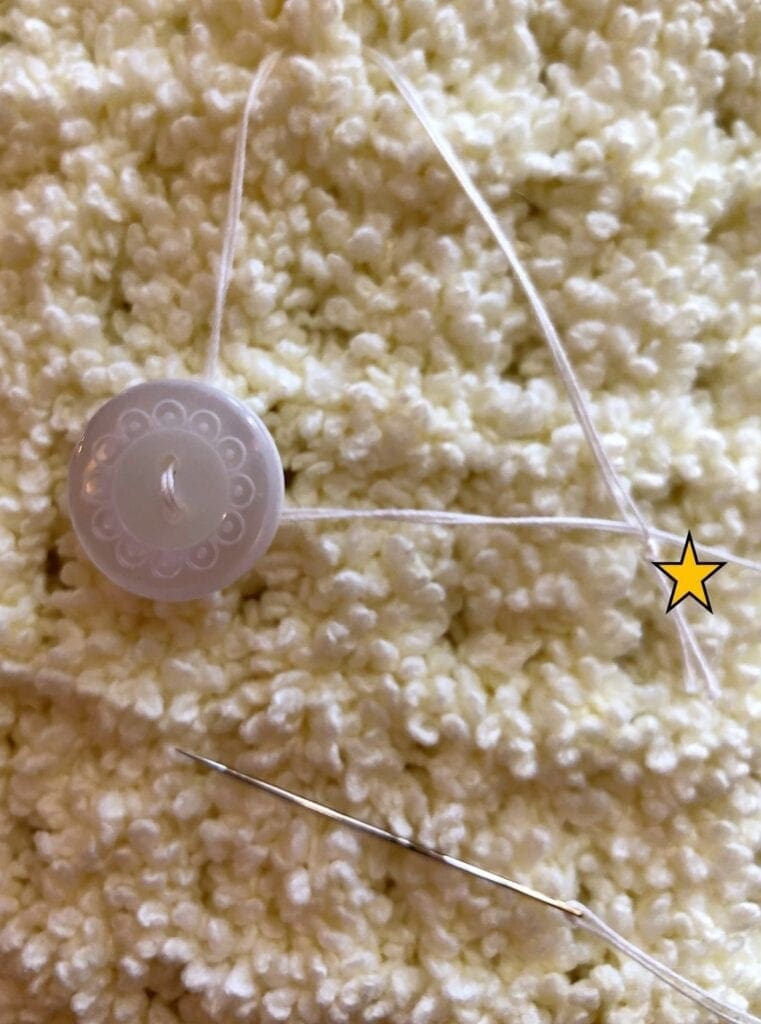
Insert the needle where the first button will be placed. Add the button inserting the needle in a buttonhole. Pull the thread through but not all the way. Insert the needle in an opposite hole to make the pass back down through the yarn. When bringing the needle down through the yarn, insert it through the two strands of thread just above the knot. Then gently snug up all the thread on both sides of the button.
Make a few more passes with the needle and thread. Move the needle slightly over where you think the other buttonhole is and push the needle back up through the crochet.
Repeat inserting the needle through one hole on the way down through the crochet and bringing the needle back up through the other hole. About 3 or 4 times.

Now it is time to tie off the thread to hold it secure.
Tying Off Thread to Hold it Secure When Sewing on a Button
Securing and tying off the thread is worked on the underside (inside) of the poncho wrap.
Insert the needle across the area that you just sewed catching some of the yarn. Bring the thread almost through, but not all the way.
Make a Knot to Secure. Wrap the needle around the thread loop three times. Then gently pull the loop closed. This makes a knot when pulled snug.
The photo below shows how this will look as you begin to pull the thread and close the loop.
Below, is the photo showing the thread is knotted and secure.
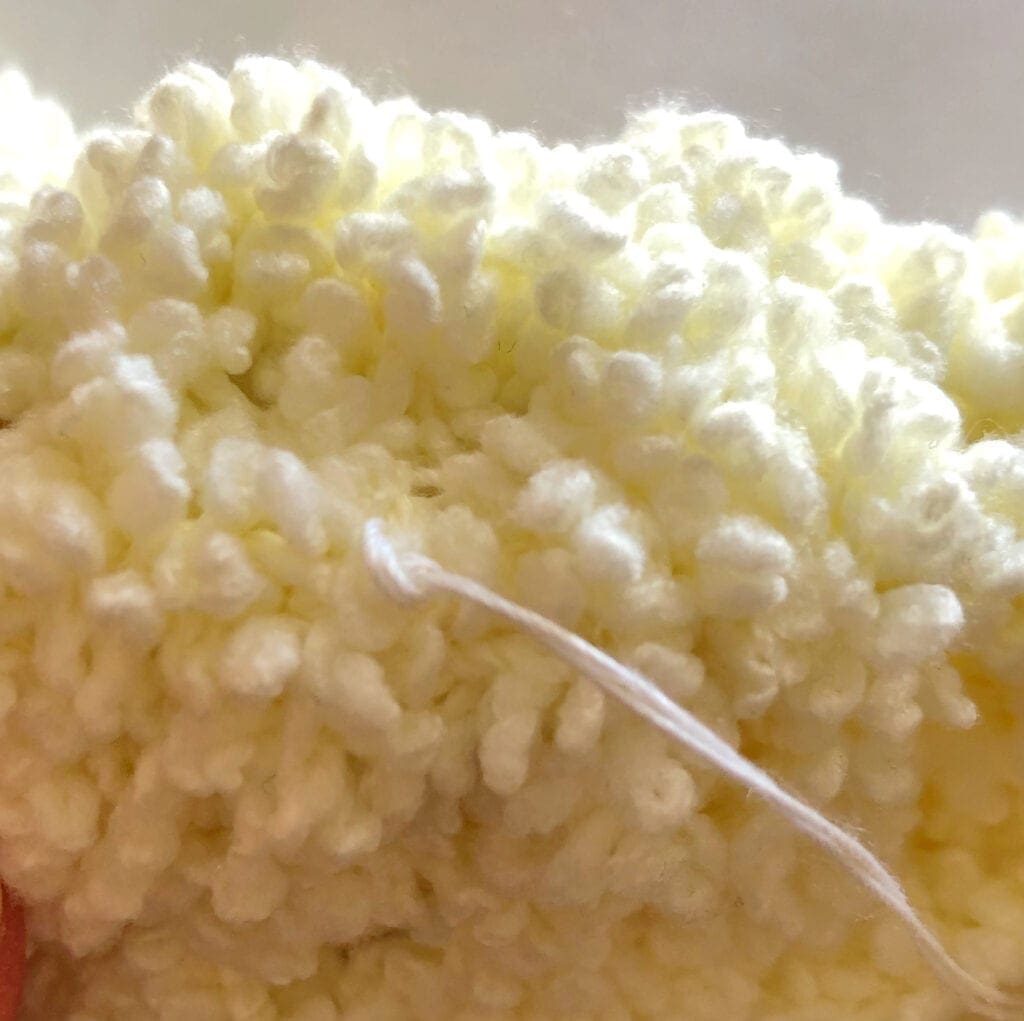
I generally will go through and make one more knot just to be certain that things are secure.
Continue sewing on the rest of your buttons.
Your crochet poncho or crochet wrap is ready for you to use.
Crochet Video Tutorials on How to Crochet a Beginner Rectangle Poncho
Right Hand
Left Hand

You can find Victoria crocheting, quilting, and creating recipes. She has cooked in restaurants for over 20 years, including many larger parties. She learned to crochet when she was just 11 years old and has been crocheting ever since; over 50 years now. Over 40 years ago, she loved her first class in sewing and continues to hone her skills in quilting. Many have enjoyed the handmade gifts over the years. In her professional career, she has worked in management in a wide variety of businesses including higher education as a dean of a division. All the while attending college part-time to achieve her doctorate in higher education with an emphasis in e-learning.
Hi! I love your patterns, but I have one tiny little request! I got the free PDF download for this pattern through the blog hop. However, the PDF doesn’t contain large pictures of the Poncho Wrap, so I can’t see what it looks like when I’m looking at the thumbnail images of my pattern collection for something to make!
Please add large pictures of your patterns to the front page!! Thank you very much!
Kelly
Hi Kelly,
Can do. Thanks for letting us know. Sometimes, we worry about adding too much to the PDF to make it too large a file. We’ll adjust.
Vicky
Fellow Blog hoppers, if you are an Android user, and you didn’t find this pattern on the Free PDFs download page, try another browser! Firefox worked for me!