Last updated on June 18th, 2026 at 11:39 am
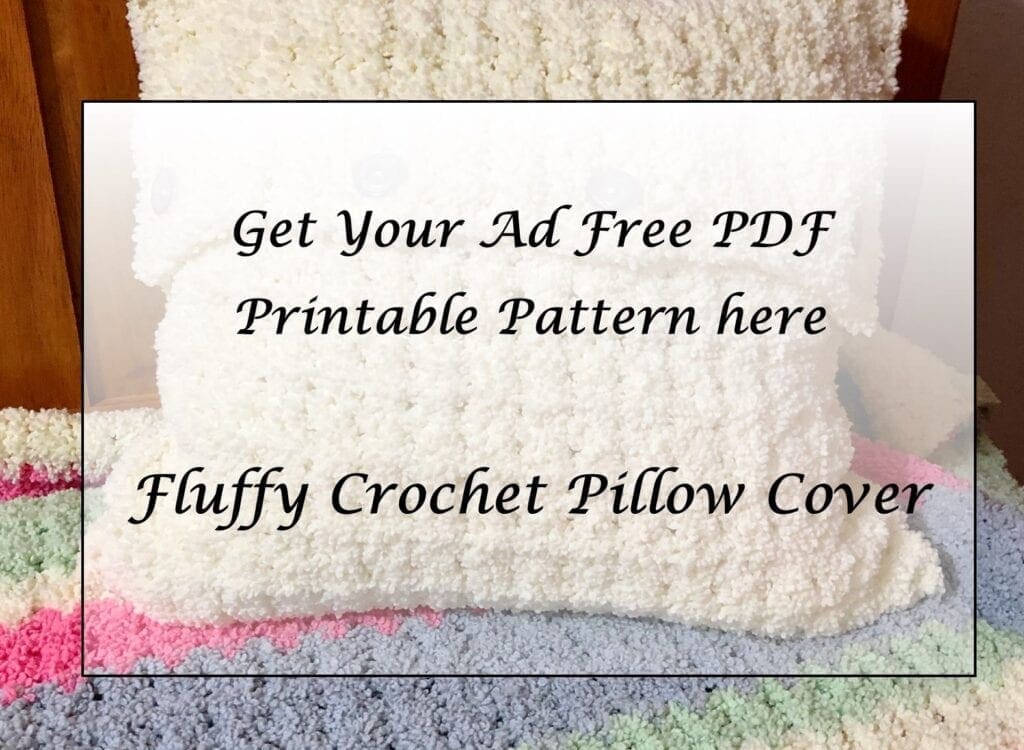
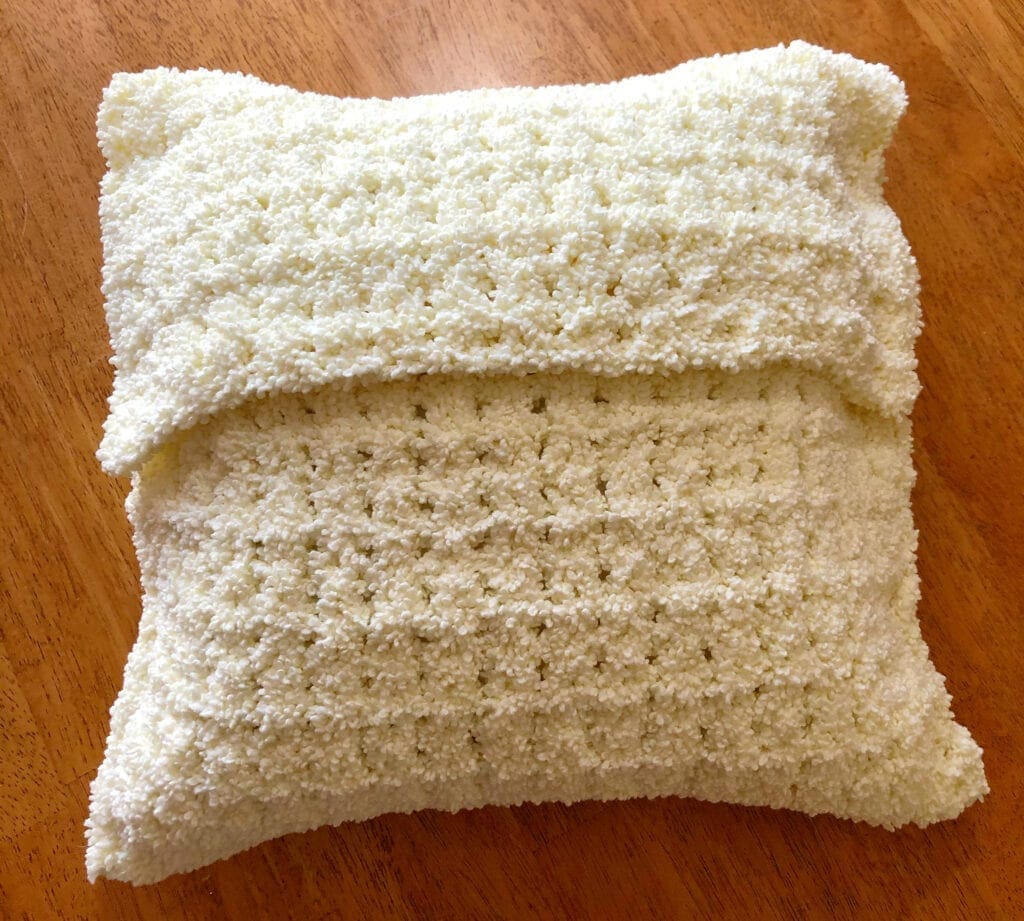
This fluffy crochet pillow cover works up very quickly. Make this pattern in a weekend. The yarn is paired with easy crochet stitches to make a snuggly and soft covering. Sew on some pretty buttons and you are all set.
Why use a Throw Pillow Cover?
They are one of my favorite home decor accessory because they’re the easiest way to update a space! Keep the same pillow and swap out the covers. If someone spills on the cover, no worries, remove it and wash it.
Save space and money too. It is not necessary to store the entire pillow between seasons or changing your home decor. Simply keep the same pillow inserts and use throw pillow covers. Therefore, all you have to store are the pillow coverings.
They are an easy way to update your home decor.

Style Your Home with Your Own Handmade Pillow Covering
In the past, I have sewn pillow coverings. However, today, I made a crochet throw pillow covering.
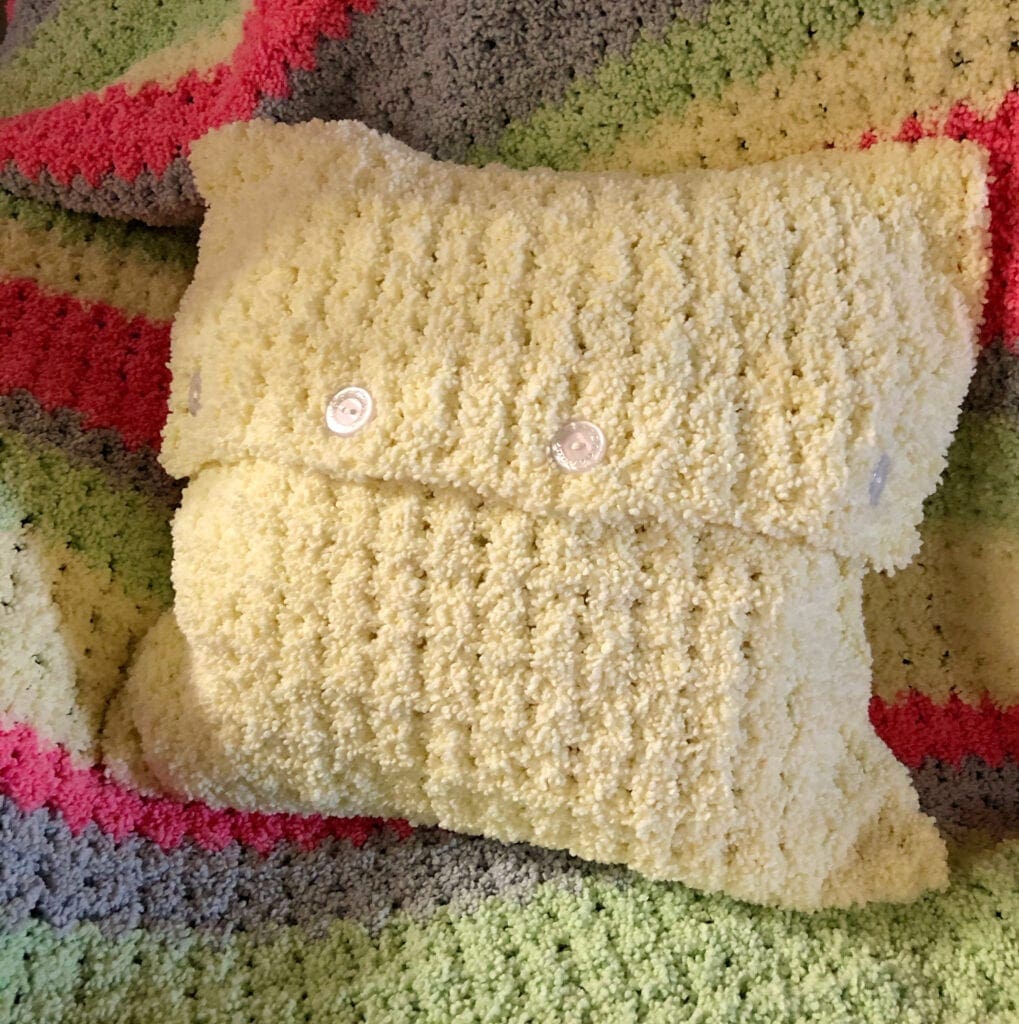
The yarn used today is a light yellow called Lemonade Baby Soft Boucle. It is very fluffy yarn and I just love the snuggle factor too. The whole family has a hard time keeping their hands off this pillow.

Baby Soft Boucle Yarn
When I first purchased this yarn on sale, I really didn’t know what I was getting. It seems we have all been there once or twice in our yarn purchasing. However, I didn’t just get one or two skeins.
Oh no…I purchase an entire case of different colors. When I first looked at this yarn, I was stumped on what to make with it.
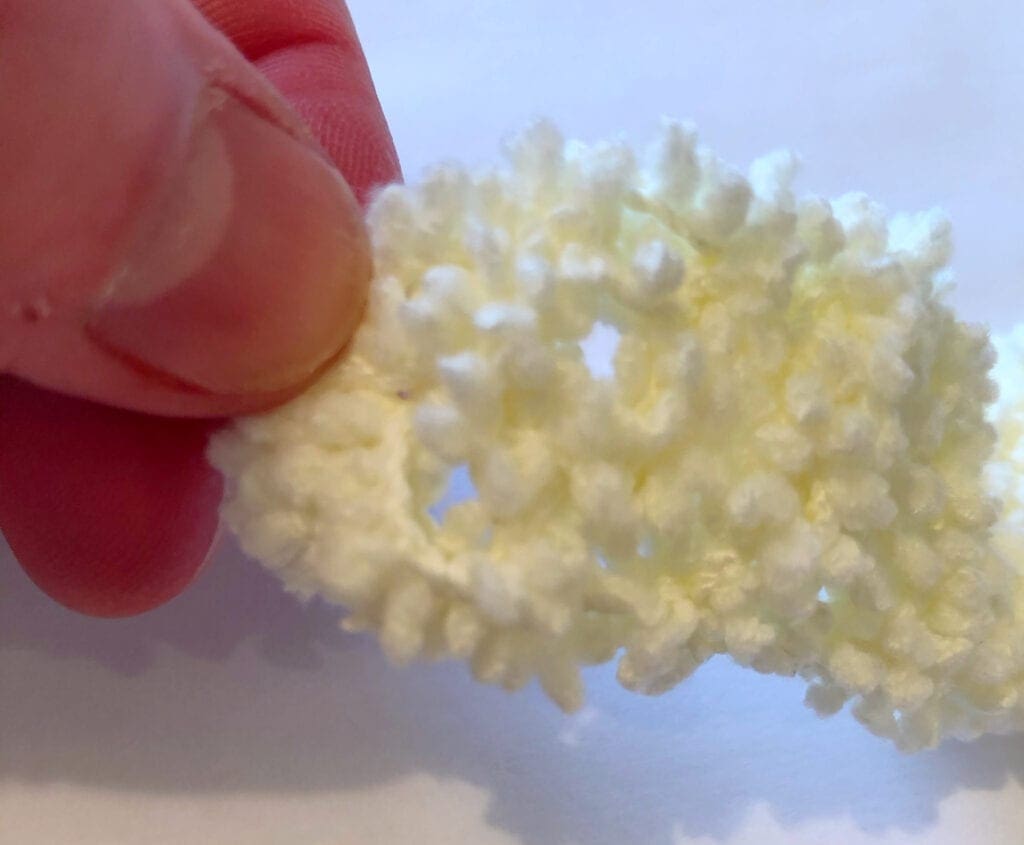
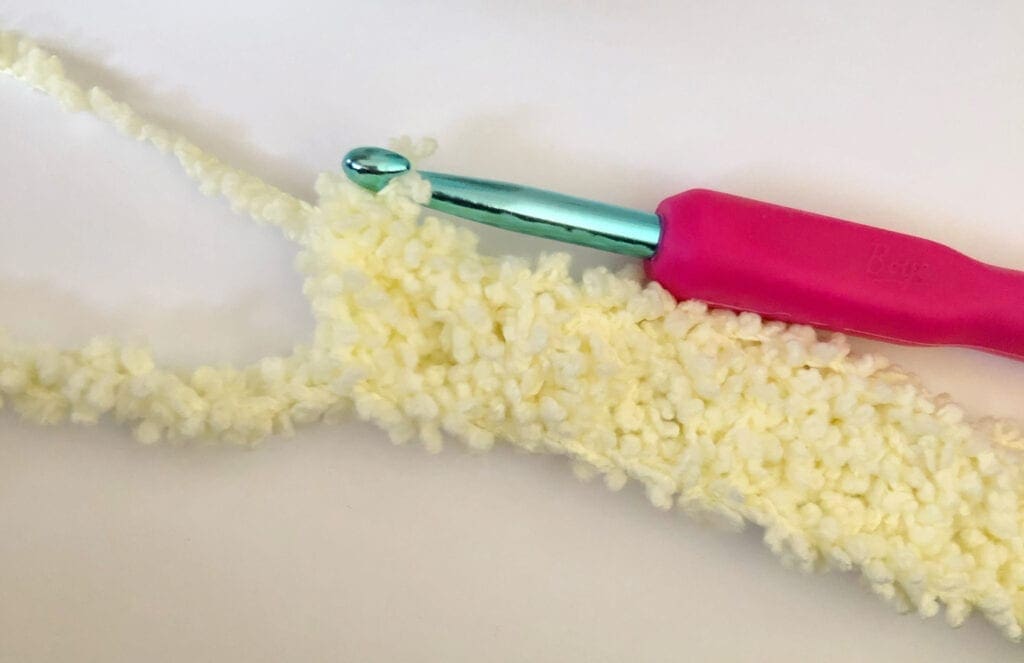
Upon crocheting with my first skein, it was evident that the stitches would be hard to see. Therefore, I needed to find a crochet pattern that would work with the yarn rather than against it.
The v-stitch was a perfect fit.
Other Crochet Projects With This Yarn
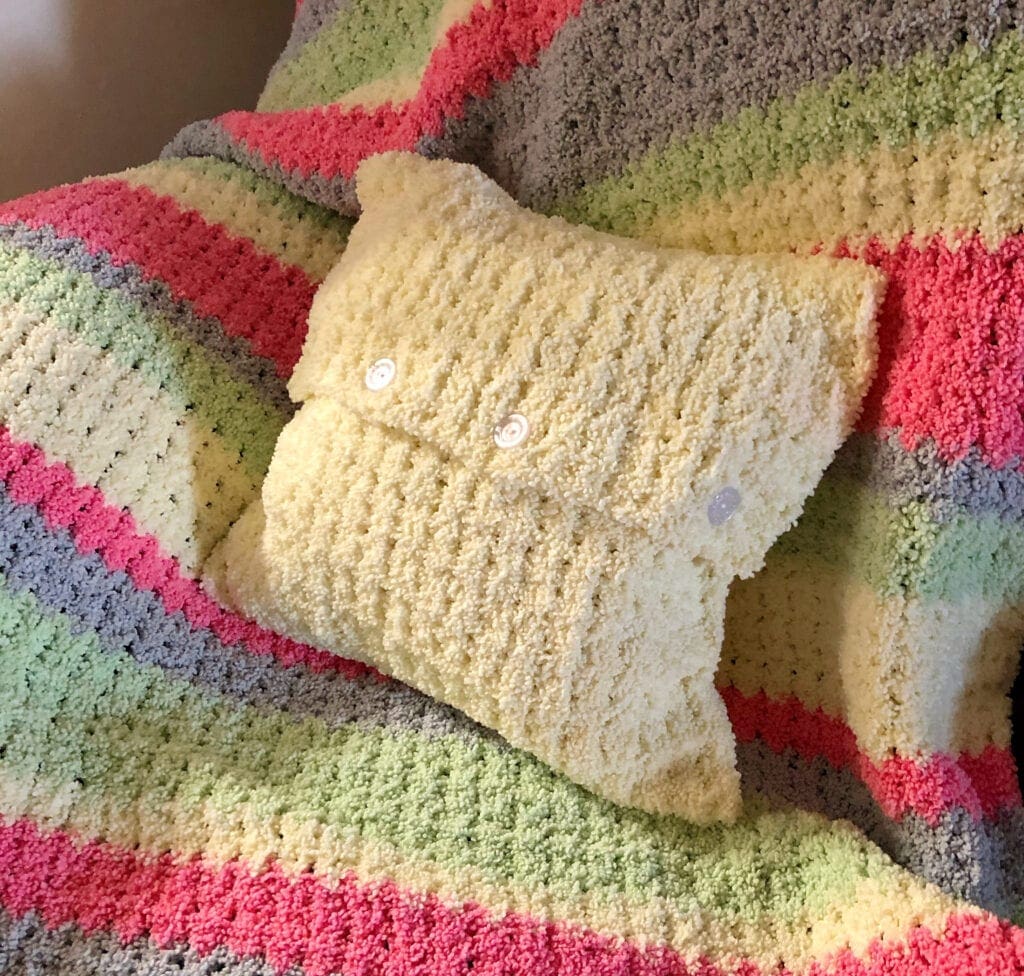
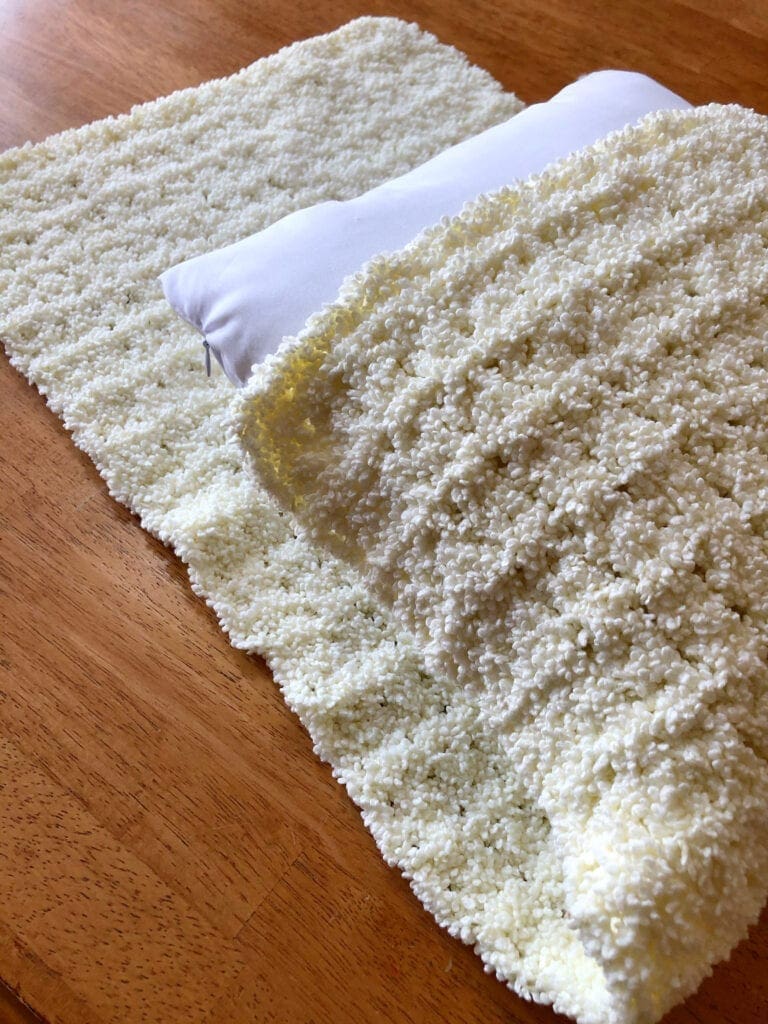
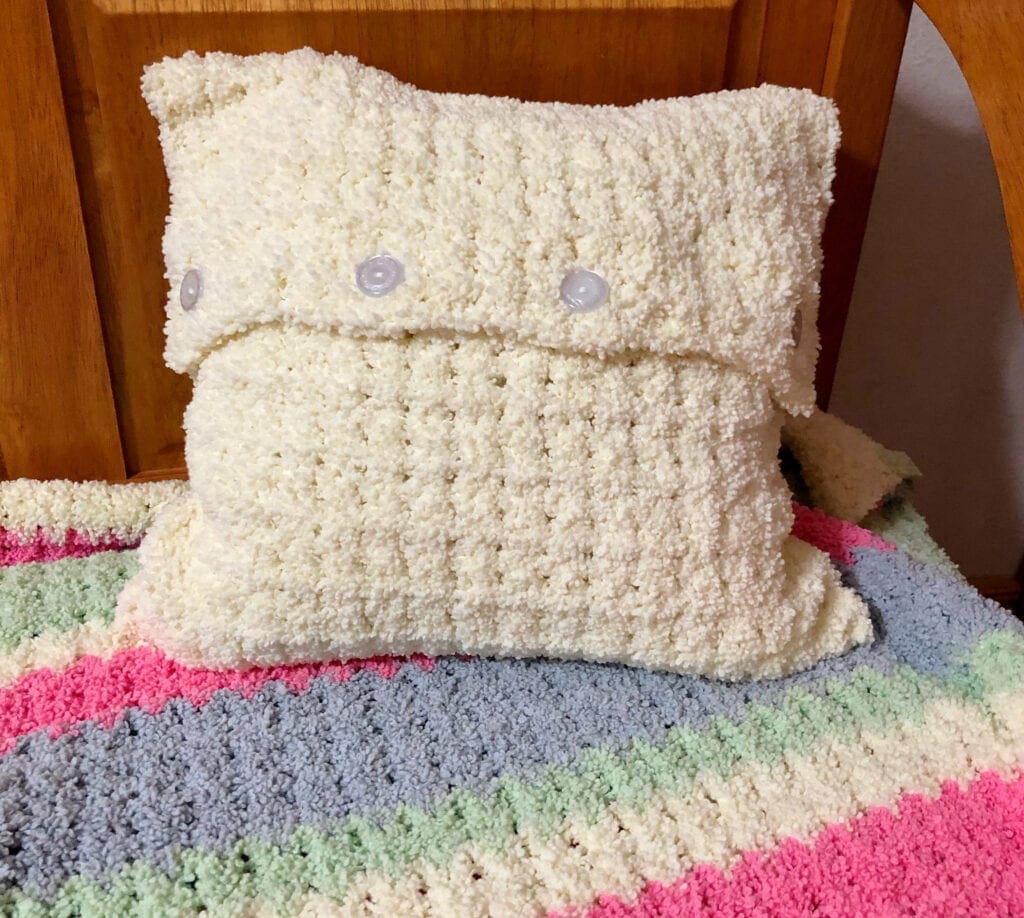
Since I had an entire case of this yarn, why not go for a large project. This Crochet Cotton Candy Fluffy Blanket turned out just beautiful. The photo below shows this pillow paired with the large blanket on a chair.
I loved how the fluffy blanket turned out and I had yarn left over. Therefore, I made two Soft Bassinet Blankets. One in is in Sprout and the other is in Candy Pink. This is a quick crochet pattern, make one of these baby blankets in a day.

What to do with that leftover yarn?
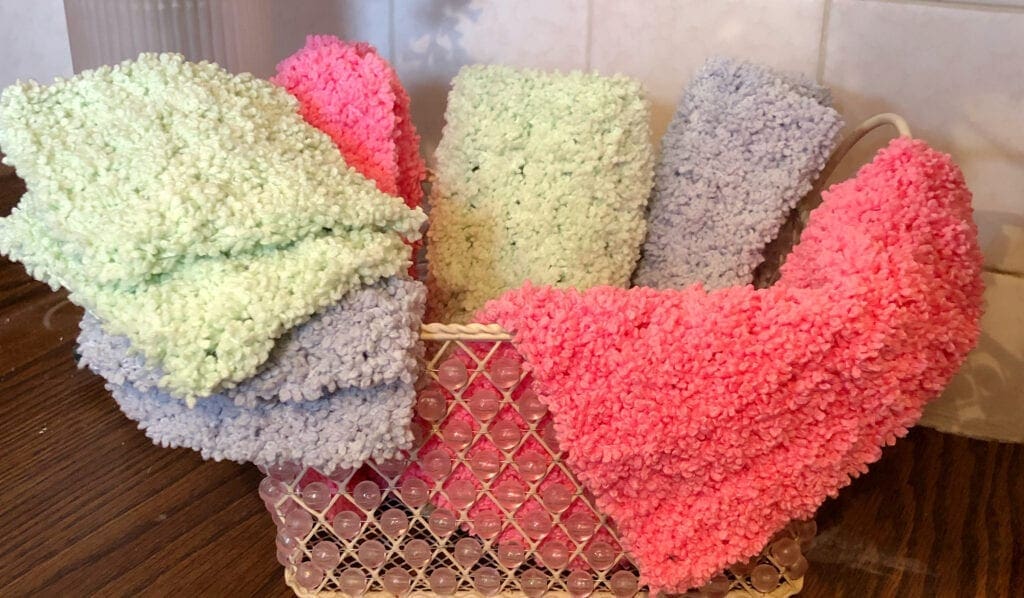
Well, I did have a bit of the yarn after I did the large blanket and bassinet blankets. Therefore, I just had to make some crochet SPA items.
They turned out very soft and luxurious feeling.
Now, let’s get back onto this pretty pattern.
Hint to Starting the Crochet Pattern
To me, the hardest part of this crochet pattern is the first row. This starts with a chain stitch row. However, note that because this yarn makes the stitches hard to see, it is hard to count the stitches for the first row when you are working your second row of crochet. Therefore, tug on the stitches a bit to see the loops so you can see where to insert the hook for the next stitch. Once this first row is done, this is a breeze.
Special Stitch Pattern Used
This pattern uses the Double Crochet V-Stitch. If you are not familiar with this stitch, no worries. The instructions are written below and there is a video here on how to work this stitch. If you are beginner, you can do this.
You can find video tutorials of this stitch below the crochet pattern.
Directions: Fluffy Crochet Pillow Cover
Gauge
13 stitches per 4 inches.
Size
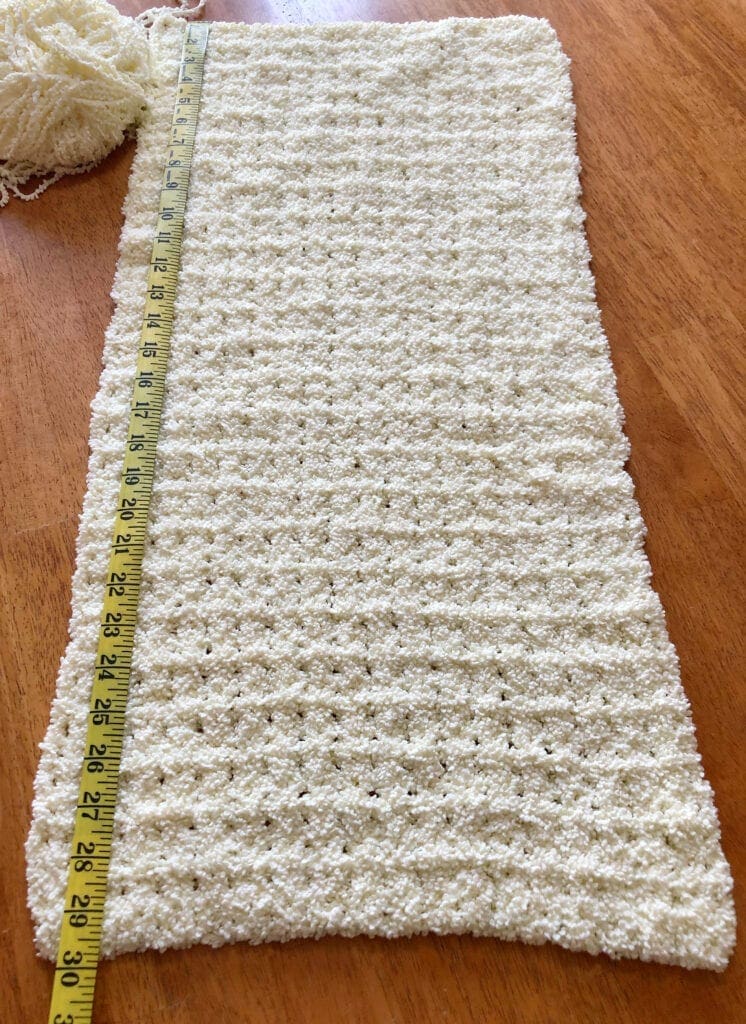
The finished size is approximately 12 inches wide X 30 inches long. This is designed to have a 12 X 12 inch pillow insert fit inside. However, the yarn will stretch a bit; therefore, you could fit a slightly larger pillow, but not by much.
Varying the Size
Make this crochet pillow cover wider or narrower by adding or subtracting stitches by 2. Add or reduce rows for altering the length.
Supplies
Lemonade Baby Soft Boucle 3 skeins or 360 yards.
Size J Crochet Hook
Yarn Needle
Scissors
Thread – should match the yarn colors or the buttons
Buttons – I used 4, 1-inch buttons
Sewing Needle
Abbreviations
CH = Chain
DC = Double Crochet
SK = Skip
ST = Stitch
Directions:
Begin: chain 40
Row 1
In the 4th ST, complete 2 DC. [SK 1, 2 DC in next ST] Repeat across. End with a DC in last ST. Turn
Row 2 – 51
CH 3, [2 DC between the previous row DCs] Repeat across. End with a DC in last ST. Turn
Finishing
Weave in the yarn ends and cut off the excess yarn.
Sewing the Edges Together
Since this is a pillow covering that can be removed, it is larger than the pillow itself. Therefore, we need to close up the sides and determine how far down the pillow we would like to place the buttons.
Additionally, the number and size of buttons you use is also optional.
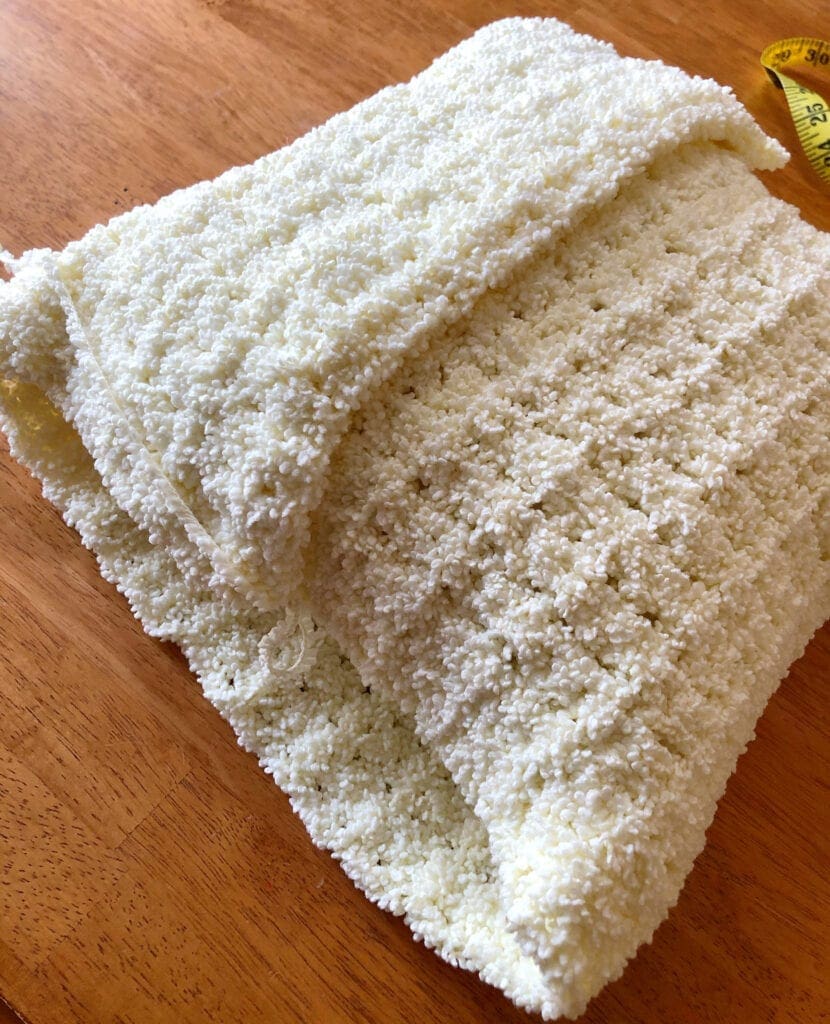
Today, I made this large enough to cover a 12 X 12 inch pillow. Therefore, the size of the covering was 12 inches X 30 inches.
Determining Where to Join Sides
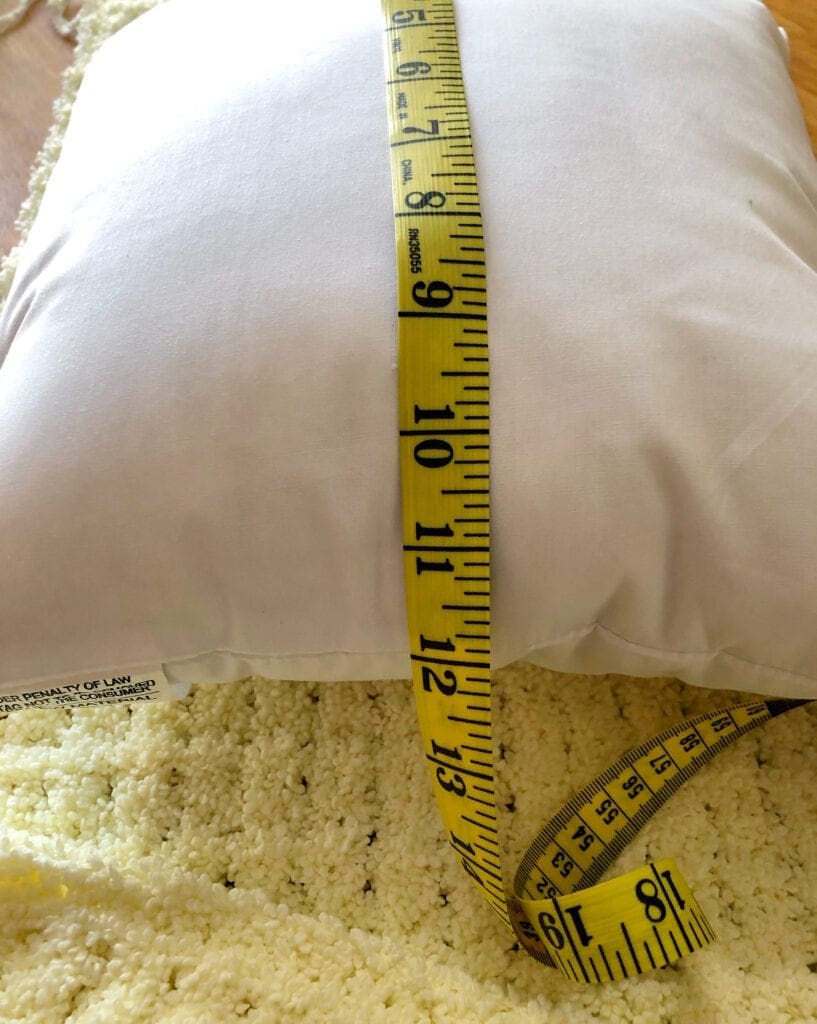
I wrapped the covering around the pillow where it seemed like a good place to have the flap. Once I determined this, I was able to make sure the sides were aligned.
This is an important step since I will be joining the sides together and I want them to be evenly spaced. If the sides are not aligned straight, the pillow covering will not be square.
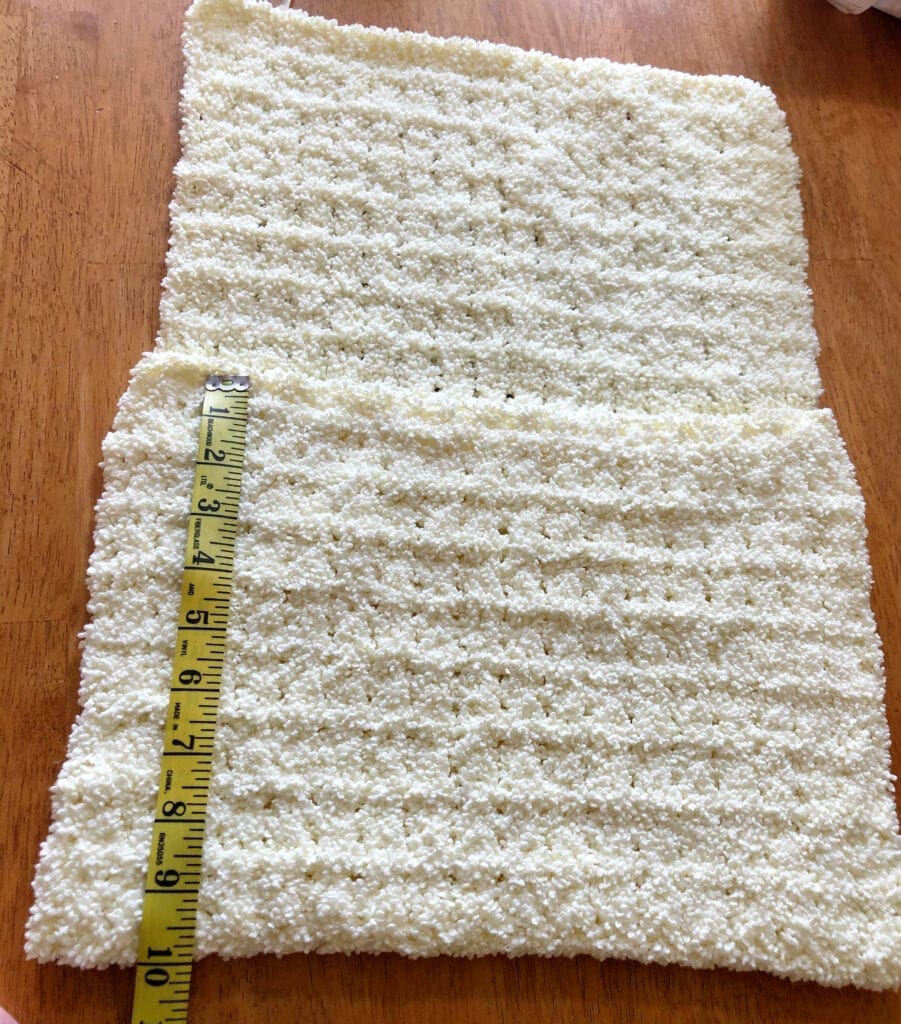
As you can see from the photo below, I brought the fold of the covering up 10 inches. Make sure to measure both sides so your edges are straight. Pin in place if needed. Once I measured, I was able to align with the rows of crochet.
Sewing the Sides Together
I used the yarn to sew the sides together. In order to reduce the amount of yarn ends that needed to be weaved in, I started on the side where I stopped crocheting. I left a about a 20 inch long piece of the yarn dangling so it could be used to sew up one side.
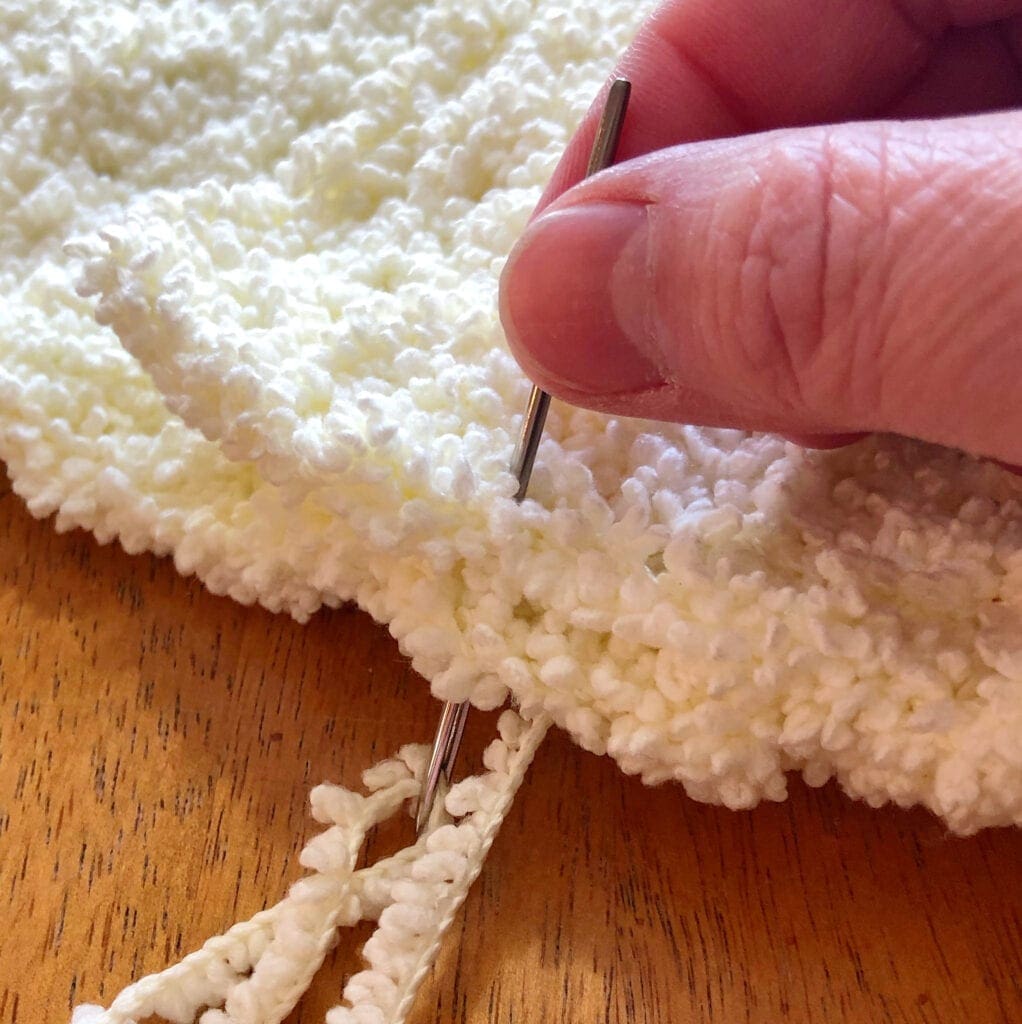
How to Sew the Whip Stitch
Using a yarn needle, sew the front and back together on one the side that you stopped crocheting at. The whip stitch is a wonderful way to join the side.
Holding the sides together, insert the yarn needle from the bottom to the top layer. Draw the yarn through the layers.
Insert the yarn needle through the bottom to the top again slightly apart from the first stitch. Draw the yarn through the layers.
Continue joining the side in this manner until one side is joined together.
When one side is joined together. Weave in the yarn and remove the excess.
Complete joining the other side by cutting a yarn piece double the length that you will need. This will ensure that there is enough yarn. I used a piece 20 inches long to sew up the second side.

Align the Pillow Covering Flap
Now it is time to align the pillow covering flap and make sure that the pillow fits nicely into the covering.
Choose the placement, size, and number of buttons.
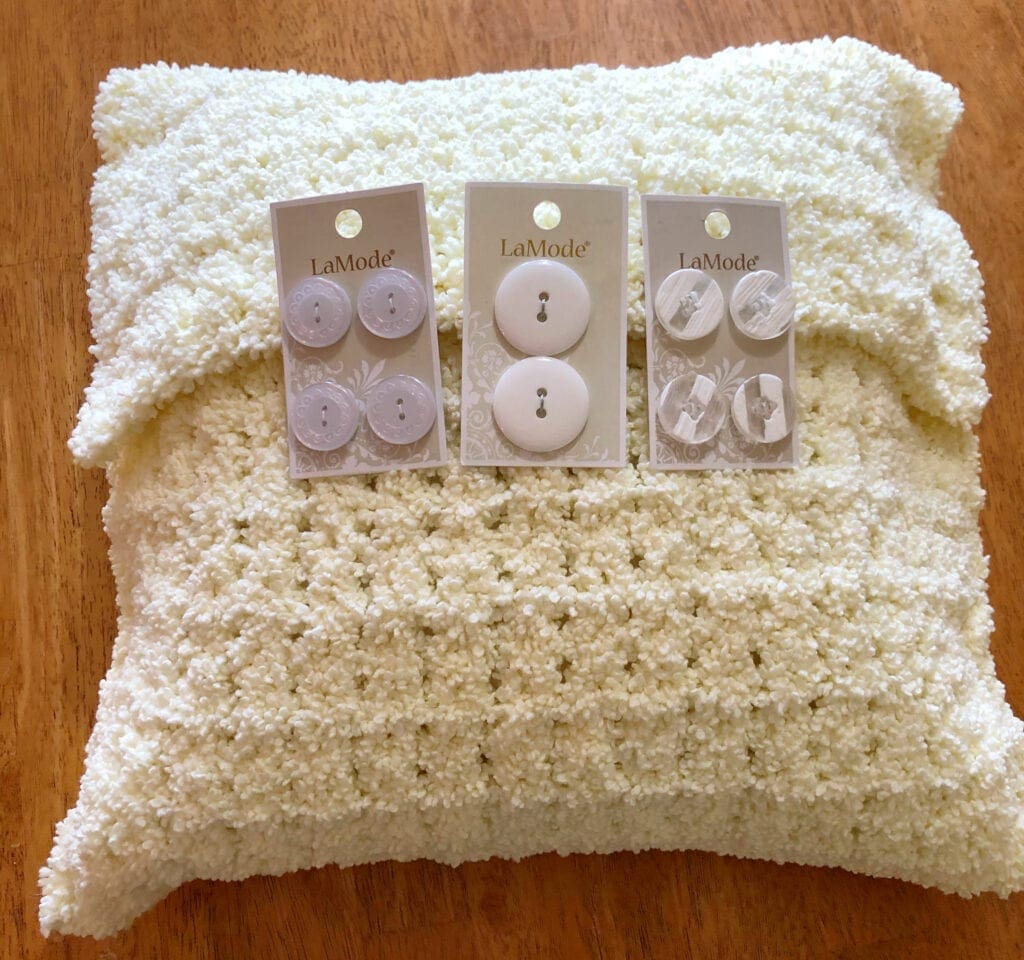
I used 4 buttons on my covering today. The style on the left.
Sewing Buttons on Crochet Projects
It can be tricky figuring out how to sew a button on a crochet project. The holes are normally large enough that the thread will pull right through. However, here are a few tips to make the whole process very easy.
Using these tips, you can sew a button on in minutes.
I use about a 20 inch piece of thread that is folded in half and joined with a knot to give me approximately a 10 inch piece of double thickness thread.
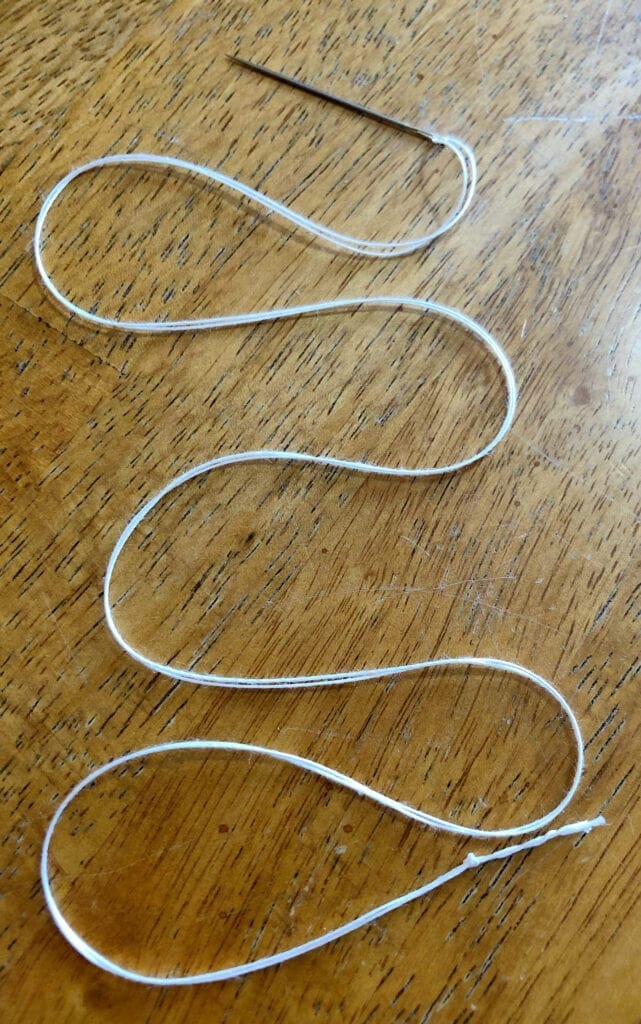
This not only makes the thread stronger, but it provides me a method of starting the sewing in the crochet project without pulling out of the holes.
This type of yarn is very forgiving; no need to worry about the thread showing through!
Sewing on the Buttons
Once I knew where to place the buttons and had the thread ready to go. I was all set to begin.
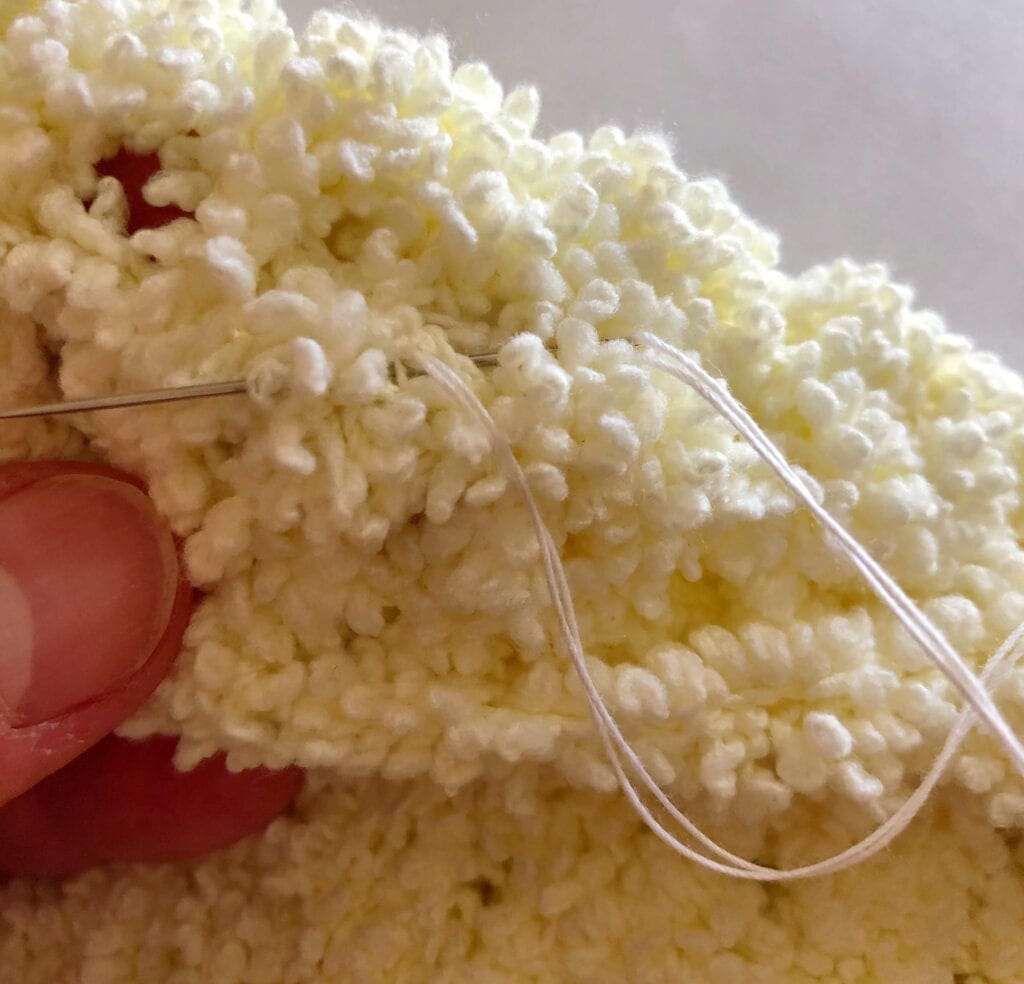
Notice in the photo below where the yellow star is? That is where the knot to my thread is.
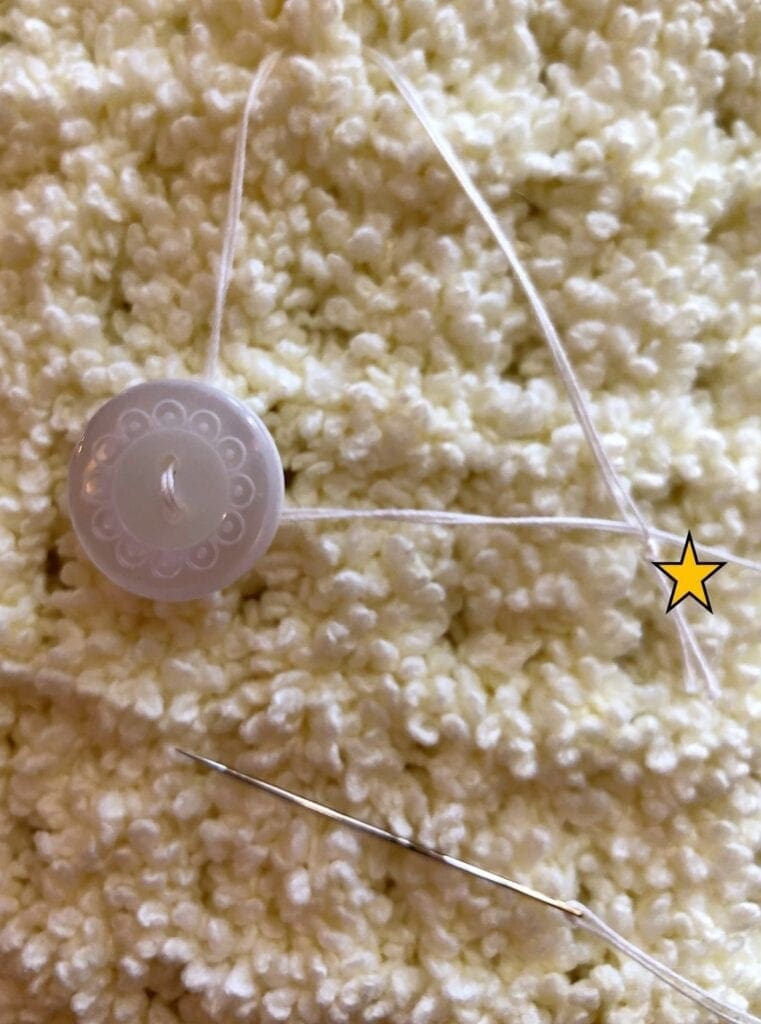
You will be starting on the outside of the pillow covering in the spot where you have chosen to place the button.
Bring the needle up through the bottom of one of the button holes and back down through the other hole. Make sure not to pull the thread all the way through yet.
Put the needle through the two pieces of thread. then pull snug. This will keep the thread from pulling out.
Next insert the sewing needle down into only the first layer of the pillow cover. Move the needle slightly over where you think the other button hole is and push the needle back up through the crochet.
Repeat inserting the needle through one hole on the way down through the crochet and bringing the needle back up through the other hole. About 3 -4 times.
Now it is time to tie off the thread to hold it secure.
Tying Off the Thread to Hold it Secure
Securing and tying off the thread is worked on the underside (inside) of the pillow covering.
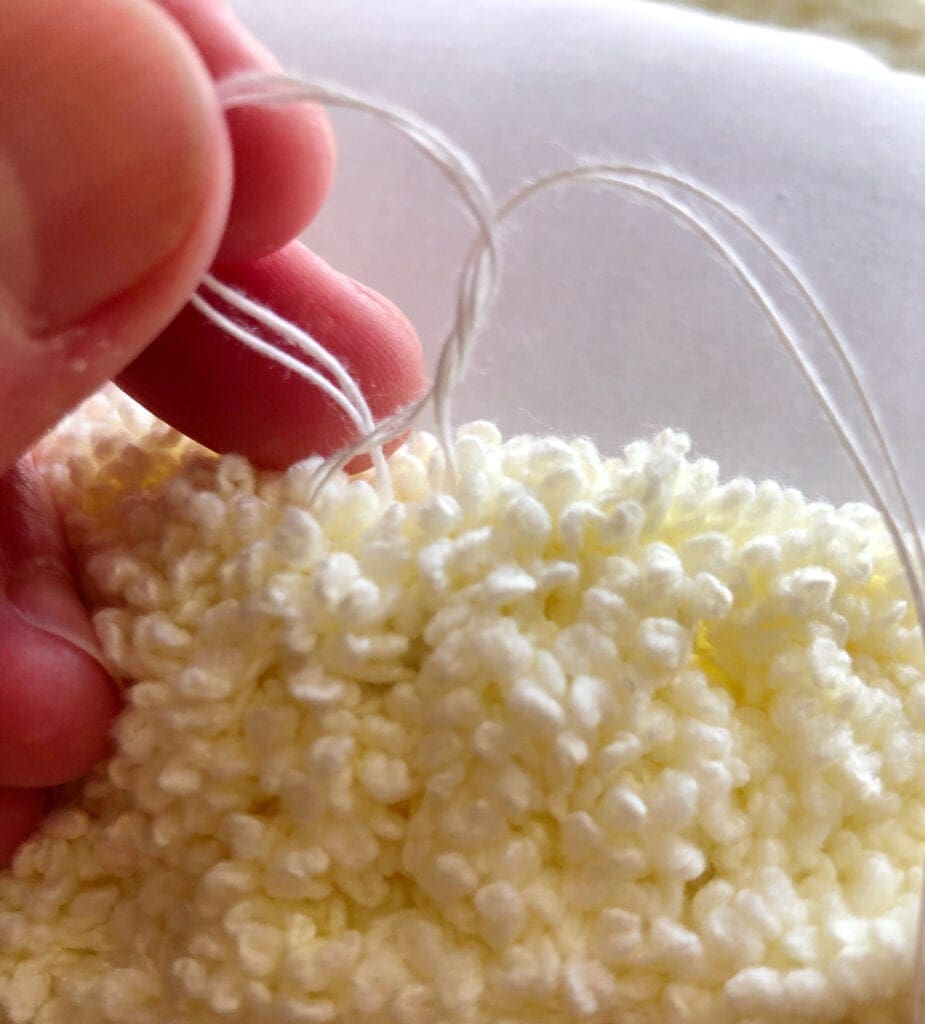
Insert the needle across the area that you just sewed catching some of the yarn. Bring the thread almost through, but not all the way.
You will make a knot with your thread before pulling snug by wrapping the needle around the thread loop a few times. I generally do two or three times. (this makes a knot when pulled snug).

The photo below shows how this will look as you begin to pull the thread and close the loop.
Below, is the photo showing the thread is knotted and secure.
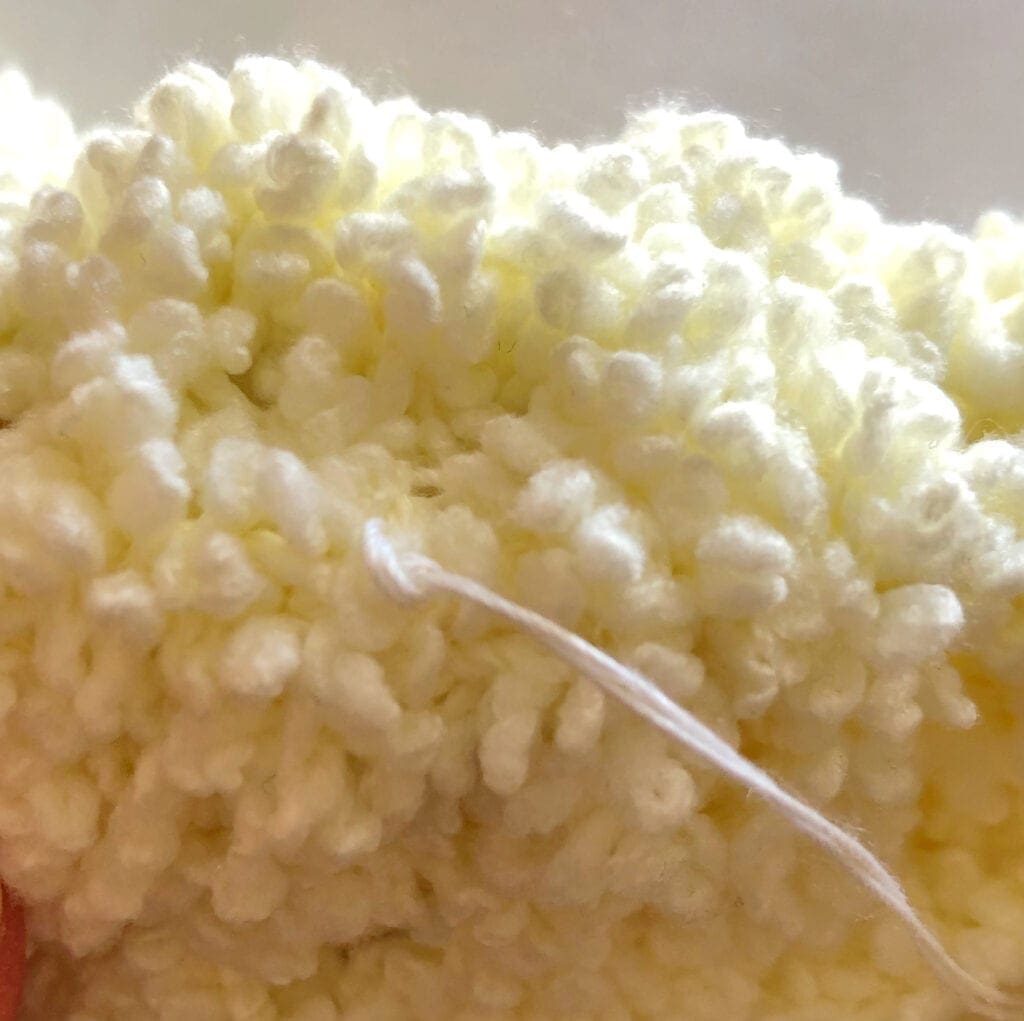
I generally will go through and make one more knot just to be certain that things are secure.
Continue sewing on your buttons.
Button the Pillow Covering Closed
No need for button holes as the crochet pattern lends itself well for buttoning the pillow covering closed.
Enjoy your new Pillow!
Right Hand: How to Crochet the Double Crochet V-Stitch
Left Hand Crochet: How to Crochet the Double Crochet V-Stitch
If you loved this post, please share. It helps to show me that these types of posts are helpful – thank you!
I hope that you liked this pattern. If you are looking for more ideas for crocheted projects, here are a few others you may enjoy.

You can find Victoria crocheting, quilting, and creating recipes. She has cooked in restaurants for over 20 years, including many larger parties. She learned to crochet when she was just 11 years old and has been crocheting ever since; over 50 years now. Over 40 years ago, she loved her first class in sewing and continues to hone her skills in quilting. Many have enjoyed the handmade gifts over the years. In her professional career, she has worked in management in a wide variety of businesses including higher education as a dean of a division. All the while attending college part-time to achieve her doctorate in higher education with an emphasis in e-learning.
Pingback: Embrace Autumn Crochet Pillow Cover - Pattern Princess