Last updated on July 5th, 2024 at 12:33 am
Learning how to tie a square knot is so useful if you are a crafty person. A square knot is a very handy way to secure a variety of items. Follow this picture tutorial and learn the square knot for yourself.
*Post contains affiliate links* for more information please read the disclaimer on the About Us page.
Tying a Secure Knot
Square knots are used in crafts that work with two pieces of yarn, string, cord, fabric, and the list goes on. As a farmer, we use square knots on the farm all the time. Knowing how to tie a secure knot is just a great skill to have. Note: If you are tying slippery cords together, you may opt for a different kind of knot such as a surgeons knot. Today, this tutorial is done using a bulky piece of yarn.
Left over Right, Right over Left
This is the basic formula for making the square knot. However, if you prefer, you can make yours right over left, left over right. The formula of left over right, right over left is the saying I used many years ago to learn this knot; and still use to this day.
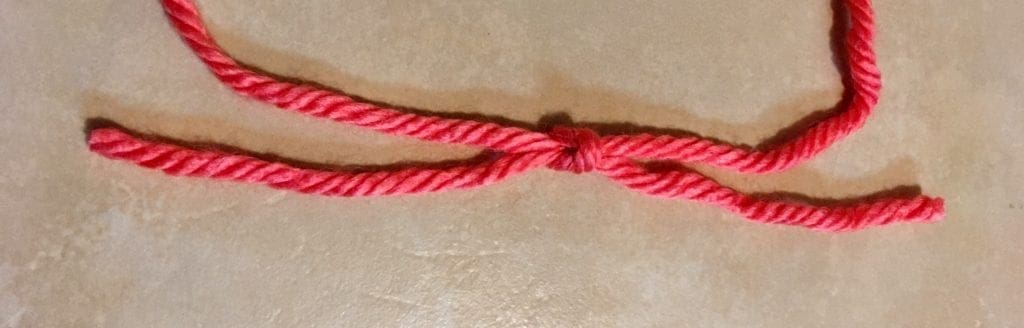
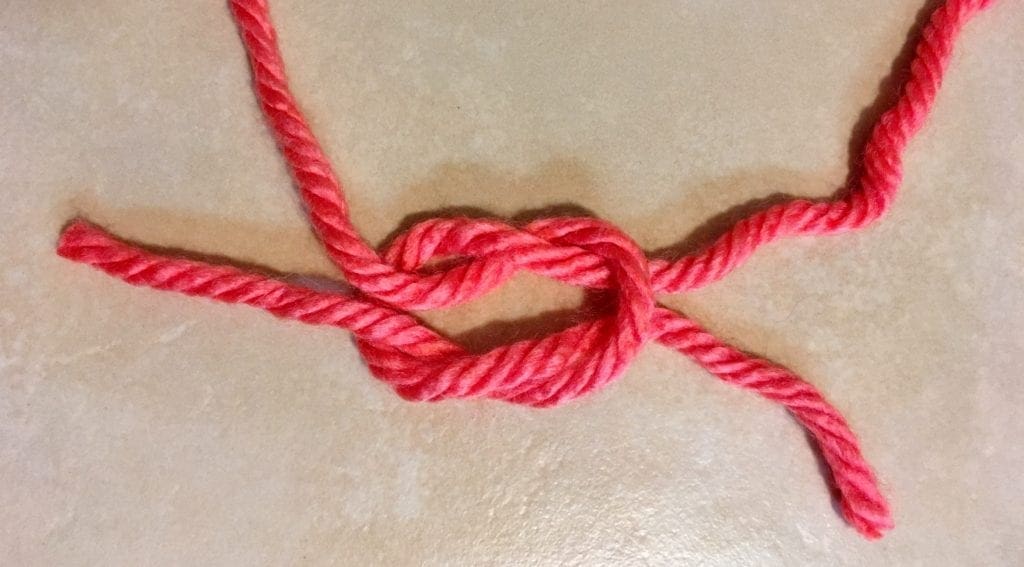
Step 1 of Tying a Square Knot
To start a square knot, cross one side of the cord over the other side. In this case, the left side of the yarn is passed over the right side of the yarn. (If you prefer, you could start with putting the right side of the yarn over the left. However, I would recommend learning how to make the square knot first before tying it to your preference).
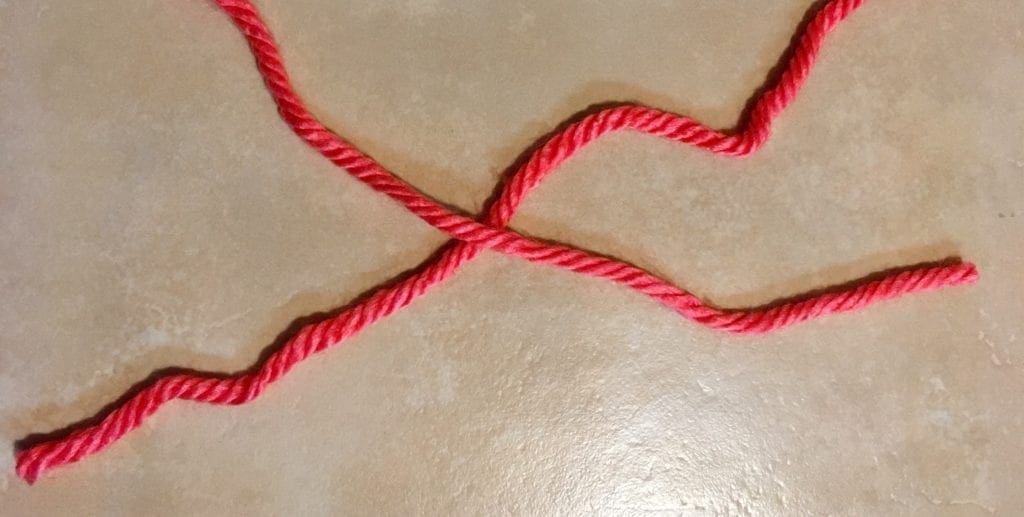
Step 2 of Tying Knot
To complete the first half of the square knot; take the yarn that that was crossed over the top and pass it under the right piece of yarn, and finally through the middle. The yarn that was passed over the right piece of yarn is now on the right side.
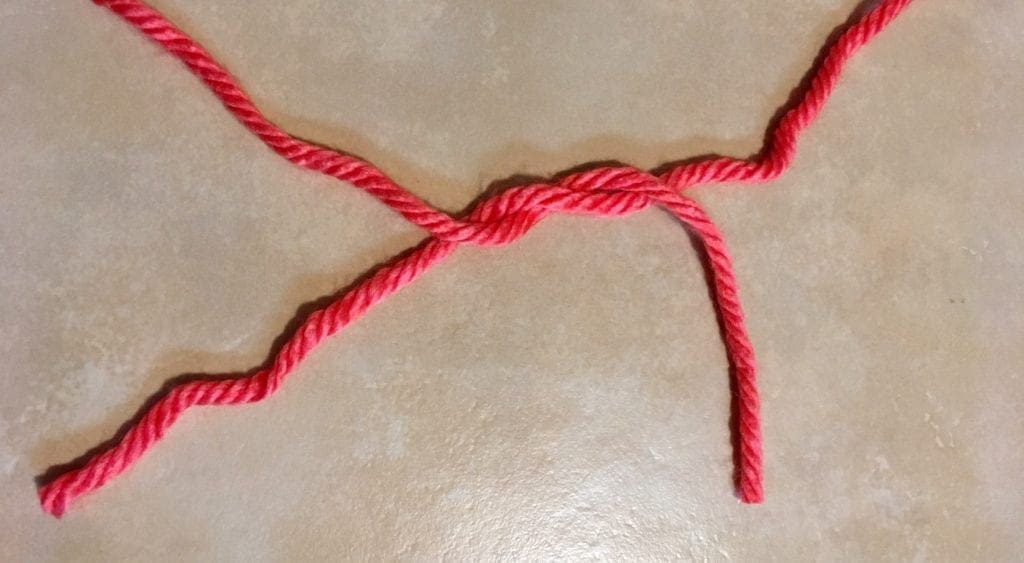
Step 3 of Process
Cross the right side of the yarn over the left side as shown in the photo.
Tying around an object: If you are tying the yarn around something; this is the stage to secure the object; both ends of the yarn would tighten up around the object. In the example shown, I am just tying two pieces of yarn together; therefore, I am not snugging up the yarn yet.
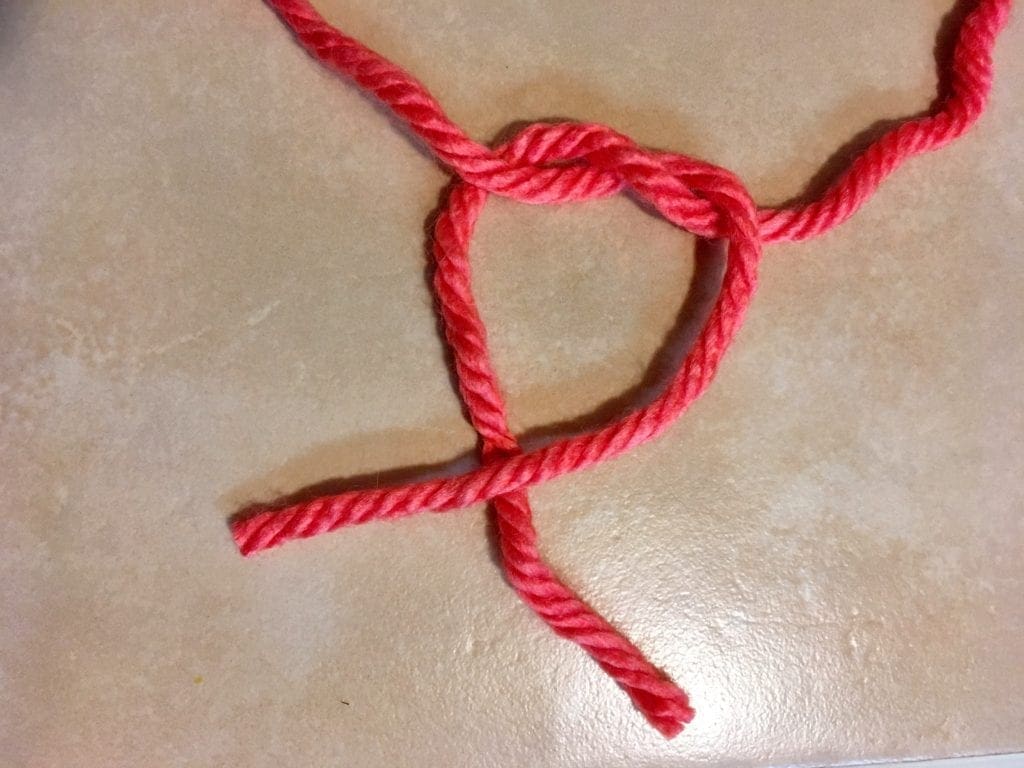
Step 4 of Process
Now it is time to complete the second half of the square knot; take the yarn that is now on the right side and pass it under the left piece of yarn; finally through the middle. The yarn that was passed over the left piece of yarn is now on the left side.
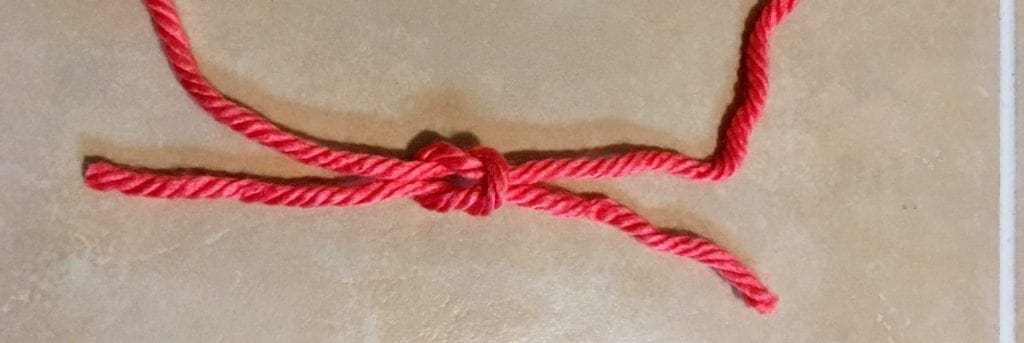
Final Step of Knot Tying Process
If you are tying the square knot over an object, then pull both pieces of the yarn or cord to tighten the knot. If you are just tying two pieces of yarn, cord, or string, then pull both sides to complete the square knot and tighten.
Double check that your knot is secure by tugging on it a bit. This knot should hold very securely.
That is all there is to it!
There are so many great uses.
If you loved this post, please share. It helps to show me that these types of posts are helpful – thank you!
Looking for Craft Projects? Here are a few for you to consider.
If you would like to learn more knot tying tricks, there are nice tutorials on the Scouting Magazine website.

You can find Victoria crocheting, quilting, and creating recipes. She has cooked in restaurants for over 20 years, including many larger parties. She learned to crochet when she was just 11 years old and has been crocheting ever since; over 50 years now. Over 40 years ago, she loved her first class in sewing and continues to hone her skills in quilting. Many have enjoyed the handmade gifts over the years. In her professional career, she has worked in management in a wide variety of businesses including higher education as a dean of a division. All the while attending college part-time to achieve her doctorate in higher education with an emphasis in e-learning.
Excellent tutorial! I will be honest that the excess of ads makes this page difficult for people with vision problems or migraines. Just don’t want your helpful content to get lost among the extra. Thanks so much for the knot help!
Thank you so much for your kind words! I’m so glad the tutorial helped.
I also appreciate you taking the time to share your feedback about the ads. I understand they can make reading more difficult, especially for anyone dealing with vision issues or migraines. Ads help support the cost of keeping my patterns and tutorials free, but I always want the site to be as easy to use as possible. I’ll definitely keep your comments in mind as I continue working to improve the reader experience.
Thank you again for visiting and for your thoughtful feedback!