Last updated on July 5th, 2024 at 12:33 am
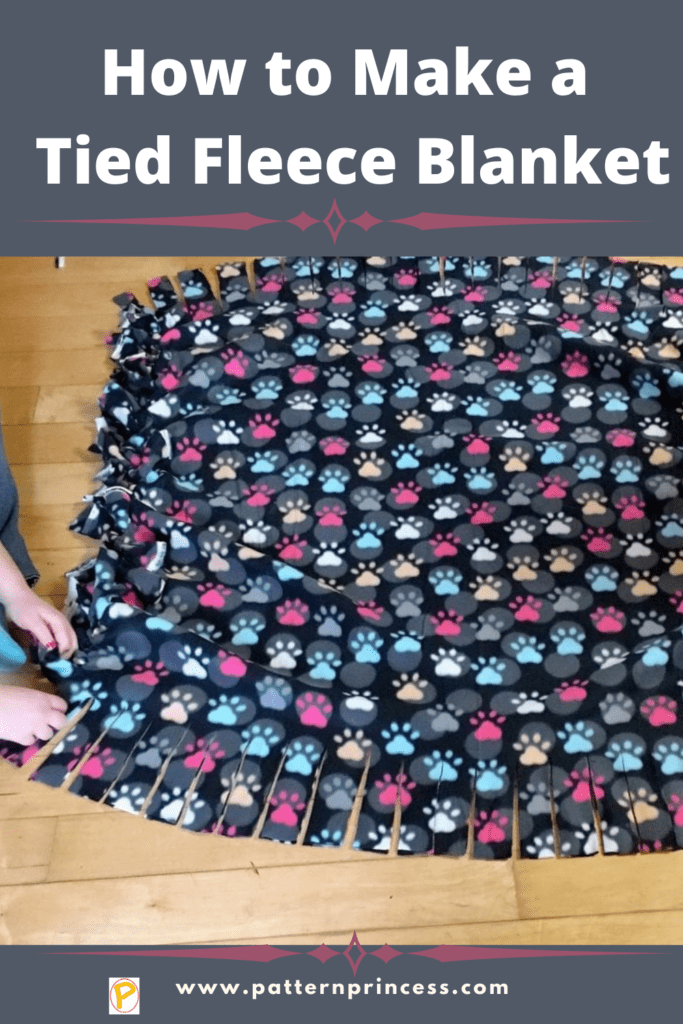
Fun, no-sew method of making a fleece blanket. Learn how with this complete tied fleece blanket tutorial. This is a fun blanket to make for a group of people too.
*Post contains affiliate links* for more information please read the disclaimer on the About Us page.
Tied Fringe Edge Blanket
Making a fleece blanket with a tied fringe edge is an easy no-sew project.
This is a fun project for kids and teens to make. It is a no-sew way to give a personalized gift to someone. My daughter, her friends, and myself have made many of these blankets for a variety of charities and our homes. Today, we are making some no-sew blankets for adoption dogs.
Prepare Your Work Surface
I would recommend finding a hard surface large enough to complete this project. This can be a table large enough or clearing floor space large enough to lay the fleece pieces out flat.
If your floor is like mine at home, it might have some dirt or dog hair on the floor; therefore, make sure that your floor is fairly clean.
Start with a Kit or Two Pieces of Fleece
Whether you’ve purchased a kit or simply want to start with a few pieces of fabric, these directions can be used for both to make a warm, no-sew tie blanket out of two pieces of fleece.
Use Any Size of Fleece
The blanket pictured is made from 2 pieces of 2 yards of fleece. I gave this one to my son-in-law. The dog charity blankets are made from 1 1/2 yards of fleece for a smaller lap-sized blanket.
No matter what size you work up, the techniques are all the same. Just different sizes of fleece.
Materials and Tools Needed
Materials
- Fleece. Two pieces the same size. This can be coordinating print or print on one side and a coordinating solid color on the other side
- For the small lap-size blanket shown for the dog charity, you will need 1.5 yards of each piece of fleece. This would also be a great size for a large baby blanket.
- For a larger blanket like the one I made for my son-in-law, you will need 2 yards of fleece. If you are making this for someone taller, certainly feel free to get larger pieces of coordinating fleece.
Tools
- Ruler. It is nice to have a solid ruler – not a tape measure. It is easier to lay ontop of the fabric and accurately measure.
- Measuring Square. I like to use a 6 X 6 inch quilters measuring square for cutting the corners. You can get one for yourself here.
- Scissors
Age Appropriate for Project
This blanket is an appropriate project for ages 8 years and up. However, for the younger person, I would have an adult supervising and helping to make sure that this project is completed safely. It will take just a few hours to make from start to finish.
Preparing the Fleece
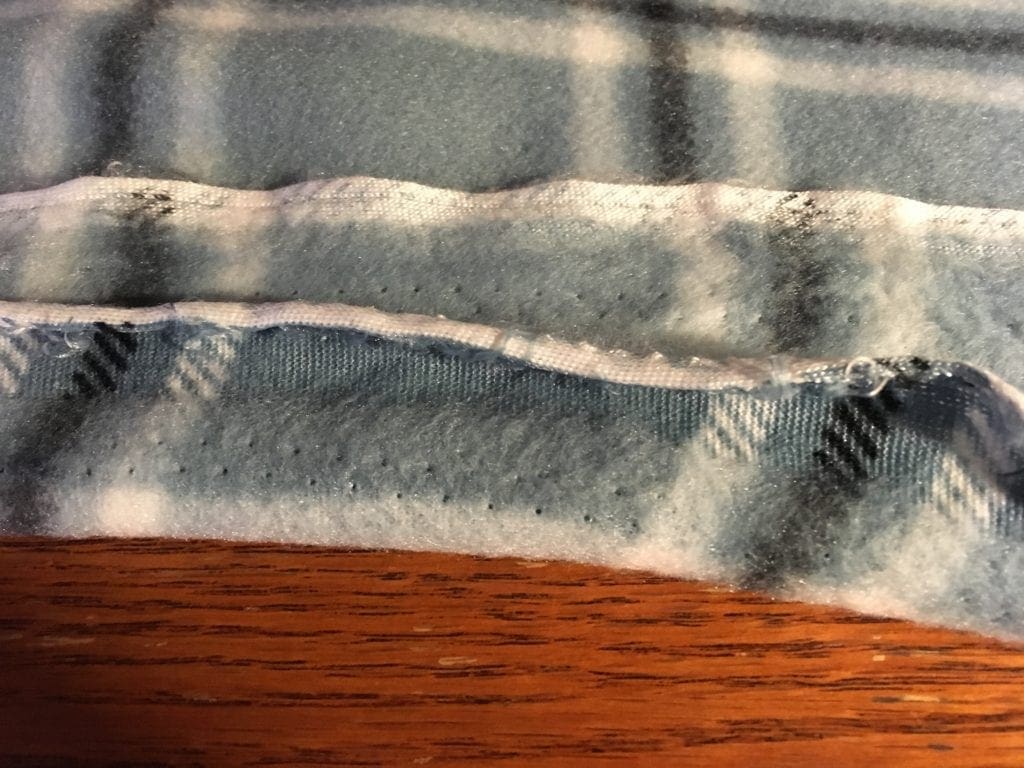
Fleece almost always needs to be trimmed and straightened before the project can be started. At the very least, the selvage edge should be removed. In the photo below, the selvage is there yet and it has holes in it and is not as nice as the rest of the yard of fleece.
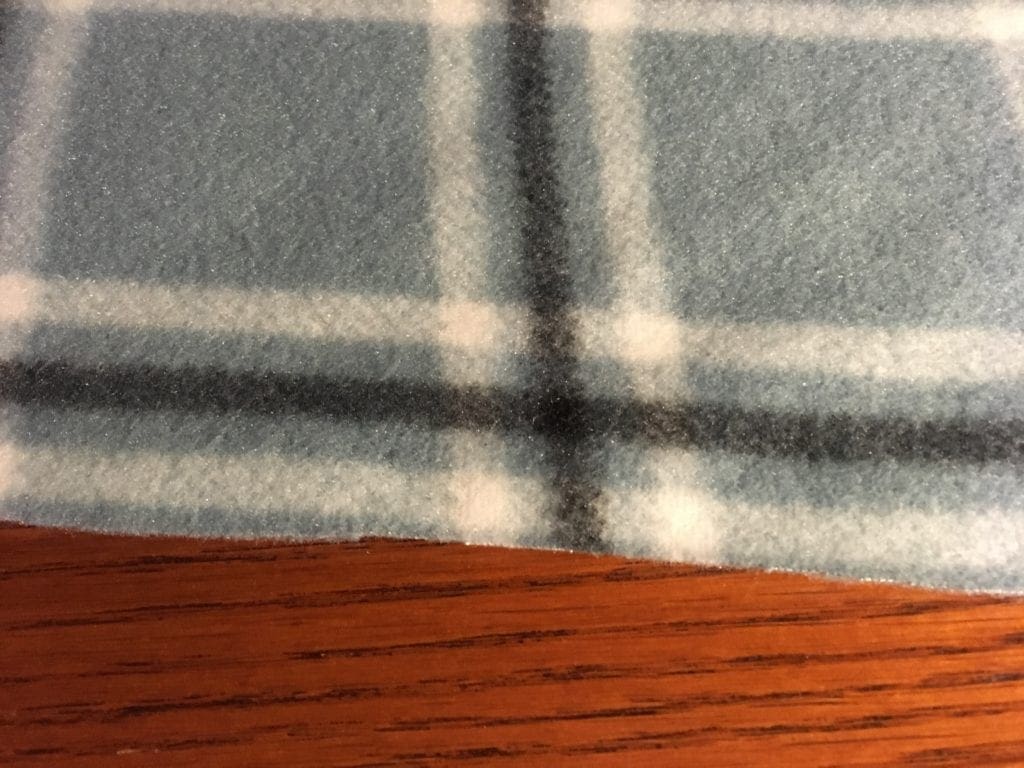
The photo below shows the fleece with the selvage edge removed. Notice how much nicer it looks and how flat the material lays after the trimming.
Fringe Size Options
Just as the size of the fleece for the blanket can be any size you want, so can the fringe ties for the blanket. Here are some popular options. The blankets shown in the photos are all made today using 6 inches long X 2 inches wide fringe strips.
- 4 inches long X 1 inch wide
- 5 inches long X 1.5 inches wide
- 6 inches long X 1 inch wide
- 6 inches long X 2 inches wide
- This can be even 8 inches long if that is your desire. Be creative with what works for you.
Keep in mind that the finished blanket will appear about 10 to 12 inches smaller than the size you cut because of the fringe!
Let’s Start the Tie Fleece Blanket
Start out by laying the piece of fleece that will be the back of your blanket, right side down, on your work surface. Smooth out the piece of fleece with your hands.
Next, lay the piece of fleece that will be the front of your blanket, right side up, on top of the first piece of fleece. Again, smooth out the piece of fleece so it lies flat.
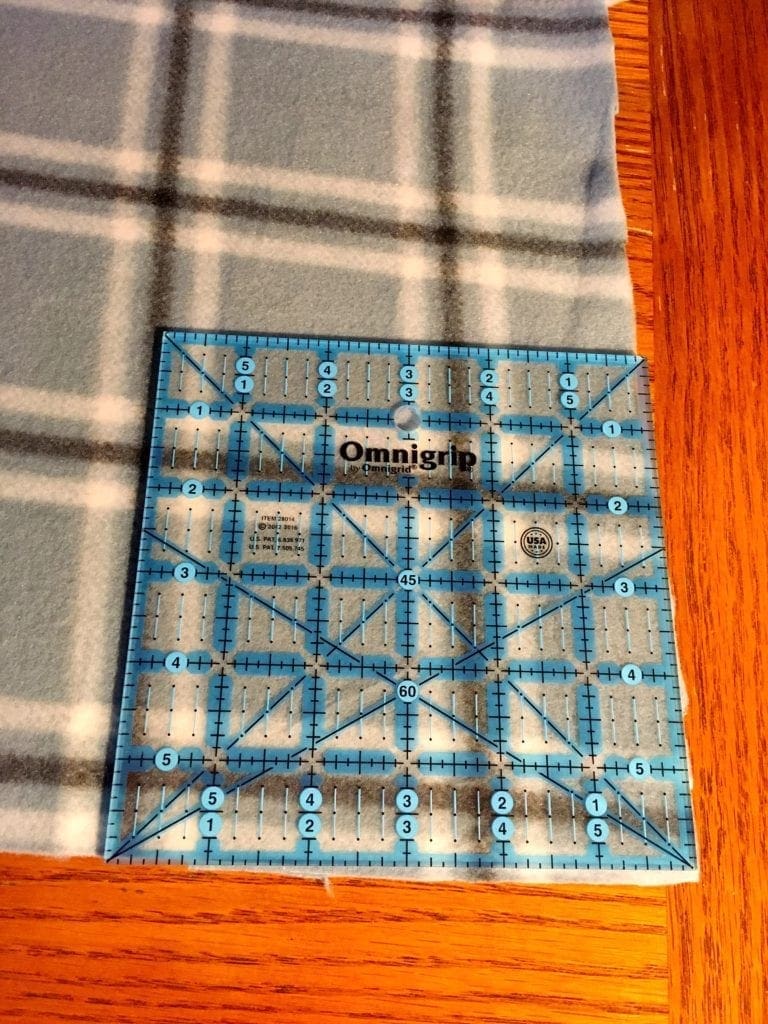
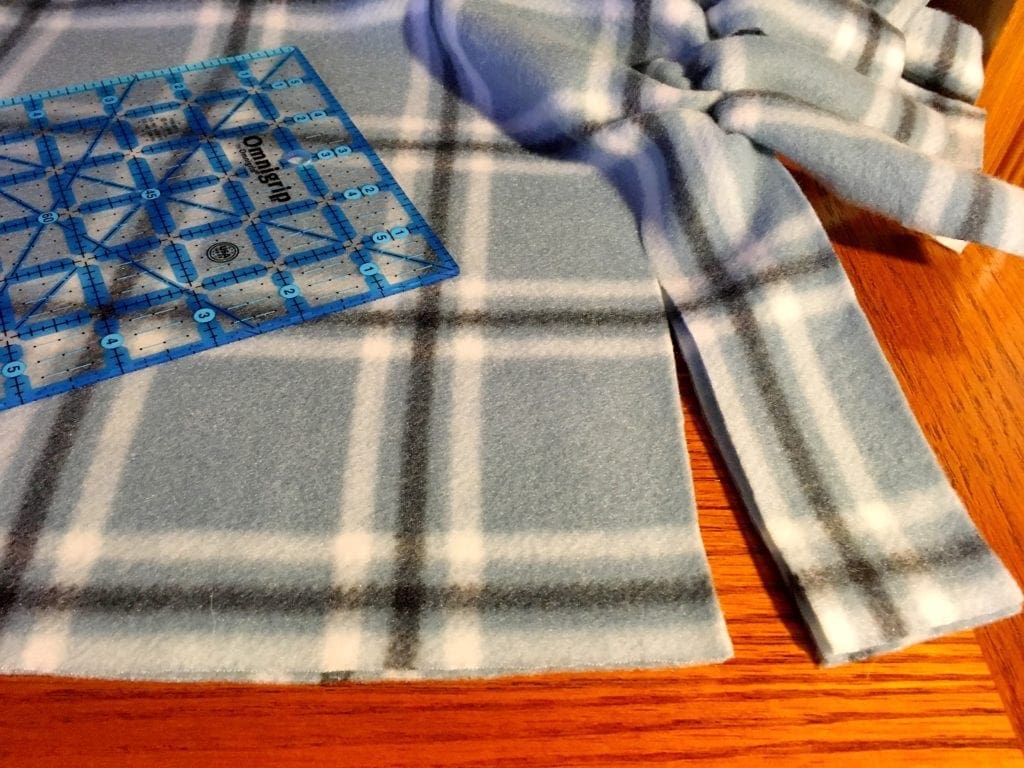
Measure a square at each corner that is the same length as what you want the fringe to be. The sample fringe is 6 inches long, so the square is 6 inches from each side in the corner. The square cut out in each corner needs to be the same length as the fringe length you choose to make.
Cut out the Corner Squares
Cut through both pieces of fleece, trimming it to whatever size you want your blanket to be and squaring up the edges. The cuts do not have to be perfectly even, but they should be relatively straight. Reminder: I am cutting out a 6 inch square of the corner because I plan on having my cuts along the edges to be 6 inches long.
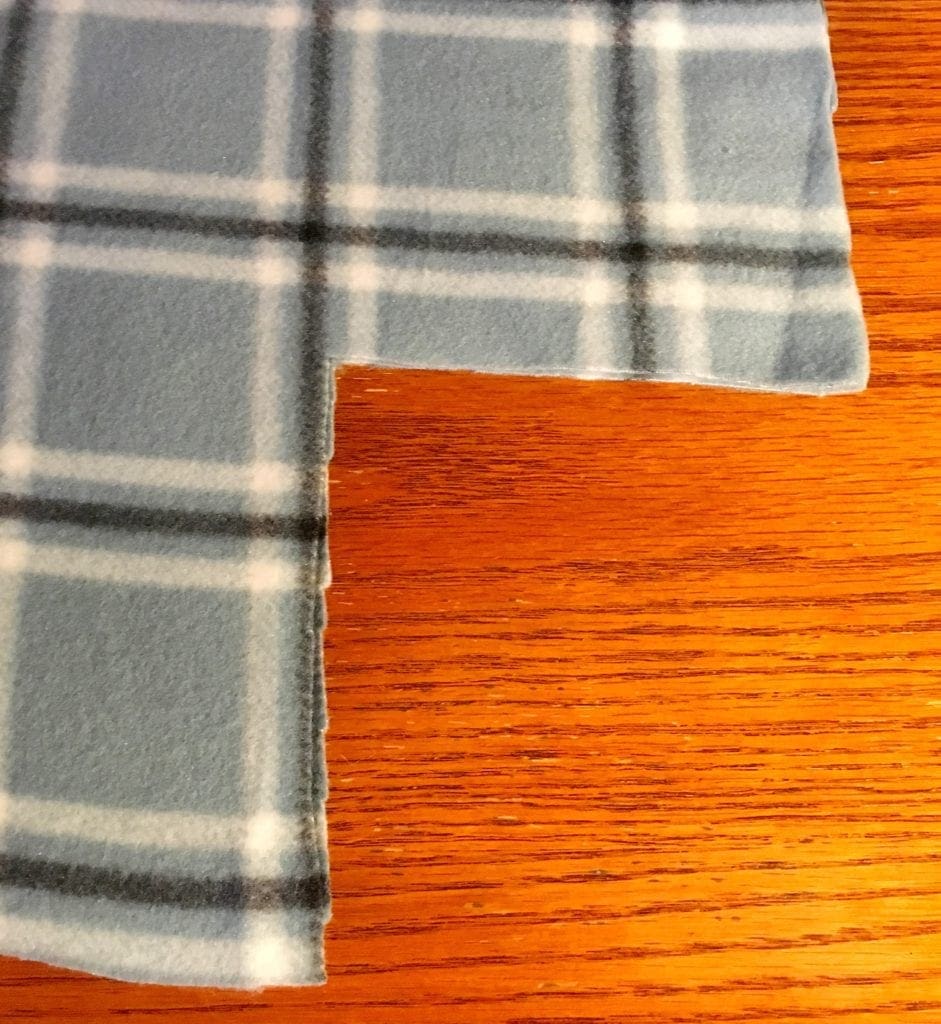
Repeat cutting out the square of fleece for the other three corners.
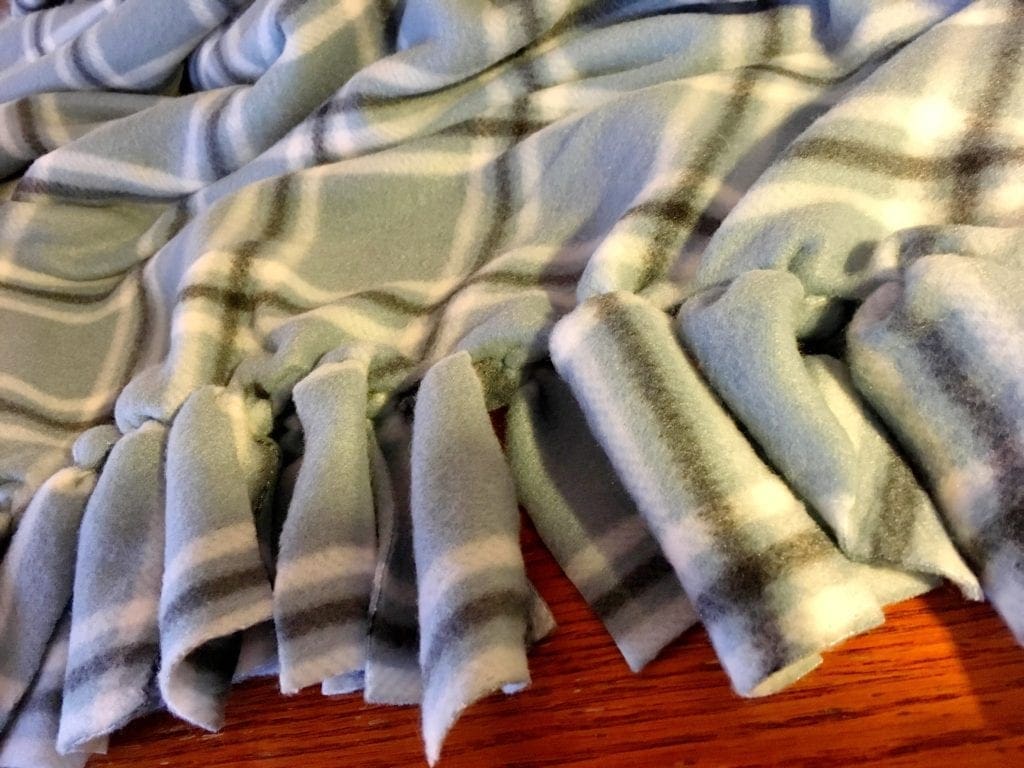
Cut Out the Blanket Fringe
Now start making the fringe along each edge of the fleece. Make sure to cut through both thicknesses of fleece. Reminder: Each strip should be the same length as your starter square and anywhere from 1 inch to 2 inches wide. The sample is 6 inches long and 2 inches wide.
The last measurement for the fringe on each side may not come out exactly to the width you have cut the rest of the strips. I make the last cut so that the two pieces are close to the rest of the fringe strips on that side of the blanket. They may not be exact; however, once the blanket is tied, it will not be noticeable. No worries.
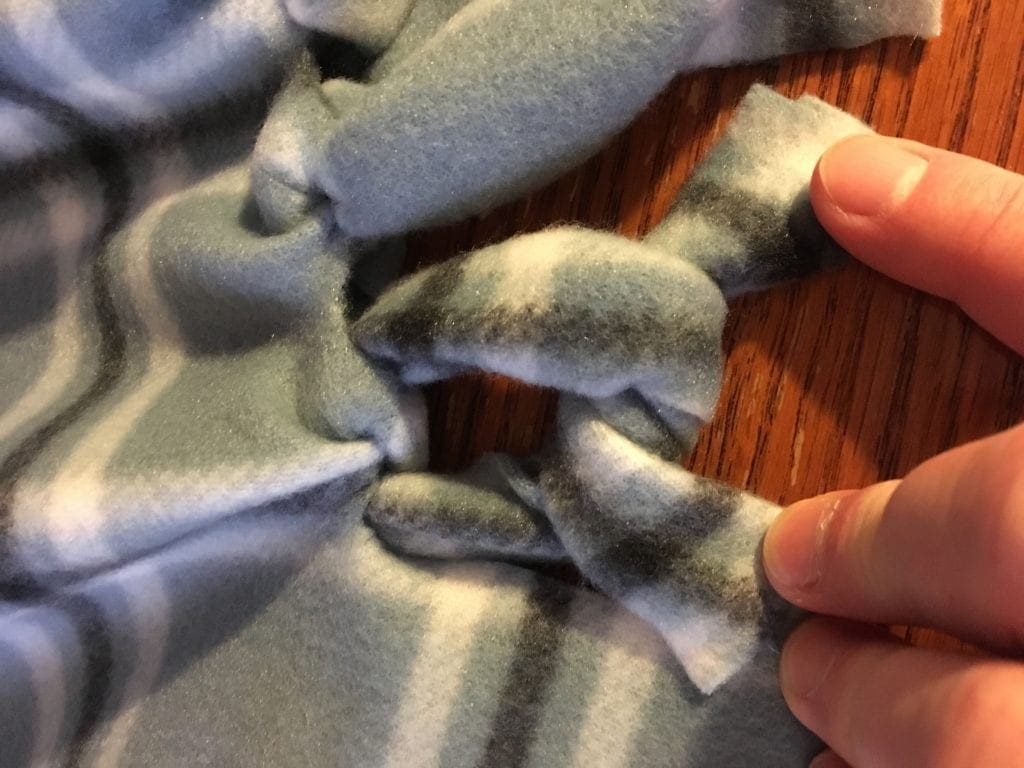
Tying the Blanket
It’s time to tie the top and bottom fleece together. Hold a piece of top fringe and bottom fringe together and Tie a Square Knot. Not sure how to tie a Square Knot? Here is a step-by-step tutorial on Tying a Square Knot.
Tie each knot so it is tight, but try not to pull at the fabric too much.
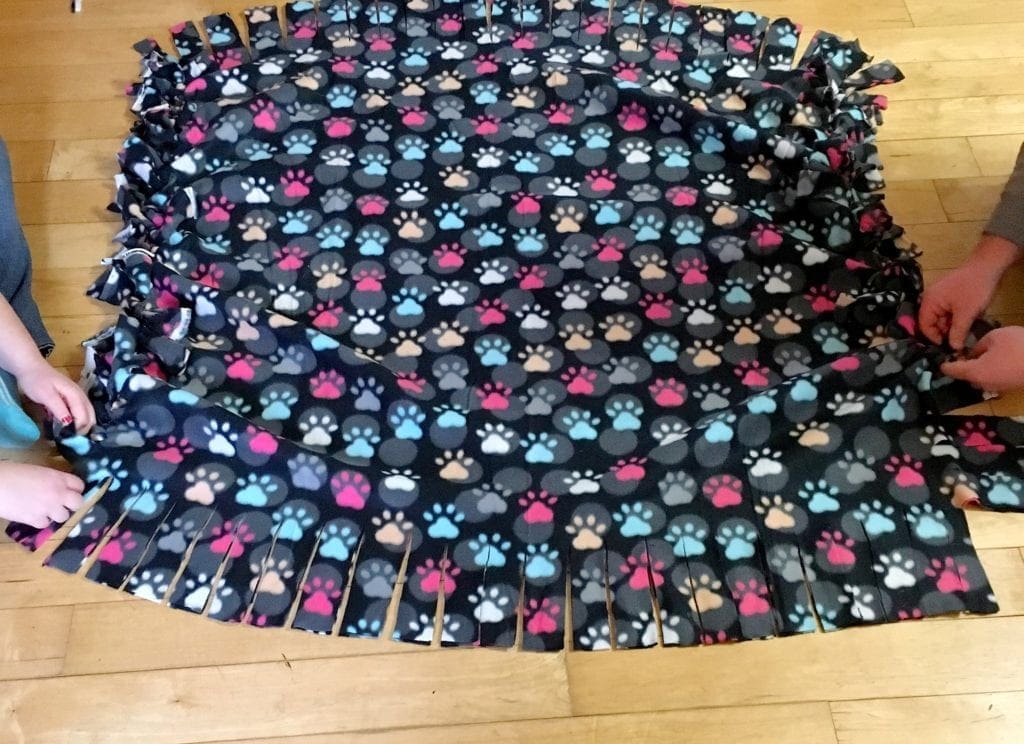
These No Sew Blankets can be done as a group activity for young people. In this photo, two people are working on a blanket on the floor together. It makes it fun and quick work.
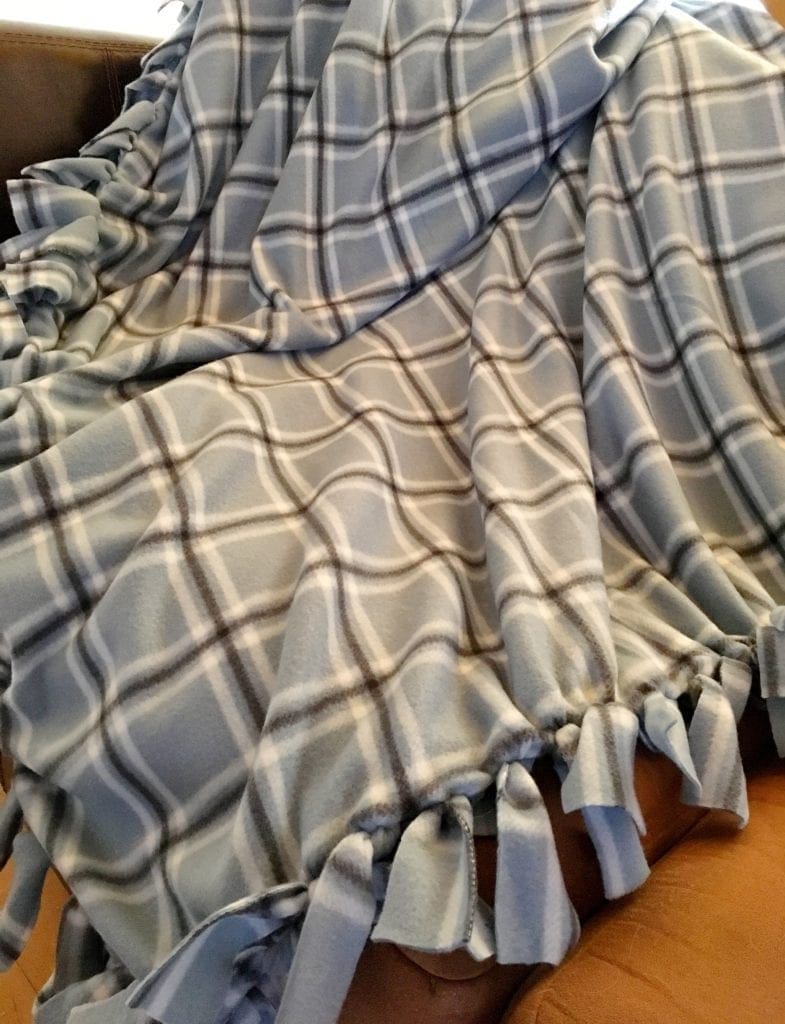
Completing the No Sew Fleece Blanket
Continue tying the pieces of fleece together until you have worked your way all around the blanket. Your fleece tied blanket is now done.
Here are a Few Photos of the Completed No Sew Blankets
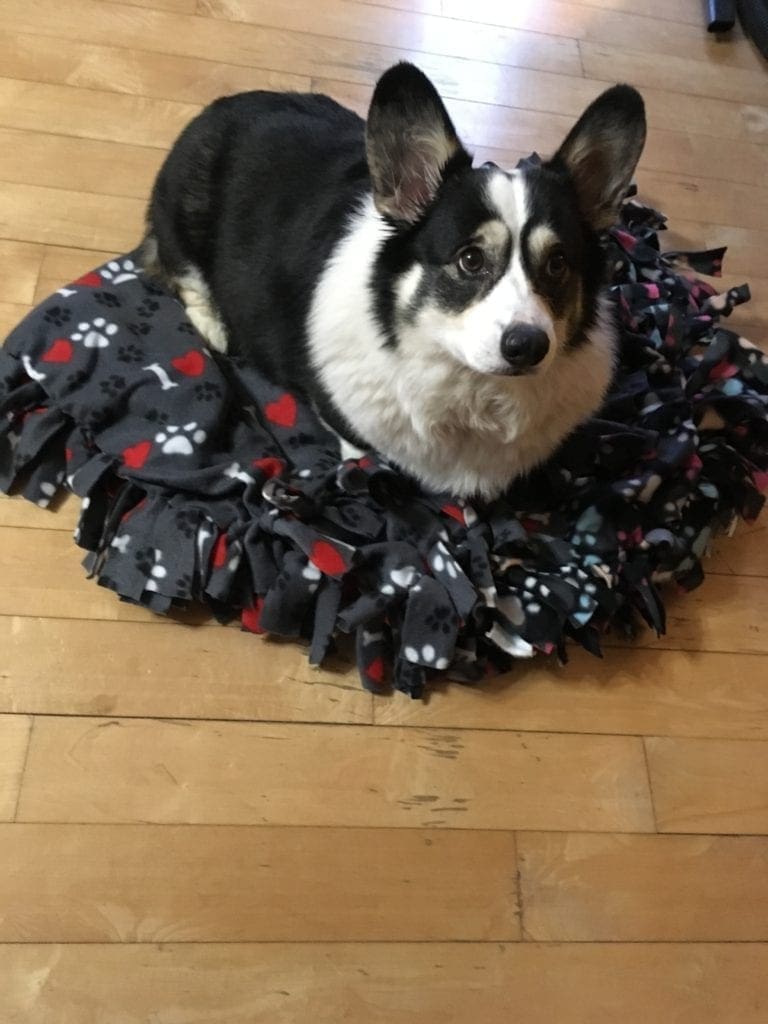
As you can see, our Corgi dog thinks that this no sew fleece blanket is just fine. It is doggy approved. I hope that you enjoyed this tied fleece blanket tutorial.
If you loved this post, please share. It helps to show me that these types of posts are helpful – thank you!


You can find Victoria crocheting, quilting, and creating recipes. She has cooked in restaurants for over 20 years, including many larger parties. She learned to crochet when she was just 11 years old and has been crocheting ever since; over 50 years now. Over 40 years ago, she loved her first class in sewing and continues to hone her skills in quilting. Many have enjoyed the handmade gifts over the years. In her professional career, she has worked in management in a wide variety of businesses including higher education as a dean of a division. All the while attending college part-time to achieve her doctorate in higher education with an emphasis in e-learning.
Pingback: How to Make Tie Fleece Blankets: 29 Tutorials | Guide Patterns
I am going to make some of these for the local animal shelter!
I love in the Northeast and I’m sure they would love these?
Thank you!
That is a great use for this fleece blanket. Bless you for taking the time to make these and donate them. I am sure that they will appreciate them. Vicky
This was very helpful. Thanks
Thank you for letting me know.