Last updated on July 5th, 2024 at 12:30 am
Making toilet paper pumpkins for fall home decor is a wonderfully easy craft to complete. Use a simple, no-sew method to create these delightful pretty fabric home pumpkin accents.
*Post contains affiliate links* for more information please read the disclaimer on the About Us page.
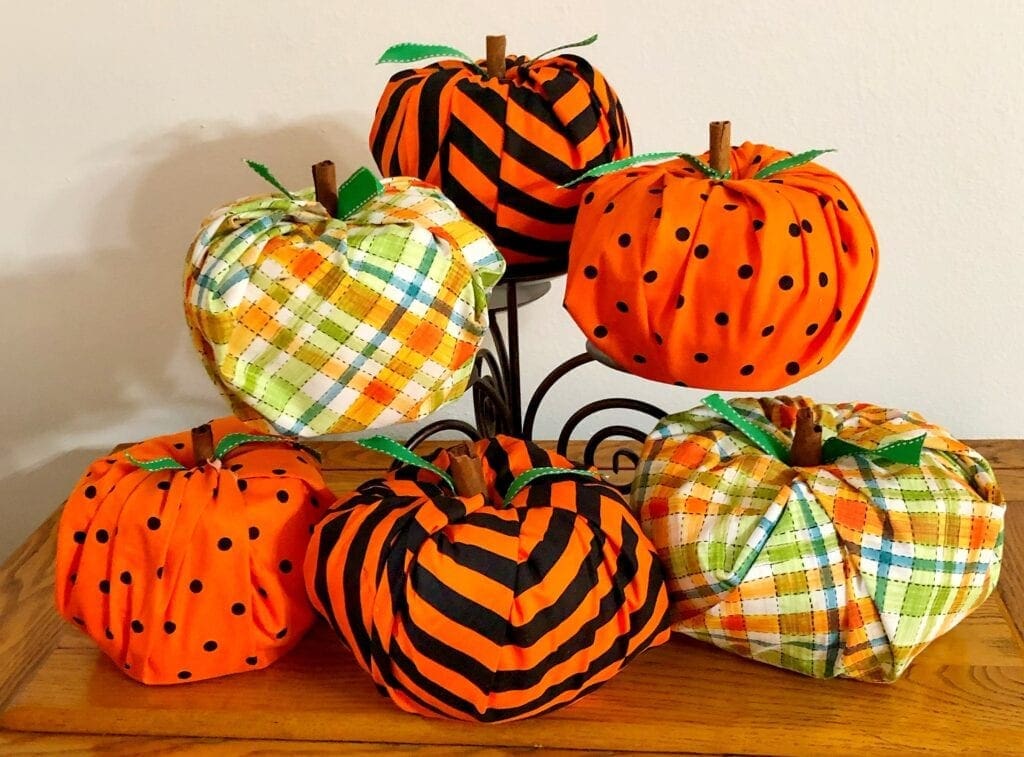
Fun and Easy No-Sew Craft Project for the Whole Family to Enjoy
This fun DIY is so easy and quick to make that you can have an entire pumpkin patch made with little effort.
Start by Gathering the Supplies
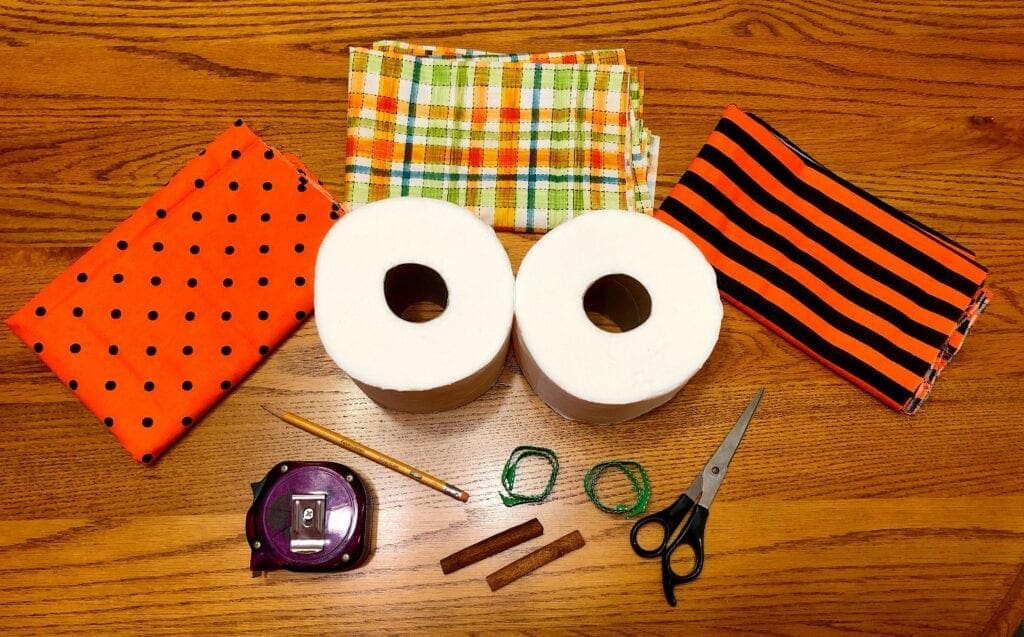
For Each Toilet Paper Pumpkin, you will need:
One Toilet Paper Roll. I used the “mega” rolls as they are nice and wide and will help the end result look round and fat like a pumpkin.
Fabric. If you are using a toilet paper roll smaller than the mega roll, then an 18 inch square would be enough. However, for the “mega” roll, I have found that an 18 X 22 inch piece of fabric works so much better. This size is also referred to as a fat quarter. If you are not able to find this locally, here are some great options.
Type of Fabric. You can use any type of fabric. Today, I used a thin cotton. However, a flannel can be used as well, but might need a bit more work helping all the fabric fit in the center hole.
Stick. 3 or 4 inch stick or cinnamon stick. This will be used for the stem. My daughter and I were going to look around the yard for them, but we found old cinnamon sticks in the cupboard, so we used those instead. They still smelled nice too.
Green Ribbon. this is used for tying around the stick as leaves. My ribbon as cut into 9 inch lengths.
Pencil. This is used in case you are using a thick fabric and it does not want to tuck down in the center hole nicely. Using the pencil to help the fabric tuck neatly into the middle hold works nicely.
Step-by-Step Written Instructions
How to Make No-Sew Fabric Toilet Paper Pumpkins
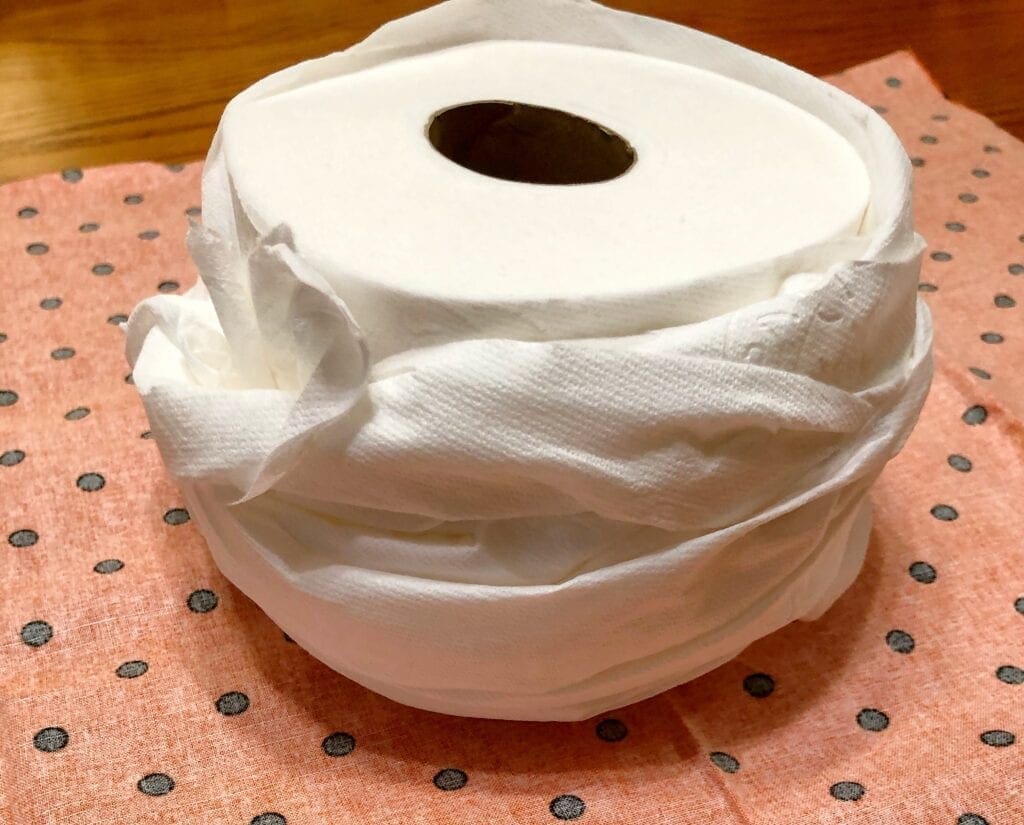
Step 1
Unroll toilet paper 10-12 times. Loosely roll back up. This helps the toilet paper (TP) take on a round appearance.
Step 2
Trim fabric if necessary to remove any unsightly salvage edge. Lay fabric out on a flat surface with the wrong side out. Place the roll of TP in the center of the fabric.
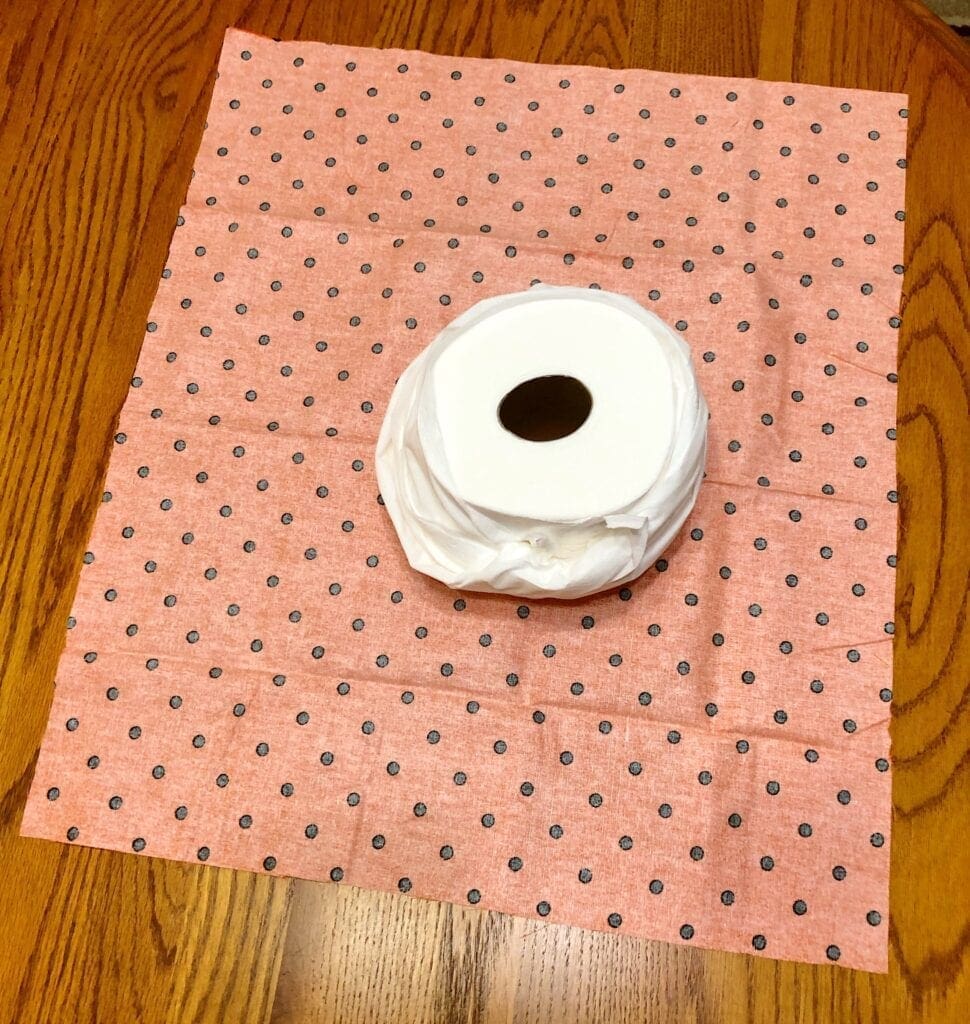
Step 3
Take one corner of the fabric and begin by tucking it inside the center hold of the TP holder.

Step 4
Continue working around the TP roll bringing up sections of the fabric and tucking it into the center hole. Remember, if you are using a thicker fabric, use the pencil to help poke it down into the hole.

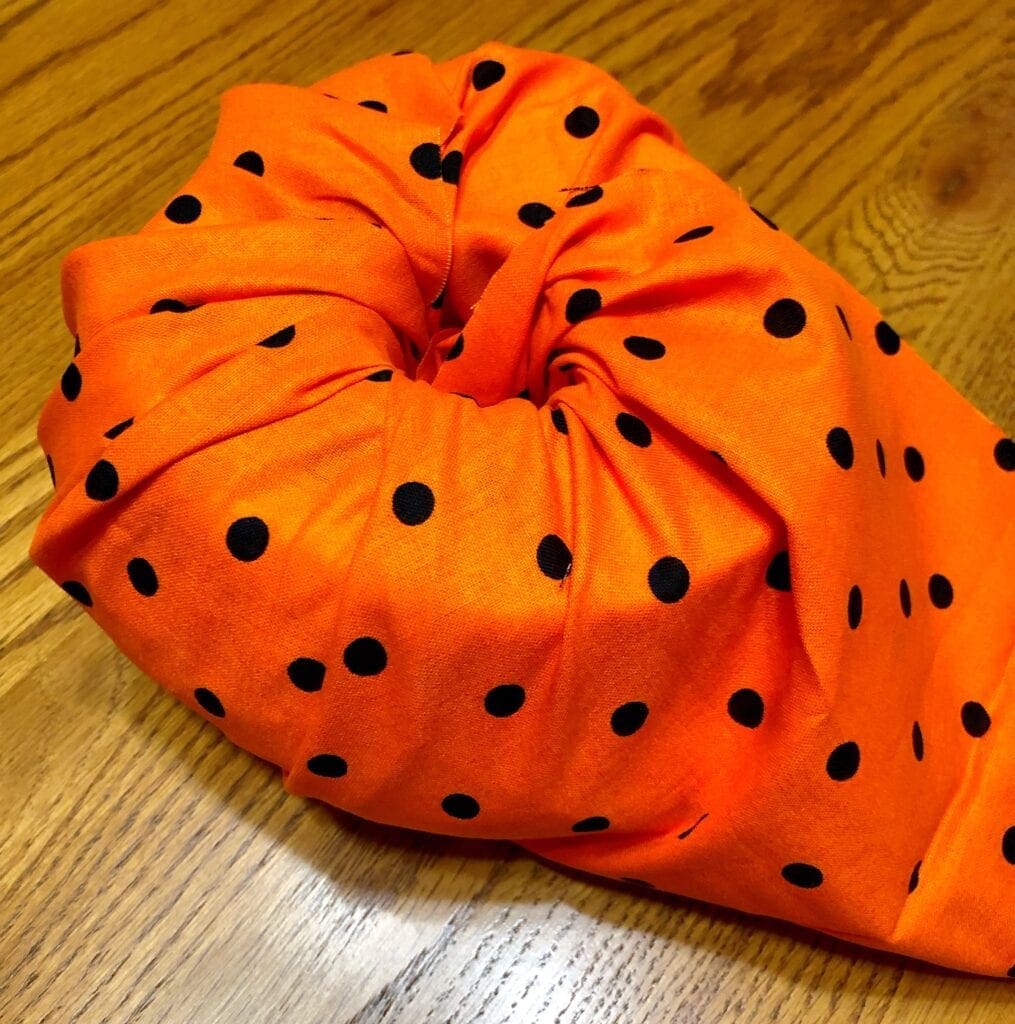

Step 5
It is time to make the stem. If you have not done so already, cut approximately a 9 inch piece of ribbon. Tie it around the stick.
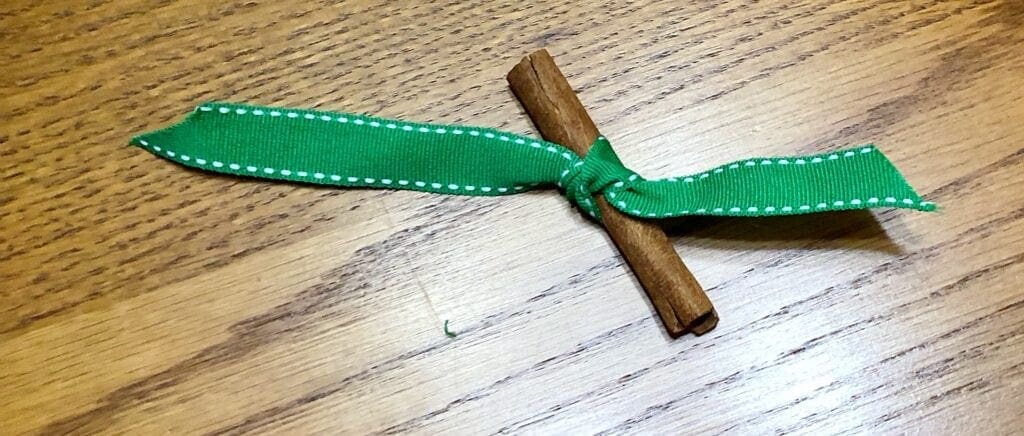
Step 6
Insert the stick in the center of the TP hole. Do not worry if it is not snug inside the hole. I have found that they stay in place nicely.

This fun DIY homemade pumpkin home decor project. So cute and easy to create.
DIY No-Sew Craft
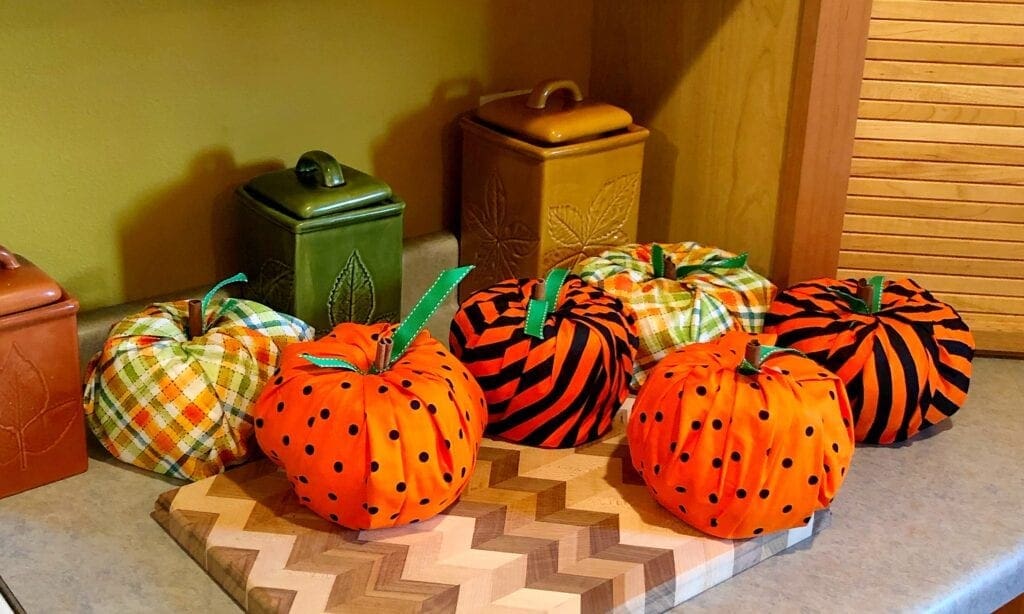
A fun project for kids, teenagers, and us adults. Have a pumpkin making party.
Just a fun fall easy craft

If you loved this post, please share. It helps to show me that these types of posts are helpful – thank you!
I hope that you liked this project. If you are looking for more ideas, here are a few other craft projects you may enjoy.


You can find Victoria crocheting, quilting, and creating recipes. She has cooked in restaurants for over 20 years, including many larger parties. She learned to crochet when she was just 11 years old and has been crocheting ever since; over 50 years now. Over 40 years ago, she loved her first class in sewing and continues to hone her skills in quilting. Many have enjoyed the handmade gifts over the years. In her professional career, she has worked in management in a wide variety of businesses including higher education as a dean of a division. All the while attending college part-time to achieve her doctorate in higher education with an emphasis in e-learning.