Last updated on March 27th, 2026 at 09:13 pm
If you’re new to crochet, one of the most confusing things about it can be how to finish off crochet. If you’re a crochet enthusiast, then you know that completing your project is just as important as starting it.
One of the most important steps in crochet is finishing off your work properly. You have worked so hard on your crochet piece; the final step is probably the more important step. This ensures that your project looks neat and tidy and prevents it from unraveling over time. In this article, we will teach you how to finish off crochet correctly.
Post contains affiliate links, and we earn commissions if you shop through the links on this page. For more information, please read the disclosure section under the About Us page.
Fasten Off a Crochet Project
So, you’re finally done with your first crochet project! Now is the time to learn how to finish it off. You’ll generally in a crochet pattern, you will see “fasten off” or “tie off” something similar at the end of every pattern.
Don’t worry, they both mean the same thing. Essentially, what they mean is that you will fasten off your last crochet stitch so that your stitches do not unravel.
Another step in finishing off a crochet project is to weave in your yarn ends with a yarn needle which is also sometimes called a tapestry needle.
Should You Knot the Yarn Before Fastening Off?
There is a bit of discussion regarding knotting the yarn before fastening off. Some crocheters prefer to make a final knot before weaving in yarn ends. This can be beneficial for a slippery yarn or a fine fingering yarn. However, it can leave an unsightly bump.
Sometimes it is a matter of personal preference. It is better to feel that all of your hard your work is secure.
However, most of the time, after the last stitch, pulling the yarn through the stitch and gently tugging to tighten will secure the final stitch so your work will not unravel.
Crochet Pro Tip: After working the last stitch, cut off the yarn leaving a long tail before pulling the yarn through. In general, I leave approximately a 12-inch tail. If you are unsure of how long to leave your yarn end when fastening off, it is okay to leave more than what you think you will need. Once the yarn is weaved in, the excess can be trimmed off. It is important to leave a long enough yarn tail to weave in. If the yarn is too short, it is hard to weave in enough. If the yarn is not secure, the short ends can pop out of your work and stick out.
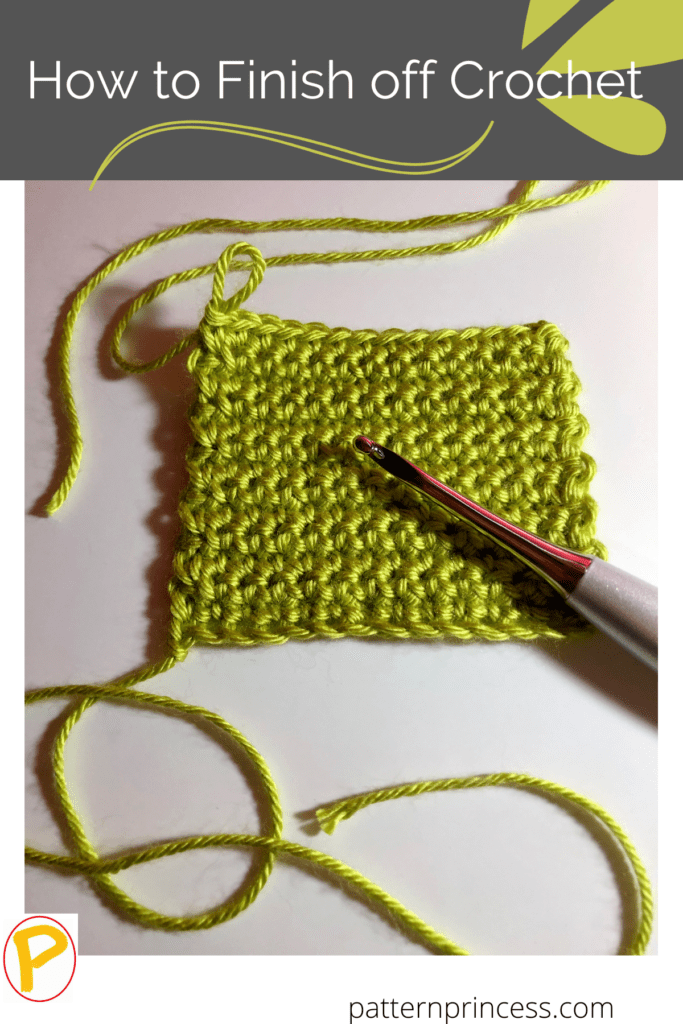
How to Finish off Crochet
Supplies
Yarn
Crochet Hook
Yarn Needle or Tapestry Needle. I use metal needles, but plastic needles will work just as well. These tapestry needles come in a straight tip and bent tip needle. It is personal preference which type you use.
Total Time
5 Minutes or less
How to finish off crochet
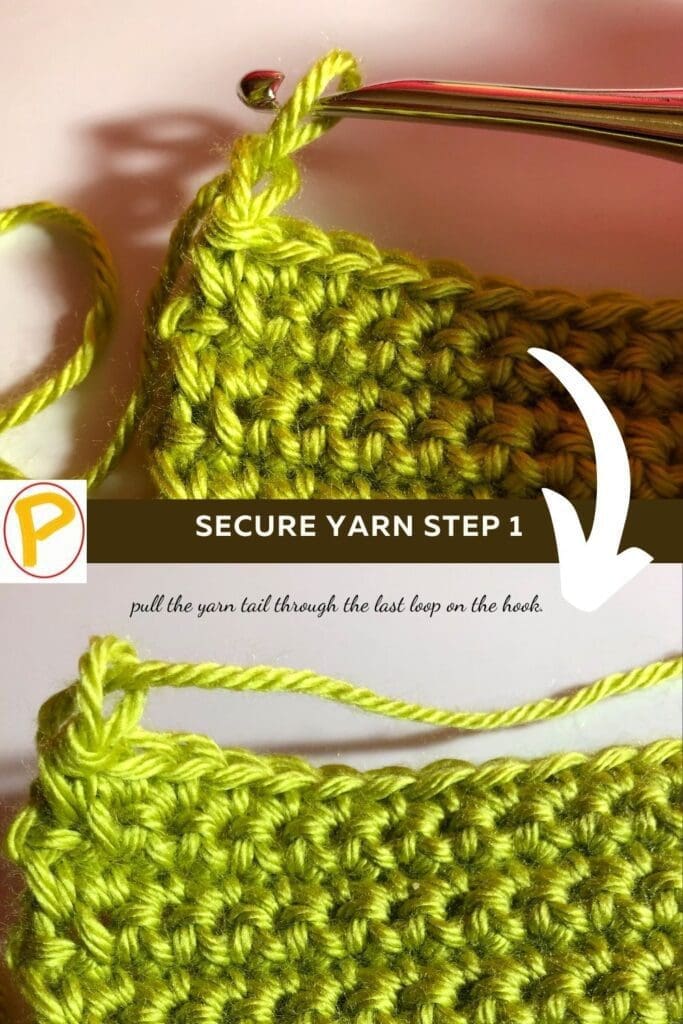
Step 1
Once you have worked your last stitch, there will be one loop left on the hook. Cut the yarn leaving a tail approximately 12-inches long. Yarn over and pull the yarn tail through the last loop on the hook.
Step 2
Remove the crochet hook and pull the yarn through the loop gently tugging to tighten, which will secure the final stitch so your work will not unravel.

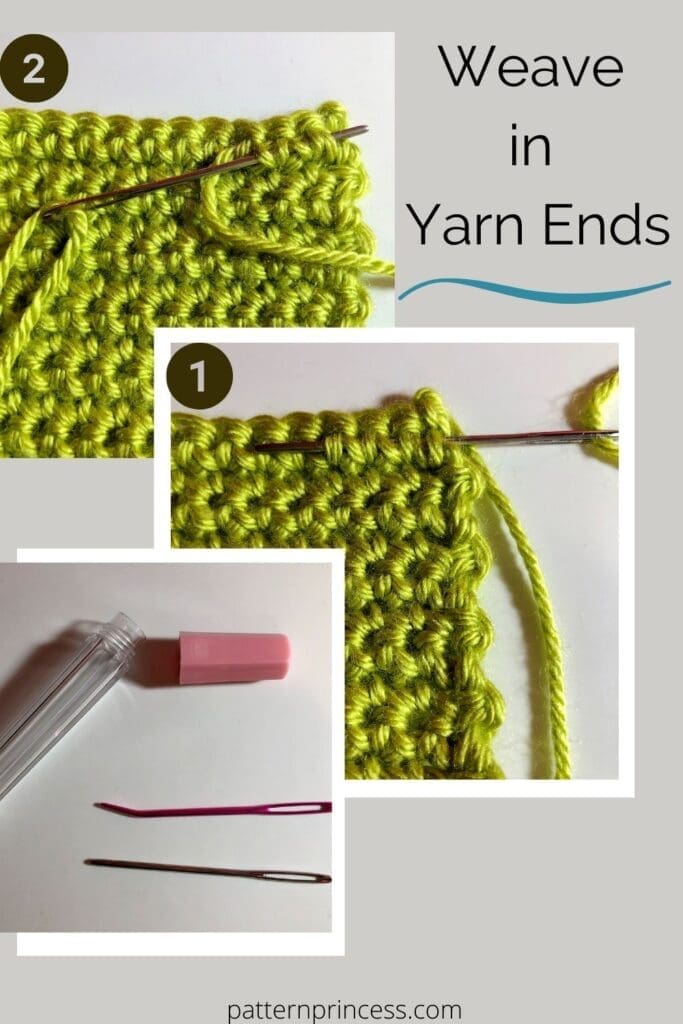
How to Weave in Yarn Ends
Once your crochet is secure and fastened off, there’s one more thing to do for a professional invisible finish.
Weave in the yarn to secure the tail in place and hide the yarn.
Interlacing the yarn helps the finished product look neater and secures the tail in place so that your work will not unravel.
- Turn your project so that you are working on the back side or wrong side of your work.
- Thread your yarn needle also called a tapestry needle with the yarn tail.
- Starting near the first stitch close to the needle, weave the needle in and out of the back of a few stitches in the back loop at the base in one direction.
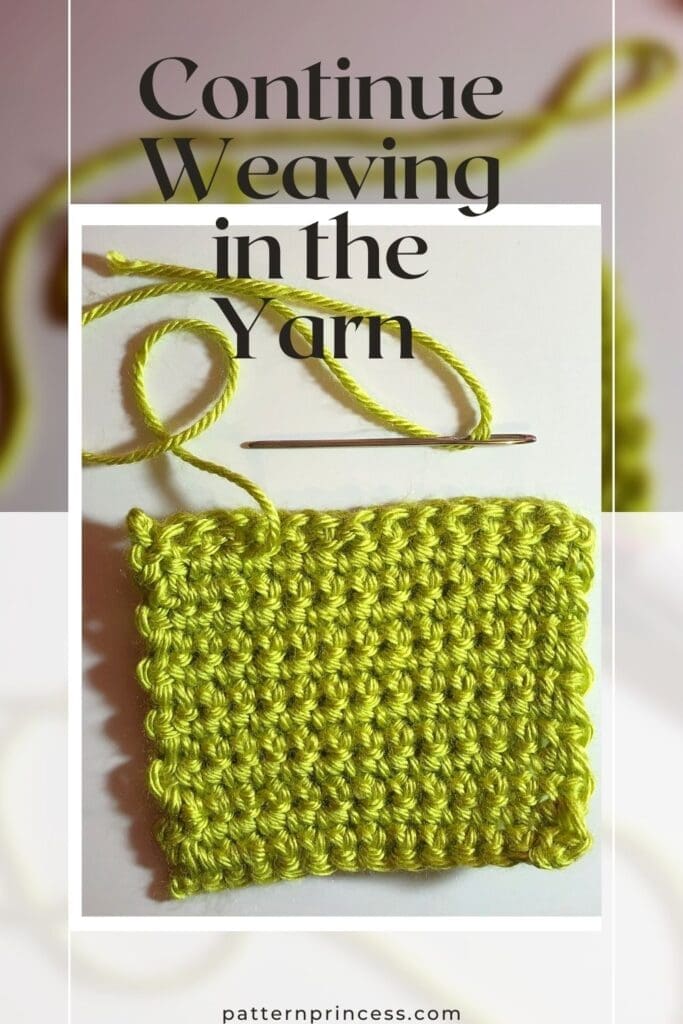
- Now skip a loop and work the needle back under the same stitches in the opposite direction.
- I like to do this a few times and depending on the type of crochet project I am finishing off; I may weave into a different row and work back and forth a few times as well for added security of the yarn tail. Crochet Pro Tip: It is a good idea to weave in the end of the yarn in different directions. Additionally, if the project involved color changes, weave the yarn in the same color as the row of stitches worked for an invisible finish.
- Finally snip off any remaining yarn close to the stitches being careful not to cut into the crochet project itself.
If you found this tutorial helpful, you might also find these tutorials for beginner crocheters useful.
Crochet Guidelines for Standard Bed and Blanket Sizes
See How to Weave in Yarn Ends in the Video Tutorial

You can find Victoria crocheting, quilting, and creating recipes. She has cooked in restaurants for over 20 years, including many larger parties. She learned to crochet when she was just 11 years old and has been crocheting ever since; over 50 years now. Over 40 years ago, she loved her first class in sewing and continues to hone her skills in quilting. Many have enjoyed the handmade gifts over the years. In her professional career, she has worked in management in a wide variety of businesses including higher education as a dean of a division. All the while attending college part-time to achieve her doctorate in higher education with an emphasis in e-learning.
Thanks. It was real easy to understand.
OH, my gosh. Thank you so much for letting me know. So glad it helped.
Vicky