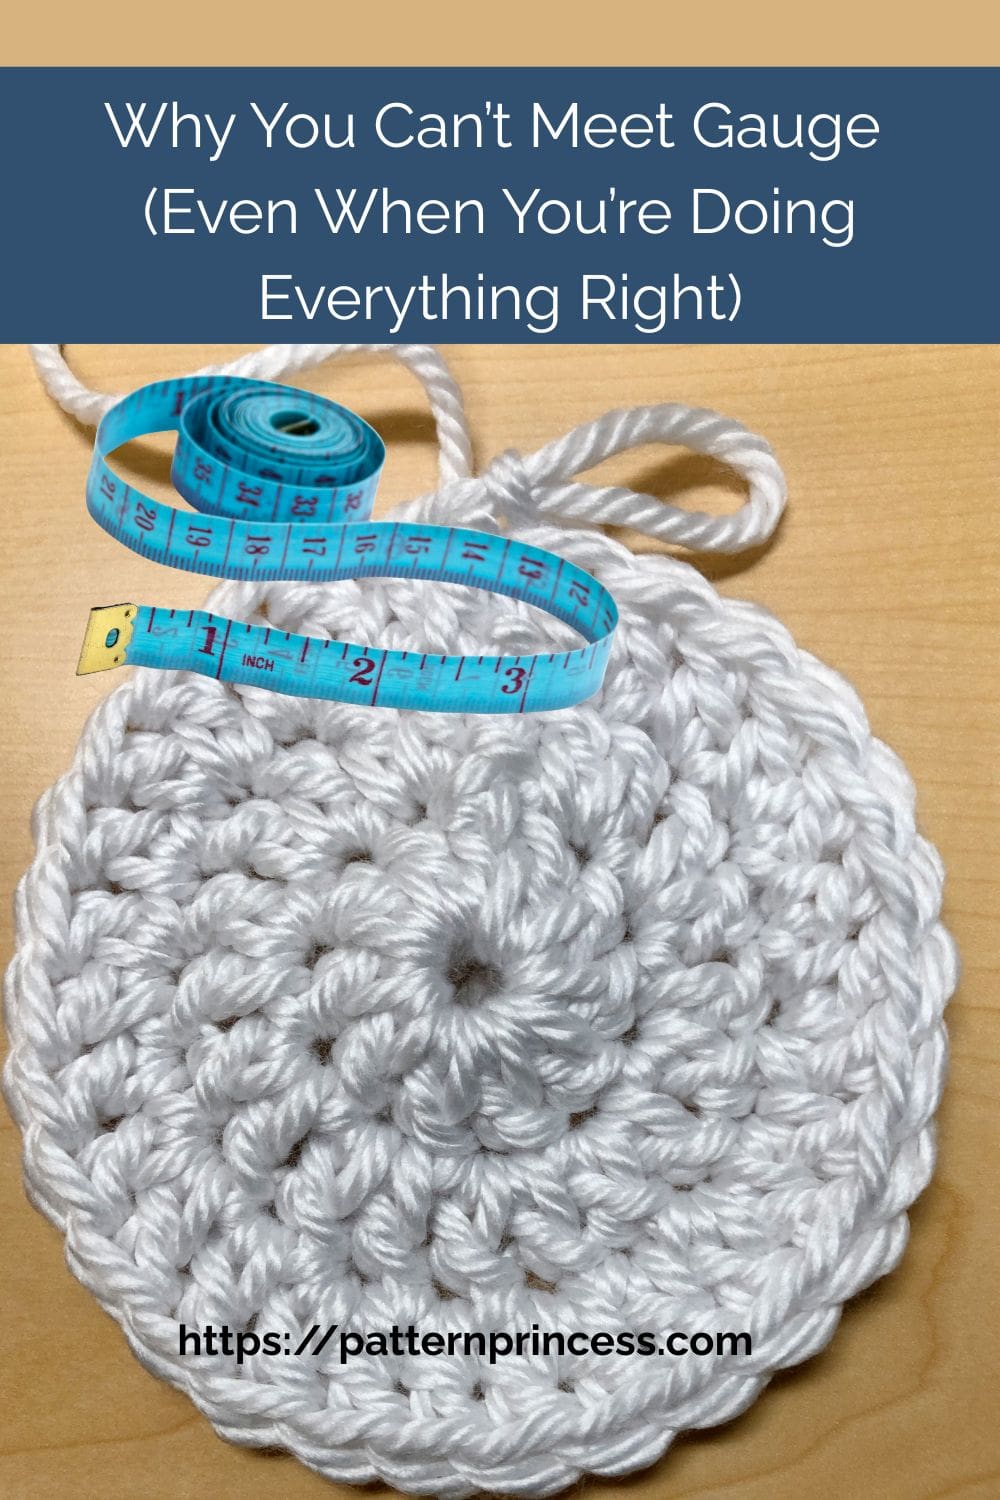
Why can’t you meet gauge—even when you’re doing everything right? Your yarn is right. Your hook size is right. You made a gauge swatch. And still… your swatch turns out too big or too small.
This happens more often than you might think—and it’s not because you lack skill.
In fact, many experienced crocheters run into this exact issue when working with different yarns, hook sizes, or garment patterns.
You’ve crocheted for years. You know your yarn tension. You always swatch.
But your gauge is still off—sometimes by enough to completely change the fit of a sweater or the drape of a shawl.
Here’s what most beginner advice misses:
Gauge problems at this level aren’t just about tension anymore.
They’re about fabric behavior, technique differences, and pattern assumptions.
Let’s break down what’s really happening—and how to fix it.
Table of contents
What Crochet Gauge Really Means
Crochet gauge is the number of stitches and rows you create within a set measurement (usually 4 inches).
Every crochet pattern is based on the designer’s:
- Yarn tension
- Hook size
- Stitch style
- Yarn type
Even if you use the exact same materials, your results can still be different.
The goal isn’t matching the designer’s tension—it’s achieving the correct finished size and fabric feel.
The 5 Real Reasons You Can’t Meet Gauge
1. You’re Swatching Differently Than You Crochet
This is one of the most common (and overlooked) issues.
If your pattern is worked in the round—but you swatch flat—your gauge will be off before you even begin.
Why?
Because your:
- Hand position changes
- Yarn path shifts
- Stitch structure behaves differently
What to do:
- Swatch the same way the pattern is worked
- In rows → swatch flat
- In rounds → swatch in the round
- Mixed construction → test both
Don’t guess—match the method.
2. Your Yarn Doesn’t Behave Like the Pattern Yarn
Even if you match yarn weight, fiber content, and yardage—your yarn may still act completely differently.
This happens because yarn construction matters more than weight class. A tightly plied worsted-spun wool behaves completely differently than a loosely plied woolen-spun wool, even if they’re both labeled worsted weight. The twist, ply, and spin style affect how the yarn fills space between stitches, how much it blooms after blocking, and how the fabric drapes.
What to do about it:
- Check the ply and twist. If the pattern yarn is a 3-ply and your substitute is a single ply, your stitches will look softer and less defined. You might need to go down a hook size to compensate for the lack of structure.
- Test for bloom. Wet block your swatch exactly how you’ll block the finished piece. Some yarns grow half a size after blocking. If your gauge is perfect before blocking and wrong after, you need to swatch smaller from the start.
- Measure stitch definition. If your yarn has more halo or texture than the pattern yarn, your gauge might read correctly on a ruler but the fabric will be denser or airier. Trust the fabric, not just the numbers.
Switching yarn isn’t just about finding the same weight. It’s about matching how the yarn moves, fills, and settles into the stitch structure. If your fabric doesn’t look like the pattern photo, your gauge numbers won’t save you.
3. You’re Measuring Gauge Incorrectly
Standard advice says: measure 4 inches in the center of your swatch.
That works for simple stitches—but not for textured patterns.
Stitches like:
- Clusters
- Puffs
- Cables
- Post stitches
…create uneven fabric.
Here’s how to measure complex stitch patterns accurately:
- Count full pattern repeats, not inches. If the stitch pattern repeats every 12 stitches, measure how wide three full repeats are. Divide that measurement by three. That’s your true repeat width.
- Measure vertically across texture changes. Don’t measure row gauge in the flattest section. Measure across the most textured part, because that’s where the fabric will pull and compress differently.
- Check your swatch after it’s been sitting for 24 hours. Some stitch patterns relax or tighten as the yarn settles. If your gauge changes overnight, you need to factor in that shift before you start your project.
Gauge is about fabric behavior—not just numbers on a ruler.
4. Your Stitch Technique Is Slightly Different
This is the hardest one to spot.
Your stitches look clean. Your tension is consistent.
But your gauge is always off—in the same direction.
Small technique differences add up:
- Where you insert your hook matters. If you tend to push your hook further through the stitch than necessary, you’re adding tiny amounts of slack that multiply across a row. Try inserting your hook more shallowly and see if your gauge tightens up.
- Yarn-over direction creates tension variance. If you wrap your yarn over the hook from back to front instead of front to back, or if your wrapping motion is loose, you’re adding length to every stitch. Keep your yarn-overs tight and consistent in direction.
- When you pull through changes stitch height. Pulling through too early or too late in the stitch formation adds or removes height. This is especially obvious in double crochet and taller stitches. Even a tiny variation repeated across rows can change your gauge significantly.
What to do:
- Pay attention to how your stitches form
- Compare your work to pattern photos
- Adjust slightly—don’t overhaul your entire technique
Consistent doesn’t always mean compatible with the pattern.
5. The pattern Assumptions Don’t Match Your Reality
Sometimes…the issue isn’t you.
Patterns are written based on:
- The designer’s natural tension
- Their measuring method
- Their blocking style
- Their intended fit
What to check:
- Is the gauge blocked or unblocked?
- How much ease is built into the design?
- Does your fabric look like the sample?
If your fabric matches visually, trust it—and adjust sizing instead.
What Actually Changes Your Gauge
Once you understand the cause, these are the variables you can adjust.
1. Yarn Hold (Your Built-In Tension Control)
- More wraps around fingers → tighter gauge
- Fewer wraps → looser gauge
Small adjustments here = big results.
2. Hook Grip (Knife vs Pencil)
- Knife grip → often looser, more fluid
- Pencil grip → often tighter, more controlled
Consistency matters more than which one you use.
3. Stress & Focus Level
- Focused/stressed → tighter stitches
- Relaxed → looser stitches
Always crochet a quick warm-up before starting.
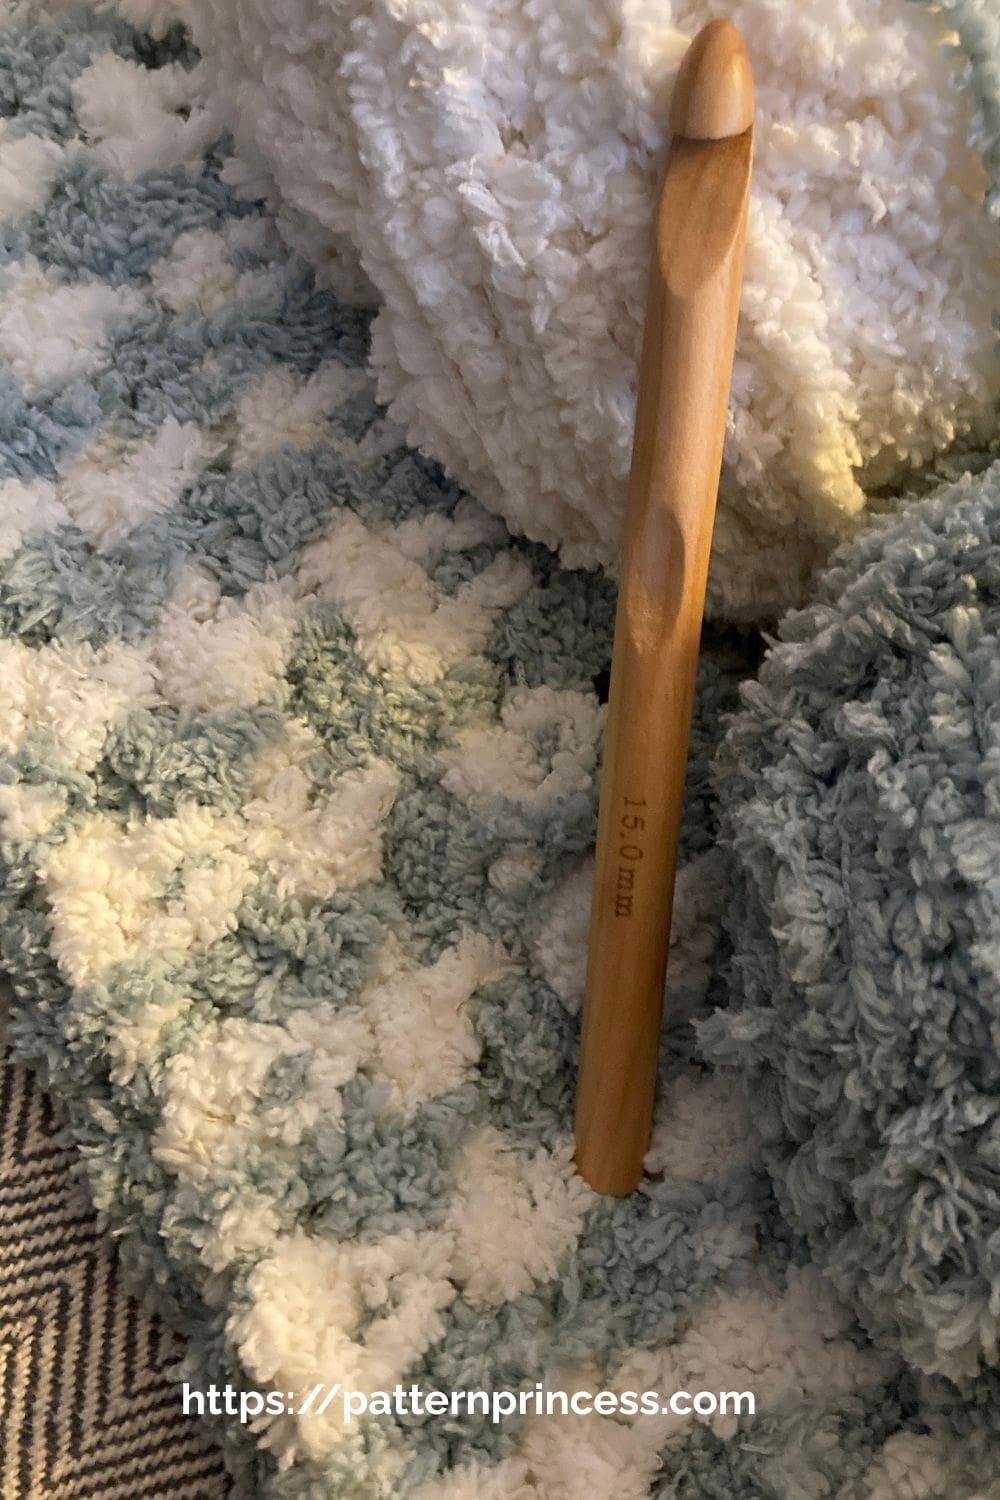
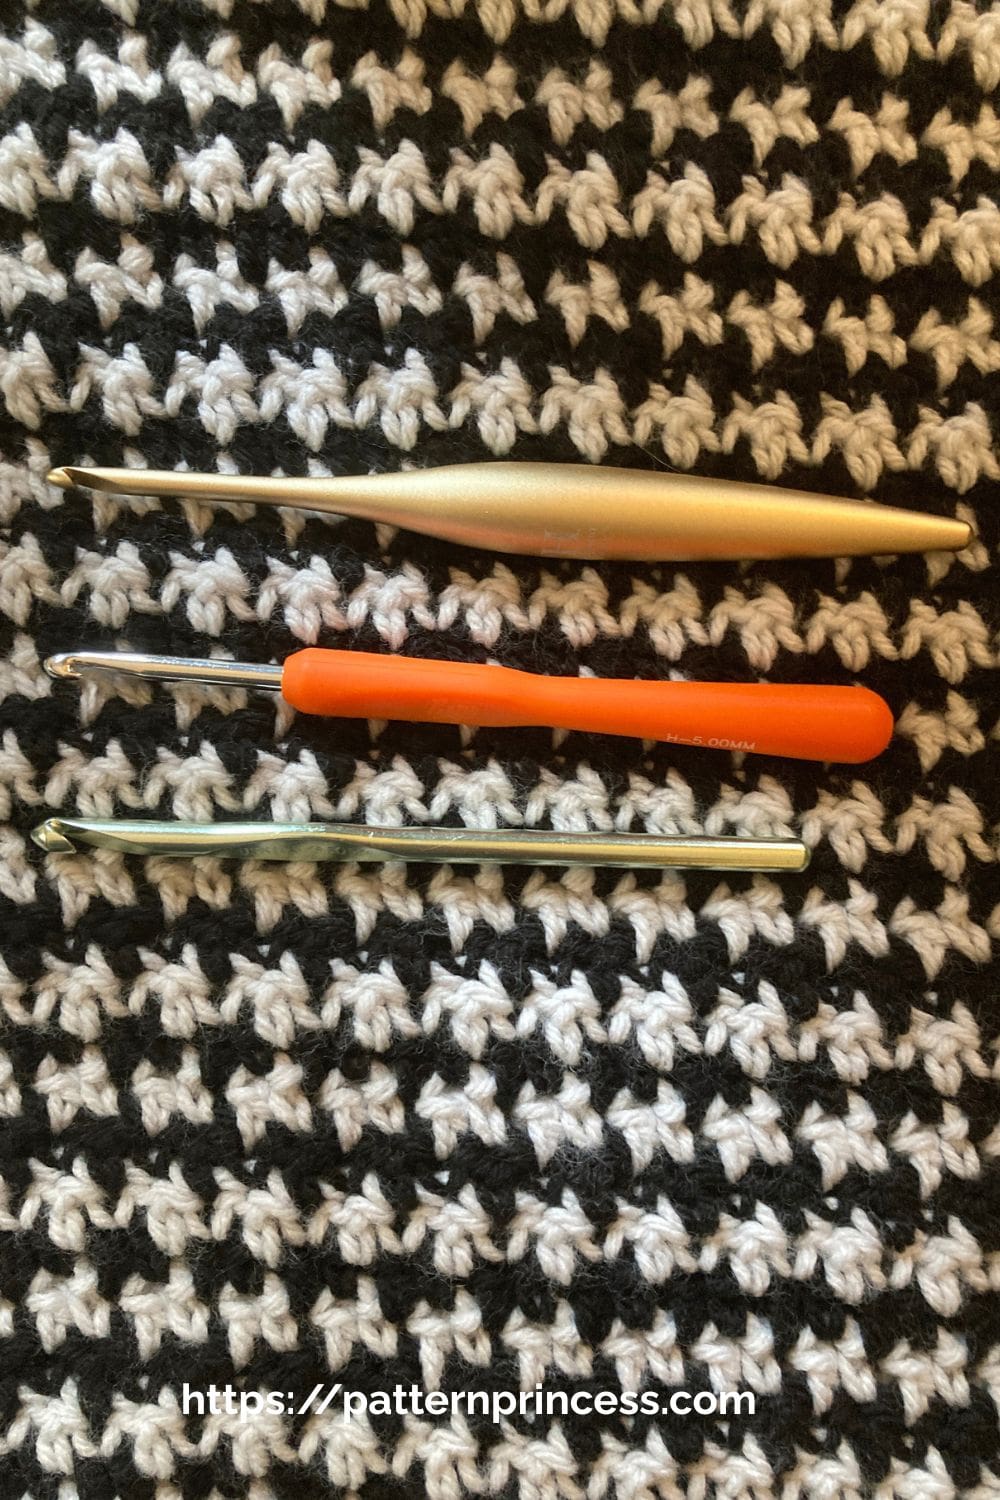
4. Hook Material
- Aluminum → smooth → looser stitches
- Wood/bamboo → more grip → tighter stitches
5. Yarn Type
- Cotton → firm, less stretch → tighter feel
- Wool → elastic → more forgiving
Quick Reference: What Affects Gauge
| Factor | Tighter Gauge | Looser Gauge |
| Yarn Hold | More wraps | Fewer wraps |
| Hook Material | Wood/Bamboo | Aluminum |
| Stress Level | Focused | Relaxed |
| Hook Size | Smaller | Larger |
| Yarn Type | Cotton | Wool |
Quick Fix Guide
If your gauge is off, start here:
- Too many stitches → go up a hook size
- Too few stitches → go down a hook size
- Stitch count correct, rows off → adjust stitch height
- Fabric feels wrong → change hook or yarn (not just size)
Always check both fit and fabric, not just numbers.
Practice Exercises to Improve Consistency
If you want to take your tension to the next level, these simple exercises can help.
1. Chain Test
Chain the same number of stitches (like 50) a few times.
If the length changes each time, your tension isn’t consistent yet.
2. Swatch Break Test
Crochet part of a swatch, stop, and come back later.
If you see a visible line where you restarted, your tension changed.
Idea: Always do a quick warm-up before continuing a project.
3. Slow Rhythm Stitching
Try crocheting at a steady pace—same motion, same rhythm.
This helps build muscle memory and leads to more consistent stitches.
Why This Matters
At the advanced level, tension isn’t about “tight vs loose.”
It’s about control and consistency.
Once you understand what’s affecting your gauge, you can:
- Adjust your hook size more accurately
- Choose the right yarn more confidently
- Keep your stitches consistent across an entire project
Why Garments Make This More Noticeable
Gauge matters most in garments because:
- Fit depends on precise measurements
- Small differences multiply across rows
- Stitch height affects length and drape
You might not notice gauge issues in blankets—but sweaters will expose them immediately.
When You Need to Adjust Both Hook AND Pattern Size
This is where many experienced crocheters land.
If your natural tension differs from the designer’s:
- You may meet gauge with a different hook
- But the fabric may still behave differently
That’s when adjusting the pattern size becomes the better solution. This isn’t a mistake—it’s advanced crochet.
Stop Trying to “Fix” Your Tension
Here’s the shift that changes everything:
You don’t need to fix your tension—you need to understand it.
- Tight crocheter? That’s your style.
- Loose crocheter? That’s your style.
The goal is:
- Consistent stitches
- The right hook size
- Smart pattern adjustments
This Is Where Crochet Clicks
Gauge problems at your level aren’t about trying harder—they’re about understanding what your stitches are actually doing.
Once you start focusing on your fabric instead of just your numbers:
- You stop guessing
- You stop endlessly re-swatching
- You start finishing projects that actually fit
And that’s when crochet gets a whole lot more enjoyable.
Here are a few other articles on crochet tension and gauge that you may find helpful especially if you are a beginner crocheter.

You can find Victoria crocheting, quilting, and creating recipes. She has cooked in restaurants for over 20 years, including many larger parties. She learned to crochet when she was just 11 years old and has been crocheting ever since; over 50 years now. Over 40 years ago, she loved her first class in sewing and continues to hone her skills in quilting. Many have enjoyed the handmade gifts over the years. In her professional career, she has worked in management in a wide variety of businesses including higher education as a dean of a division. All the while attending college part-time to achieve her doctorate in higher education with an emphasis in e-learning.