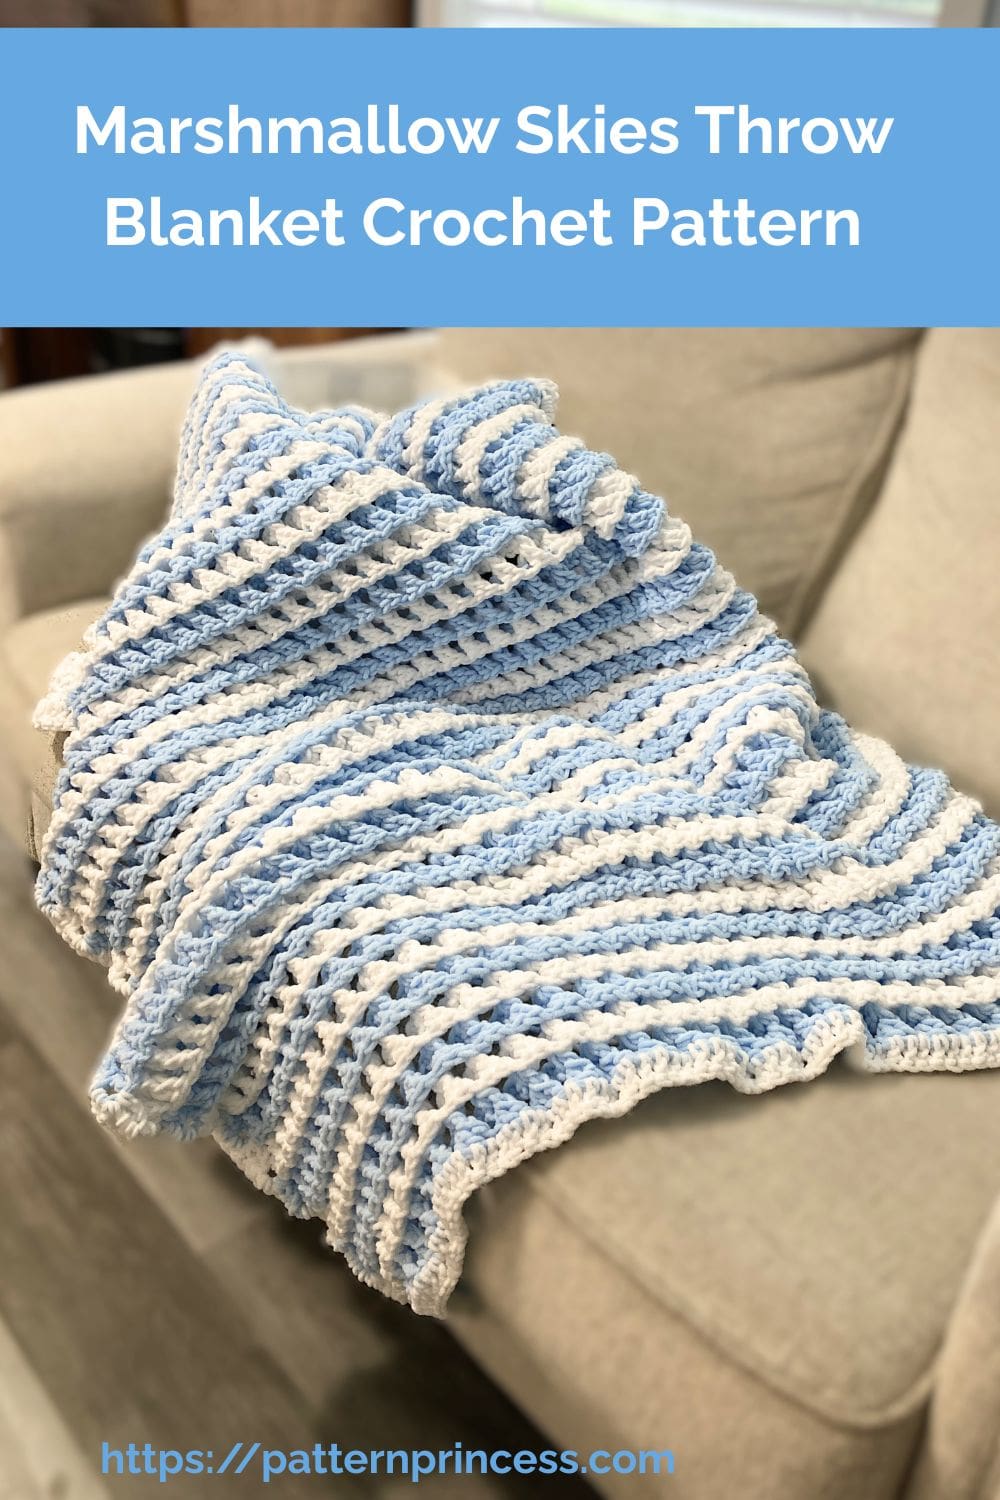
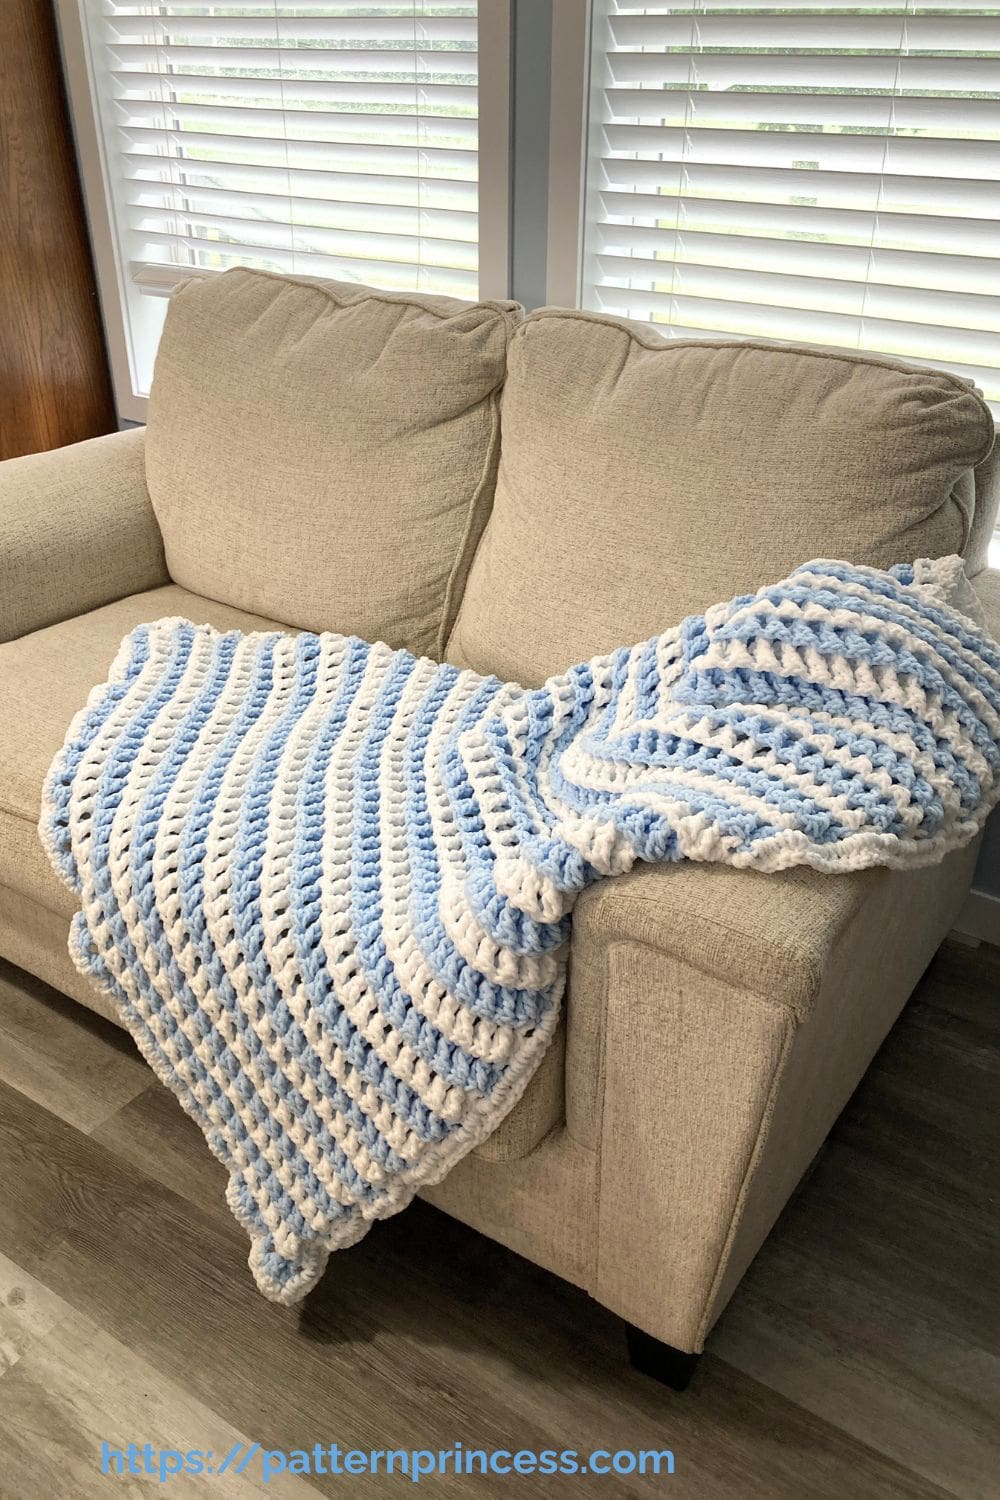
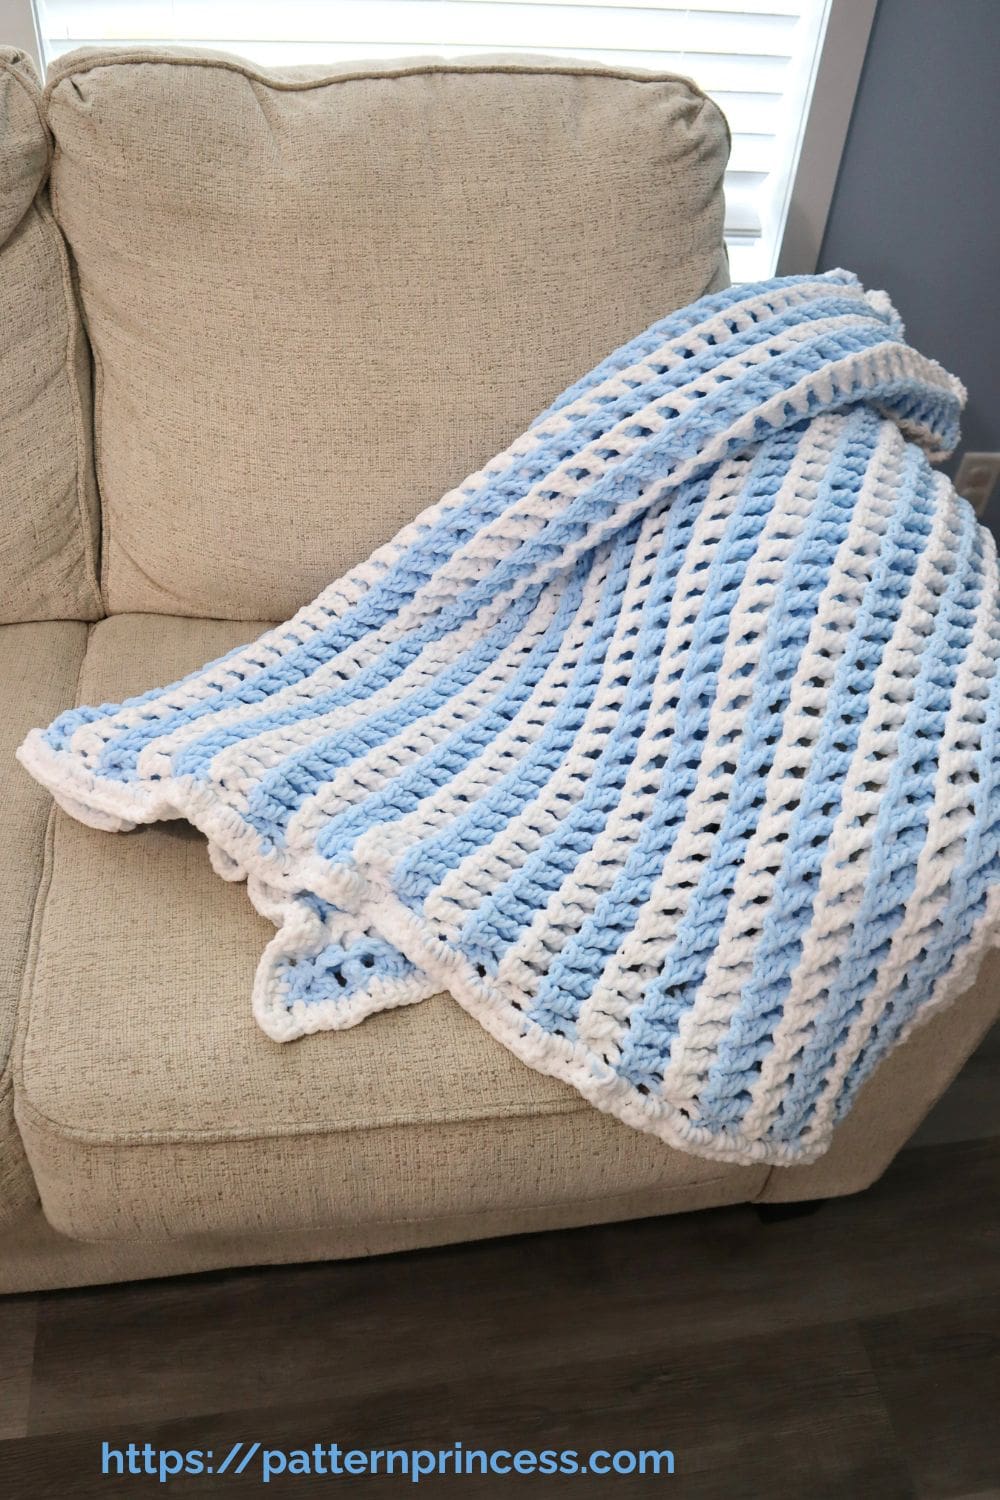
Wrap yourself in the softness of Marshmallow Skies with this cozy throw blanket. It combines the rich texture of the 3D ZigZag Waffle Stitch with plush bulky yarn to create a blanket that’s irresistibly squishy, warm, and comforting. Alternating rows of soft blue and white give the design a cloud-like appearance, while the raised zigzag texture adds beautiful dimension and visual interest.
Designed with comfort in mind, this blanket quickly became a favorite while it was still on the crochet hook. The bulky yarn works up faster than traditional throw blankets and creates a wonderfully cushioned fabric that is perfect for snuggling on the couch, reading a favorite book, or adding a cozy touch to your home décor.
The repeating stitch pattern may look intricate, but once established, it becomes easy to follow and relaxing to crochet. The raised front post double crochet ridges create beautiful texture while the alternating color rows highlight the peaks and valleys of the zigzag design.
Whether you’re making a baby blanket, lapghan, or full-size throw, Marshmallow Skies is a versatile pattern that can be customized to fit your needs. The included sizing options make it easy to create a blanket for gifting, decorating, or keeping all to yourself.
Why You’ll Love This Pattern
• Rich three-dimensional texture
• Soft and squishy bulky yarn fabric
• Easy-to-memorize repeat
• Five blanket sizes included
• Great for gifting
• Video tutorials included
• Perfect for relaxing crochet sessions
• Beautiful in solid, striped, or two-color combinations
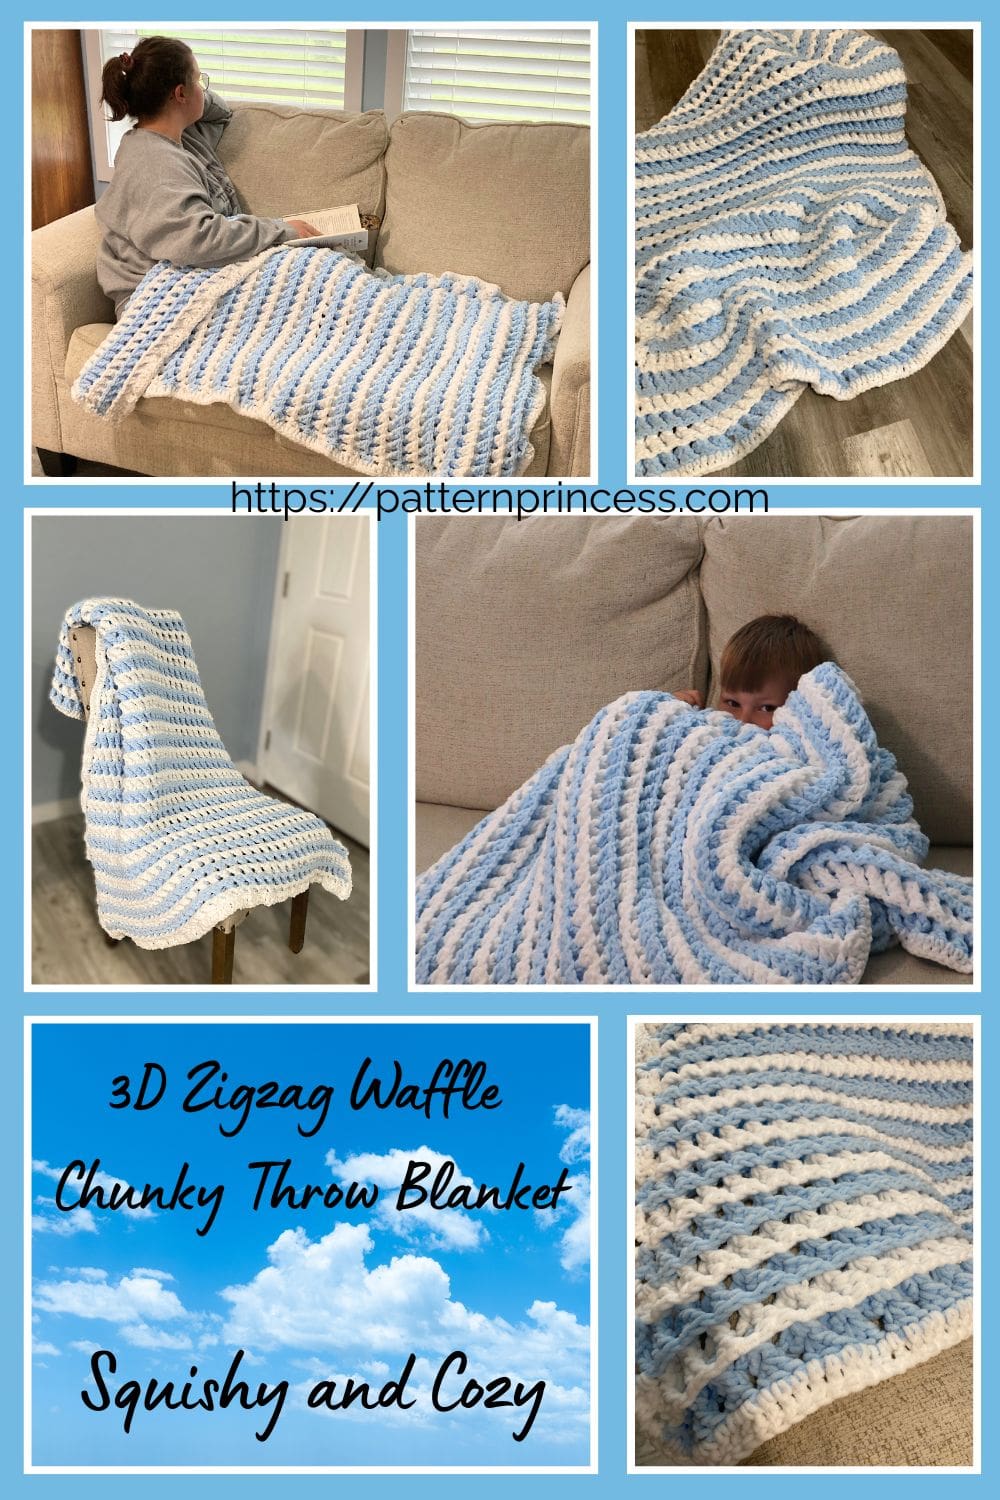
My Grandson Loves This Blanket
Before this blanket was even finished, it had already been claimed by my three-year-old grandson, who regularly checked on my progress and asked, “Is it done yet?” His excitement inspired the name Marshmallow Skies and confirmed just how cozy this blanket had become.
Best Yarn Choices
While the sample blanket was made using Lion Brand Cover Story Posh Twist yarn, this pattern works beautifully with many bulky (#5) weight yarns. Look for soft acrylic, polyester, or blended fibers that will highlight the texture while maintaining a cozy drape.
Projects made with lighter colors tend to showcase the raised zigzag ridges especially well, while high-contrast color combinations emphasize the geometric nature of the stitch pattern.
Color Combination Ideas
The Marshmallow Skies Throw Blanket is especially beautiful when worked in two alternating colors. Changing colors every two rows helps emphasize the raised zigzag texture and creates stunning visual contrast.
Try these color combinations:
• Sky Blue and White – Soft cloud-inspired look (sample shown)
• Navy and Cream – Classic coastal style
• Sage Green and Ivory – Calm nature-inspired palette
• Blush Pink and White – Sweet and airy feel
• Gray and White – Modern and sophisticated
• Teal and Cream – Rich color with beautiful stitch definition
• Lavender and White – Soft and dreamy appearance
• Charcoal and Silver – Bold texture with contemporary style
• Dusty Rose and Cream – Warm and elegant
• Denim Blue and Light Gray – Casual and timeless
You can also use self-striping or variegated yarns for a completely different look. Lighter colors and high-contrast combinations tend to showcase the raised texture most clearly.

About the 3D ZigZag Waffle Stitch
The Marshmallow Skies Throw Blanket features the 3D ZigZag Waffle Stitch, a textured ripple stitch created with raised front post double crochet ridges. The result is a fabric that combines the visual movement of a zigzag pattern with the cozy texture of a waffle stitch. The stitch pattern is repetitive, engaging, and creates a finished project that looks far more complex than it actually is.
Pattern Highlights
• Includes 5 sizes from Baby Blanket to Twin Size
• Features the beautifully textured 3D ZigZag Waffle Stitch
• Soft and squishy fabric created with bulky (#5) weight yarn
• Alternating colors every two rows help the raised texture stand out
• Easy-to-memorize stitch repeat after the setup rows
• Detailed written instructions with step-by-step photos
• Right-handed and left-handed video tutorials included
• Yarn is carried up the side to minimize weaving in ends
• Customizable width and length using stitch multiples
• Perfect for cozy throws, gifts, and home décor
• Advanced beginner friendly with front post double crochet stitches
• Works up quickly using bulky yarn and an 8.0 mm crochet hook
Get Your Ad Free Printable PDF in our Etsy Shop.
Directions: Marshmallow Skies Throw Blanket
Skill Level
Advanced Beginner – Intermediate
You should be able to work the double crochet stitch and work it around the posts of the stitches below. Once you have mastered this method, you are ready for this pattern.
Gauge
Approximately 11 stitches and 6 rows of pattern every 4 X 4 inches.
Size
This pattern comes in 5 suggested sizes
- Baby = 36 x 40
- Small Throw/Lap Blanket = 45 x 50 (shown)
- Medium Throw = 50 x 60
- Large Throw = 60 x 70
- Twin Size = 70 x 80
Varying the Size
Use stitch multiples of 12 + 4 to vary the width. Increase or decrease rows to vary the length.
Pattern Size Note
The stitch pattern creates a gentle accordion effect that causes the blanket to draw inward as you crochet. The foundation chain and first row will measure wider than the finished blanket. This is normal and helps create the beautiful raised zigzag texture.
Materials
Lion Brand Cover Story Posh Twist yarn. #5 bulky yarn. 7 oz/200g/233yards per skein.
Colors:
- Blueberry Smoothie
- Whipped Cream
Materials for Suggested Sizes:
- Baby 1,350 yards, 3 skeins of Blueberry Smoothie, 4 skeins of Whipped Cream. Total 7 skeins.
- Small Throw/Lap Blanket (shown) 2,095 yards, 4 skeins of Blueberry Smoothie, 5 skeins of Whipped Cream. Total 9 skeins.
- Medium Throw 2,800 yards, 6 skeins of Blueberry Smoothie, 7 skeins of Whipped Cream. Total 13 skeins.
- Large Throw 3,950 yards, 8 skeins of Blueberry Smoothie, 10 skeins of Whipped Cream. Total 18 skeins.
- Twin Size 5,250 yards, 11 skeins of Blueberry Smoothie, 13 skeins of Whipped Cream. Total 24 skeins.
If you are not able to find the yarn locally, you can purchase it online. Savings Center – Pattern Princess
Size L 8.0mm Crochet hook
Yarn Needle
Scissors
Stitch Markers
Measuring Tape
Abbreviations
- CH = Chain
- DC = Double Crochet
- FPDC = Front Post Double Crochet
- SK = Skip
- SP = Space
- ST = Stitch
- STs = Stitches
- [ ] = Repeat Between, also the information for different sizes
Pattern Notes
Written in US Terms
Turn at the end of each row.
The chain 3 at the beginning of each row counts as a double crochet.
There are links for video tutorials for both left and right hand crocheters and photos to help with the pattern.
The raised zigzag ridges are formed by working Front Post Double Crochet stitches around the final double crochet stitch of each 3-double crochet cluster from the previous row.
Color Changes
The yarn color is changed every two rows throughout the blanket. Carry the unused yarn color up the side rather than cutting the yarn after each color change. This technique reduces the number of yarn ends that need to be woven in and creates a cleaner finishing process.
Special Stitches Used
Double Crochet (DC)
Yarn over, insert the hook through both loops and pull up a loop. Next, yarn over and pull through two loops on the hook. Lastly, yarn over again and pull through the last two loops on the hook.
HOW TO CROCHET THE DOUBLE CROCHET STITCH video tutorial
Front Post Double Crochet (FPDC)
Front post stitches are raised crochet stitches on the surface of the fabric facing you. Note: Because a post stitch is shorter than a normal stitch, you make the turning chain with one chain stitch less than the normal turning chain requires.
Yarn over, insert the hook from front to back between the posts of the first and second double crochet of the row below. Then insert the hook from the back to the front between the posts of the second and third stitches. (The hook should now be positioned horizontally behind the double crochet that you are working around).
Yarn over, pull the yarn around the post of the stitch. There should now be 3 loops on the hook.
Now you’ll be working on the loops on the hook. Yarn over, pull the yarn through 2 loops on the hook. Lastly, yarn over again and pull through the last two loops on the hook.
HOW TO CROCHET THE FRONT POST DOUBLE CROCHET video tutorial
Size Note
- The foundation chain and first row will measure wider than the finished blanket. As the 3D ZigZag Waffle Stitch pattern develops, the fabric naturally draws inward, creating the textured zigzag design. Expect the finished width to be approximately 4 inches narrower than the width measured after the foundation chain and first row. This is normal and part of the stitch structure.
Begin Crochet Pattern
Begin with whipped cream yarn color.
Start by making a slip knot and adding the loop on the hook.
Chain a stitch multiple of 12 + 4.
- Baby = 100 chain stitches
- Small Throw/Lap Blanket = 124 chain stitches (shown)
- Medium Throw = 136 chain stitches
- Large Throw = 160 chain stitches
- Twin Size = 184 chain stitches
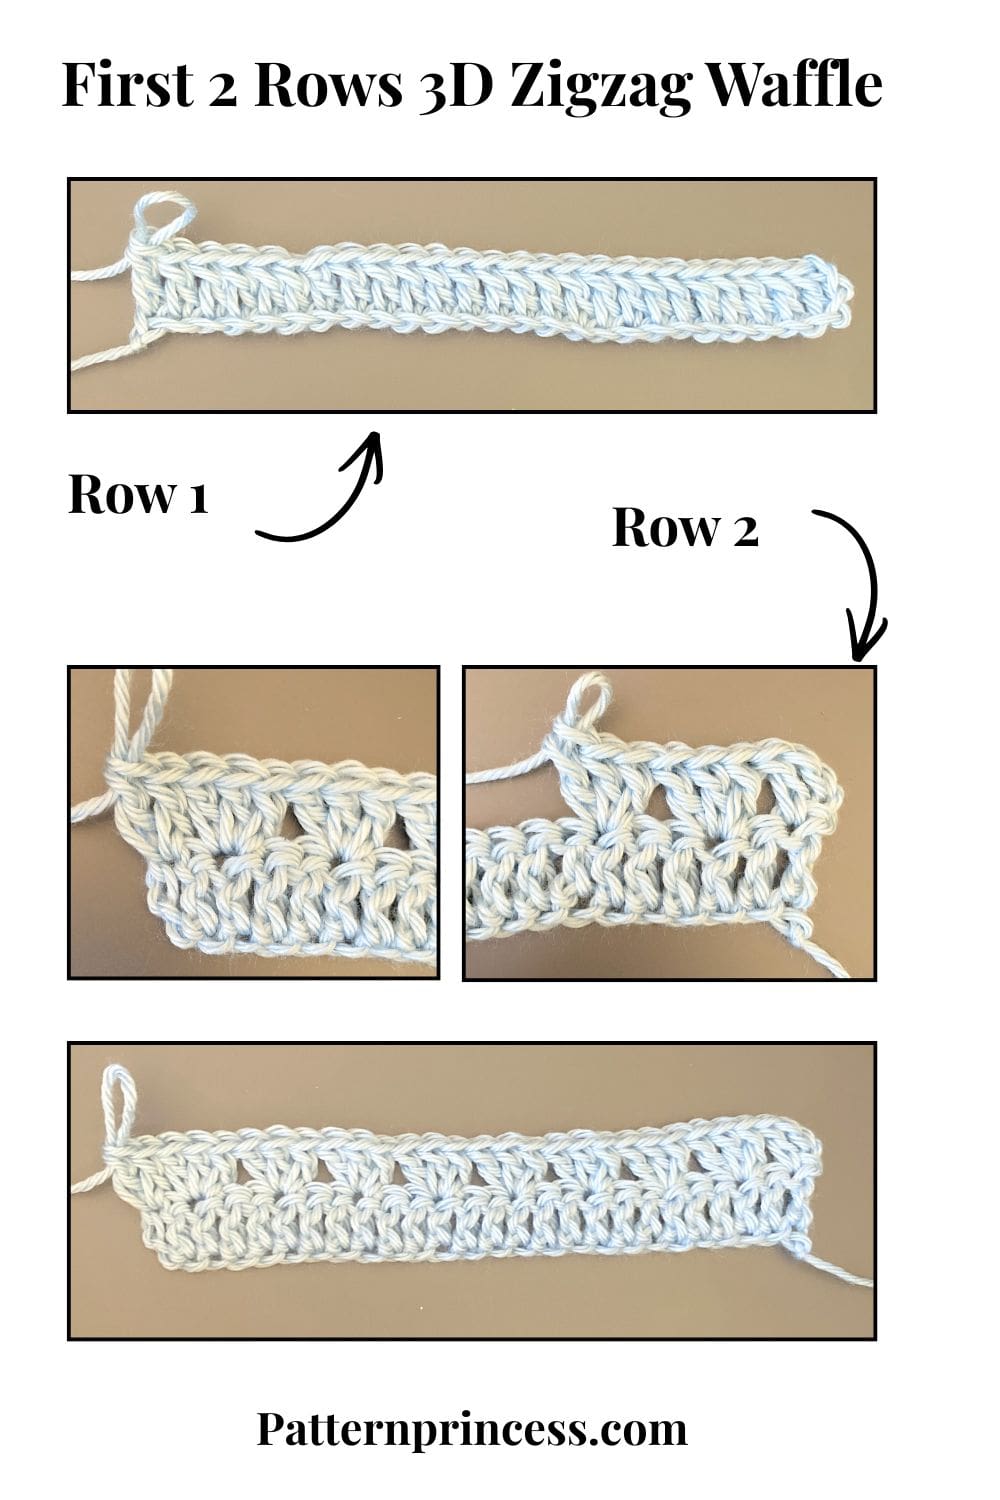
Row 1
Skip 3 STs (Counts as a DC). In the 4th ST from the hook, work a DC in the back bump and each ST across. Turn.
Row 2
CH 3 (Counts as DC). DC in the same ST. SK 1 ST work 3 DC in the next ST. [SK 2 STS, work 3 DC in the next ST]. Repeat across. When there are two stitches left, SK 1 ST, work 2 DC in the last ST. Turn
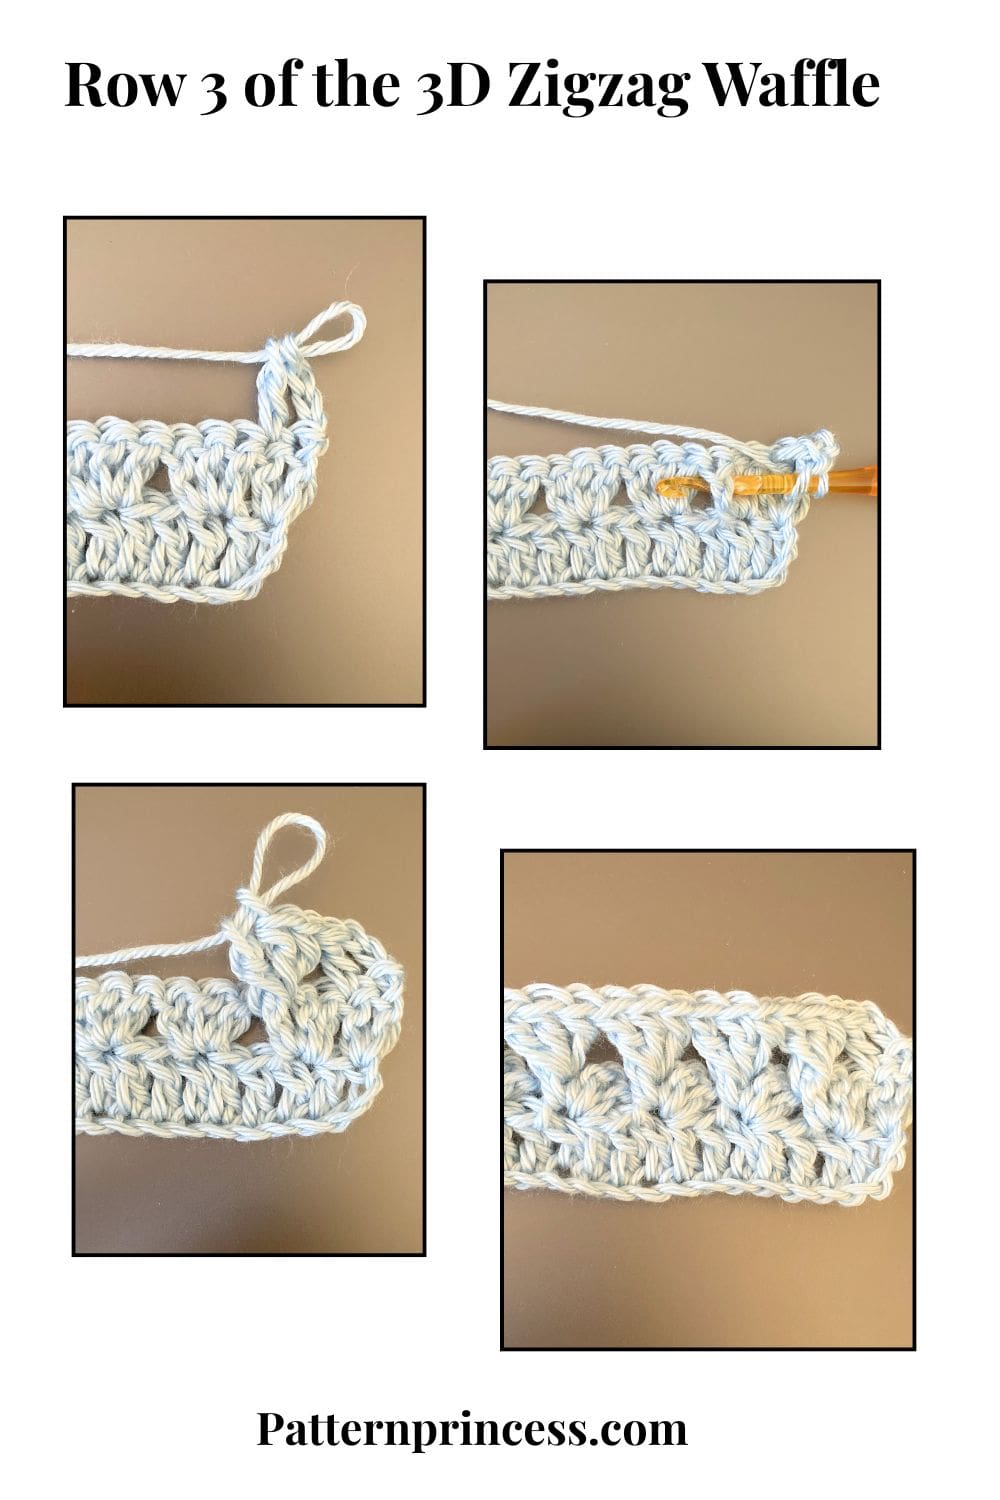
Row 3
Change yarn color to blueberry smoothie.
CH 3 (Counts as DC). Work 1 DC in the DC ST. [SK to the last ST of the previous row 3 DC cluster. Work 3 FPDC]. Repeat between [ ] across. End with 1 DC in the last 2 DC STs. Turn
Rows 4 and Beyond
Repeat row 3.
- Baby = 63 rows
- Small Throw/Lap Blanket = 78 rows (shown)
- Medium Throw = 93 rows
- Large Throw = 109 rows
- Twin Size = 125 rows
Last Row and Border
I switched to the whipped cream yarn to match the first row color.
If you would like the last row to look just like the first row work a row of double crochet stitches.
CH 3 (Counts as a DC). DC in each ST across. When you get to the corner, work 3 DC. Then continue working on the side easing the DC stitches across. I worked 1 DC in each row and 1 DC in the ST between the rows. Work 3 DC in the next corner and join with a SL ST to the first row. After you work the last DC ST, cut off the yarn leaving about a 12-inch long tail. Pull the yarn tail through the last loop on the hook.
Finally, join the yarn to any corner ST on the other side, CH 3 (Counts as a DC). Work DC stitches across the side easing the STs just like you did the other side. Work 3 DC in the next corner and join with a SL ST to the first row. After you work the last DC ST, cut off the yarn leaving about a 12-inch long tail. Pull the yarn tail through the last loop on the hook.
Finishing
Thread the yarn needle with the yarn tails and weave them through the crochet stitches back and forth until the yarn feels secure. Snip off the excess yarn.
If you are a beginner crocheter, you can find details on finishing your crochet project on the website.
Crochet Video Tutorials of the 3D ZigZag Waffle Crochet Stitch
Right hand video: https://youtu.be/rUyf5-iH2OM
Left hand video: https://youtu.be/KVbvWB4W30o
We hope that you have enjoyed this lovely crochet pattern.

You can find Victoria crocheting, quilting, and creating recipes. She has cooked in restaurants for over 20 years, including many larger parties. She learned to crochet when she was just 11 years old and has been crocheting ever since; over 50 years now. Over 40 years ago, she loved her first class in sewing and continues to hone her skills in quilting. Many have enjoyed the handmade gifts over the years. In her professional career, she has worked in management in a wide variety of businesses including higher education as a dean of a division. All the while attending college part-time to achieve her doctorate in higher education with an emphasis in e-learning.