Last updated on October 4th, 2025 at 03:00 pm
Hot days and cool nights means it is time for a crochet open weave summer shawl. This pattern uses easy crochet stitches and two fresh yarn colors along with fun fringe to create a beautiful lacy shawl.
Now is the perfect time to dive into a breezy and beautiful project: the Crochet Open Weave Summer Shawl. This delightful pattern not only embraces the airy elegance of open stitches but also introduces you to the timeless charm using double crochet stitches for this design.
But wait, there’s more! In this tutorial, we’ll not only guide you through creating this stunning shawl but also teach you how to add the perfect finishing touch: a playful fringe.
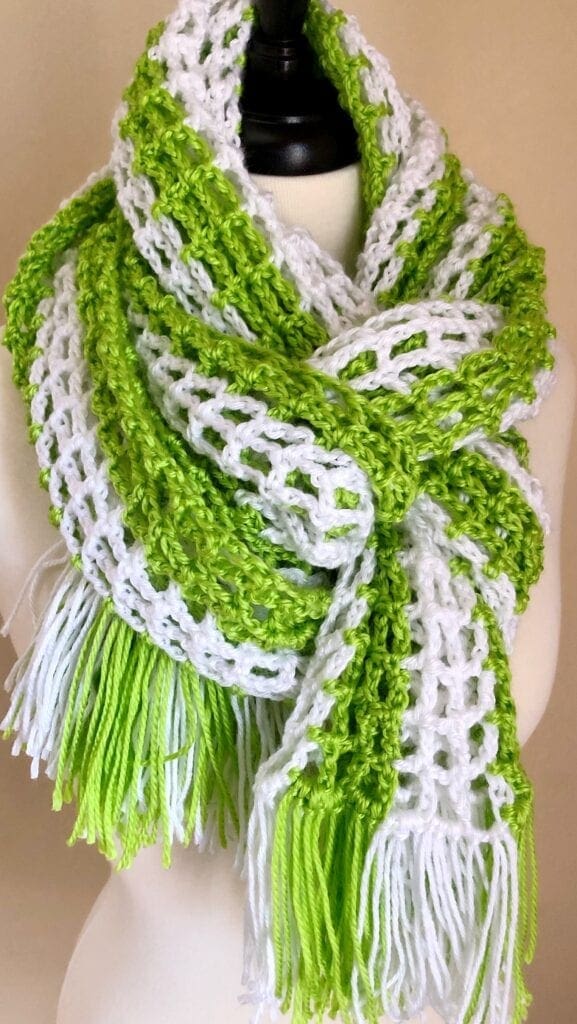
Lightweight Summer Shawl
If you have seen any of the shawls that I have crocheted in the past, you may know that I am on a mission to make a beautiful shawl for the amazing women in my life. I am so blessed. This pretty shawl is another one to add to the collection. If you missed the other shawls, you can find them here.
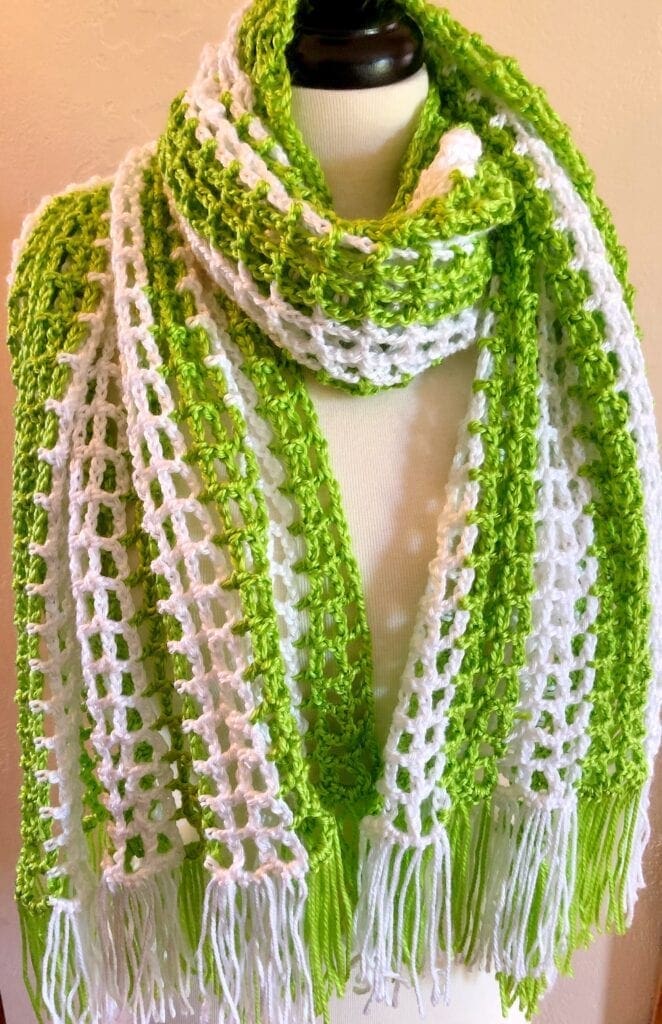
Easy Pattern with Basic Stitches
The days are getting warmer and the evenings are cool. I am still healing from surgery and needed an easy crochet pattern to keep me busy. Since it will be a little bit before I can purchase yarn…I dug in the yarn stash. Thank goodness for our yarn stashes. I found a bright citrus yarn and white yarn. It is always fun figuring out just the right crochet pattern for the yarn and pairing it with the type of project you want to make.
This shawl is so pretty. It has a lovely drape and the fringe on the ends make it just feel flowy and luxurious. The color of green is so bright and fresh. Reminds me of a young lady that I was thinking of when making this pattern is easy going. She has an infectious, bright, sunny personality.
Here are a few more views of the Lacy Shawl.
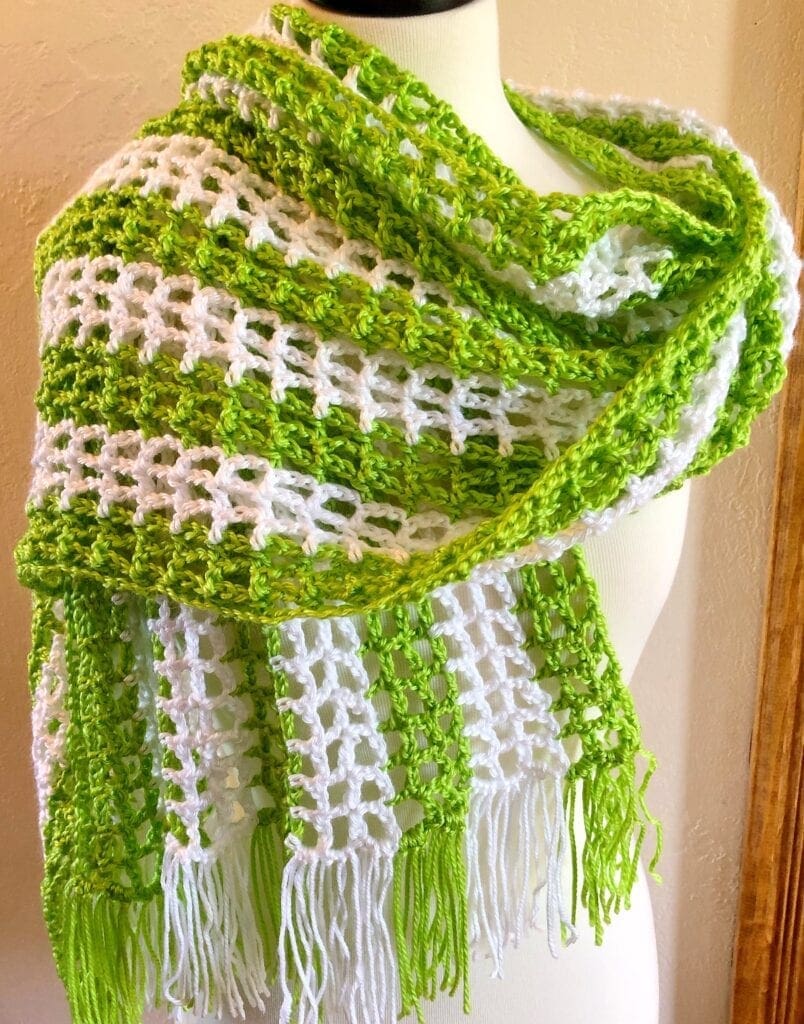
Video Crochet Tutorial of Pattern is Available Near the Bottom of this Article.
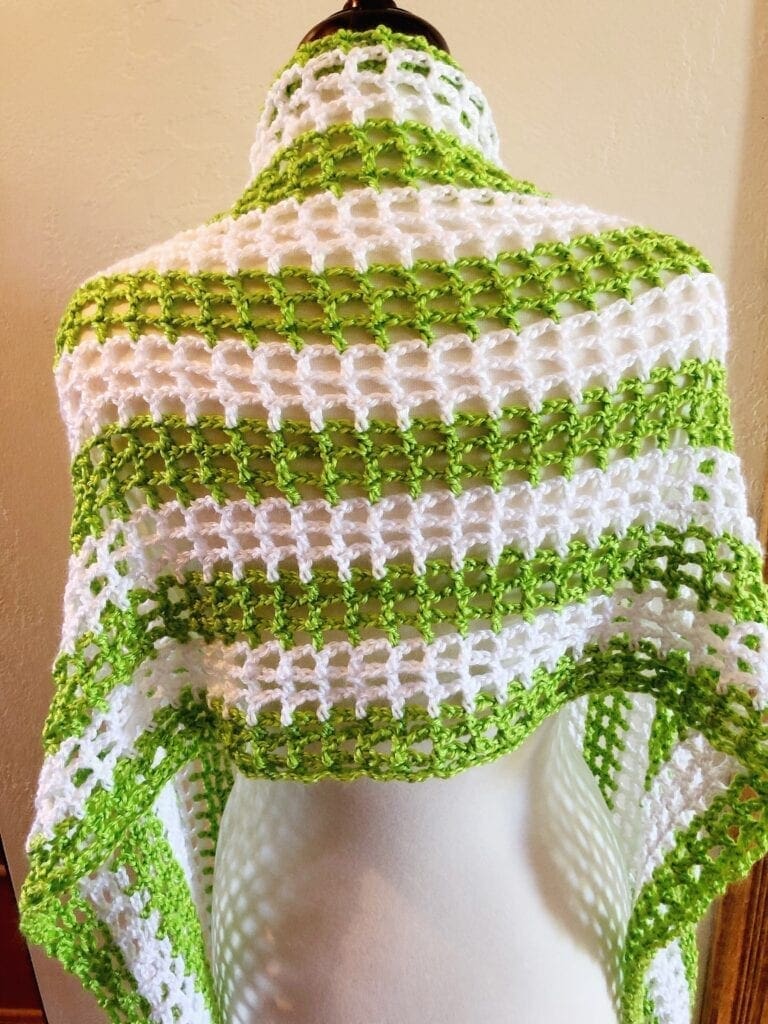
Directions: Crochet Open Weave Summer Shawl Pattern
Skill Level
Easy. Beginner Friendly Crochet pattern
Gauge
15 stitches every 4 inches. 7 rows of double crochet every 4 inches.
Size of Lacy Open Weave Shawl
This generous size allows for wearing it multiple ways; be creative. The length is approximately 66 inches long while the width is approximately 17 inches wide. Note: this is without the fringe added on. With the addition of the fringe on the ends the length increases by about 10 inches. To change the width, just adjust the amount of rows completed.
Changing the Size of the Shawl
This crochet stitches are worked with the length of the shawl; a beginning chain of 261. To adjust the pattern length, make sure that the foundational chain is a multiple of 3 + 6. That means that the number of chains can be divided evenly by 3, then add 6.
If you desire a skinnier scarf, just work less rows of the pattern.
Post contains affiliate links, and we earn commissions if you shop through the links on this page. For more information, please read the disclosure section under the About Us page.
Materials:
White Caron Simply Soft Yarn, 1 Skein or 315 yards. If you cannot find it locally, you can purchase it here on Amazon.
Citrus Loops & Threads, Soft & Shiny Yarn, 1 1/2 Skeins or 460 yards. If you cannot find it locally, you can purchase it here on Amazon.
Size J 5.75 MM Crochet Hook
Yarn Needle
Scissors
Abbreviations:
CH = Chain
DC = Double Crochet
ST = Stitch
SL ST = Slip Stitch
[ ] = Repeat Between
Pattern Notes
Written in US Crochet Terms.
The beginning chain 5 of the row counts as a double crochet and chain two.
Adding the fringe is optional.
Directions:
Begin with a Chain of 261
Row 1:
In the 6th CH from the hook, DC. [CH 2, SK 2, DC] Repeat between the [ ] to the end. Ending with a DC in the last ST. Turn.
Row 2:
CH 5 (that is the CH 3 for a DC and CH 2). Skip 2 ST. DC in the top of the DC in the previous row. [CH2, SK 2, DC in the top of the DC in the previous row]. Repeat between the [ ] to the last DC. In the initial CH 6 area, complete a DC in the 2nd CH from the DC you just worked. Turn.
Rows 3-33:
Repeat row 2.
CH 5 (that is the CH 3 for a DC and CH 2). Skip 2 ST. DC in the top of the DC in the previous row. [CH2, SK 2, DC in the top of the DC in the previous row]. Repeat between the [ ] to the last DC. In the initial CH 5 area, complete a DC in the 2nd CH from the DC you just worked. Turn.
Color Rows:
Each color was worked for 3 rows.
Citrus Rows 1-3
White Rows 4-6
Citrus Rows 7-9
White Rows 10-12
Citrus Rows 13-15
White Rows 16-18
Citrus Rows 19-21
White Rows 22-24
Citrus Rows 25-27
White Rows 28-30
Citrus Rows 31-33
Finishing:
Use the yarn needle and weave in ends before adding the fringe.
Get Your Ad Free Printable PDF Pattern in our Etsy Shop.
Directions on The Fringe
Cutting the Yarn
I wrap the yarn around something that is sturdy and 10 inches long. For me, this happens to be my Ipad. I don’t have to cut out any cardboard or make any other special template. The Ipad works perfectly. Wrap the yarn for number of times needed for the pieces of yarn needed. Note: for each wrap around, there will be two pieces once cut in half.
Additionally, once the yarn is wrapped, you will need to cut the yarn on one end [making sure to hold the yarn securely]. Once one end is cut continue to hold securely and fold the yarn in half. Cut the folded end. You are now ready to begin adding the yarn to your scarf.
Here are some photos of the yarn process.
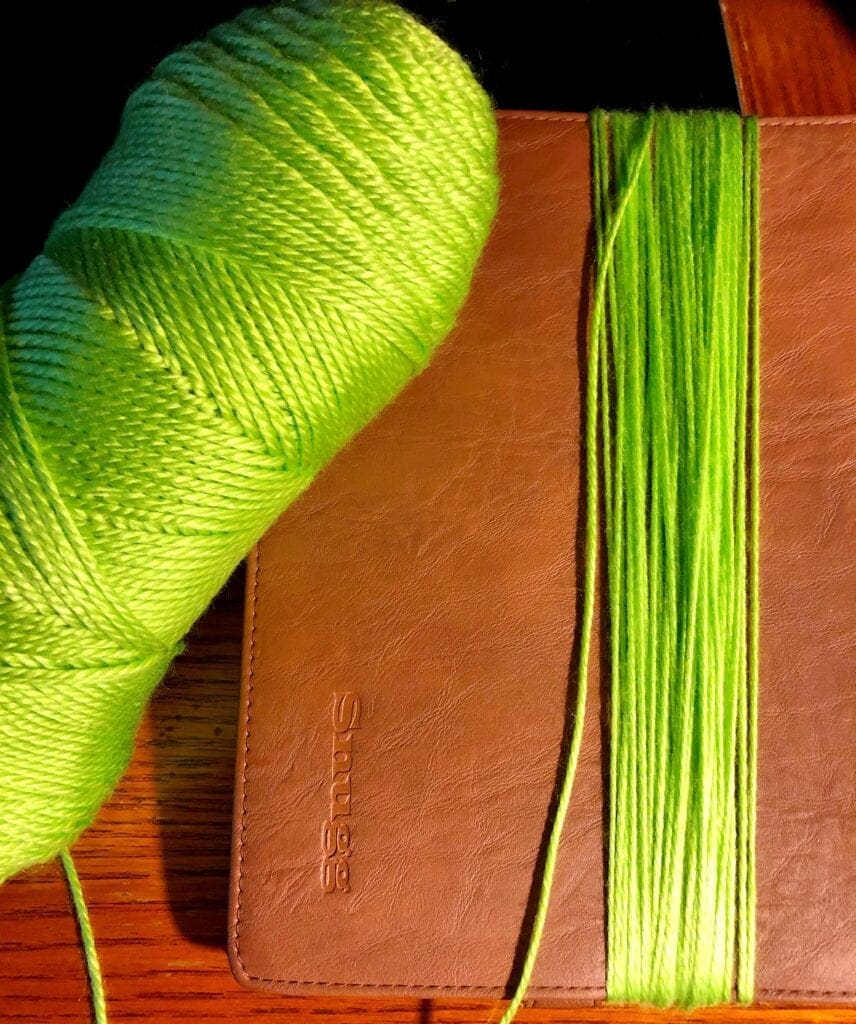
Wrap the yarn around a template. Again, I used the Ipad and when wrapped the length of the Ipad it was approximately 10 inches.
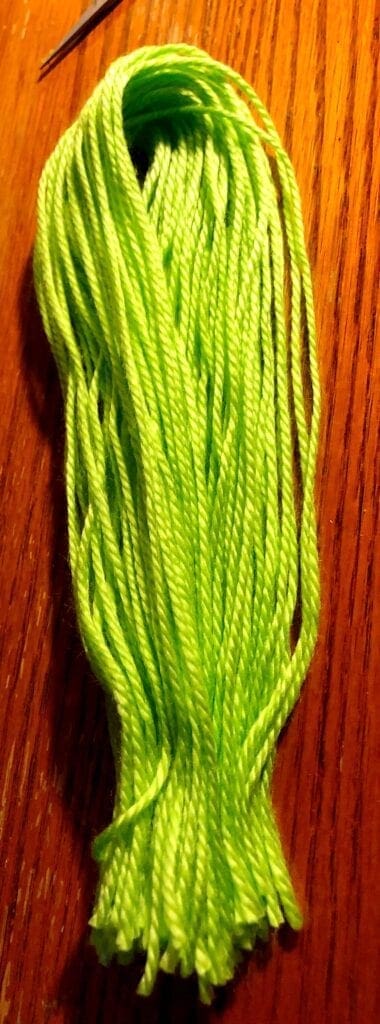
Cut one end of the yarn. Hold the cut ends of the yarn together and remove the template. On the folded end, carefully cut the yarn on the loop end.
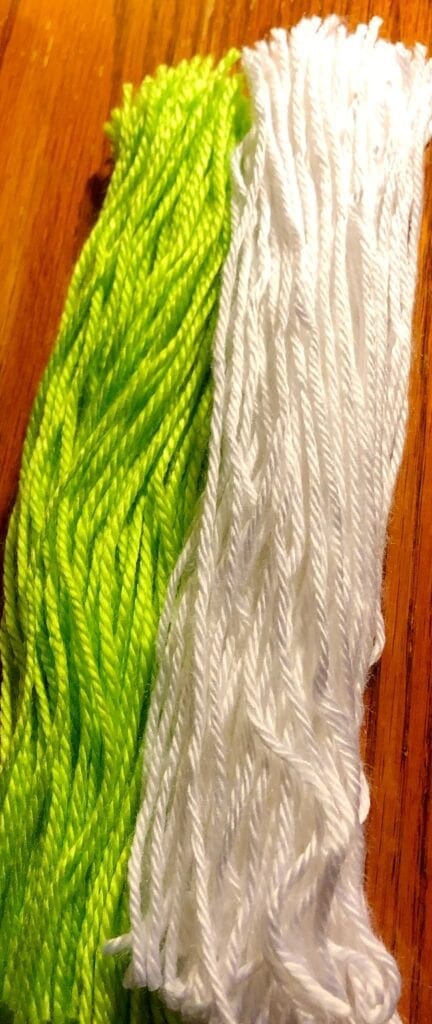
Once all the yarn is cut on both ends. You can begin adding the fringe to the shawl.
Number of Yarn Pieces for Fringe:
Each yarn piece length was approximately 5.5 inches long. (the Ipad length was 10 inches – each wrap around is 10 inches – cut in half = 5.5 inches). There are 18 Citrus squares and 15 White squares on each end of the shawl. I added 3 pieces of yarn in each square for the fringe to look flowy and full. Therefore cut the following:
Citrus: 18 squares X 2 (each end) = 36 X 3 (pieces of yarn in each square). = 108 pieces of yarn.
White: 15 squares X 2 (each end) = 30 X 3 (pieces of yarn in each square). = 90 pieces of yarn.
Adding the Fringe
Take 1 pieces of yarn at a time. Align them so they are even and fold them in half. Start at the end of a row on one of the sides, insert your crochet hook in a hole in the stitches from below. Wrap the folded half of the yarn around the crochet hook and pull it through the hole in the stitches. Remove the crochet hook and use your fingers to reach through the loops of yarn that have been pulled through to grab the ends of the yarn that are still being held by your other hand. Pull those ends through the loop. Once the ends are pulled through, gently snug up the knot. Continue to work around the shawl adding the fringe.
Adding Fringe to the Crochet Shawl Video Tutorial
Here is a quick video tutorial on how to cut and add the fringe to a crochet project. Just in case the written directions are confusing. I want to make sure that you are able to do this step of the crochet shawl if you want to add that element. Note: this video is using 2 pieces of yarn together to add the fringe, I added individual pieces of yarn for this shawl.
Photo Tutorial on Adding the Fringe to a Shawl
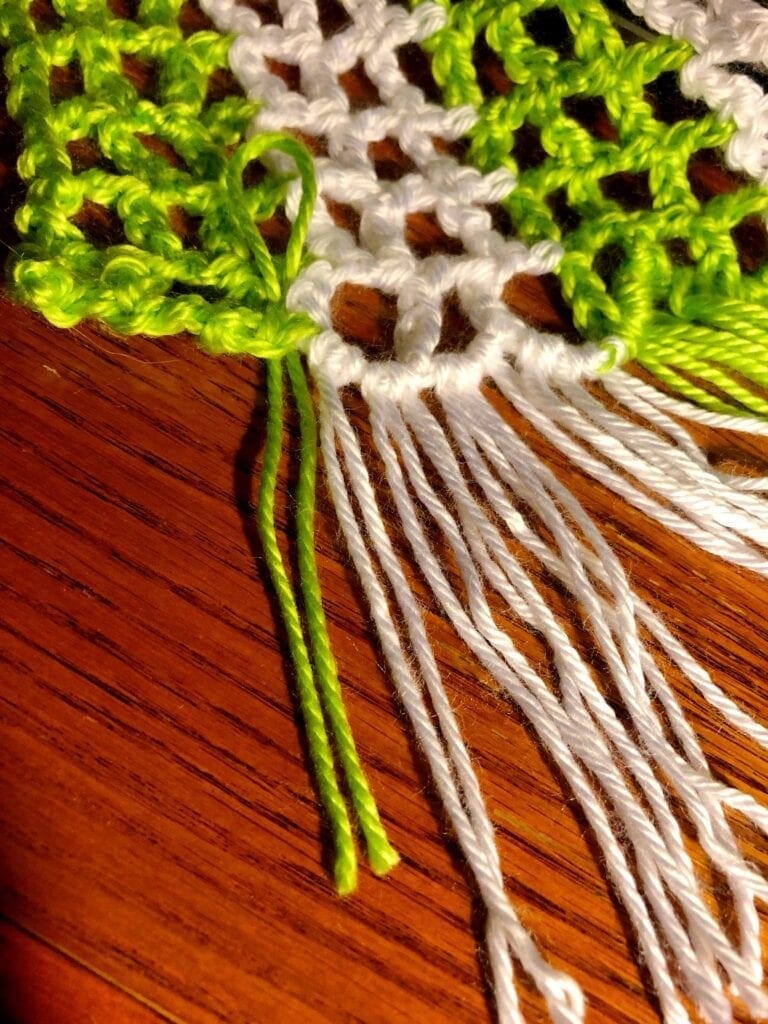
Start by folding the yarn in half and pulling the loop through the area you want to add the fringe.
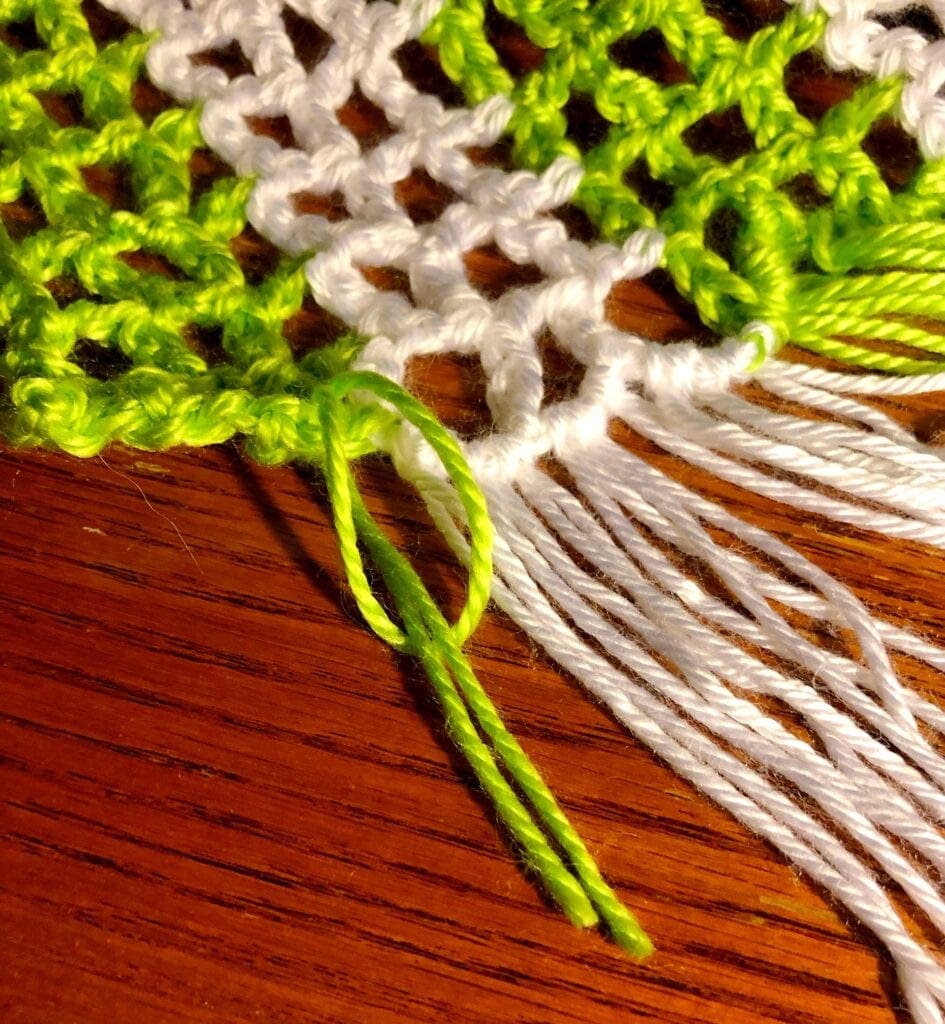
Next, bring ends of the yarn through the loop.
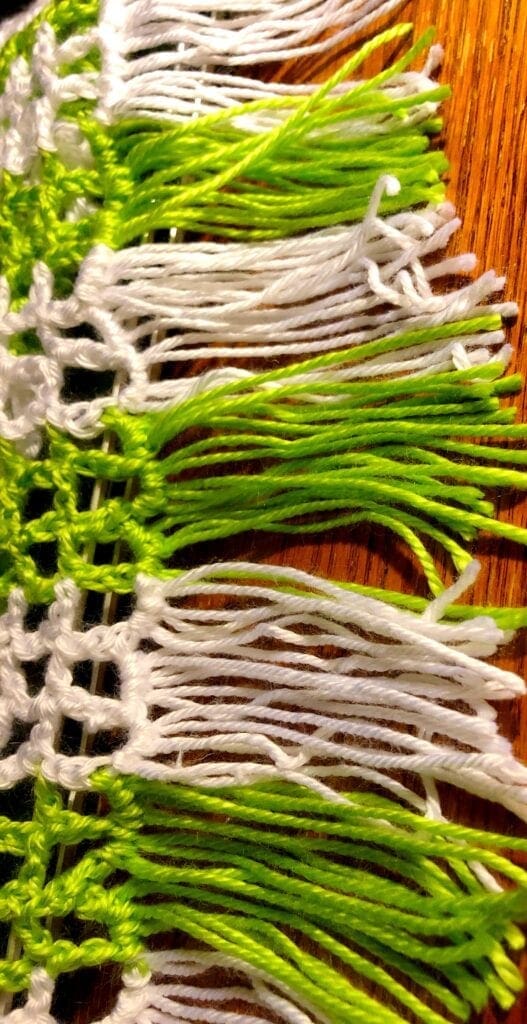
Close up of the fringe added to the crochet shawl.
Crochet Open Weave Summer Shawl Video Tutorial
Right Hand Crochet Tutorial for Lacy Shawl
Left Hand Crochet Tutorial for Lacy Shawl
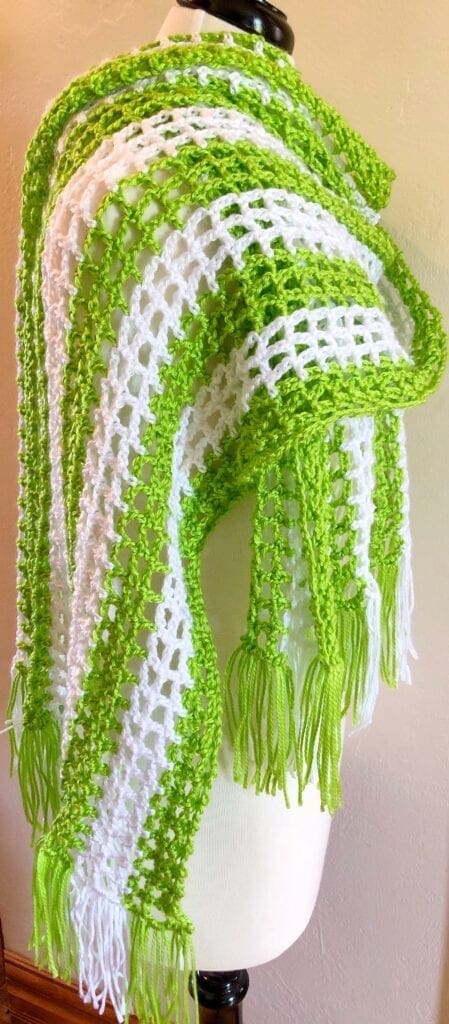
Enjoy Crocheting Your Own Lacy Shawl. The photo below shows this gorgeous rectangle shawl draped over one shoulder. Perfect reason to wear a pretty pin to hold it in place.
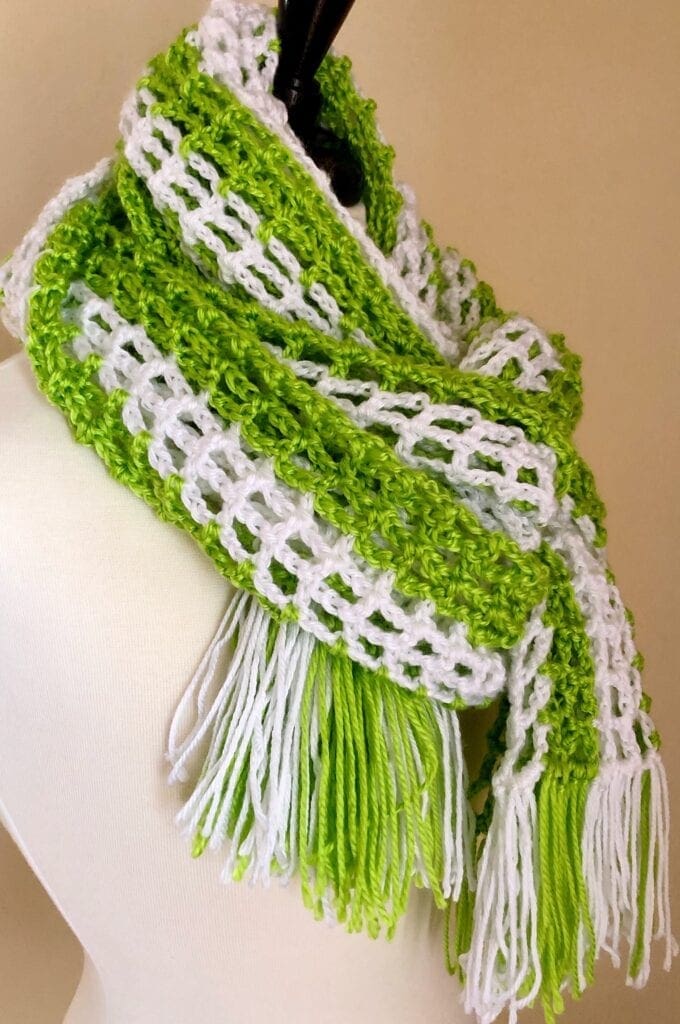
The photo below shows the shawl tied closer to the neck.
I hope that you liked this free pattern. If you are looking for more ideas for crocheted projects, here are a few other shawl designs you may enjoy.
- Blushing Beauty Rectangle Shawl Crochet Pattern
- Dancing Baubles Rectangular Shawl Poncho
- Beginner Easy Crochet Poncho Wrap Pattern Free

You can find Victoria crocheting, quilting, and creating recipes. She has cooked in restaurants for over 20 years, including many larger parties. She learned to crochet when she was just 11 years old and has been crocheting ever since; over 50 years now. Over 40 years ago, she loved her first class in sewing and continues to hone her skills in quilting. Many have enjoyed the handmade gifts over the years. In her professional career, she has worked in management in a wide variety of businesses including higher education as a dean of a division. All the while attending college part-time to achieve her doctorate in higher education with an emphasis in e-learning.

Hi! I was just wondering if I need to block my shawl? Thanks!
Hello, I did not block mine and I am very happy with how it turned out.
Vicky