Last updated on October 4th, 2025 at 03:13 pm
This easy everyday beginner crochet beanie pattern is designed with simplicity and comfort in mind. It’s perfect for crafters of all skill levels.
The free crochet pattern is perfect for those just starting out. It uses the single crochet in the back loop stitch to create a beautifully textured and stretchy fabric.
No need to worry about working in the round with this beanie. It’s all about straightforward rows that come together to form a cozy, snug fit. Whether you’re crafting for yourself, a loved one, or as a thoughtful handmade gift, this beanie is sure to become a favorite in any winter wardrobe.
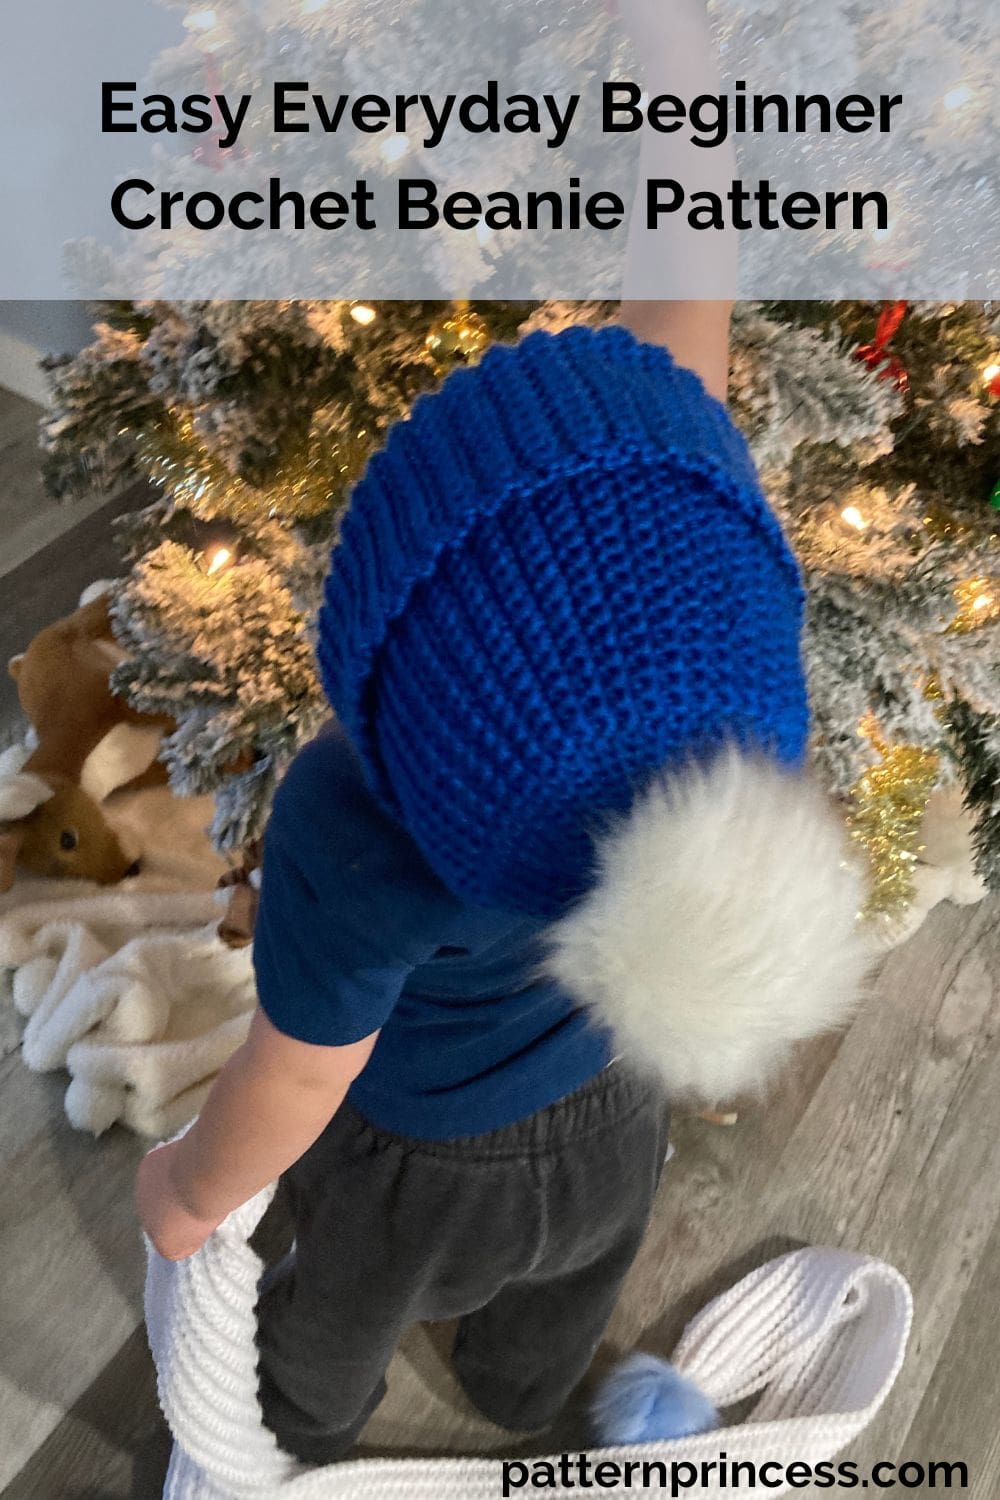
Winter Crochet Set Blog Hop 2025
This pattern was part of the blog hop. Each day January 5th through the 22th, new free patterns were shared.
9 Suggested Sizes
Designed to cater to the entire family, the Beanie Hat pattern comes in sizes for all ages. So, you can create matching hats for the whole family and tackle the chilly weather together.
Crochet a Hat for Beginners from a Rectangle
When searching for easy crochet hat patterns for beginners online, you might often come across simple hats worked in the round. While crocheting in the round can be enjoyable and unlock numerous project possibilities, it can also be daunting for those new to crochet.
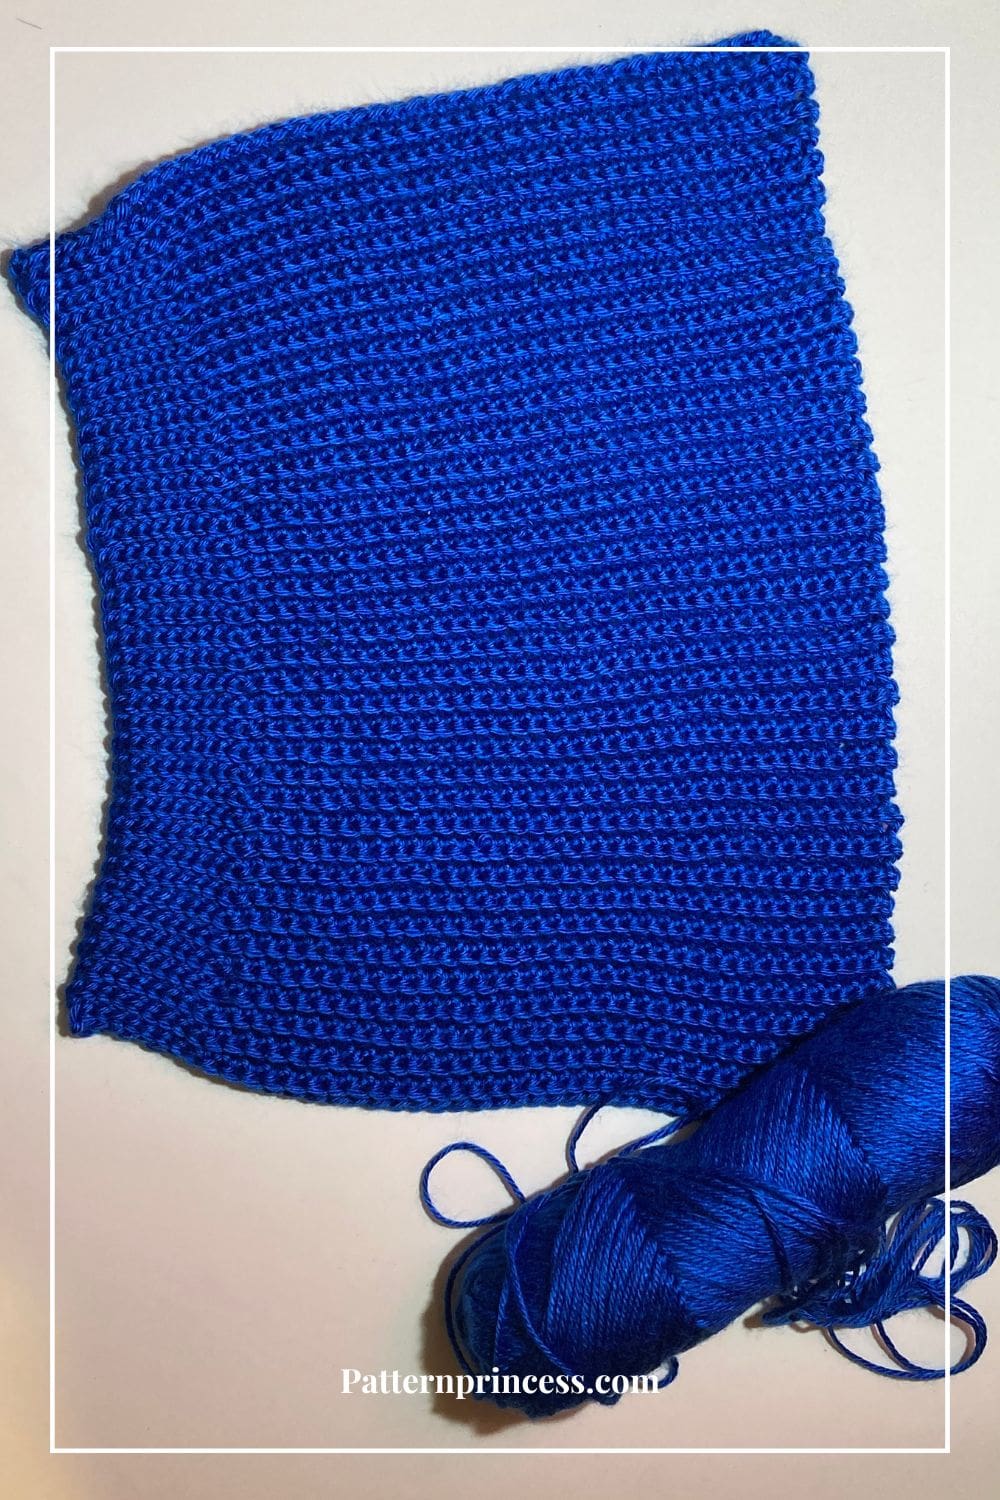
With this hat pattern, there’s no need to worry about working in the round at all. This simple-to-make hat is made from a crocheted rectangle that is slightly tapered at one end. By tapering it at one end, there is less bulk when cinching the top of the hat.
When done, just fold in half, line up the ends, seam the hat together and cinch up the top. Add a pom pom if desired.
Use Any Yarn
Using basic stitches and simple techniques, you can use your favorite yarns. Even a chunky yarn or whatever type of yarn you have. Just make sure to measure your head size from the tip of your nose to the crown of your head and the circumference. We have the details below for what size to make your rectangle. This will help make sure your hat comes out the right size and fits the wearer properly.
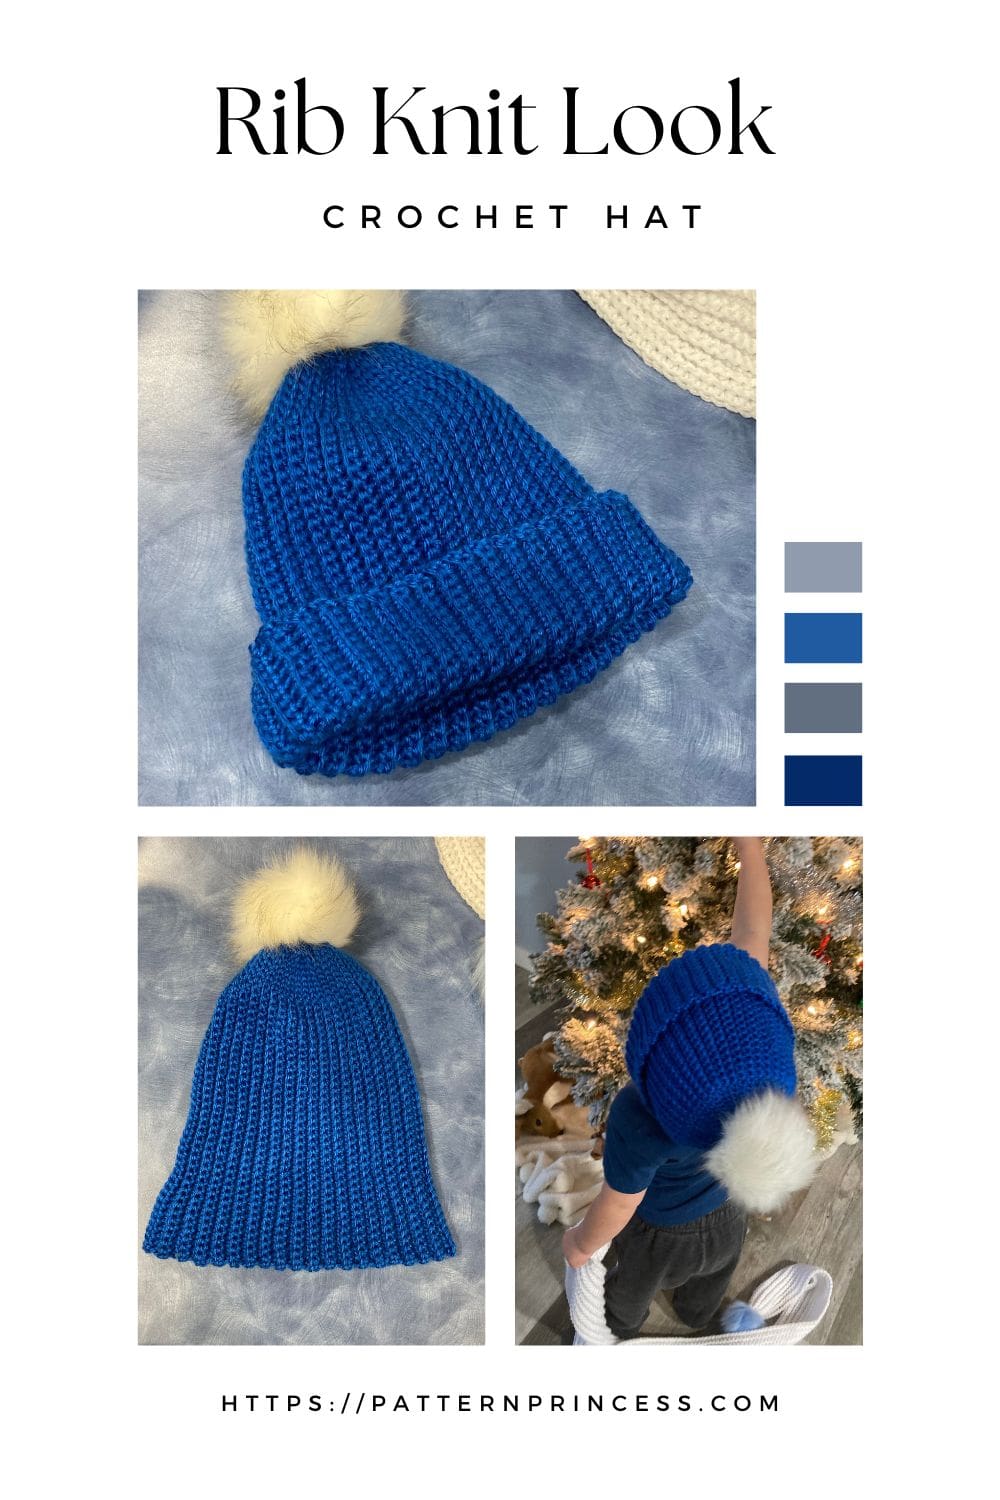
Crochet Ribbing Stitch
For this easy crochet hat, you start with a foundation chain and then you will be making single crochet stitches into the back loop on every row. The back loop is the loop furthest from you. This creates a soft, stretchy fabric, ideal for a snug fit during colder months
Creating a Rib Knit Look using Crochet Stitches
There are a few methods of creating a rib knit look. Let’s talk about the whole concept of a hat made from a crochet rib stitch pattern. There are basically three methods for crocheting ribbing: using post stitches or working in the back loop or third loop to create a knit-look ribbing.
Creating a rib knit look using crochet stitches can be achieved through various techniques. Here are some methods.
- Crocheting in the Back Loop Only (BLO)
- This technique involves working each stitch in the back loop of the previous row’s stitches, creating a ribbed effect.
- Working slip stitches in the back loop only can create a stretchy, knit-like ribbing. This method is often used for cuffs and brims.
- Front Post and Back Post Stitches
- Front Post Double Crochet and Back Post Double Crochet stitches are worked around the post of the stitch from the previous row, rather than into the top loops. This creates a raised texture that mimics ribbing.
- Half Double Crochet in the Third Loop
- This technique involves working half double crochet stitches into the third loop. It is located behind the top two loops of the stitch. This creates a horizontal ribbed effect.
These methods can be combined or used individually to achieve the desired rib knit look in your crochet projects.
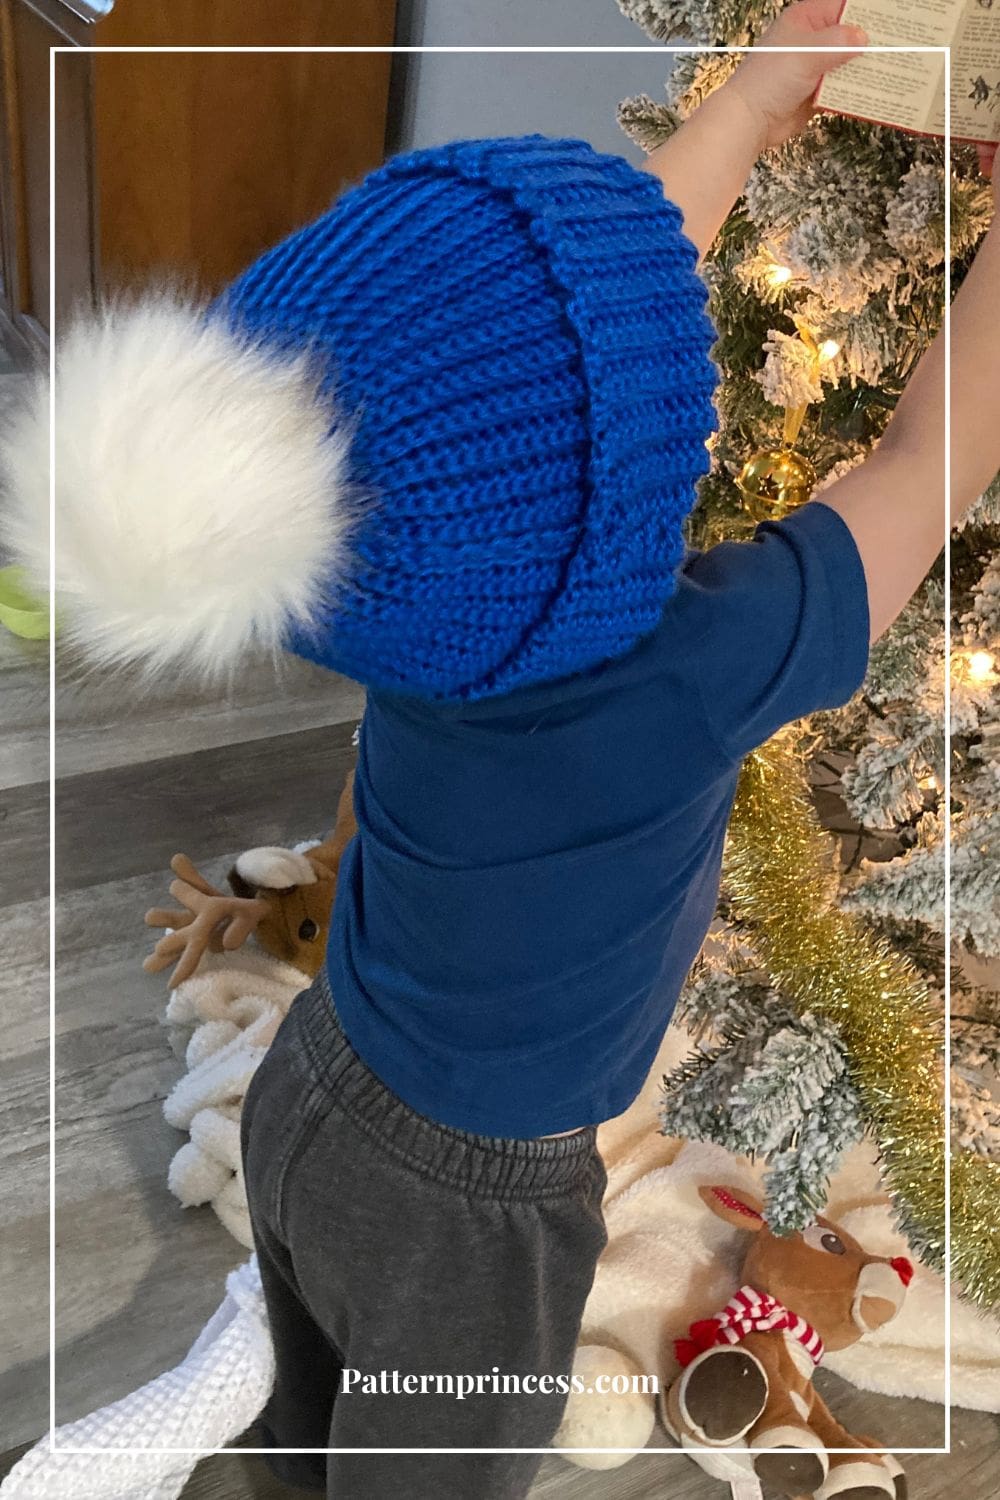
Get Your Ad Free Pattern PDF in our Etsy Shop
Directions: Easy Everyday Beginner Crochet Beanie Pattern
Skill Level
Beginner Friendly
Gauge
16 Single Crochet and 19 rows every 4 inches.
Size
Medium Adult. 11 ½ inches X 18 inches.
Make this in Different Sizes
The length is determined by the initial chain stitches and the width around the head is determined by the number of rows.
Measure as You Go or Make a Gauge Swatch.
When determining how long to make your rectangle, measure from the tip of the nose to the crown of the head. Add three inches so there is enough for the brim to fold up.
Add a few more inches to the length if you want a slouchy hat.
Determine the circumference by measuring around your head.
If you are not sure of what size to make it. I have some suggested sizes to get you started.
Make this with a different yarn rather than a medium weight. Just make sure you measure your beginning chain stitches to get the length and measure the width of the rows for the length.
This crochet stitch is stretchy, and the width will stretch 2-3 inches, so make sure to make the width 2-3 inches smaller than the final circumference than you are looking for.
Head Sizing Guide
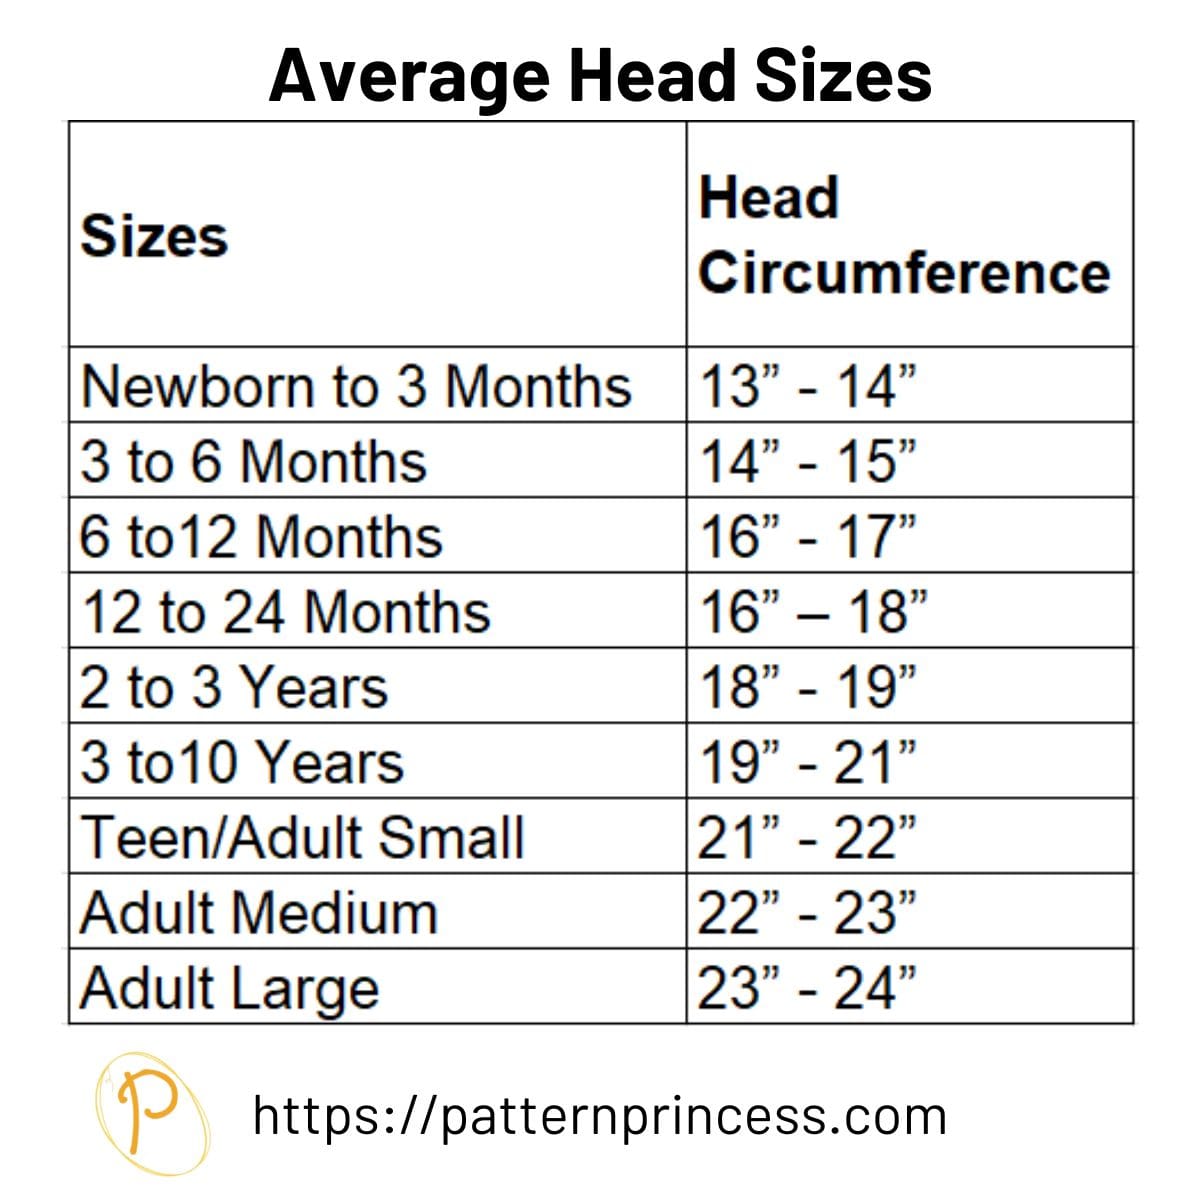
Suggested Hat Sizes
- Newborn to 3 Months: Beginning chain 8 inches X 9-10 inches of rows.
- 3 to 6 Months: Beginning chain 8 inches X 10-11 inches of rows.
- 6 to 12 Months: Beginning chain 9 ½ inches X 11-12 inches of rows.
- 12 to 24 Months: Beginning chain 10 inches X 13-14 inches of rows.
- 2 to 3 Years: Beginning chain 10 1/2 inches X 14-15 inches of rows.
- 3 to 10 Years: Beginning chain 11 inches X 16-17 inches of rows.
- Teen/Adult Small: Beginning chain 11 inches X 18 inches of rows.
- Adult Medium: Beginning chain 11 1/2 inches X 19 inches of rows.
- Adult Large: Beginning chain 12 inches X 20 inches of rows.
Abbreviations
- CH = Chain
- SC BLO =Single Crochet Back Loop
- SL ST BLO = Slip Stitch Back Loop
- ST = Stitch
- STs = Stitches
Materials
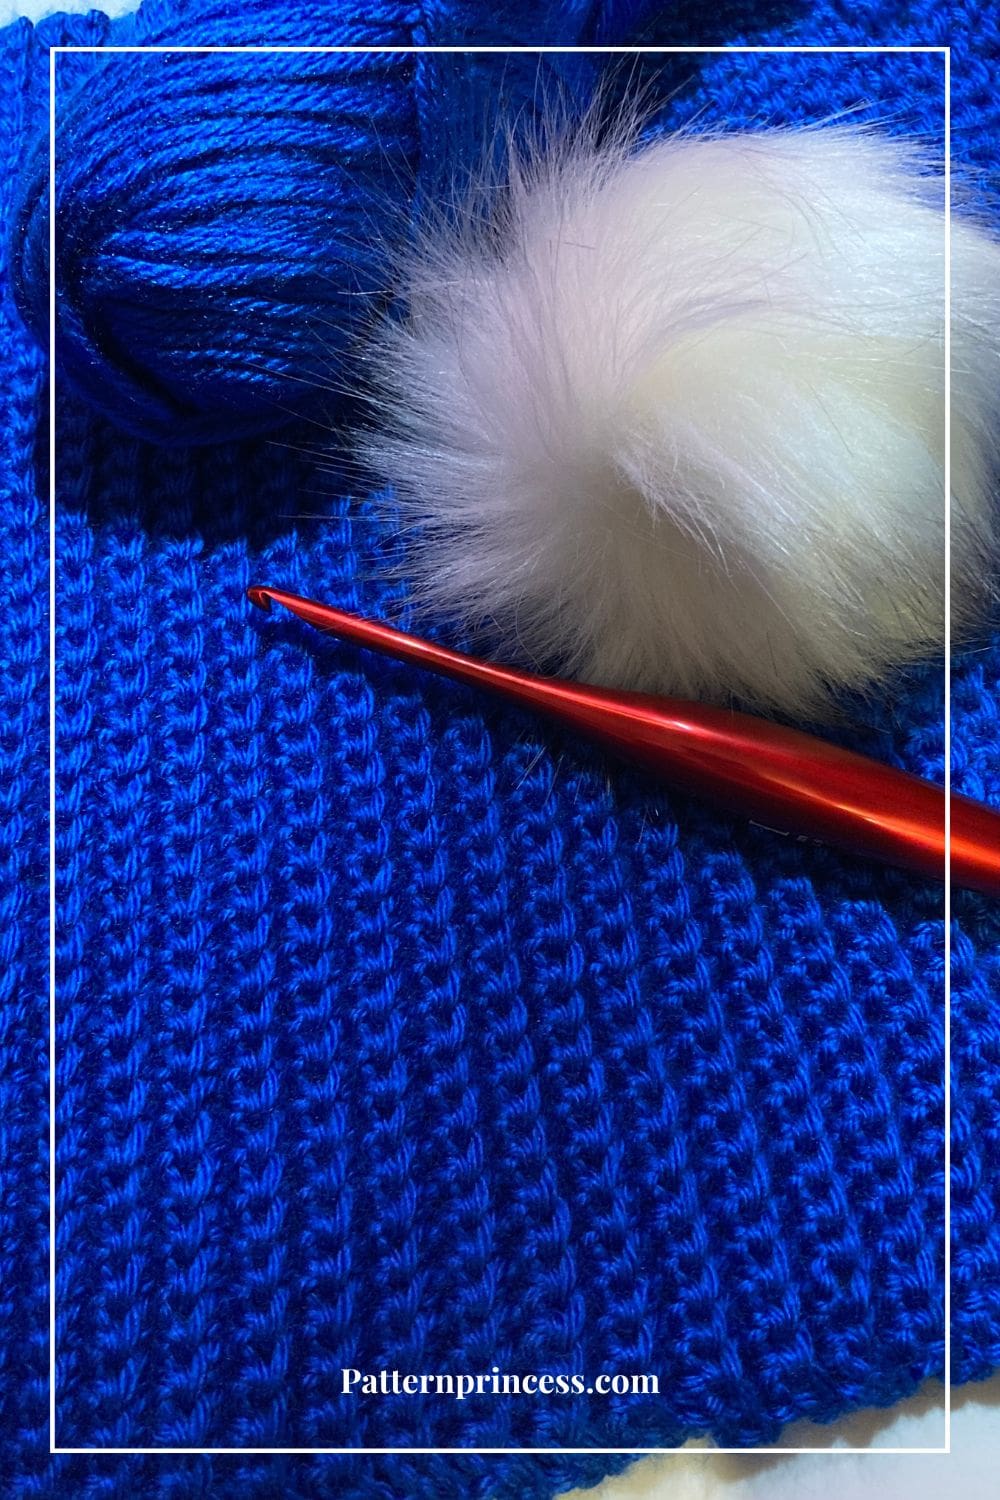
Yarn. Medium weight 1 skein any color. I used Caron Simply Soft in Royal Blue yarn color. The skein is 315 yards and I used about ¾ of the yard. So, plan on about 200 yards.
I had enough yarn leftover to crochet these ribbed fingerless gloves.
Crochet Hook Size H 5.0 mm if using a medium weight yarn.
Measuring Tape
Stitch Markers (optional)
Tapestry Needle. If sewing on a Faux Fur Pom Pom, your needle should be able to fit through the holes.
Scissors
Faux Fur Pom Pom. I used the snap kind. If you use one with a loop, then you’ll want a button for attaching the pom pom. If there is no loop, you can attach the pom pom with yarn.
You can make your own Yarn Pom Pom. Make it removable by placing a button on the inside of the top of the hat. Bring the yarn ends of the pom pom through the buttonholes and tie.
Faux Leather Tag (optional)
Make sure to check out our Savings Center.
Pattern Notes
Written in US Terms.
Keep your slip stitches and your turning chain stitch loose. If they are too tight it is hard to get the crochet hook into the loop.
While this was made with a medium worsted weight yarn, you can make this with a different yarn weight. Just use a tape measure to check your length and width as you crochet your rectangle.
Find the video tutorial links below the written pattern.
Beginner Crochet Beanie Crochet Stitches
Single Crochet in the Back Bump of the Chain Stitch
Insert the hook in the back bump of the chain stitch, pull up a loop. Yarn over and pull through the two loops on the hook.
Single Crochet Back Loop (SC BLO)
Insert the hook in the back loop, pull up a loop. Yarn over and pull through the two loops on the hook.
Slip Stitch Back Loop (SL ST BLO)
Insert hook into back loop of stitch, yarn over, pull loop back through and through loop on hook.

Crochet Pattern
Start by making a slip knot and adding the loop on the hook.
Make a chain to the length of the hat height that you need. For mine, I made the chain 11 1/2 inches long and chained 46.
Here are some suggested beginning chains for a medium weight yarn.
- Newborn to 3 Months and 3 to 6 Months: Beginning chain 32 for 8 inches.
- 6 to 12 Months: Beginning chain 36 for 9 ½ inches.
- 12 to 24 Months: Beginning chain 40 for 10 inches.
- 2 to 3 Years: Beginning chain 42 for 10 1/2 inches.
- 3 to 10 Years and Teen/Adult Small: Beginning chain 44 for 11 inches.
- Adult Medium: Beginning chain 46 for 11 1/2 inches.
- Adult Large: Beginning chain 48 for 12 inches.
Row 1
Beginning in the second chain from the hook, work 1 SC in the back bump each CH ST across. When there are 5 CH STs left for newborn through adult small or 8 CH STs left for adult medium or adult large, work a SL ST in the back bump of each CH ST to the end. Turn.
Note. Where you begin the SL STs, is a nice place to add a stitch marker.
Row 2
CH 1. (Does not count as a ST). Work 1 SL ST into the back loop of each SL ST. Work 1 SC into the back loop of each of the remaining SC ST. Turn
Row 3
CH 1.(Does not count as a ST). Work 1 SC ST into the back loop of each SC ST. Work 1 SL ST into the back loop of each SL ST to the end of the row. Turn.
Rows 4 and Beyond
Repeat rows 2 and 3 until the width measures 2-3 inches less than the circumference of the head.
For my hat I made it 18 inches wide, which took 85 rows.
Here are some suggested row counts for the various head sizes. Make sure to use the tape measurer rather than just the stitch and row count.
- Newborn to 3 Months: 9-10 inches work 42 rows.
- 3 to 6 Months: 10-11 inches work 47 rows.
- 6 to 12 Months: 11-12 inches work 57 rows.
- 12 to 24 Months: 13-14 inches work 66 rows.
- 2 to 3 Years: 14-15 inches work 76 rows.
- 3 to 10 Years: 16-17 inches work 82 rows.
- Teen/Adult Small: 18 inches work 85 rows.
- Adult Medium: 19 inches work 90 rows.
- Adult Large: 20 inches work 95 rows.
Joining the Sides and Cinching the Hat Top
Fold your piece in half, matching the edges.
Cut the yarn leaving a long tail, about 20 inches. Enough to sew the sides, top, and sew on the pom pom if adding one.
Sew the two sides together with the yarn needle. You can use a slip stitch to join the edges. I used the yarn needle and weaved the yarn back and forth through the back loops.
To cinch the top of the beanie, weave in and out of the stitches around the top of the hat to gather close.
Adding Embellishments
You can be done with the hat at this point or add a few decorations such as the faux leather tag, a button, yarn pom poms, or a faux fur pom pom.
I added a faux fur pom pom that uses a snap to attach. Switch to a yarn needle with an eye small enough to go through the holes of the snap. Sew the snap to the top outside of the hat. Weave in the yarn ends and trim off the excess yarn. Snap on the pom pom.
Finishing
Weave in the ends with a tapestry needle. Cut off excess yarn.
Video Tutorial for Easy Everyday Beginner Crochet Beanie
We hope you enjoyed this free pattern for an easy crochet hat pattern. Here are a few more crochet patterns to inspire your next crochet project.

You can find Victoria crocheting, quilting, and creating recipes. She has cooked in restaurants for over 20 years, including many larger parties. She learned to crochet when she was just 11 years old and has been crocheting ever since; over 50 years now. Over 40 years ago, she loved her first class in sewing and continues to hone her skills in quilting. Many have enjoyed the handmade gifts over the years. In her professional career, she has worked in management in a wide variety of businesses including higher education as a dean of a division. All the while attending college part-time to achieve her doctorate in higher education with an emphasis in e-learning.
