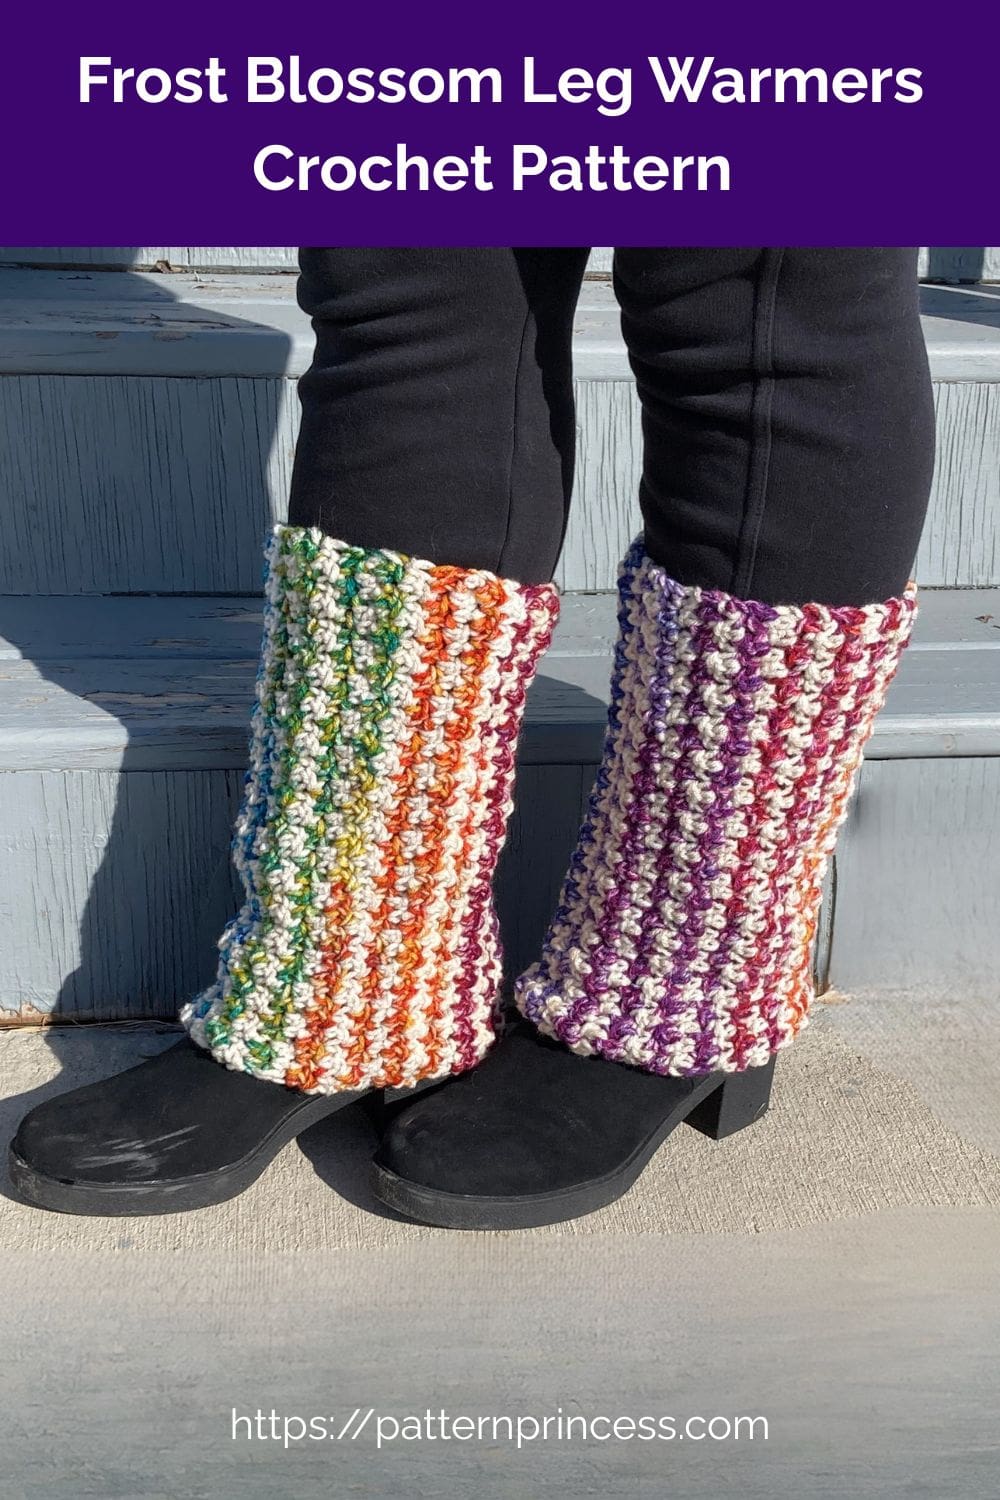
Wrap your legs in cozy handmade warmth with the Frost Blossom Leg Warmers Crochet Pattern. Part of our Frost Blossom Collection, this beginner-friendly design features the beautifully textured lemon peel stitch and soft color changes inspired by winter blossoms.
Designed with beginners in mind, this pattern is worked flat in rows and then seamed to create a comfortable tube shape. The simple combination of single crochet and double crochet stitches creates a rich, woven texture that offers just the right amount of stretch and warmth.
One of the best features of this pattern is the use of two yarn colors carried neatly up the sides, which minimizes yarn ends and makes color changes easy and efficient. The result is a striking striped design with very little extra finishing work.
Whether you’re layering them over leggings, jeans, tights, or dancewear, these leg warmers add a cozy touch to any outfit. They are perfect for chilly mornings, outdoor walks, yoga classes, or simply relaxing at home.
This versatile pattern includes 14 suggested sizes, from XS Petite through XXXL, along with easy instructions for customizing both the length and circumference for a perfect fit.
If you know how to crochet single crochet and double crochet stitches, you’ll be able to create these beautiful leg warmers with confidence. Helpful beginner tips and step-by-step video tutorials are included to guide you every step of the way.
Why You’ll Love This Pattern
- Beginner-friendly and easy to follow
- Worked flat and seamed for simple construction
- Uses the textured Lemon Peel Stitch
- Includes 14 sizes from XS Petite to XXXL
- Customizable for any leg length or circumference
- Minimal yarn ends by carrying yarn up the sides
- Great for gifts, craft fairs, and personal use
- Includes helpful video tutorials for both right- and left-handed crocheters
Perfect For
- Everyday winter wear
- Yoga and dance classes
- Layering over boots and leggings
- Thoughtful handmade gifts
- Cozy holiday crafting
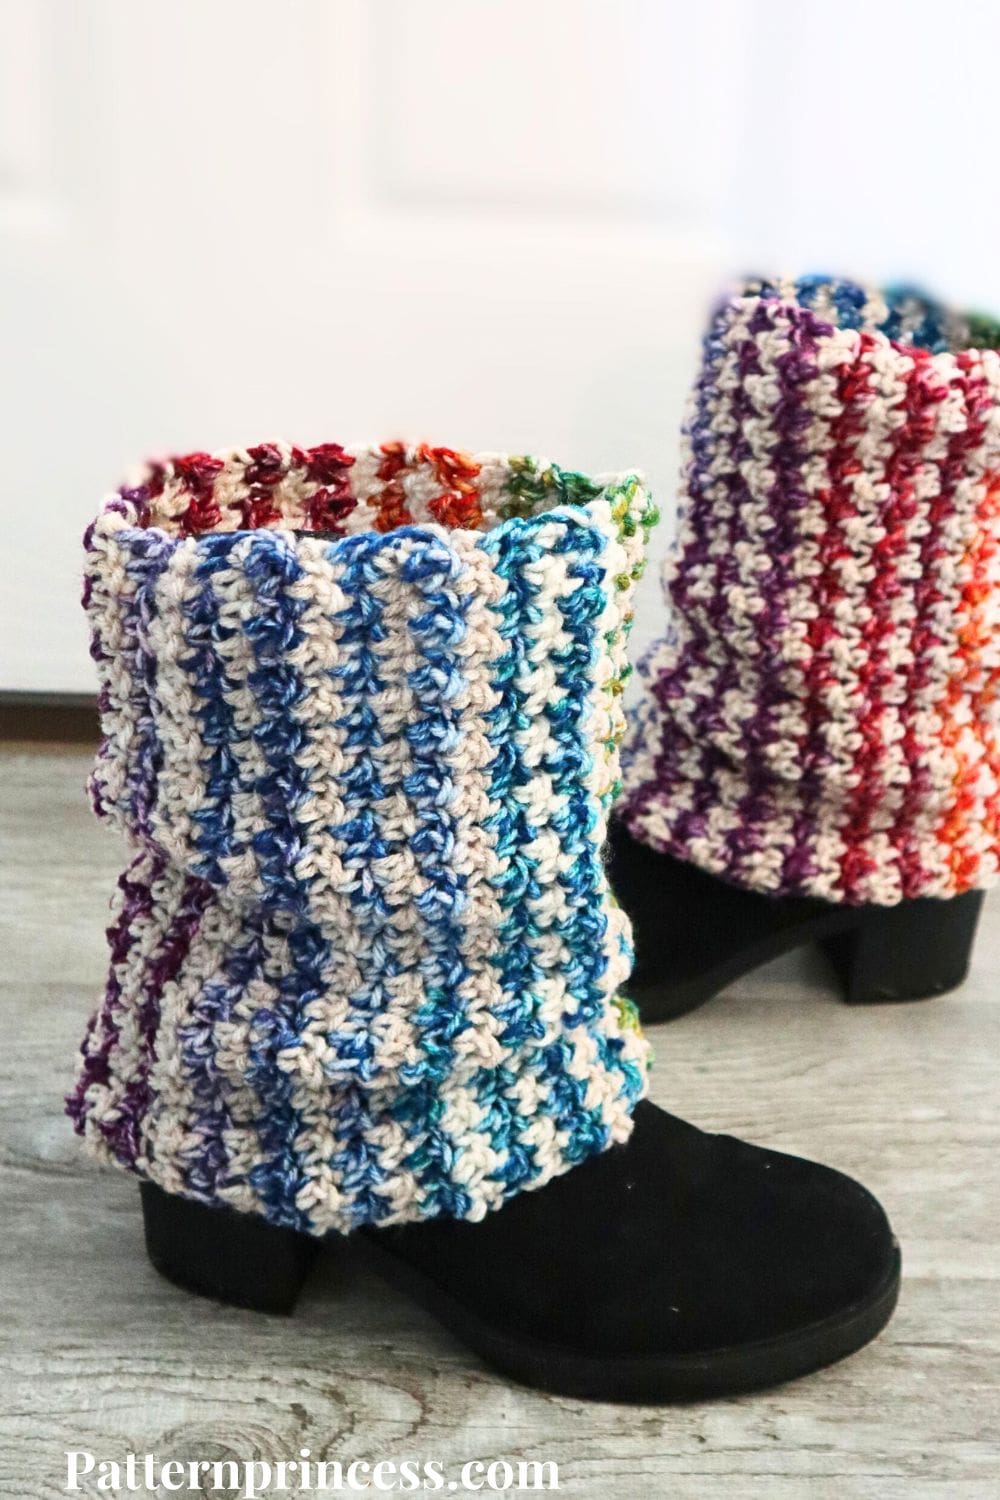
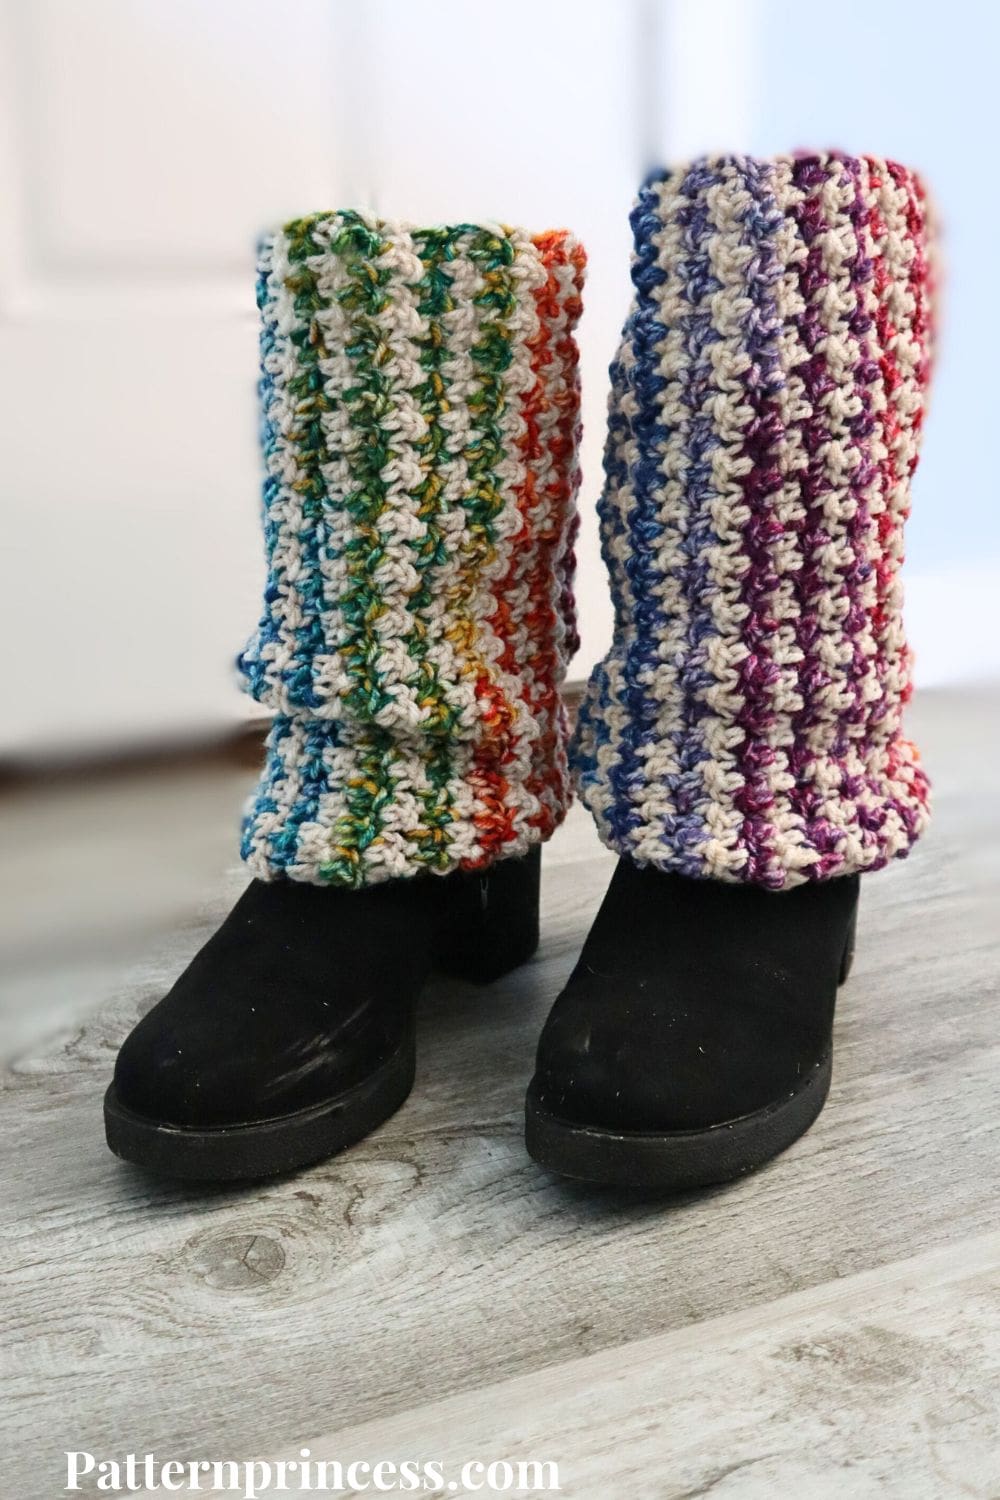
Finished Look
The Frost Blossom Leg Warmers have a lightly stretchy fit that can be worn scrunched around the ankles or pulled up just below the knee. The alternating yarn colors create soft stripes, while the lemon peel stitch adds beautiful texture and dimension.
Get Your Ad Free Printable PDF in our Etsy Shop.
Directions: Frost Blossom Leg Warmers
Skill Level
Beginner-Friendly
You should be able to work the single crochet and double crochet stitches. The video for the stitch will also show you how to carry the yarn up the side.
Gauge
Approximately 11 stitches and 10 rows = 4″ x 4″ in lemon peel stitch.
Size
This pattern comes in 14 suggested sizes
- XS Petite = Length 10” X Circumference 14”
- XS = Length 12” X Circumference 14”
- S Petite = Length 11” X Circumference 15”
- S = Length 13” X Circumference 15”
- M Petite = Length 11” X Circumference 16”
- M = Length 13” X Circumference 16”
- L Petite = Length 12” X Circumference 17”
- L = Length 14” X Circumference 17”
- XL Petite = Length 12” X Circumference 18”
- XL = Length 14” X Circumference 18”
- XXL Petite = Length 13” X Circumference 19”
- XXL = Length 15” X Circumference 19”
- XXXL Petite = Length 13” X Circumference 20”
- XXXL = Length 15” X Circumference 20”
Adjusting the Size
To adjust the length, simply adjust your chains by any odd number of chains. To make the circumference larger or smaller, simply crochet more or fewer rows.
Fit of Leg Warmer
Leg warmers are often worn a bit scrunchy and a bit loose. Some wear them just below the knee or mid-calf. This size is will sit just below the knee, but can be scrunched to the location of your choice.
Measuring for Fit
Measure from just below the knee to your ankle for the length. Measure the circumference at the widest point of your leg. Keeping in mind that the leg warmer is a bit stretchy and will stretch up to 2 inches.
Abbreviations
- CH = Chain
- DC = Double Crochet
- SC = Single Crochet
- SK = Skip
- SP = Space
- ST = Stitch
- STs = Stitches
- YO = Yarn Over
- [ ] = Repeat Between
Materials
Yarn. Red Heart Super Saver Bitty Stripes from Yarnspirations. It is a #4 medium weight yarn, 515 yards each skein. 100% Acrylic.
This pattern uses approximately 300–350 yards total for both leg warmers combined.
I used two yarn colors:
- Color A: Crayon Box
- Color B: Moonbeam
If you are not able to find the yarn locally, you can purchase it online. Savings Center – Pattern Princess
Size I 5.5mm Crochet Hook.
Scissors
Tapestry Needle
Tape Measure
Stitch Markers
Pattern Notes
Written in US Terms.
This pattern uses the Lemon Peel Stitch.
Chain 1 at the beginning of the row is the turning chain and does not count as a stitch.
This pattern is written to carry the yarn up the side of the pattern.
Important: This pattern carries the unused yarn up the side of the work. Because of this, some rows end with “No Turn.” This allows you to begin the next row from the opposite side where the alternate yarn color is waiting. The stitch pattern remains the same throughout, alternating single crochet and double crochet stitches.
Helpful Tips for Beginners
✔Alternating Stitches
You’ll always be alternating single crochet and double crochet stitches throughout this pattern.
Here’s the simple rule of thumb:
- If the stitch below is a double crochet, work a single crochet into it.
- If the stitch below is a single crochet, work a double crochet into it.
This alternating pattern gives you the signature lemon peel-like texture.
✔ Use a Stitch Marker
Because this stitch uses alternating heights, the last stitch can blend in. Place a stitch marker in the first stitch of the row. This prevents accidental increases or decreases that throw off your count.
✔ Counting Made Easy
If you start with an odd number of chains, you’ll end up with an even number of stitches, which ensures the alternating pattern lands correctly on the next row.
✔ Make sure to watch the video tutorials to see how to crochet the lemon peel stitch and how to change yarn color. They are located after the written directions.
Crochet Stitches Used
Chain Stitch (CH ST)
Begin the chain stitch by making a slip knot on the crochet hook. Leave about a 5-inch tail on the yarn. This will be weaved in later.
Next snug up the yarn loop that is on the crochet hook; while it should be firm, it should also be loose enough to slide on the hook with ease.
Keeping the loop on the hook, wrap the yarn over the crochet hook from back to front. Draw the yarn through the loop. (The first chain stitch is complete).
HOW TO CROCHET THE CHAIN STITCH video tutorial
Double Crochet (DC)
Yarn over, insert the hook in a stitch and pull up a loop. Next, yarn over and pull through two loops on the hook. Lastly, yarn over again and pull through the last two loops on the hook.
HOW TO CROCHET THE DOUBLE CROCHET STITCH video tutorial
Single Crochet (SC)
Insert the hook in a stitch, pull up a loop. Yarn over and pull through the two loops on the hook.
HOW TO CROCHET THE SINGLE CROCHET STITCH video tutorial

Begin Crochet Pattern
(Make two of the leg warmers).
Chain any odd number of chain stitches.
Crochet a Foundation Row
Starting with yarn color A
Begin the chain stitch by making a slip knot on the crochet hook.
Here are some suggested starting chains for using a #4 medium weight yarn.
- XS Petite = 27 chain stitches
- XS = 33 chain stitches
- S Petite = 31 chain stitches
- S = 35 chain stitches
- M Petite = 31 chain stitches
- M = 35 chain stitches
- L Petite = 33 chain stitches
- L = 39 chain stitches
- XL Petite = 33 chain stitches
- XL = 39 chain stitches
- XXL Petite = 35 chain stitches
- XXL = 41 chain stitches
- XXXL Petite = 35 chain stitches
- XXXL = 41 chain stitches
Row 1
SC in 2nd CH from the hook. DC in next CH. [SC in the next ST, DC in the next ST]. Repeat across between [ ]. End with a DC in the last St. Turn (You’ll have an even number of stitches.)
Do not cut your yarn. Add a stitch marker.
Row 2
Change to yarn color B. Pull the new yarn color through the loop on the hook and snug up yarn color A. Continue with the pattern using yarn color B.
CH 1 (Turning Chain Doesn’t Count as a Stitch). SC in the first DC ST, DC in the SC ST. [SC in the next ST, DC in the next ST]. Repeat across between [ ]. End with a DC in the last St.
Add a stitch marker.
Row 3
Change back to yarn color A
Now you’ll see the unused color strand (Color A) waiting at the other end.
To reuse it:
- Insert your hook into the first stitch.
- Gently pull up Color A and yarn over with it to start the row.
The unused yarn will be carried neatly up the side.
CH 1 (Doesn’t Count as a ST). DC in the first SC ST, SC in the DC ST. [DC in the next ST, SC in the next ST]. Repeat across between [ ]. End with a SC in the last St. Turn
Row 4
Change back to yarn color B
CH 1 (Doesn’t Count as a ST). DC in the first SC ST, SC in the DC ST. [DC in the next ST, SC in the next ST]. Repeat across between [ ]. End with a SC in the last St. No Turn
Row 5
Change back to yarn color A
CH 1 (Doesn’t Count as a ST). SC in the first DC ST, DC in the SC ST. [SC in the next ST, DC in the next ST]. Repeat across between [ ]. End with a DC in the last St. Turn
Row 6
Change back to yarn color B
CH 1 (Doesn’t Count as a ST). SC in the first DC ST, DC in the SC ST. [SC in the next ST, DC in the next ST]. Repeat across between [ ]. End with a DC in the last St. No Turn
Rows 7 and beyond
Continue repeating Rows 3–6 until the piece measures the desired circumference listed in the sizing chart when laid flat. Exact row counts may vary depending on your tension.
- 14″ circumference → about 35 rows
- 15″ circumference → about 38 rows
- 16″ circumference → about 40 rows
- 17″ circumference → about 43 rows
- 18″ circumference → about 45 rows
- 19″ circumference → about 48 rows
- 20″ circumference → about 50 rows
Once you reach your desired length, leave about a 20-inch-long yarn tail.
Use this to join the ends together.
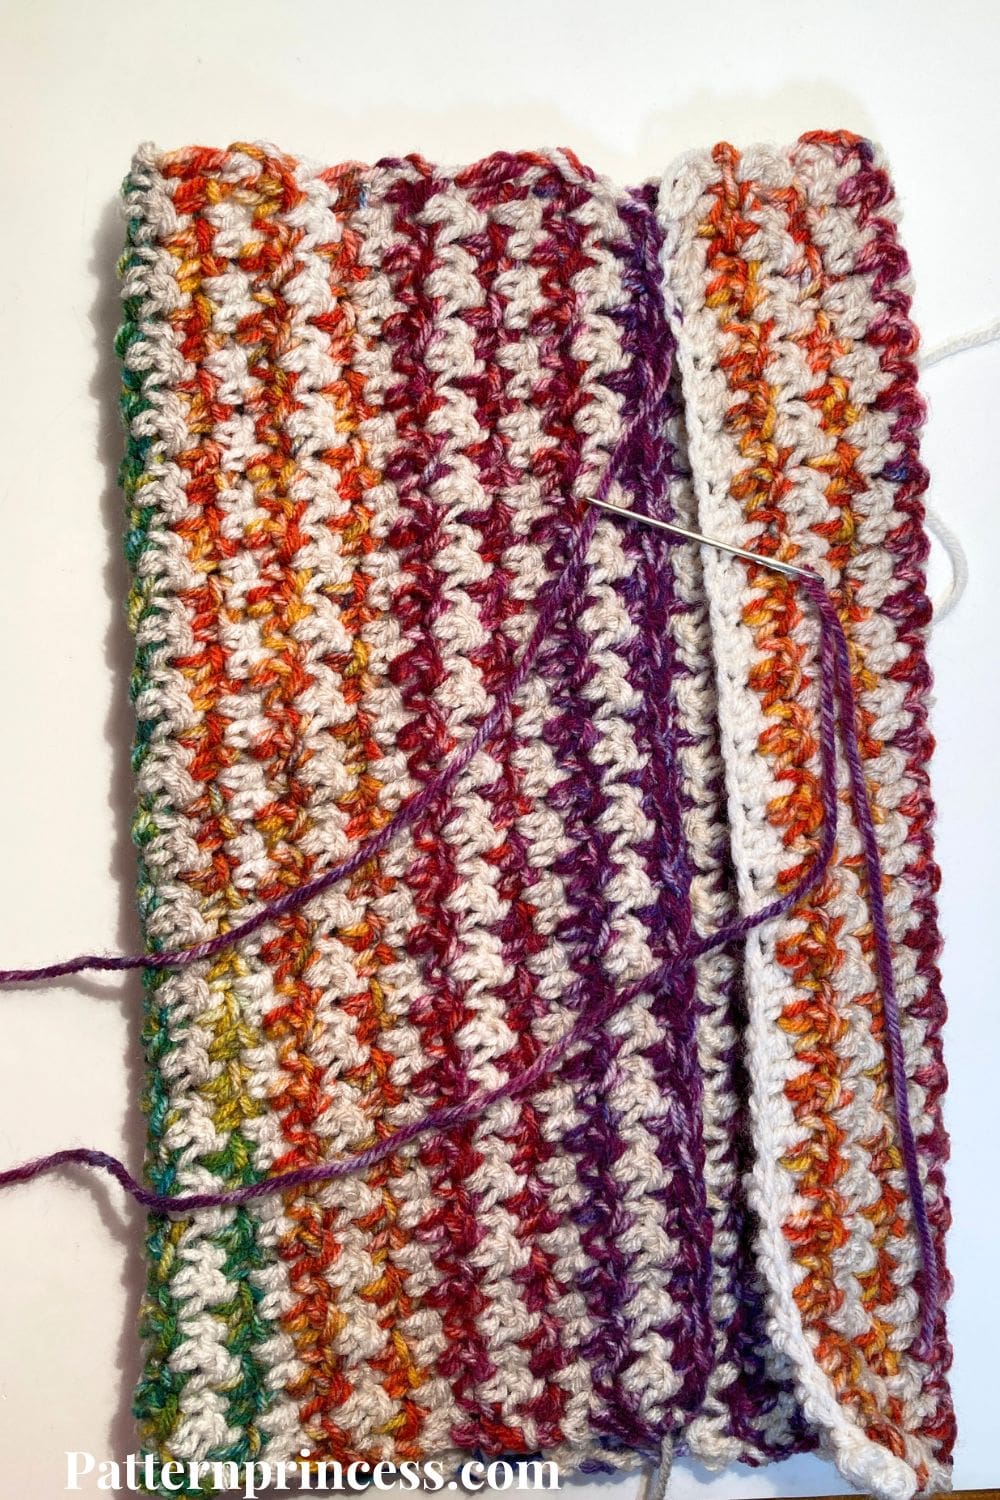
Joining
You can use any method to join the ends. A slip stitch or a single crochet through both ends. You could use the yarn needle and work a whip stitch through both ends.
Today, I chose a whip stitch to join the ends.
- Whipstitch. Insert the needle from back to front, wrapping the yarn around the edges in a spiral motion.
- Mattress Stitch. Work through the middle of the stitches on the edges of both pieces, creating an almost invisible seam.
Keep the Tension Even. As you sew, ensure the yarn is snug but not so tight that it puckers or distorts the fabric.
Lay the rectangle flat. Align the ends of the rectangle. Thread the yarn needle with the yarn tail.
Using the yarn where you ended your last stitch, insert the yarn needle in the stitch directly across. Wrap the yarn over the edges and insert the hook in the next stitch on the other side. Continue wrapping the yarn over the edges and inserting the yarn needle in the next stitch across.
Finishing
Once you’ve sewn all the ends together, weave in any remaining yarn tails with the yarn needle. Snip off the excess yarn.
Video Tutorials on our YouTube Channel
Welcome to our Lemon Peel Stitch crochet tutorial!
In this video, we’ll guide you step-by-step through creating this cozy, textured stitch in both a solid yarn color and alternating yarn colors. Learn how to carry the yarn up the side to save time and for minimal yarn ends to weave in.
How to Crochet the Lemon Peel Stitch right hand
How to Crochet the Lemon Peel Stitch left hand
Right Hand Video Crocheting the Leg Warmers and Joining the Ends Together
Left Hand Video Crocheting the Leg Warmers and Joining the Ends Together
We hope that you have enjoyed this lovely crochet pattern.
Vicky & Casey

You can find Victoria crocheting, quilting, and creating recipes. She has cooked in restaurants for over 20 years, including many larger parties. She learned to crochet when she was just 11 years old and has been crocheting ever since; over 50 years now. Over 40 years ago, she loved her first class in sewing and continues to hone her skills in quilting. Many have enjoyed the handmade gifts over the years. In her professional career, she has worked in management in a wide variety of businesses including higher education as a dean of a division. All the while attending college part-time to achieve her doctorate in higher education with an emphasis in e-learning.