Last updated on January 19th, 2026 at 10:30 pm
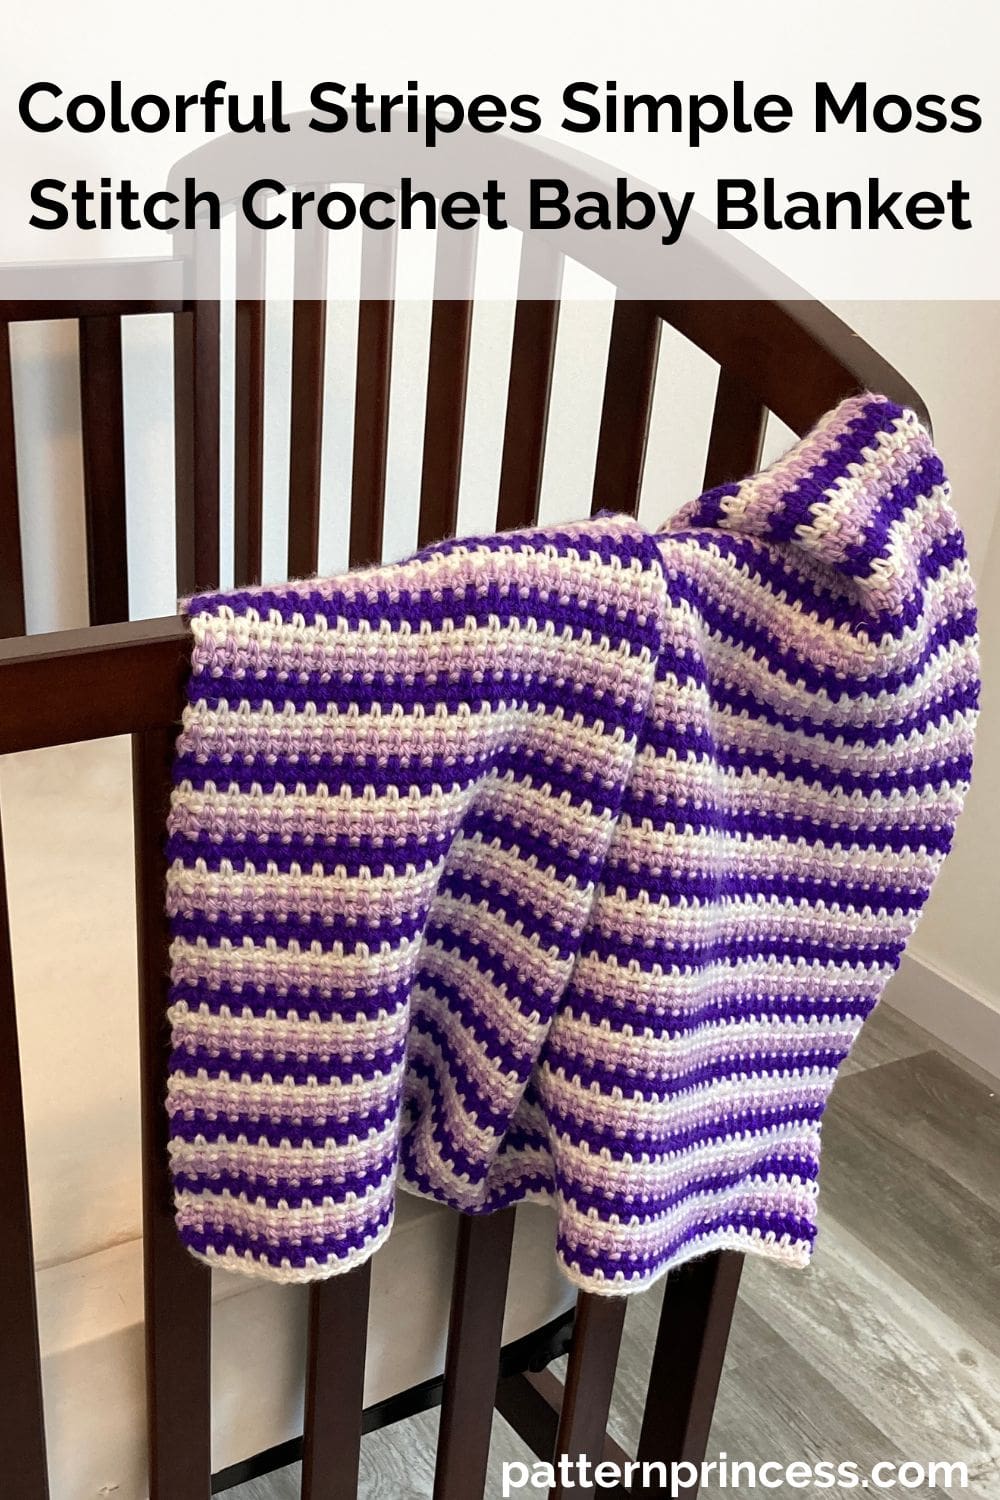
The Colorful Stripes Simple Moss Stitch Crochet Baby Blanket is the perfect project for crocheters of all levels, especially beginners.
The moss stitch is incredibly easy to learn and creates a gorgeous texture that resembles a woven stitch or knit pattern. If you already know how to make chain stitches and single crochet stitches, you’re all set to dive into this stitch and bring your project to life. Once you get going, it’s a one row repeat.
This striped blanket is as simple as it is stunning, and you can customize the colors to reflect three levels of temperatures—warm, cool, and neutral—adding a unique and personal touch to your creation.
Beginner Moss Stitch Blanket
Whether you’re celebrating the arrival of a little one, creating a heartfelt gift, or looking for a relaxing crochet project, this blanket checks all the boxes. The moss stitch provides a beautifully textured yet easy-to-learn design.
Design your own pattern once you learn how to master the moss stitch.
This cozy blanket is completely customizable. You can make additional sizes easily.
Simply start with a base chain that’s an even number and make it about 2 inches longer than your desired blanket width. Keep in mind that the moss stitch requires skipping stitches, so the base chain will shrink by approximately 2 inches once you complete the first row.
This simple adjustment ensures your blanket turns out just the right size.
Color Combinations
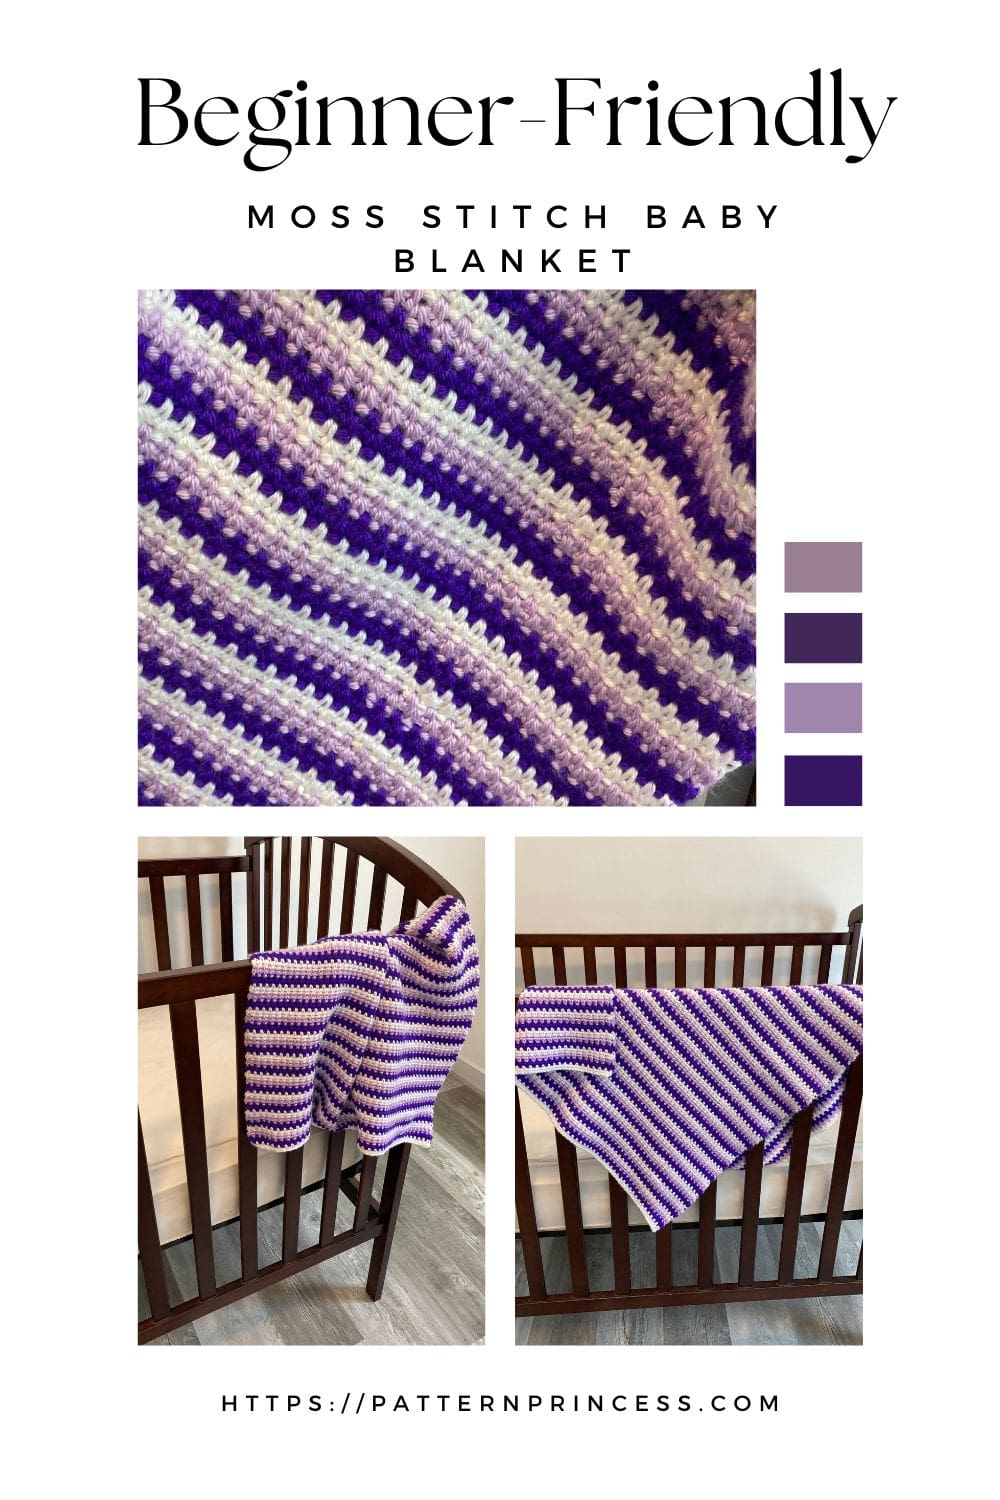
This free pattern is perfect for a beginner at crochet. This blanket features a woven look and the color scheme and uses three colors of yarn for a gorgeous finish.
Choose warm tones like reds, yellows, and oranges for a vibrant and energetic look, cool shades like blues, greens, and purples for a calming vibe, or neutral hues like creams, grays, and taupes for a timeless, sophisticated style.
What’s in a Name? The Versatile Moss Stitch
While I’m calling this the moss stitch today, you might also know it as the linen stitch or the granite stitch. Regardless of what name you prefer, this stitch is incredibly versatile and works up quickly, making it a favorite for crocheters of all skill levels.
In this tutorial, I’ll show you how to use the moss stitch to create a beautiful baby blanket. However, the pattern isn’t limited to baby blankets. It’s also perfect for a small throw or lap afghan.
Its size makes it ideal for keeping your legs warm without dragging on the floor, offering both comfort and practicality.
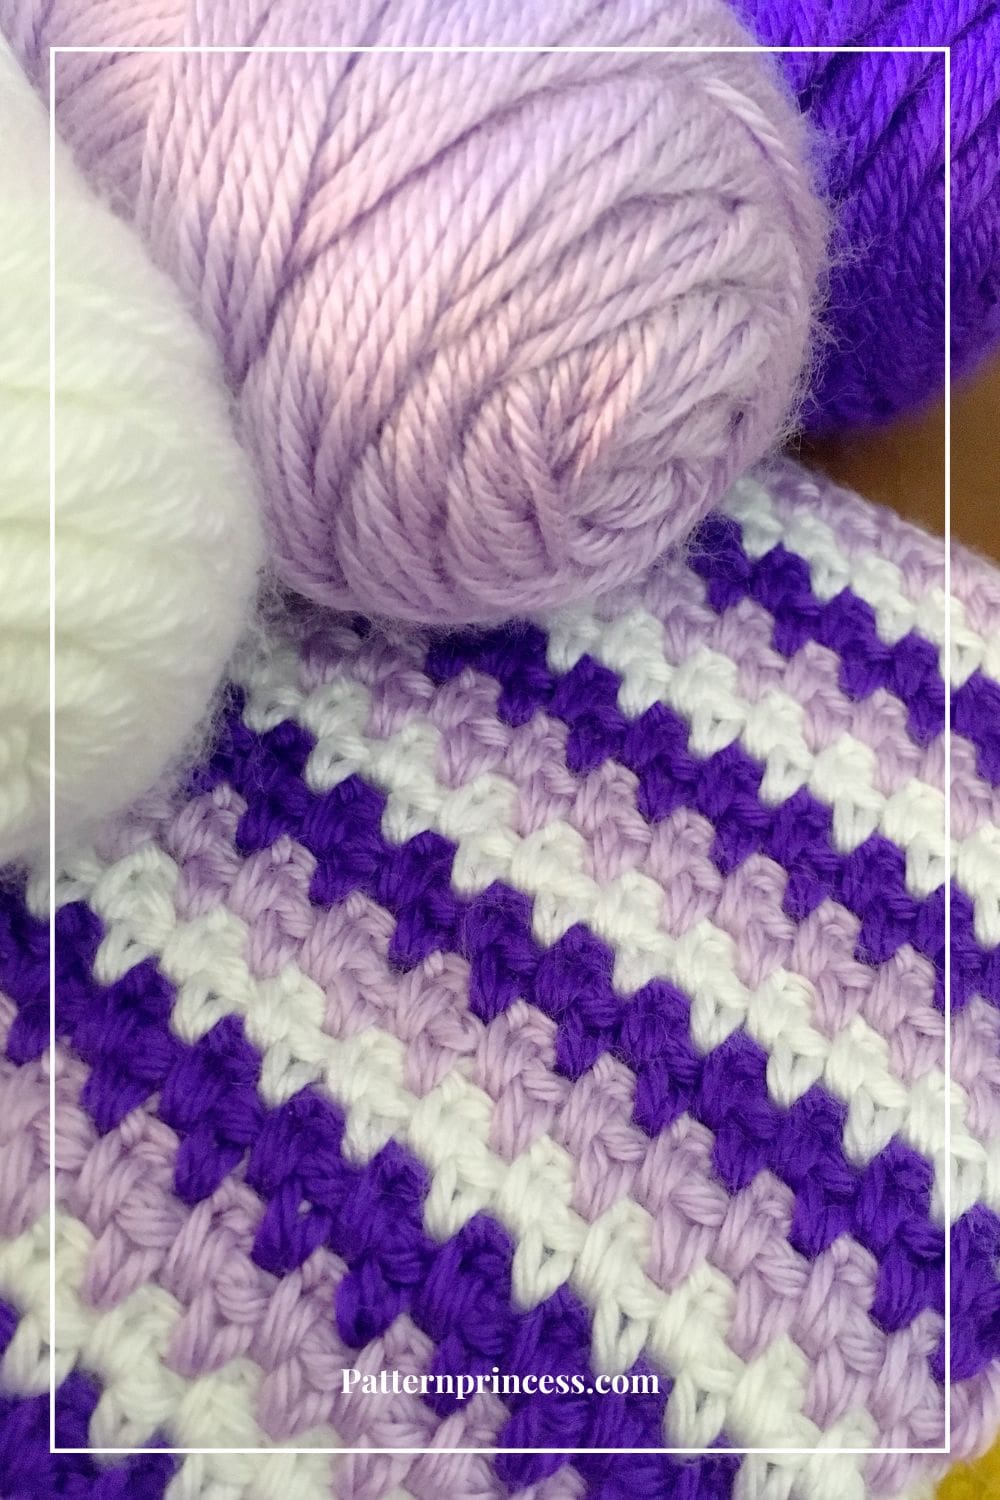
Choosing the Perfect Yarn for the Moss Stitch
The moss stitch works beautifully with various yarn weights, giving you plenty of flexibility to create the perfect project.
For a baby blanket, medium-weight yarns like worsted (category 4) or DK (category 3) are ideal, as they strike the perfect balance between warmth and manageability.
Worsted weight yarn provides a thicker, cozier feel, while DK weight creates a lighter, more delicate finish.
If you want an ultra-lightweight look, sport (category 2) yarn can be used, but keep in mind it will take longer to complete your project.
Chunky (category 5) or bulky weight yarn is also a great choice if you want a plush, quick-to-finish blanket. No matter which weight you choose, the moss stitch will showcase its signature texture beautifully.
Get Your Ad Free Printable PDF Pattern in our Etsy Shop.
Directions: How to Crochet a Moss Stitch Baby Blanket
Skill Level
Beginner-Friendly Crochet Project
Gauge
Approximately 14 SC and 14 rows to every 4 inches.
Changing the size
To make the blanket wider or narrower, increase or decrease by 2 stitches (even stitches).
Make this longer or shorter by simply increasing or decreasing the number of rows.
Abbreviations
- CH = Chain
- SC = Single Crochet
- SK ST= Skip Stitch
- SP = Space
- ST = Stitch
- STs = Stitches
- [ ] = Repeat Between
Materials
Orchid Color Caron Simply Soft 1 Skein, 315 yards.
Iris Color Caron Simply Soft 1 Skein, 315 yards.
White Color Caron Simply Soft 1 Skein, 315 yards.
Total Yarn 945 yards.
If you are not able to find the yarn locally, make sure to check out our savings center.
Crochet Hook Size H 5.0mm
Yarn Needle to weave in the ends
Scissors
Measuring Tape
Crochet Stitches
Chain Stitch (CH ST)
Chain Stitches for Project
Begin the chain stitch by making a slip knot on the crochet hook. Leave about a 5-inch tail on the yarn. This will be weaved in later.
Next snug up the yarn loop that is on the crochet hook; while it should be firm, it should also be loose enough to slide on the hook with ease.
Keeping the loop on the hook, insert hook in the stitch, wrap the yarn over the crochet hook from back to front. Draw the yarn through the loop. Yarn over again and draw the yarn through both loops that are currently on the hook. (The first chain stitch is complete).
HOW TO CROCHET THE CHAIN STITCH video tutorial
Single Crochet (SC)
Insert the hook, pull up a loop. Yarn over and pull through the two loops on the hook.
HOW TO CROCHET THE SINGLE CROCHET STITCH video tutorial
Pattern Notes
Written in US Terms.
Turn at the end of the row.
The chain stitch at the beginning of each row does not count as a stitch. Place the beginning stitch of each row in the very first chain stitch.
You can place the last SC in the top turning chain or the last ST of the row. It depends upon the desired look. Placing the last SC in the last SC ST creates a straighter edge on the side of the blanket. However, placing the last SC in the turning chain area is easy to do.
Since this pattern is reversible, there isn’t a right side and wrong side.
Starting a New Skein. When starting a new skein, begin using the skein at the start of the row for best results.
Below the written pattern is a tutorial on Changing Yarn Color.
Crochet Pattern
Starting with the White yarn.
Start by making a slip knot and adding the loop on the hook.
Work a foundation chain long enough to make your desired length.
I made my foundation chain 126 stitches.
Row 1
SC in 4th CH from hook, [CH 1, SK ST, SC in next chain ST]. Repeat between [ ] across. Ending with the last SC in the last ST. Turn
Row 2
CH 2, SC in first CH-1 SP in previous row (Note: not in the stitch itself, but in the space that was created by the CH ST).
[CH 1, SK ST, SC in next CH SP]. Repeat between [ ] across. End with a SC, turn.
Rows 3 – 4
Change to Orchid color yarn.
Repeat row 2.
Rows 5 – 6
Change to Iris color yarn.
Repeat row 2.
Rows 7 – 91
Continue alternating the yarn colors every 2 rows.
Repeat row 2 until your desired length.
Finishing
After the last stitch, leave about a 10-12 inch yarn tail. Pull the tail through the last stitch. Using the tapestry needle, weave in the yarn ends. Cut off the excess yarn.
Changing Yarn Color
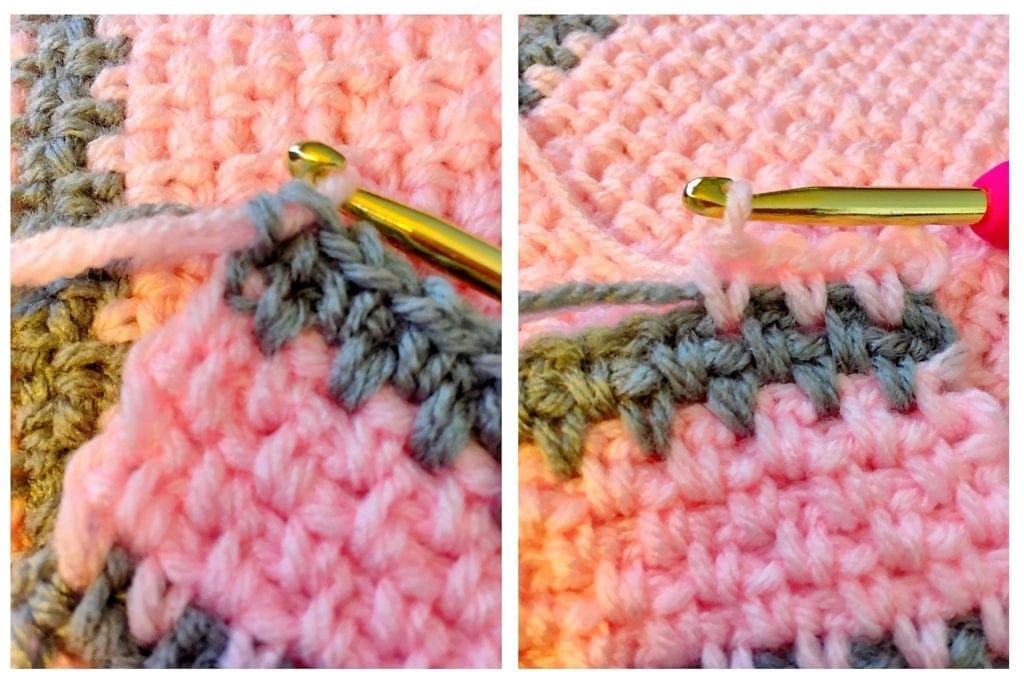
The photos below are from another baby afghan that I made. It is also available on my website if you are interested. In the photos below, you will see that the new color is started by adding the yarn with the hook in the last two loops on the hook.
Yarn over with the new color and pull through both loops on your hook. Then continue with the moss stitch. I would recommend securing the yarn tails by crocheting over them.
I would recommend securing the yarn tails by crocheting over them.
This is a two-step process.
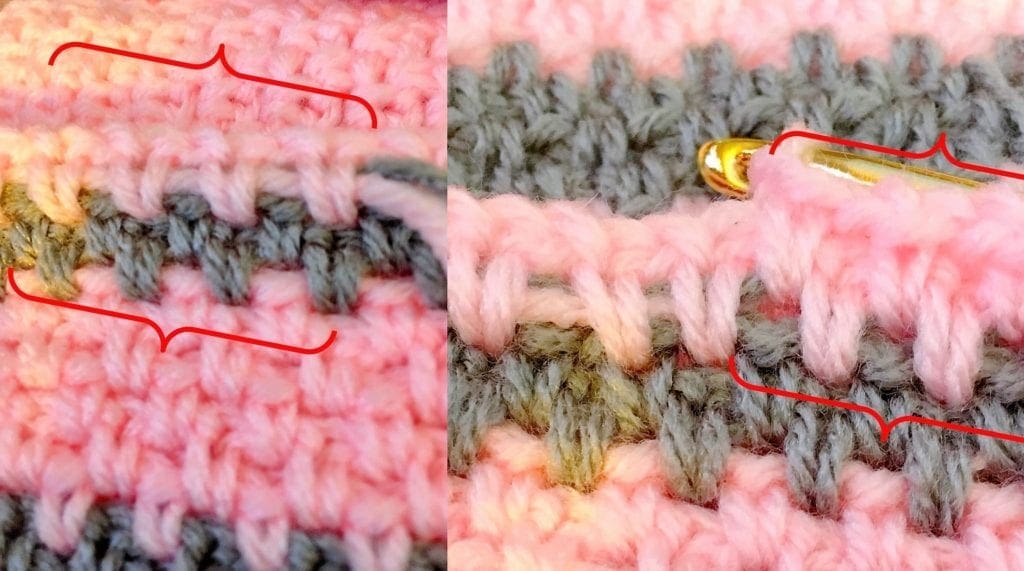
- Hold the yarn in front of the stitches of the previous row and when you insert your hook into the CH 1 SP, make sure to include the two strands of yarn. This secures the yarn under the SC. I do this for about 6 inches of the yarn tail, then I stop incorporating them and continue on with the moss stitch. See the photo tutorial above on the right
- Notice below how the yarn tails in the pictures on the left are quite visible? After you have completed the row after the color change and are on the return row. It is time to pick up the yarn into the stitches of this row. The yarn from the new color is very visible on the left. On the right side, the new color of yarn added is picked up into the next row and leaves a beautiful finished look, as the yarn tail cannot be seen. Therefore, when making your SC, pick up the two strands of yarn again as you work along the row. It looks neat on the right with the yarn tails tucked up nicely into the stitches.
There are brackets around the areas to help you see the detail.
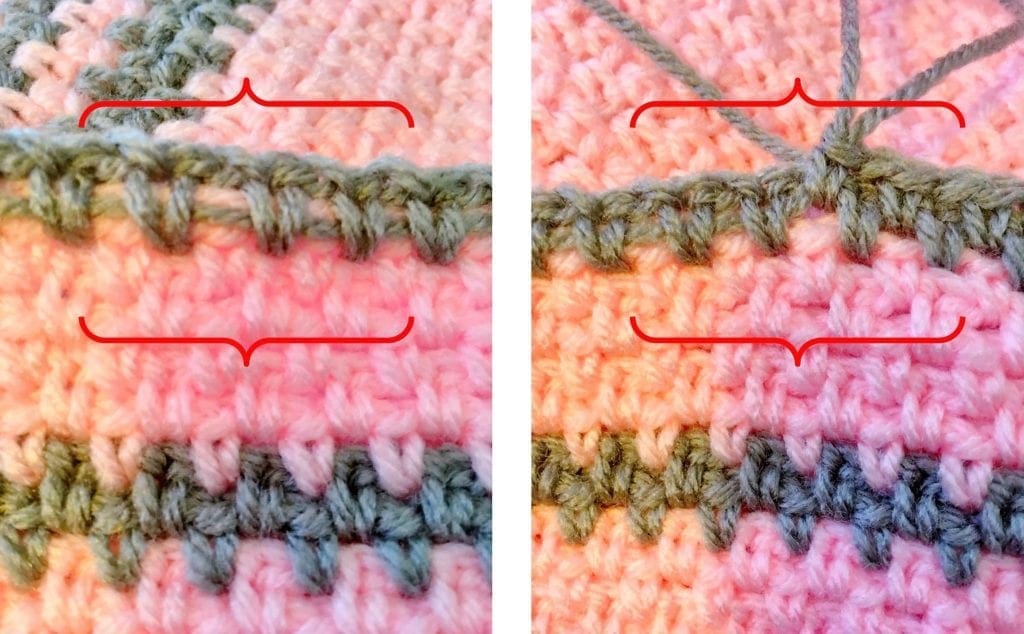
The two photos below show the yarn that has been crocheted over once.
On the right, the two strands of yarn are being picked up and crocheted over again on the way back.
You can see the clean look this method provides.
Here is another photo to help you see the difference. (I also cover this in the video tutorial below)
Here is the Video Tutorial
How to Crochet the Moss Stitch
Here is a video I created to show the linen stitch. However, it is also the moss stitch so this will help you understand the pattern being created.
We hope you have enjoyed this free crochet pattern. Here are a few more to inspire your next project.

You can find Victoria crocheting, quilting, and creating recipes. She has cooked in restaurants for over 20 years, including many larger parties. She learned to crochet when she was just 11 years old and has been crocheting ever since; over 50 years now. Over 40 years ago, she loved her first class in sewing and continues to hone her skills in quilting. Many have enjoyed the handmade gifts over the years. In her professional career, she has worked in management in a wide variety of businesses including higher education as a dean of a division. All the while attending college part-time to achieve her doctorate in higher education with an emphasis in e-learning.
Pingback: Beginner Linen Stitch Coaster – Pattern Princess
Pingback: How To Crochet Moss Stitch | Crochet Terms