Last updated on November 3rd, 2024 at 04:23 pm
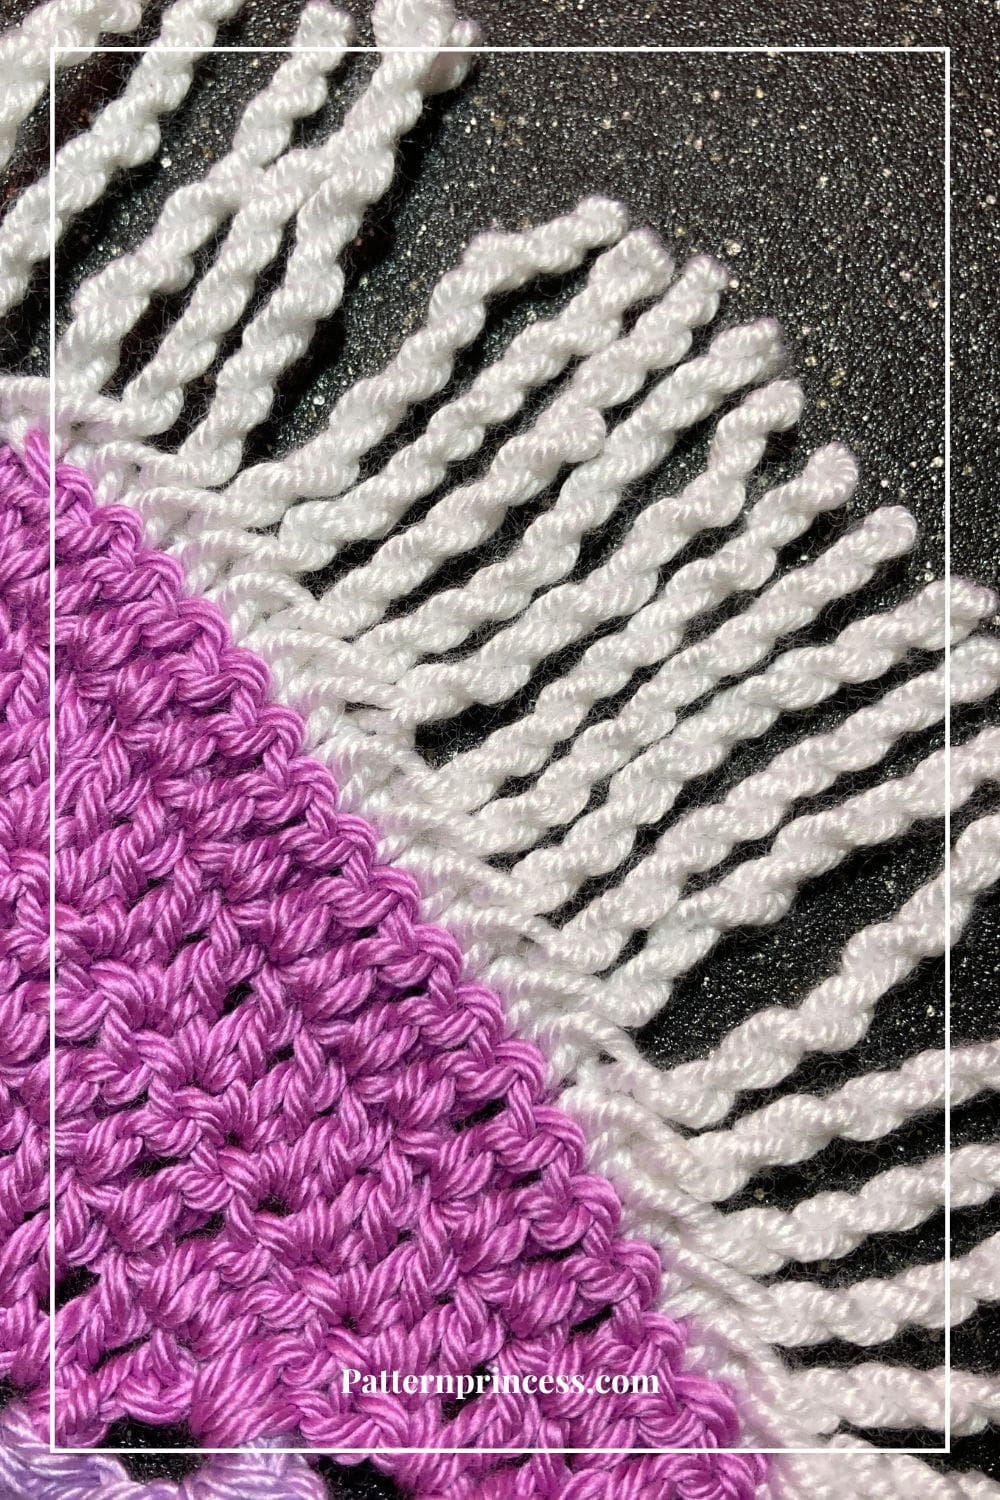
Adding twisted fringe to your crochet work is a creative way to enhance projects with a polished, textured finish. This looks great on a cozy winter scarf, a colorful shawl, or a statement wall hanging, twisted fringe adds a beautiful, professional touch.
More recently, we used this embellishment on a crochet bucket bag. That pattern will be coming soon. It adds just the right amount of fun flair.
What’s great about this fringe is that it doesn’t pull out like traditional tied fringe. You can gently wash things with this twisted fringe. It opens up a whole new world of where you can add fringe such as crochet blankets and wraps. And a little extra flair makes all the difference.
While these instructions are specific to crochet, this versatile fringe technique works equally well on knitted items, so feel free to try it out on your next knit project too.
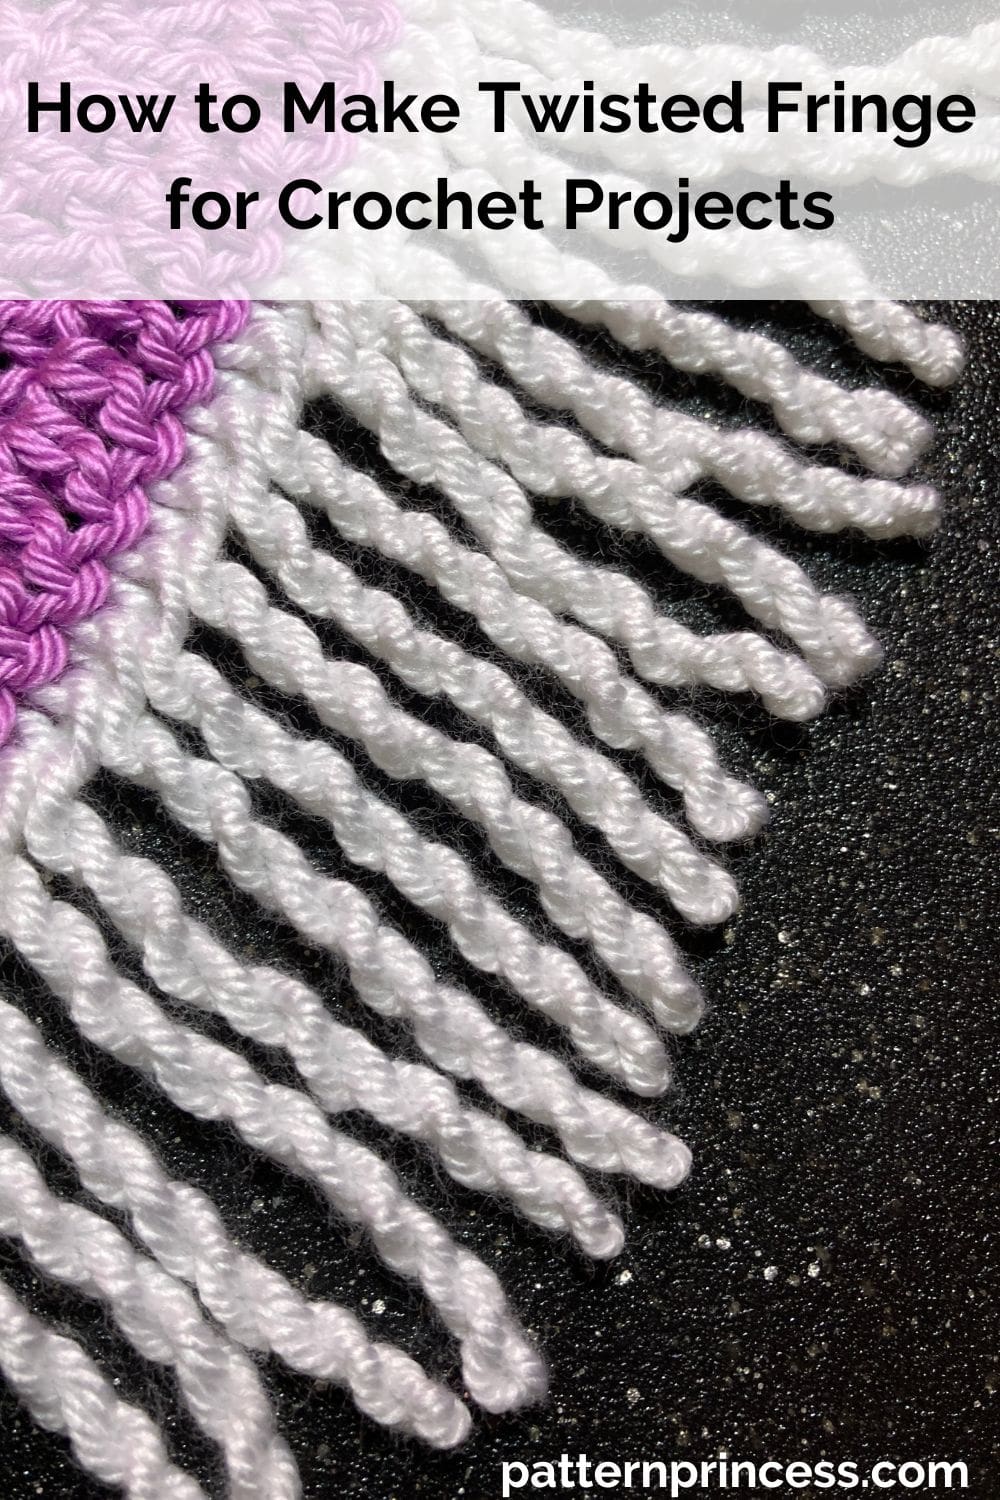
Step-by-Step Guide with a Video
With this step-by-step guide, you’ll be able to create perfectly twisted fringe without cutting the yarn, allowing for a seamless look that flows directly from your crochet stitches.
All you need is your yarn, a crochet hook, and a bit of patience as you twist each loop to your desired length. Let’s dive into how to make this elegant finishing touch for your crochet pieces.
The link for the video tutorial is below the written pattern.
Directions: How to Make Twisted Fringe for Crochet Projects
Skill Level
It’s an easy project perfect for a beginner crocheter
Supplies Needed
Yarn. Use the same yarn as your project or mix it up with a complementary color for contrast. This method works with all types of yarn from thread yarn, to medium weight yarn, to bulky yarn. You could even use two yarn strands held together to make a thick chunky yarn twist.
Crochet Hook. Select the same size you used for your project or go slightly larger if you want a looser fringe.
Patience and Creativity! Twisted fringe doesn’t require many tools, but a bit of practice makes perfect.
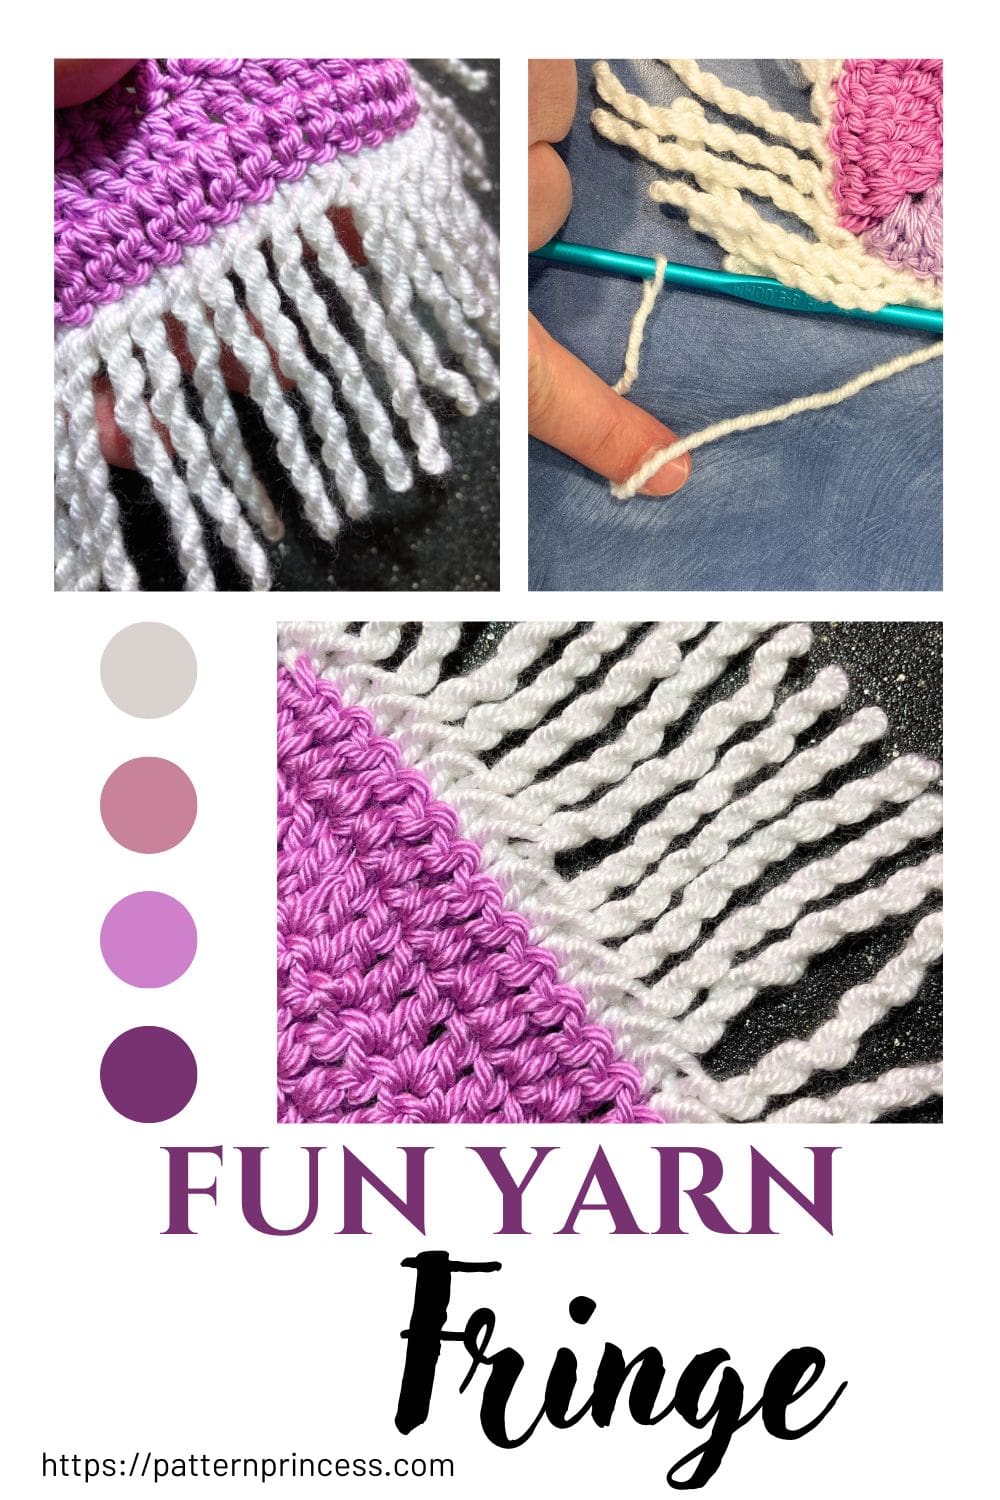
Pattern Notes
Written in US Crochet Terms.
Using the same type of yarn helps the fringe flow seamlessly into your project’s edge. However, a different color will help the fringe stand out.
Twisted fringe is not cut at all, it is just twisted onto itself.
The coiling causes it to naturally twist along itself and stay twisted.
The length of the loop and the number of times that you rotate the yarn twist will make a difference in how the final twist will look.
Plan on the length of the twisted fringe being about half of the length of loop that you start with.
Approximately 3-4 twists per inch.
- 4 inches about 12-16 twists.
- 5 inches about 15-20 twists.
- 6 inches about 18-24 twists.
- 7 inches about 21-28 twists.
- 8 inches about 24-32 twists.
- 9 inches about 27-36 twists.
- 10 inches about 30-40 twists.
Choosing Your Fringe Style: Dense vs. Spaced Twisted Fringe
When adding twisted fringe to your crochet project, you have two options for placement, and each creates a unique look.
Dense Fringe. Place a twisted fringe in every stitch along the edge of your project.
This creates a thick, continuous fringe that adds a lot of texture and fullness. It’s ideal if you want your fringe to stand out and give a bolder, fuller border. This style works particularly well for scarves, blankets, or any project where you want a dramatic edge.
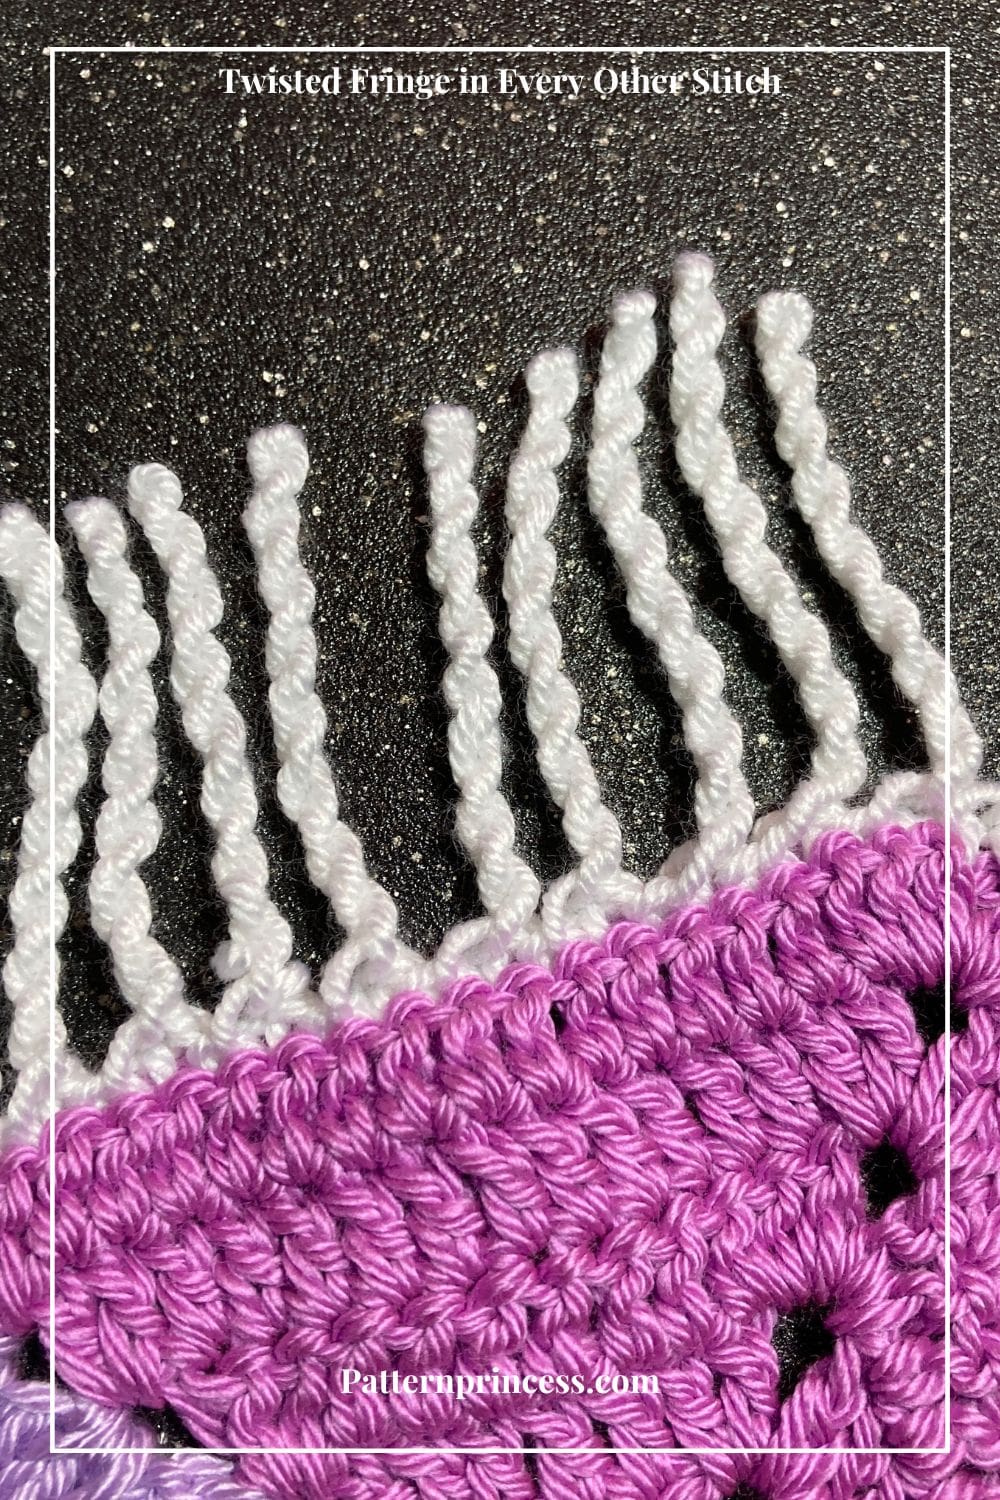
Spaced Fringe. Work a slip stitch in one stitch, then add a twisted fringe in the next stitch, repeating this pattern along the edge.
This method creates a more subtle fringe with slight spacing between each twist. It’s perfect for projects where you want the fringe to be noticeable but less prominent, like on lightweight wraps or decorative pieces that benefit from a more delicate touch.
You can choose the option that best fits the style you’re going for, or even mix it up by starting with one method and switching to the other for a layered effect.
Step-by-Step Instructions for Adding Twisted Fringe Without Cutting Yarn
Here’s a detailed guide on how to make twisted fringe without cutting the yarn, preserving a continuous look.
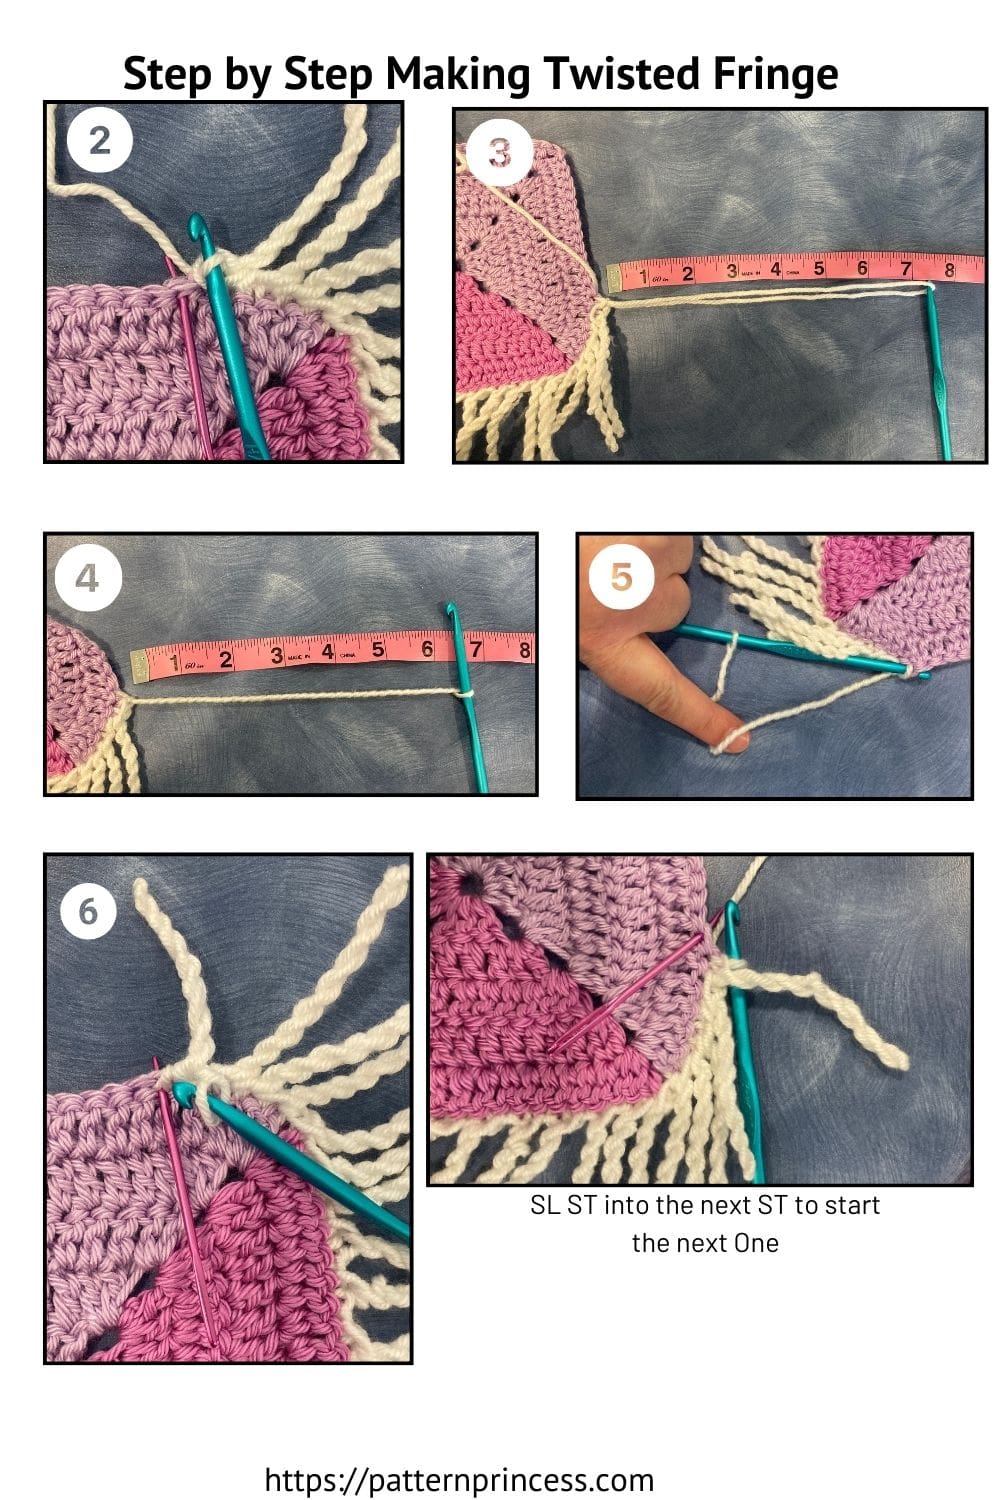
- Begin with a Slip Knot. Create a slip knot and place it on your crochet hook.
- In the first stitch, work a slip stitch. Yarn over and pull the yarn through the stitch and loop on the hook.
- Pull up a loop to your desired length, measuring if you’d like each fringe loop to be consistent. My example was approximately 7 inches.
- Twist the Loop. Pinching the slip knot at the base so it doesn’t stretch out, rotate the hook twisting the loop.
Optionally, use your index finger to twist the loop. If you’re twisting with your finger, remove the hook temporarily and keep the loop secure by holding the end. Then reinsert the hook for the next step.
Count the number of twists according to your pattern or until the fringe has the desired tightness.
- Complete the Fringe. Fold the twisted loop in half holding taught. I like to place a finger in the middle to hold taught. Work another slip stitch back into the original stitch to secure the twisted fringe.
- Fluff the fringe gently to encourage it to lay nicely and add fullness if desired.
Continue Adding Fringe
Slip stitch to the next stitch in your project to begin the next twisted fringe, repeating steps 1–6 for each section. Note. If choosing the spaced fringe, you’ll do one extra slip stitch before working the twisted fringe steps.
Tips for Perfect Twisted Fringe
Length Consistency. Measure each loop length as you go to ensure uniformity. This is especially helpful if your project is large, and you want a cohesive look.
Twisting Techniques. Try different twisting methods. Using your index finger or crochet hook to see which one gives you more control over the tension and look of your fringe.
Fluffing the Fringe. After twisting and securing each fringe, gently fluff or tug on the twist to help it settle, especially if your yarn tends to spring back.
Twisted Fringe Tutorial on our YouTube Channel
Where to Use Twisted Fringe on Crochet Projects
Twisted fringe works beautifully on scarves, shawls, blankets, and even as a pom-pom on a beanie. It adds a bit of whimsy or elegance depending on your yarn choice and project style.
It’s also a fantastic detail for decorative pieces like wall hangings or pillow edges, where the texture can really shine. The twisting process allows you to vary the fringe’s thickness, making it versatile enough for both lightweight summer wraps and chunky winter accessories.
Adding twisted fringe to your crochet projects is a simple technique with a high-impact effect that can elevate your work.
How to Make Twisted Fringe for Crochet Projects
Equipment
- Crochet Hook:
Materials
- Yarn. Use the same yarn as your project or mix it up with a complementary color for contrast.
Instructions
- Begin with a Slip Knot. Create a slip knot and place it on your crochet hook.
- In the first stitch, work a slip stitch. Yarn over and pull the yarn through the stitch and loop on the hook.
- Pull up a loop to your desired length, measuring if you’d like each fringe loop to be consistent. My example was approximately 7 inches.
- Twist the Loop. Pinching the slip knot at the base so it doesn’t stretch out, rotate the hook twisting the loop.
- Optionally, use your index finger to twist the loop. If you’re twisting with your finger, remove the hook temporarily and keep the loop secure by holding the end. Then reinsert the hook for the next step.
- Count the number of twists according to your pattern or until the fringe has the desired tightness.
- Complete the Fringe. Fold the twisted loop in half holding taught. I like to place a finger in the middle to hold taught. Work another slip stitch back into the original stitch to secure the twisted fringe.
- Fluff the fringe gently to encourage it to lay nicely and add fullness if desired.
- Continue Adding Fringe
- Slip stitch to the next stitch in your project to begin the next twisted fringe, repeating steps 1–6 for each section. Note. If choosing the spaced fringe, you’ll do one extra slip stitch before working the twisted fringe steps.
Notes
Pattern Notes
Written in US Crochet Terms. Using the same type of yarn helps the fringe flow seamlessly into your project’s edge. However, a different color will help the fringe stand out. Twisted fringe is not cut at all, it is just twisted onto itself. The coiling causes it to naturally twist along itself and stay twisted. The length of the loop and the number of times that you rotate the yarn twist will make a difference in how the final twist will look. Plan on the length of the twisted fringe being about half of the length of loop that you start with. Approximately 3-4 twists per inch.• 4 inches about 12-16 twists.
• 5 inches about 15-20 twists.
• 6 inches about 18-24 twists.
• 7 inches about 21-28 twists.
• 8 inches about 24-32 twists.
• 9 inches about 27-36 twists.
• 10 inches about 30-40 twists. Video showing how to make the twisted fringe

Here are some other free crochet patterns to inspire your next project.

You can find Victoria crocheting, quilting, and creating recipes. She has cooked in restaurants for over 20 years, including many larger parties. She learned to crochet when she was just 11 years old and has been crocheting ever since; over 50 years now. Over 40 years ago, she loved her first class in sewing and continues to hone her skills in quilting. Many have enjoyed the handmade gifts over the years. In her professional career, she has worked in management in a wide variety of businesses including higher education as a dean of a division. All the while attending college part-time to achieve her doctorate in higher education with an emphasis in e-learning.

Thank you for sharing this crochet pattern