Last updated on January 19th, 2026 at 10:20 pm
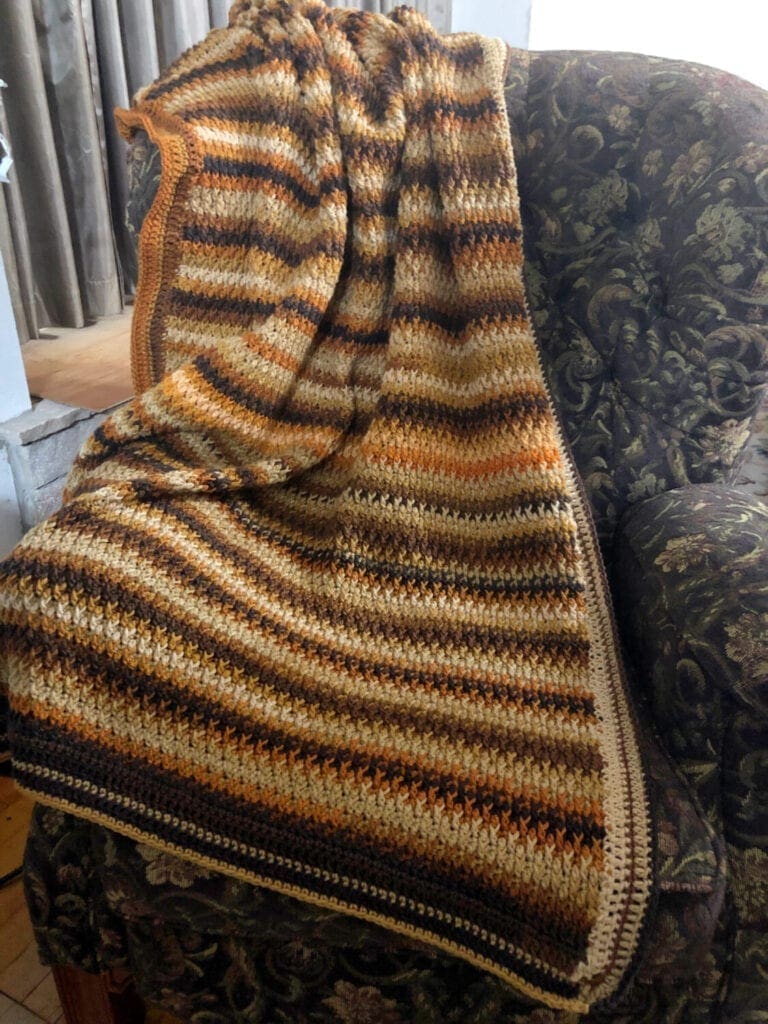
This latte delight crochet blanket pattern is full of texture as it uses the Alpine stitch to achieve this lovely feel. Pairing this crochet stitch with the self-striping yarn makes this pattern a fun project. It builds beautiful texture that feels luxurious and inviting.
The rustic look of the finished blanket is just gorgeous. This pattern has a comforting, old-soul kind of feel to it. Perfect for those who enjoy vintage charm with modern ease. I don’t know about you, but I love a good crochet blanket. This pattern was a lot of fun to create and it works up into a blanket with lots of texture and color.
If you love that retro look, this blanket pattern is for you. It will keep you snuggly warm and it pairs well with earth tones for your home decor. It’s the kind of blanket that makes a statement while still inviting you to curl up with a warm drink and a good book.

Alpine Crochet Stitch
The Alpine crochet stitch is a beautiful combination of the double crochet stitch and front post double crochet. This texture can be used for blankets for adults, baby blankets, lap afghans, hats, shawls, and scarves.
This is so versatile and the look of the colors blending when paired with the texture create a gorgeous look.
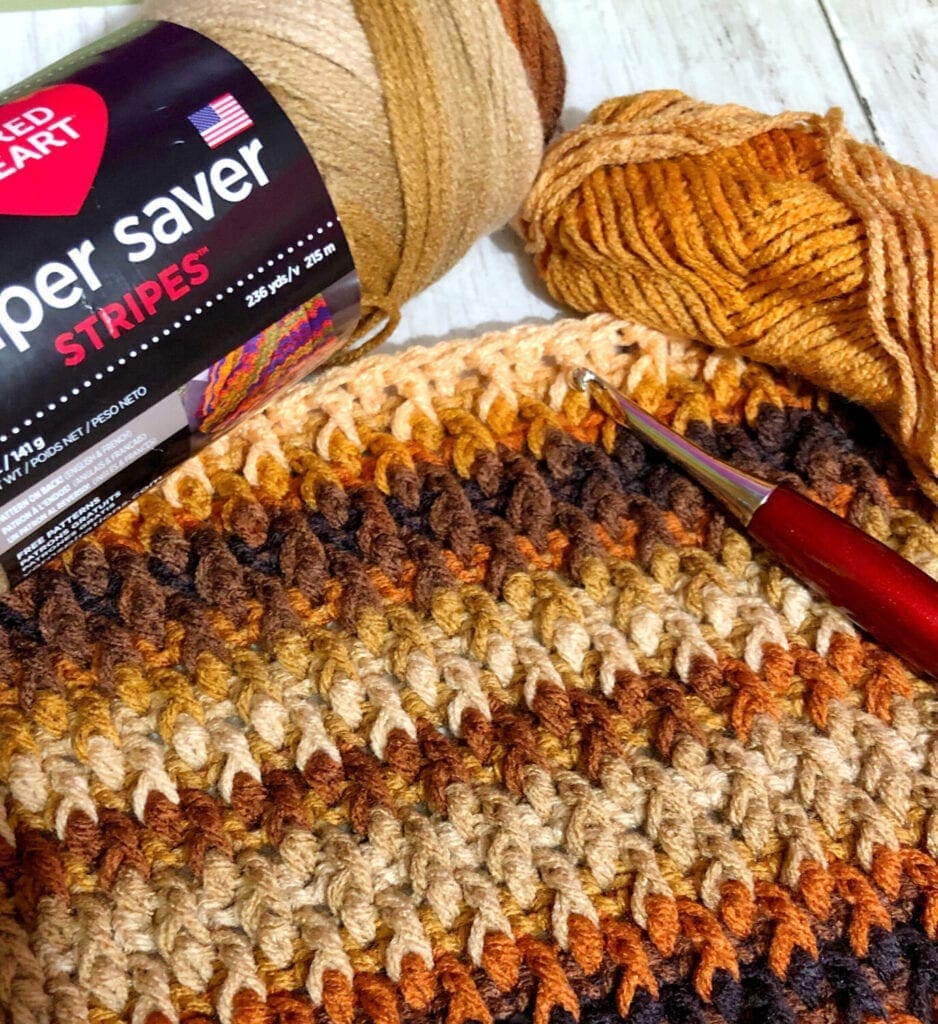
Latte Stripe Yarn
All you do is stitch and let the self-striping colors do all the work. A few weeks ago, I needed to get one skein of Royal Blue Caron Simply Soft yarn for the Bobble Blanket Decked in Blue Pattern. Therefore, I just had to go into the yarn store.
Well, I purchased more yarn than what I needed. I really was trying to stick to just getting the one skein of yarn that I needed.
However, I walked past this Latte Striping yarn; immediately, I could see this yarn made into a blanket using the Alpine Crochet Stitch. This is the result.
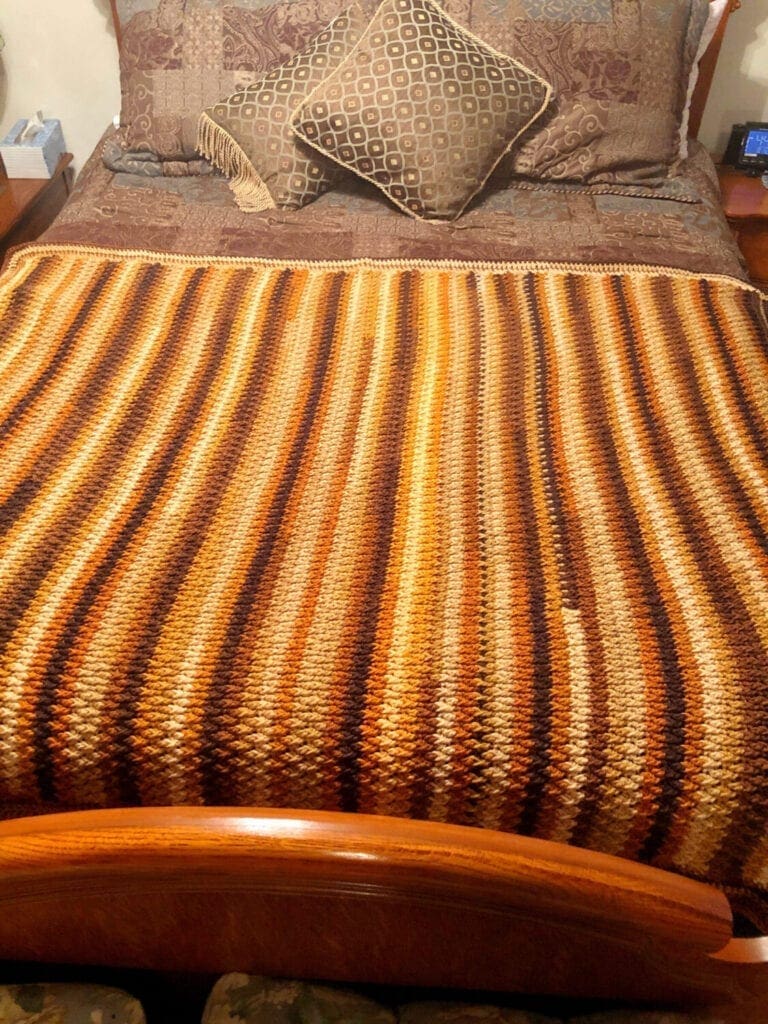
If you are looking for a crochet pattern for a blanket for that male, this would be perfect.
A beautiful thick fabric that drapes beautifully.
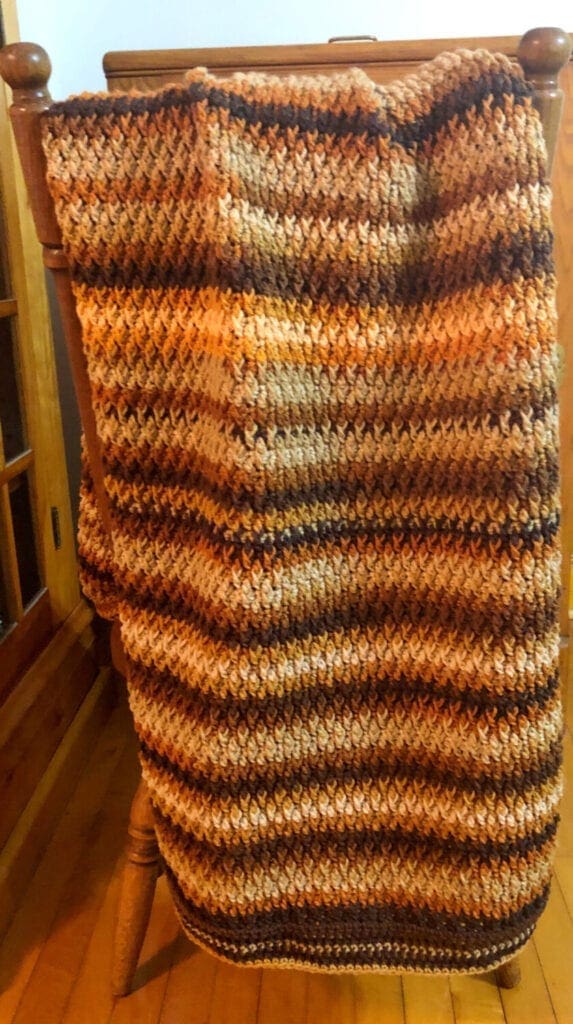
Vintage Crochet Stitch
This crochet stitch is increasing popularity and it’s beautiful texture, the Alpine stitch can be used for many projects. I have a few vintage books that have beautiful crochet blanket patterns using this stitch.
Create the charming texture using the alternating double crochet and extended front post double crochet stitches. Add a row of single crochet in between the double crochet rows and you have a quite easy pattern that is easy to remember.
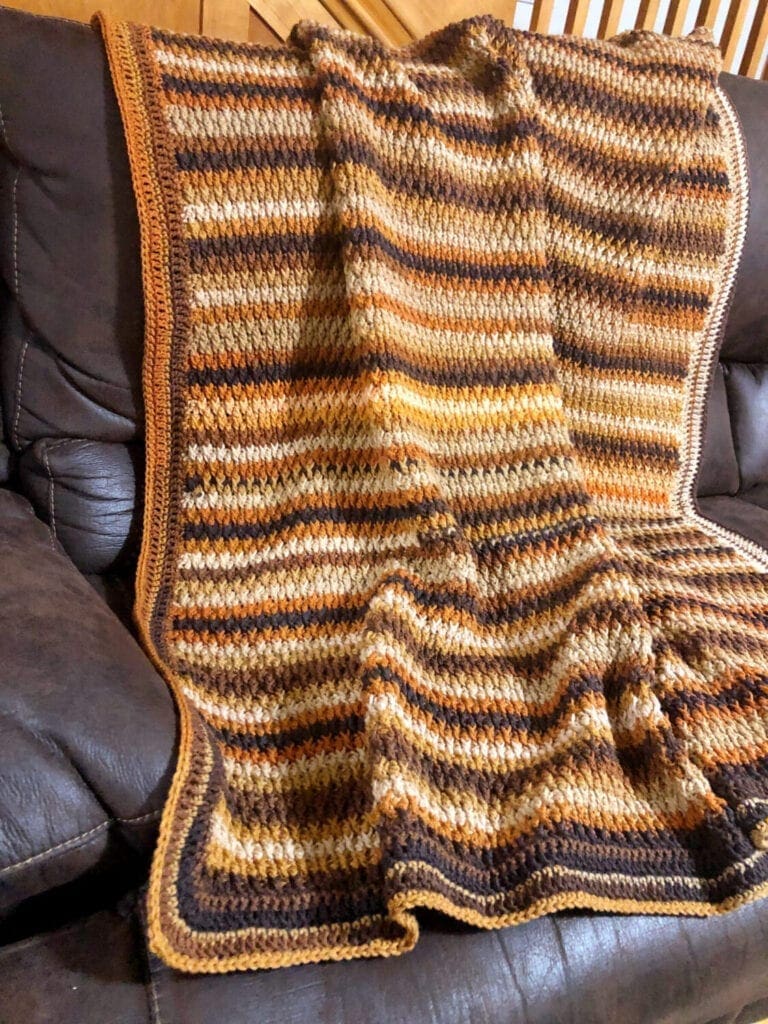
Crochet Stitches Used in the Latte Delight Crochet Blanket
Find crochet tutorials for this and many others.
Below the crochet pattern, there are video tutorials on how to create the Alpine Stitch.
Additionally, this blanket starts with the no chain double crochet. This is a great way to create a solid stitch to support your crochet border. Sometimes, when having just a chain stitch and a double crochet added, it can pull when the round of single crochet is added for the crochet border.
Essentially, when this stitch is used, the chain stitch and first row of double crochet are completed at the same time. If you have never tried this, no worries, there is a video link to the tutorial further down in this post.
Get Your Ad Free Printable PDF in our Etsy Shop
Directions: Latte Delight Crochet Blanket
Skill Level
Intermediate
Gauge
12 Single Crochet X 15 Rows = 4 X 4 inches
Size
52 inches wide X 56 inches long
Changing the size of this blanket is achieve by adding or subtracting any number of stitches. Additionally, the length can be altered by adding or decreasing the rows.
Abbreviations
- CH = Chain Stitch
- DC = Double Crochet
- SC = Single Crochet
- SL ST = Slip Stitch
- ST = Stitch
- FPDC = Front Post Double Crochet
- NCDC = No Chain Double Crochet
- [ ] = repeat between the [ ]
Materials
Latte Strips Red Heart Yarn. Approximately 12 skeins or 2,832 yards.
If you are not able to find this yarn locally, you can find it online. Check out our Savings Center – Pattern Princess for links.
Size J Crochet Hook
Yarn Needle
Scissors
Pattern Notes
This pattern is written in English US Terms.
Turn at the end of each row.
The CH 2 in the Alpine Stitch row counts as a Double Crochet. Because the Alpine stitch height is not as tall as a double crochet, the CH 2 is used at the beginning of the row rather than the normal CH 3.
The CH 2 in the Single Crochet row does not count as a stitch. This helps have a better spot to insert the crochet hook on the next row.
Crochet Stitch Notes
Alpine Stitch Tutorial
There is a couple of rows of set up before you get started on the Alpine Stitch. Start with an even number of stitches, first row chain 1 (does not count as a stitch) single crochet in every stitch across and turn. Row 2, chain 2 (counts as first DC) and double crochet in each stitch across and turn. Next, Row 3, chain 1 (does not count as a stitch) single crochet in every stitch across and turn. Row 4, chain 2, [front post double crochet in the next stitch, double crochet in the next stitch] Repeat between [ ] across end with a double crochet. Repeat rows 3 and 4.
- When repeating rows 3 and 4, if the stitch below is a DC, then FPDC in the ST SP, if it is a FPDC, then DC in the ST SP. In other words, every time there is a DC, you work a FPDC, every time there is a DC, work a FPDC. Alternating those two stitches across the row.
- The next row is a SC.
Front Post Double Crochet (FPDC)
Front post stitches are raised crochet stitches on the surface of the fabric facing you. Note: Because a post stitch is shorter than a normal stitch, you make the turning chain with one chain stitch less than the normal turning chain requires. Yarn over, insert the hook from front to back between the posts of the first and second double crochet of the row below. Then insert the hook from the back to the front between the posts of the second and third stitches. (The hook should now be positioned horizontally behind the double crochet that you are working around). Yarn over, pull the yarn around the post of the stitch. There should now be 3 loops on the hook. Yarn over, pull the yarn through 2 loops on the hook. Lastly, yarn over again and pull through the last two loops on the hook.
Prevent Curling
The key to prevent curling of this stitch is to make sure that you do not crochet tightly. Bring up the yarn when working those extended front post double crochet stitches. If you can loosen up your tension, that will also help as well. However, if you still have any unwanted curling, you can try using a larger crochet hook. Note, that will change the size of the blanket.
For those of you that do not like weaving your yarn ends in, this crochet project is for you. With this self striping yarn, it is perfect for joining your yarn with a secure knot and continue crocheting whenever you run out of a skein of yarn. This way, there are only the beginning and ending yarn pieces to weave in. Here is a quick video tutorial on how to make this easy knot.
Directions
Begin with 140 No Chain Double Crochet. Turn
(If you prefer to work the chain stitch first, just chain 143 Stitches and work a double crochet in the back bump starting in the 4th chain from the hook).
Row 1
CH 2 (counts as DC). Work the Alpine stitch across (which is alternating between the FPDC and DC). End with a DC in the last ST. Turn
Row 2
CH 2 (does not count as a ST). SC in the same ST and each ST across. Turn
Row 3
CH 2 (counts as DC). Work the Alpine stich across (in this row the DC is worked in the previous row FPDC and the FPDC is worked in the previous row DC ST). End with a DC in the last ST. Turn
Row 4
CH 2 (does not count as a ST). SC in the same ST and each ST across. Turn
Row 5
CH 2 (counts as DC). Work the Alpine stitch across (which is alternating between the FPDC and DC). End with a DC in the last ST. Turn
Rows 6 – 155
Row 155 should be a Alpine Stitch row.
Continue alternating between the SC row and the Alpine ST rows.
Crochet Border
Round 1
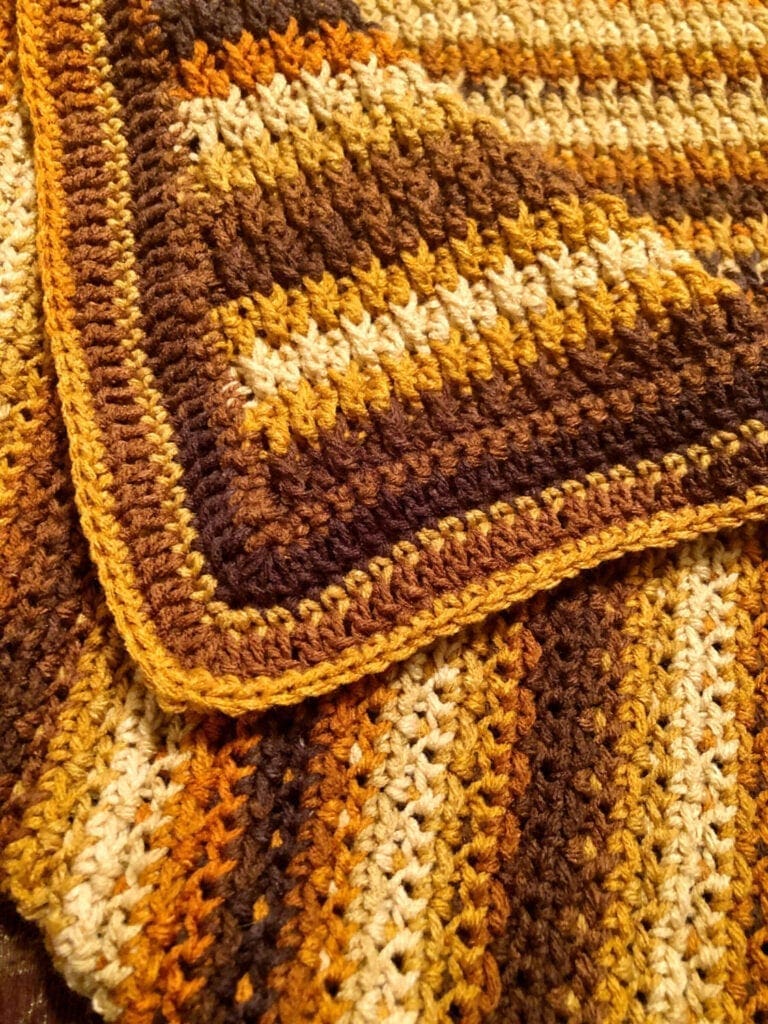
Continue with the yarn and crochet row 156 the SC row. Continue crocheting a SC in each ST around with 3 SC in each corner ST. Note: when working the sides of the blanket, I was able to get 2 SC in each of the rows. Join with a SL ST to the initial CH ST of row 156.
Round 2
For this round and the rest of the rounds, make sure that the Alpine Stitch side of the blanket is facing you.
CH 3, DC in each ST around with 3 DC in each corner ST. SL ST into the top CH of the first CH 3.
Round 3
CH 1, SC in each ST around with 3 SC in each corner ST. SL ST into the first CH 1 ST.
Round 4
CH 3, DC in each ST around with 3 DC in each corner ST. SL ST into the top CH of the first CH 3.
Round 5
CH 1, SC in each ST around with 3 SC in each corner ST. SL ST into the first CH 1 ST.
Alpine Stitch Tutorial on our You Tube Channel
Front Post Double Crochet Video Tutorial
No Chain Double Crochet Video Tutorial
If you loved this post, please share. It helps to show me that these types of posts are helpful – thank you!
I hope that you liked this pattern. If you are looking for more ideas for crocheted projects, here are a few others you may enjoy.

You can find Victoria crocheting, quilting, and creating recipes. She has cooked in restaurants for over 20 years, including many larger parties. She learned to crochet when she was just 11 years old and has been crocheting ever since; over 50 years now. Over 40 years ago, she loved her first class in sewing and continues to hone her skills in quilting. Many have enjoyed the handmade gifts over the years. In her professional career, she has worked in management in a wide variety of businesses including higher education as a dean of a division. All the while attending college part-time to achieve her doctorate in higher education with an emphasis in e-learning.

My blanket is leaning to the right! Like a trapezoid. I havent added or subtracted any stitches; it’s 140. Cant say my tension didnt change. Will blocking fix it? ?
Hum, that is odd. I am not sure that blocking will fix it. Did you count the stitches for each row? Just wondering if there is a stitch added on one side and reduced on one side somehow. Maybe try working a smaller swatch and see what happens. So sorry to hear that it is leaning to the right.
Pingback: 11 Stylish and FREE Useful Crochet Blanket Pattern images for Beginners - Daily Crochet!
Pingback: Original Textured Crochet Throws - Pattern Center