Last updated on January 19th, 2026 at 09:44 pm
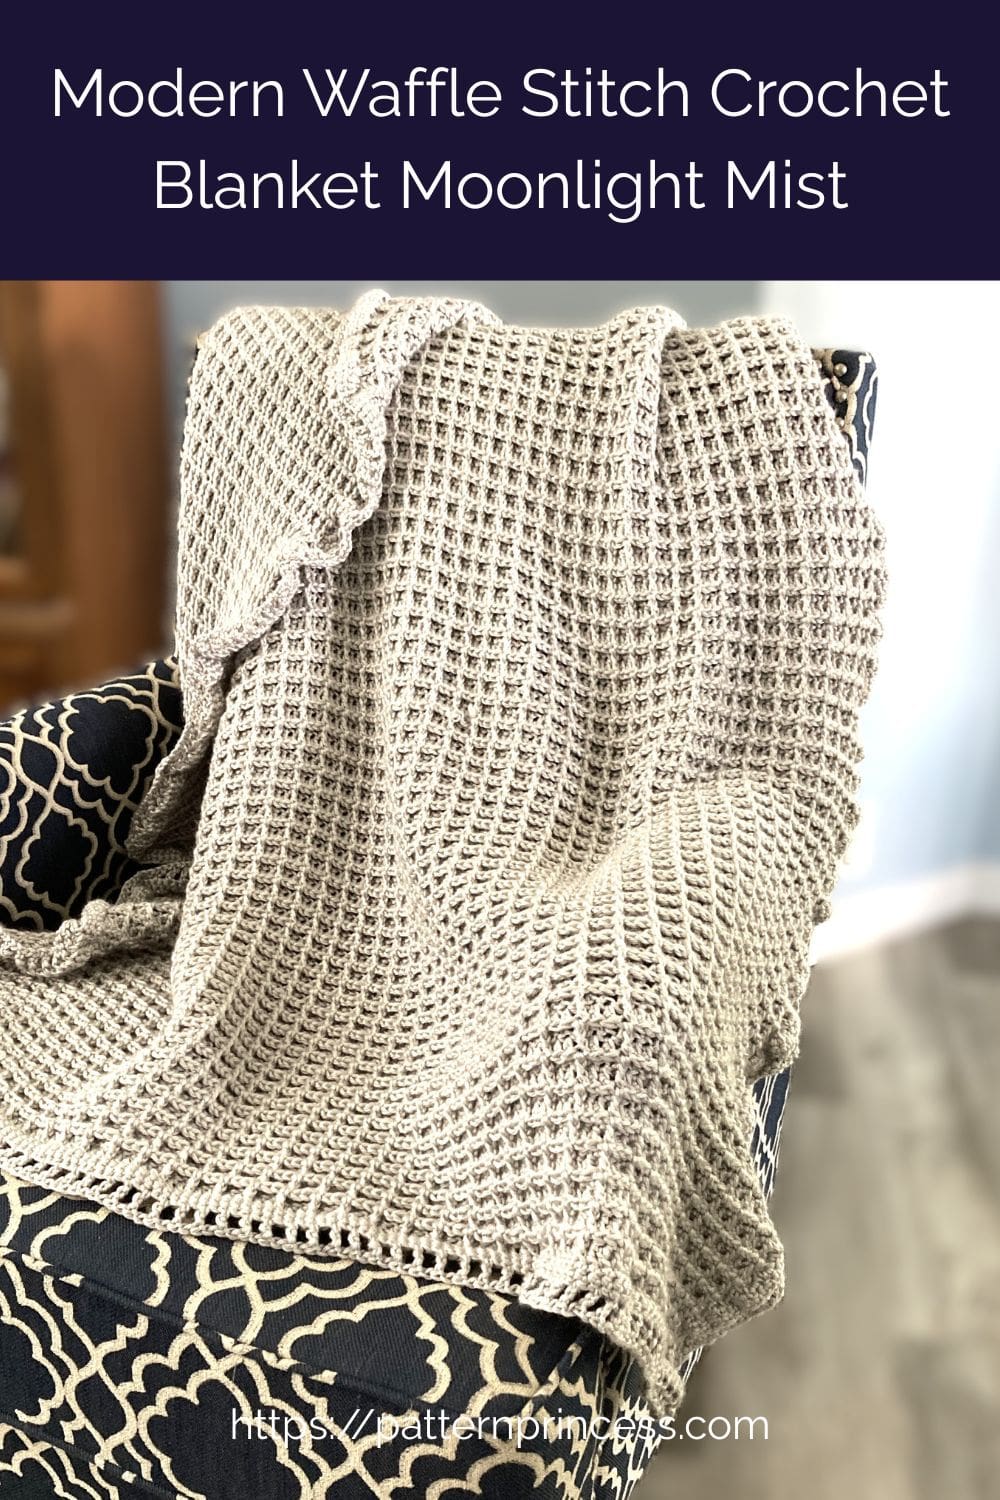
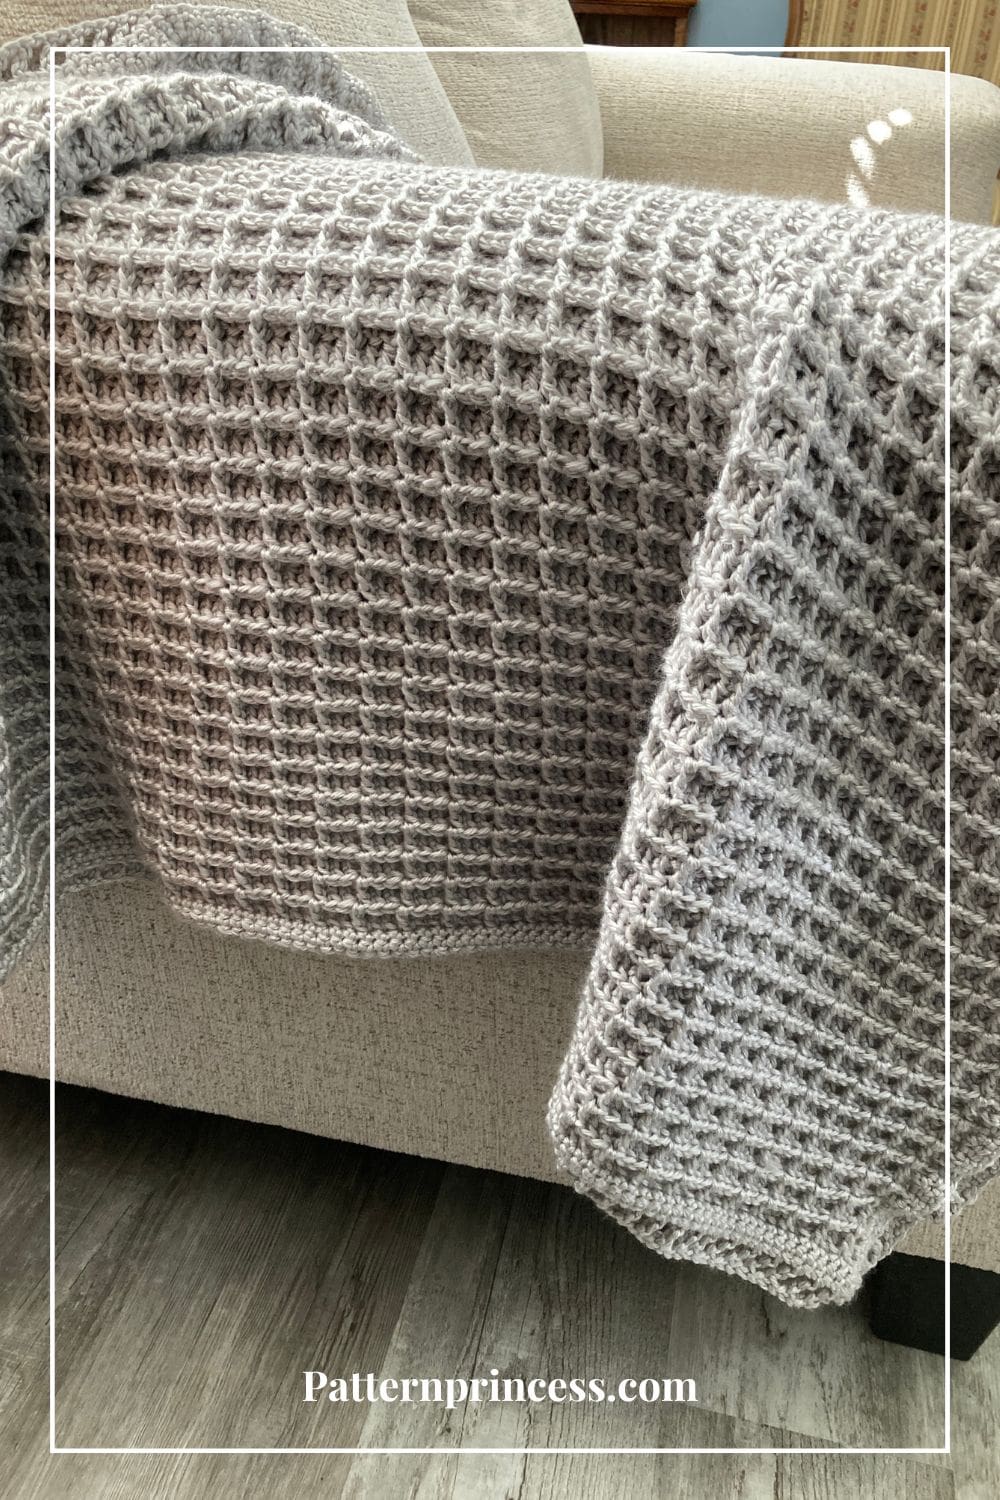
The Modern Waffle Stitch Crochet Blanket: Moonlight Mist is a timeless, textured design that’s as cozy as it is stylish. If you love a blanket that’s soft, squishy, and full of texture, you’re going to fall in love with this one. With its deep waffle-like ridges and squishy softness, this blanket is perfect for adding warmth and comfort to your home.
The waffle stitch looks impressive, but it is surprisingly simple once you get the hang of it. Create a thoughtful handmade gift or make this cozy pattern for yourself.
It’s a relaxing crochet project. This stitch pattern is quickly becoming one of our favorites. Ideal for snuggling on the couch and watching a good movie with the family.
Crochet Pattern in Five Sizes
This free crochet pattern comes in five sizes, making it easy to create the blanket that fits your needs best. Using medium weight yarn, the stitch creates a nice, cozy drape without feeling too heavy. Perfect for year-round comfort.
And don’t worry if the waffle stitch looks tricky. There are photo tutorials to walk you through each step. Plus, video tutorials for both left and right-handed crocheters. Once you get started, you’ll be surprised how quickly the stitch becomes second nature.
Grab your favorite yarn, settle in with your hook, and let’s make this cozy Moonlight Mist Blanket together. It’s a project you’ll enjoy working on just as much as you’ll enjoy using once it’s finished.
Get Your Ad Free Printable PDF in our Etsy Shop
Directions: Modern Waffle Stitch Crochet Blanket Moonlight Mist
Skill Level
Advanced Beginner
Gauge
Approximately 16 stitches and 10 rows in 4” x 4” of stitch pattern.
Size
*Sizes include a 1 ½ inch border.
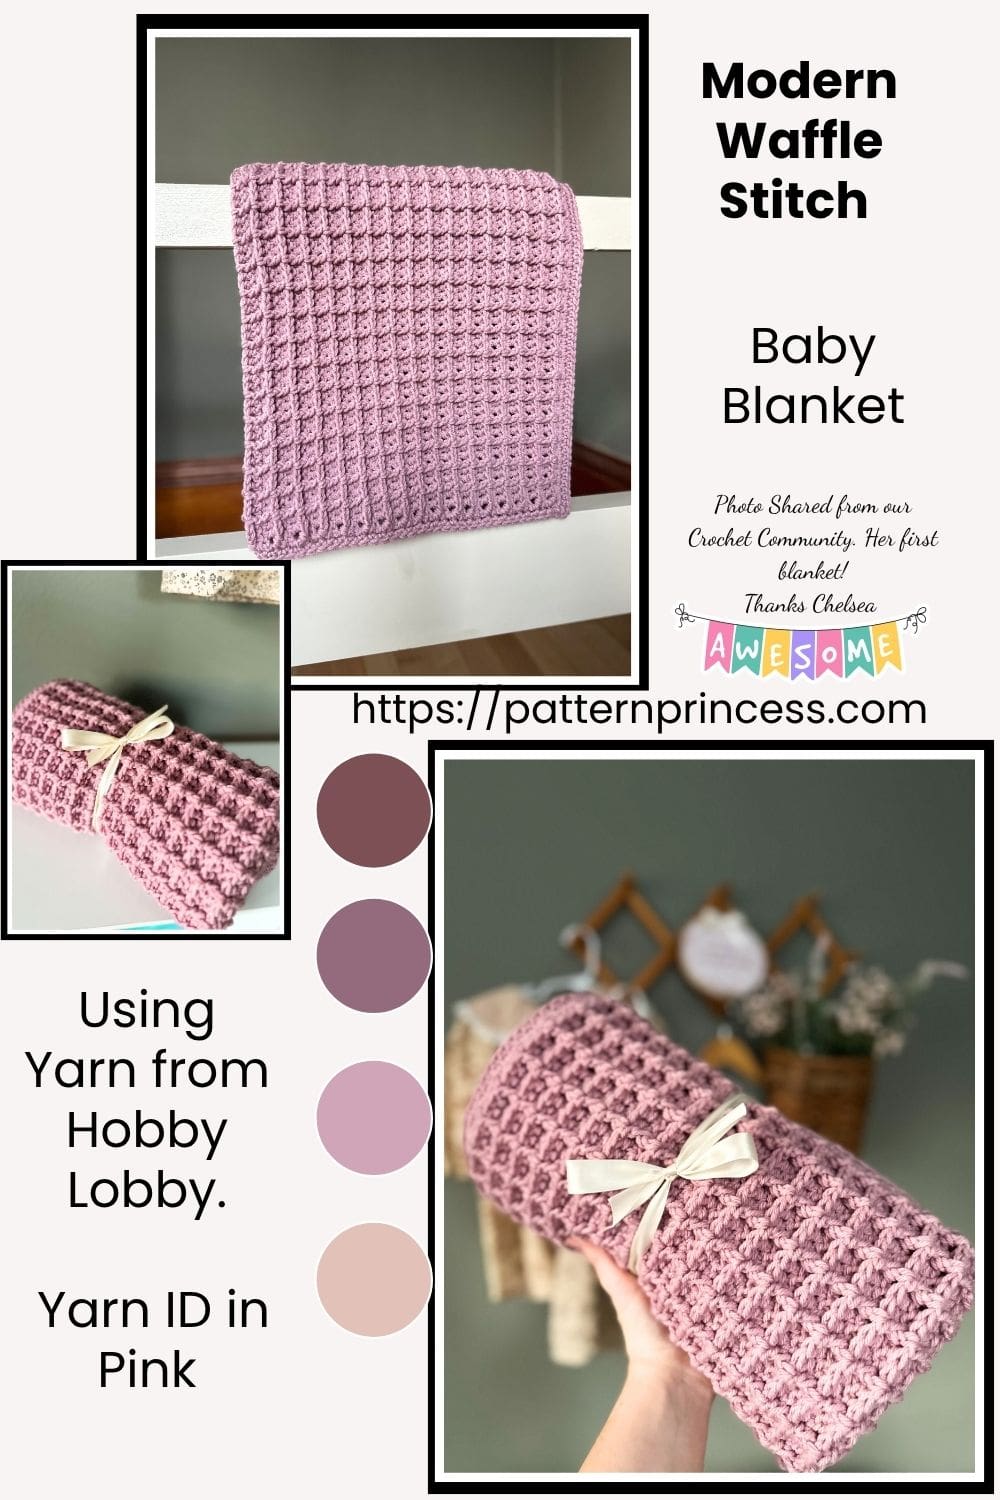
- Baby Blanket: 30” X 30”
- Toddler Blanket or Lapghan: 43″ x 53″ (shown)
- Small Throw Blanket: 52″ x 60″
- Medium Throw Blanket: 54″ x 70″
- Large Throw Blanket: 60″ x 72
Make your project wider or narrower by using stitch multiples of 3. Change the length by adding or decreasing rows.
Materials
Furls Fiber Arts Wander Acrylic Yarn #4 medium weight, 120 yards each skein. In the color Moonbeam.
- Baby Blanket: 30” X 30”, 810 yards or 7 skeins.
- Toddler Blanket or Lapghan: 43″ x 53″ (shown), 2,040 yards or 17 skeins.
- Small Throw Blanket: 52″ x 60″, 2,808 yards or 25 skeins.
- Medium Throw Blanket: 54″ x 70″, 3,780 yards or 29 skeins.
- Large Throw Blanket: 60″ x 72″, 3,888 yards or 33 skeins.
If you are not able to find this yarn locally, you can purchase it online. We have links to Furls Fiber Arts on Savings Center – Pattern Princess
Size I 5.5mm crochet hook
Tapestry needle
Scissors

Abbreviations
- CH = Chain
- DC = Double Crochet
- FPDC = Front Post Double Crochet
- SK = Skip
- ST = Stitch
- STs = Stitches
- TC = Treble Crochet
- YO = Yarn Over
- [ ] = Repeat Between
Pattern Notes
Written in US Terms.
Turn at the end of each row.
You may choose to practice the pattern on a small swatch before beginning a larger project.
There are photo tutorials and video tutorials after the written pattern.
This pattern uses the magic knot join to attach the yarn as new skeins were added. If you are not familiar with this method, you can get all the details in our blog post on Mastering How to Join Yarn: A Comprehensive Guide.
Crochet Stitches Used
Chain Stitch (CH ST)
Begin the chain stitch by making a slip knot on the crochet hook. Leave about a 5-inch tail on the yarn. This will be weaved in later.
Next snug up the yarn loop that is on the crochet hook; while it should be firm, it should also be loose enough to slide on the hook with ease.
Keeping the loop on the hook, insert the hook in the stitch, wrap the yarn over the crochet hook from back to front. Draw the yarn through the loop. (The first chain stitch is complete).
HOW TO CROCHET THE CHAIN STITCH video tutorial

Double Crochet (DC)
Yarn over, insert the hook through both loops and pull up a loop. Next, yarn over and pull through two loops on the hook. Lastly, yarn over again and pull through the last two loops on the hook.
HOW TO CROCHET THE DOUBLE CROCHET STITCH video tutorial
Front Post Double Crochet (FPDC)
Front post stitches are raised crochet stitches on the surface of the fabric facing you. Note: Because a post stitch is shorter than a normal stitch, you make the turning chain with one chain stitch less than the normal turning chain requires. Yarn over, insert the hook from front to back between the posts of the first and second double crochet of the row below. Then insert the hook from the back to the front between the posts of the second and third stitches. (The hook should now be positioned horizontally behind the double crochet that you are working around). Yarn over, pull the yarn around the post of the stitch. There should now be 3 loops on the hook. Yarn over, pull the yarn through 2 loops on the hook. Lastly, yarn over again and pull through the last two loops on the hook.
HOW TO CROCHET THE FRONT POST DOUBLE CROCHET video tutorial
Treble Crochet Stitch
Yarn over twice, insert the hook through both loops and pull up a loop. Next, yarn over and pull through two loops on the hook. Yarn over again and pull through the next two loops. Lastly, yarn over again and pull through the last two loops on the hook.
TREBLE CROCHET AND TREBLE CROCHET TWO TOGETHER
Begin Crochet Pattern
Begin the chain stitch by making a slip knot on the crochet hook.
Crochet your desired number of stitches using multiples of 3.
* Reminder, the beginning size of the blanket will be 3 inches narrower and shorter than the final size if adding a border.
- Baby Blanket: 108 chain stitches
- Toddler Blanket or Lapghan: 162 chain stitches
- Small Throw Blanket: 198 chain stitches
- Medium Throw Blanket: 204 chain stitches
- Large Throw Blanket: 228 chain stitches
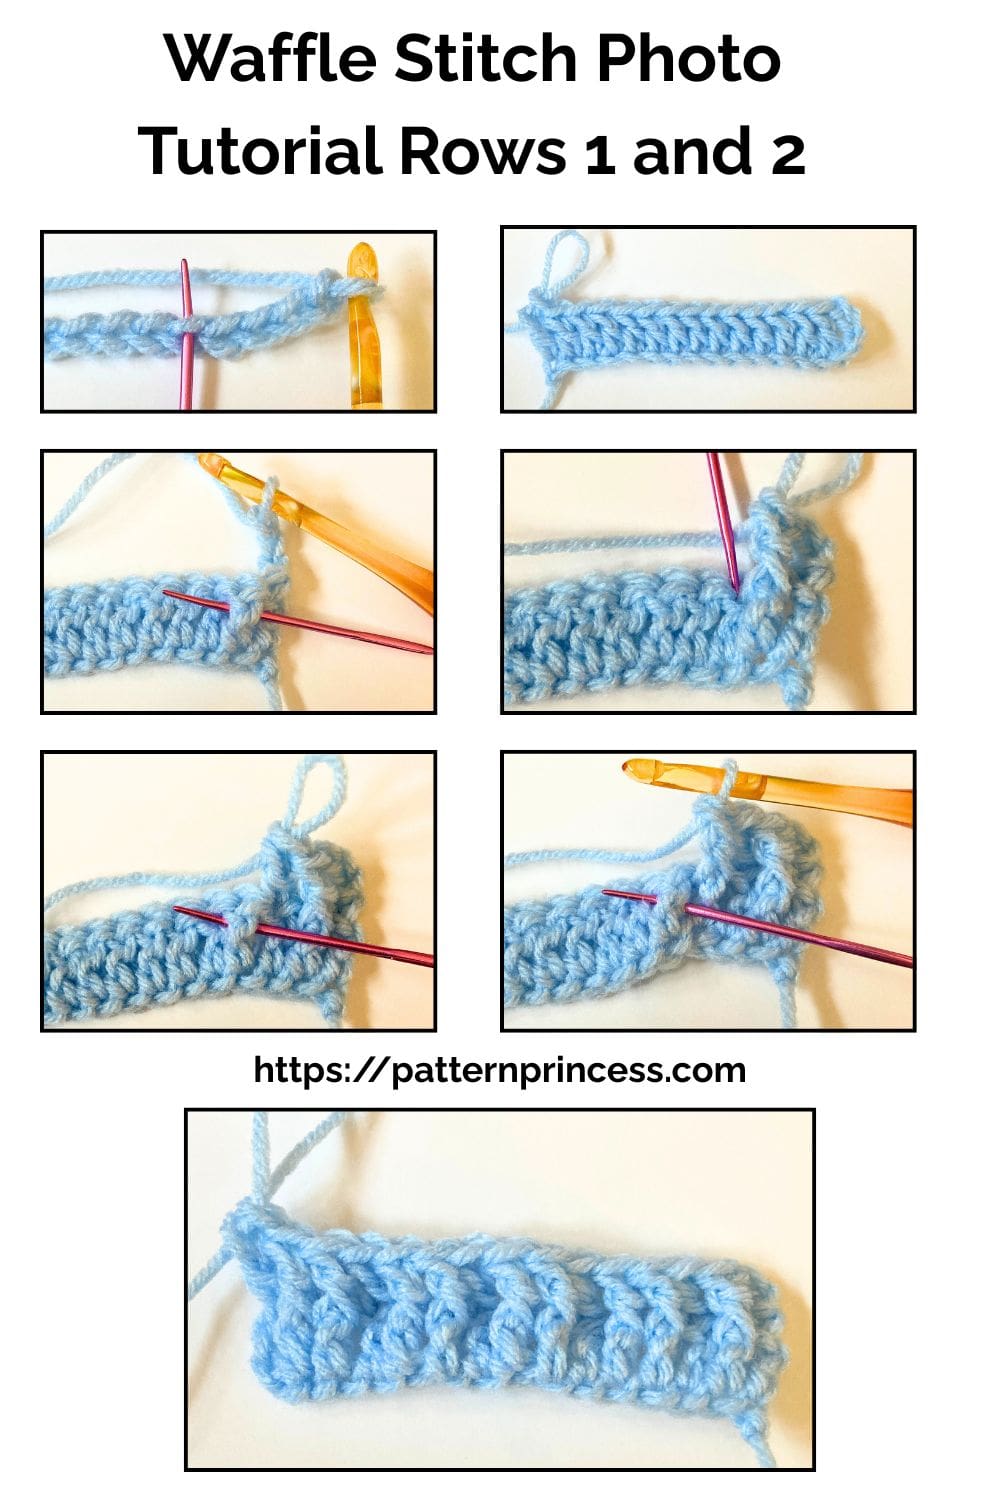
Row 1
In the 5th CH from the hook, work a DC and in each stitch across the row. Turn
Row 2
CH 3 (Counts at the first ST). In the second ST work a FPDC. In the 3rd ST work DC. [1 FPDC, 1 FPDC, 1 DC] Continue working the three stitches across between [ ]. Ending with a DC in the last ST (Which is the top CH of the previous row). Turn

Row 3
CH 3 (Counts as the first ST). In the 2nd ST work a DC, in the 3rd ST, work a DC. For the rest of the row, thinking in groups of 3 work [1 FPDC, 1 DC, 1 DC] Repeat the three stitches across between [ ]. Ending with a DC ST in the top CH of the first CH 3 of the previous row. Turn
Row 4
Repeat Row 2
Row 5
Repeat Row 3
Row 6 and Beyond
Continue repeating rows 2 and 3.
- Baby Blanket: 68 rows
- Toddler Blanket or Lapghan: 135 rows
- Small Throw Blanket: 142 rows
- Medium Throw Blanket: 168 rows
- Large Throw Blanket: 173 rows

Crochet Border
Round 1
In any corner join the yarn, CH 1(Does not count as a ST). Work 3 SC in the corner and the other 3 corners and 1 SC in each ST around. Join with a SL ST.
Note. Work 1 SC in the top and bottom STs and for the sides, ease the stitches around. I found crocheting 2 STs in one space and 1 in the next worked for me.
At the end of round 2, you’ll want to have an odd number of stitches on the top, bottom, and sides for round 3 to work out.
Round 2
CH 1 (Doesn’t count as a ST). Continue working 1 SC in each ST with 3 SC in each corner. Join with a SL ST.
Round 3
In the first corner, CH 4 and work 3 more TC in the same corner ST. [CH 1, SK 1, TC in the next ST, CH 1, SK 1]. Continue to repeat this pattern around working 3 TC in each corner. Join with a SL ST.
Here are the stitch numbers for the 3rd row for the size I made. The Toddler Blanket or Lapghan.
73 TC and 74 CH Spaces top and bottom with 3 in each corner. 147 STs total. Plus, the corner stitches.
155 TC and 156 CH spaces on the sides. 311 STs total. Plus, the corner stitches.
Finishing
After you work the last SC ST, cut off the yarn leaving about a 12-inch long tail. Pull the yarn tail through the last loop on the hook.
Thread the yarn needle with the yarn tails and weave them through the crochet stitches back and forth until the yarn feels secure. Snip off the excess yarn.
If you are a beginner crocheter, you can find more detail on finishing your crochet project on the website.
New to the Waffle Stitch?
I put together a full tutorial. Learn How to Crochet the Waffle Stitch: Free Pattern – Pattern Princess
Visual Tip. Take a look at the photos below to see how you can “read” your stitches. Notice how some stitches are pushed back (those get a regular dc) and others pop forward (those get a fpdc). Once you spot the texture difference, keeping track of your waffle stitch pattern becomes second nature!
How to “Read” Your Stitches in the Waffle Stitch Pattern
One of the best tricks for working the waffle stitch is learning to “read” your stitches by how they sit in the row below. This becomes especially useful once you’re into the row repeat, like on Row 3 and beyond.
- If the stitch from the previous row looks pushed back or flat, that’s a front post double crochet (FPDC) from the row below. In the current row, you’ll work a regular double crochet (dc) into the top of that stitch.
- If the stitch looks raised or pushed forward toward you, it was a regular double crochet in the previous row. In this row, you’ll work a front post double crochet (FPDC) around the post of that stitch.
Think of it like alternating raised bricks and recessed mortar lines—your FPDCs create that lovely textured grid, and your dc stitches fill in the rest. Once you see the pattern, it becomes easy to follow without constantly counting!
Crochet Video Tutorials of the Waffle Stitch Crochet pattern
We hope that you have enjoyed this lovely crochet pattern.

You can find Victoria crocheting, quilting, and creating recipes. She has cooked in restaurants for over 20 years, including many larger parties. She learned to crochet when she was just 11 years old and has been crocheting ever since; over 50 years now. Over 40 years ago, she loved her first class in sewing and continues to hone her skills in quilting. Many have enjoyed the handmade gifts over the years. In her professional career, she has worked in management in a wide variety of businesses including higher education as a dean of a division. All the while attending college part-time to achieve her doctorate in higher education with an emphasis in e-learning.