
These quick homemade burger buns come together in less than an hour, making them an easy choice whenever you want fresh bread without a long wait.
Making homemade burger buns doesn’t have to be an all-day baking project.
The dough is simple to mix, doesn’t require a traditional first rise, and needs only a short rest before going into the oven. The result is a batch of soft, golden buns with a tender crumb and a classic sesame seed topping.
They’re delicious with homemade burgers, but don’t stop there. These buns are also perfect for pulled pork, sloppy joes, grilled chicken, sandwiches, and sliders.
Why Make Homemade Burger Buns?
There are plenty of good reasons to make your own buns at home, especially when the recipe is this quick.
- No long rising time. The dough goes straight from kneading to shaping.
- Fresh from the oven. Nothing compares to the smell and texture of freshly baked bread.
- Soft enough for burgers. These buns are tender but sturdy enough to hold a juicy burger and all your favorite toppings.
- Simple pantry ingredients. You don’t need anything fancy to make them.
- Easy to make by hand. A stand mixer is convenient, but you can knead the dough yourself.
- Freezer friendly. Bake a batch now and save some for another meal.

Quick Homemade Burger Buns Recipe
As an Amazon Associate I earn from qualifying purchases.
Kitchen Essentials


Ingredients
Dough
- 2 Tablespoons Active Dry Yeast
- 1 Cup Plus 2 Tablespoons Warm Water about 110°F
- ⅓ Cup Vegetable Oil Neutral oil
- ¼ Cup Granulated Sugar
- 1 Large Egg beaten
- 1 Teaspoon Fine Salt
- 3 to 3 ½ Cups All-Purpose Flour
Topping
- 1 Egg Yolk
- 1 Tablespoon Water
- 2 Tablespoons Sesame Seeds
text ingredients
Instructions
- Add the warm water and active dry yeast to the bowl of a stand mixer. Add the vegetable oil and sugar. Stir briefly and let the mixture stand for 5 minutes, until foamy.2 Tablespoons Active Dry Yeast, 1 Cup Plus 2 Tablespoons Warm Water, ⅓ Cup Vegetable Oil, ¼ Cup Granulated Sugar
- Add the beaten egg, salt, and 3 cups of flour. Using the dough hook, knead on medium-low speed for 3 to 5 minutes, until the dough is smooth and elastic. If it is still too sticky, add the remaining flour a tablespoon at a time until the dough is soft and workable.1 Large Egg, 1 Teaspoon Fine Salt, 3 to 3 ½ Cups All-Purpose Flour
- Transfer the dough to a clean work surface. Divide it into 8 equal pieces and shape each piece into a smooth ball. There is no need for a traditional first rise.
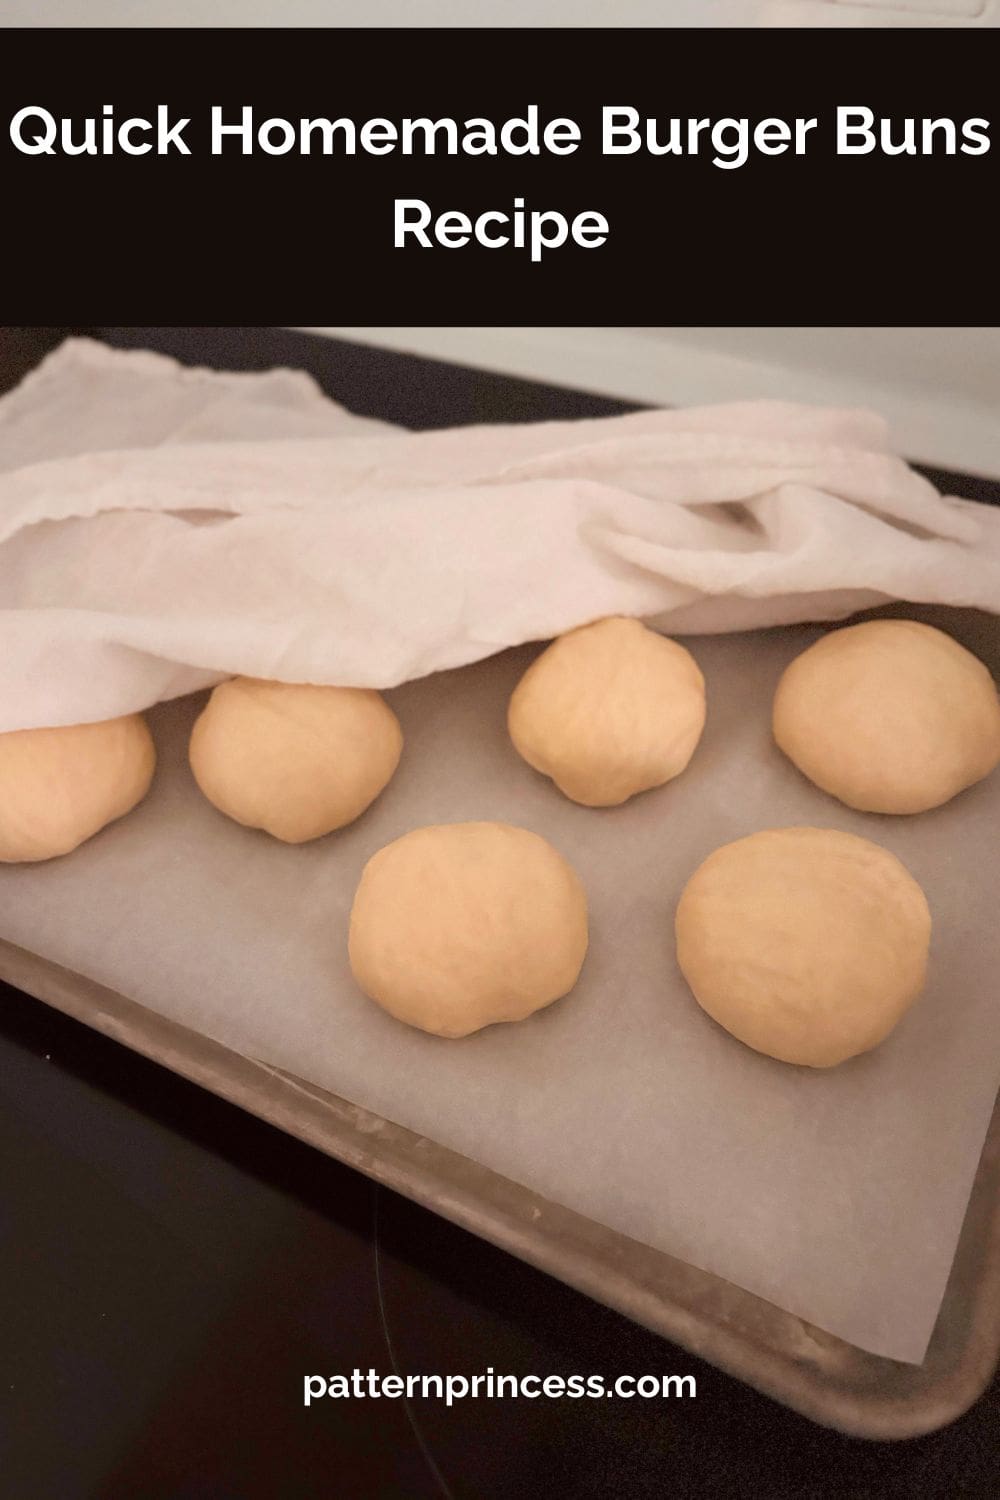
- Arrange the dough balls on a parchment-lined baking sheet, leaving space between each one. Cover loosely with a clean kitchen towel and let rest for 10 minutes. During this time, preheat the oven to 425°F.
- Whisk the egg yolk with 1 tablespoon of water. Brush the tops of the rested buns with the egg wash, then sprinkle generously with sesame seeds.1 Egg Yolk, 1 Tablespoon Water, 2 Tablespoons Sesame Seeds
- Bake on the center rack for 8 to 12 minutes, until the buns are puffed and golden brown.
- Transfer the buns to a wire rack and let cool before slicing.
Your Own Private Notes
Notes
Recipe Notes
Flour: Begin with 3 cups of flour and add additional flour only as needed. Avoid adding too much, as this can make the buns dense. By hand: If you don’t have a stand mixer, knead the dough by hand for approximately 5 to 7 minutes. Toppings: Sesame seeds can be replaced with poppy seeds or everything bagel seasoning. Storage: Store cooled buns in an airtight container at room temperature for up to 3 days or freeze for up to 3 months.Nutrition
A few of my favorite things
The Power of Positivity
Tips for Making the Best Burger Buns
Use the right water temperature
The water should be warm but not hot, around 110°F. Water that is too hot can damage the yeast, while water that is too cool may not activate it properly.
After combining the water, yeast, oil, and sugar, give the mixture about 5 minutes to become bubbly and foamy. This quick check is worthwhile because it lets you know your yeast is active before you continue.
Add the flour gradually
Start with 3 cups of flour and only add more if the dough needs it.
You may need some or all of the remaining ½ cup, but try not to automatically add it all. Flour absorbs moisture differently depending on the brand, how it is measured, and the conditions in your kitchen.
The finished dough should feel soft and elastic. Adding too much flour can result in buns that are heavier and less tender.
Give the dough a good knead
The dough needs enough kneading to develop its structure. With a stand mixer, 3 to 5 minutes on medium-low speed should do the job.
If you’re working by hand, knead the dough for about 5 to 7 minutes on a lightly floured surface.
You’ll know it’s getting there when the dough becomes smoother and more elastic.
Shape the dough into smooth balls
Once the dough is divided into 8 portions, take a moment to shape each piece well. Pull the edges of the dough underneath and pinch them together slightly to create a smooth, rounded top.
This helps the buns bake into attractive, evenly shaped rounds.
Don’t skip the short resting time
These buns don’t need a traditional first rise, but they do need a 10-minute rest after shaping.
That brief rest gives the dough time to relax and puff slightly before baking. It also makes this a convenient time to get the oven heated and prepare the egg wash.
Watch the buns closely near the end
At 425°F, these buns bake fairly quickly. Start checking them after about 8 minutes.
You’re looking for a rich golden color on top. Because ovens vary, some batches may need closer to 12 minutes.

Easy Ways to Change Up the Buns
Once you have the basic dough down, there are several easy ways to make these buns fit whatever you’re serving.
Everything Seasoning
Replace the sesame seeds with everything bagel seasoning for a flavorful topping. This is especially good for breakfast sandwiches and chicken sandwiches.
Poppy Seed Buns
Use poppy seeds instead of sesame seeds for a classic variation. You can also combine poppy and sesame seeds.
Garlic and Herb Buns
Add a little garlic powder and dried herbs to the dough, or brush the finished buns with melted garlic-herb butter while they’re still warm.
These would be especially good with grilled chicken or Italian-inspired sandwiches.
Cheesy Burger Buns
Sprinkle shredded cheddar, Monterey Jack, or another favorite cheese over the egg wash before baking. The cheese melts and browns on top as the buns bake.
Smaller Slider Buns
Turn this recipe into slider buns by dividing the dough into 12 to 16 portions rather than 8.
Shape the smaller portions into balls and arrange them on the baking sheet with room between them. Begin checking them early, since smaller buns will generally bake more quickly.
What Can You Serve on Homemade Burger Buns?
Of course, the obvious choice is a juicy hamburger, but homemade buns can be used for just about any sandwich that needs a soft, sturdy roll.
Some of our favorite ideas include:
- Cheeseburgers
- Bacon burgers
- Turkey burgers
- Chicken sandwiches
- Pulled pork
- Sloppy joes
- BBQ chicken
- Grilled sausage
- Breakfast sandwiches
- Shredded leftover beef or chicken
For a backyard barbecue, pair the burgers with coleslaw, potato salad, pasta salad, baked beans, corn on the cob, or fresh vegetables.
And if you have leftover buns, don’t worry. They’re just as useful for lunch the next day.
How to Store Homemade Burger Buns
Let the buns cool completely before storing them.
Place them in an airtight container or resealable plastic bag and keep them at room temperature for up to 3 days.
For the best texture, avoid refrigerating homemade bread unless you need to. The refrigerator can cause bread to become stale more quickly.
If the buns aren’t quite as soft the next day, warm them briefly in the oven before serving.
How to Freeze Homemade Burger Buns
These buns are easy to freeze, so consider making a double batch if you know you’ll use them later.
Cool the buns completely, then place them in a freezer-safe bag or airtight container. If you’re stacking them, separate the layers with parchment paper so individual buns are easier to remove.
Freeze for up to 3 months for the best quality.
When you’re ready to use them, thaw the buns at room temperature. For a fresh-from-the-oven texture, warm them in a 300°F oven for several minutes before serving.
Can I Make These Without a Stand Mixer?
Yes. A stand mixer is simply a convenient way to knead the dough, but you can easily make these burger buns by hand.
Combine the ingredients in a large mixing bowl, then turn the dough onto a lightly floured countertop. Knead for approximately 5 to 7 minutes, until the dough is smooth and elastic.
Keep additional flour nearby, but use it sparingly. A soft dough will give you softer buns.

Why Didn’t My Buns Rise?
Since these buns don’t have a traditional first rise, you won’t see a dramatic doubling of the dough before baking. The dough gets its rise during the short rest and in the oven.
If your finished buns are unusually flat or dense, start by checking the yeast. Make sure it was fresh and that the water wasn’t too hot or too cold.
Too much flour can also make the dough heavy, while insufficient kneading can prevent the dough from developing the structure it needs.
Can I Make These Ahead of Time?
Absolutely. You can bake the buns earlier in the day and keep them covered at room temperature until you’re ready to serve them.
For longer-term preparation, freezing is the better option. Once the buns have cooled completely, freeze them and thaw them when needed.
A few minutes in a warm oven before dinner will help restore that fresh-baked texture.
A Quick Homemade Bread Recipe for Any Day of the Week
Homemade bread is one of those things that can seem intimidating until you find a recipe that fits into your schedule.
These quick burger buns are a good one to keep in your recipe collection because you don’t need to start planning hours before dinner. When you decide to make burgers, you can mix up the dough, shape the buns, and have fresh bread baking in the oven before the rest of the meal is ready.
Once you’ve made them a few times, you’ll have an easy homemade option whenever the craving for a really good burger strikes.

You can find Victoria crocheting, quilting, and creating recipes. She has cooked in restaurants for over 20 years, including many larger parties. She learned to crochet when she was just 11 years old and has been crocheting ever since; over 50 years now. Over 40 years ago, she loved her first class in sewing and continues to hone her skills in quilting. Many have enjoyed the handmade gifts over the years. In her professional career, she has worked in management in a wide variety of businesses including higher education as a dean of a division. All the while attending college part-time to achieve her doctorate in higher education with an emphasis in e-learning.
Stay connected with Pattern Princess
Add Pattern Princess as a preferred source in Google Search to make it easier to find our crochet patterns, recipes, quilt patterns, and other creative projects when you're looking for something new to make.

So easy to make homemade buns for so many fillings.