Last updated on July 5th, 2024 at 12:23 am
This ribbed crochet mug rug coaster is so fun to make. Use up your yarn scraps and create these pretty little squares. Stylish home decor.
*Post contains affiliate links* for more information please read the disclaimer on the About Us page.
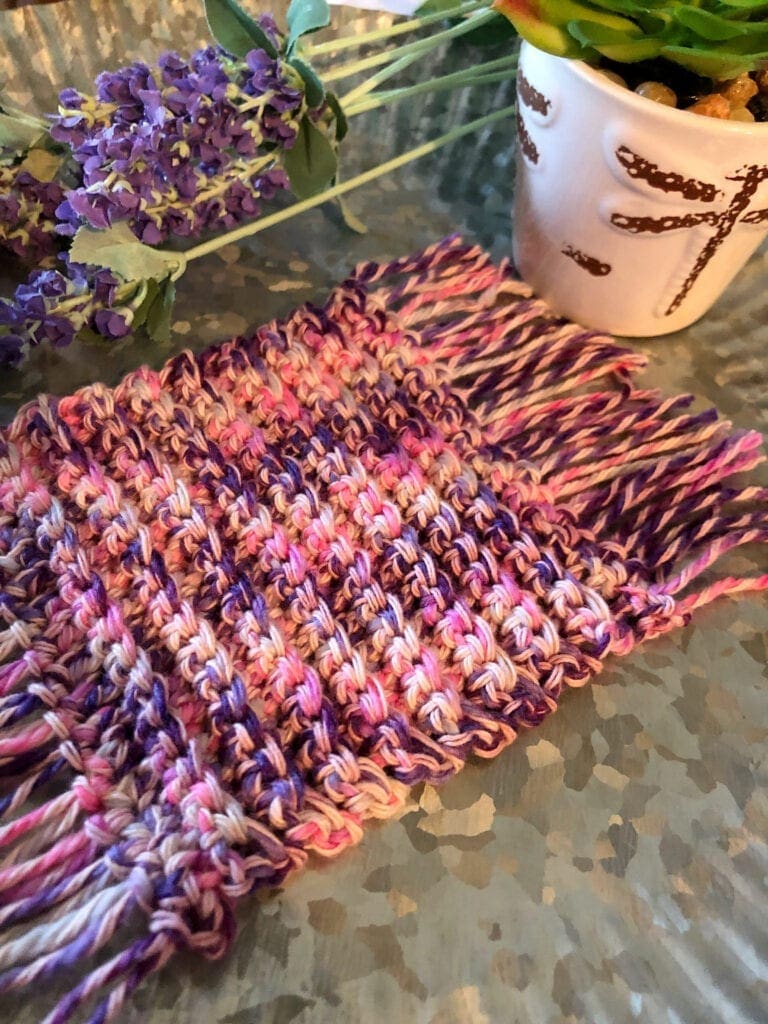
You might be wondering – What is a Mug Rug?
It is a mini-version of a rug that you would have on your floors throughout your home. This small version can be just as gorgeous and unique as the full-size rug.
These have become so popular lately. I think I have caught the “mug rug” bug too. It is exciting for my family to see each style as I make them. This is the first one that I have ever made and I am loving this style.
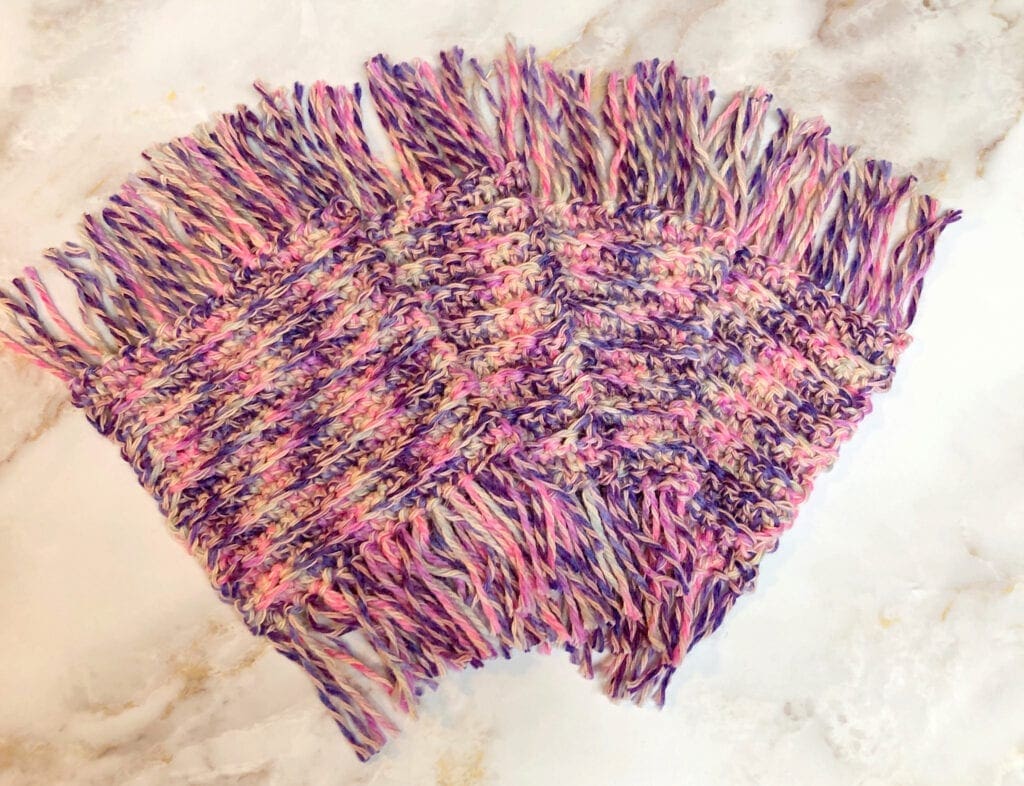
Quick Crochet Project
Recently, I made a set of four of these rubbed mug rugs in one afternoon. To be honest, it takes longer to add the fringe to each one that it does to complete the crochet pattern.
Trendy Home Decor
These crochet coasters give your home a trendy look while protecting your furniture at the same time.
Since this crochet pattern works up so quickly, it makes for a perfect gift anytime of the year.
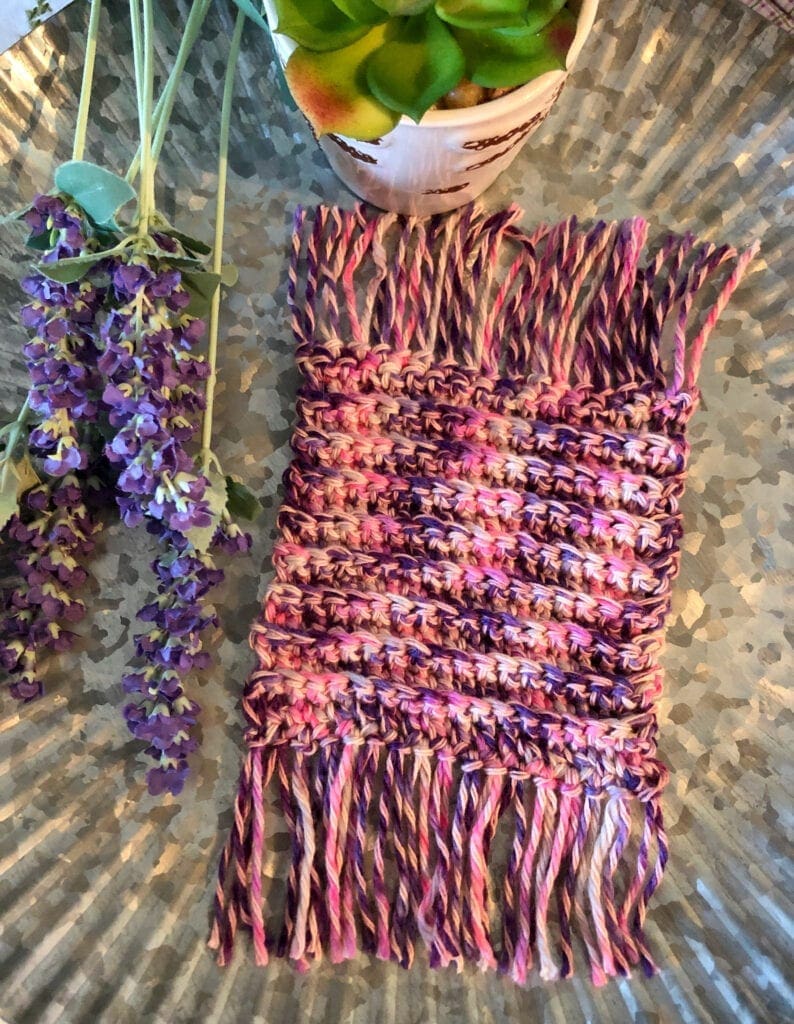
Great Pattern for That Leftover Cotton Yarn
I prefer to use cotton yarn for this coaster pattern. It just seems to soak up the moisture and hold up a bit better than some other yarns.
Today, the yarn that I am using leftover yarn from a star blanket for this stylish square. What a lovely way to use up the yarn.
These are great sellers at craft fairs. People just seem to love he handmade items.
Mug Rugs are Perfect for Glasses Too
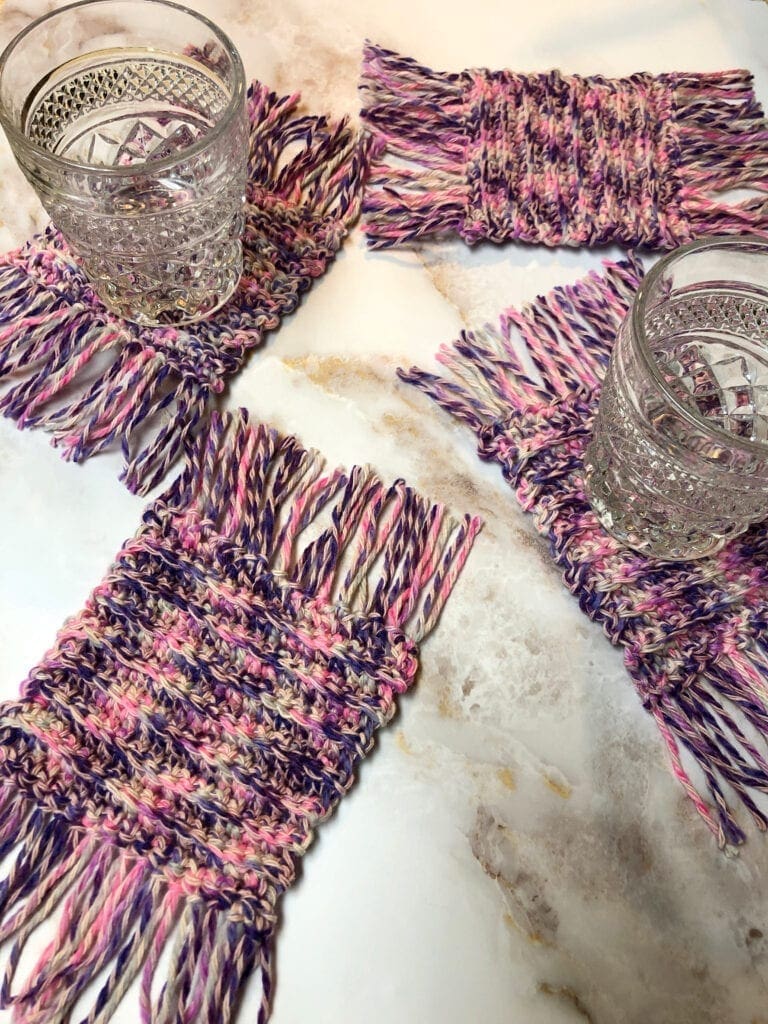
This crochet pattern is full of texture and the fringe adds a Boho style to this project.
Back Loop Single Crochet
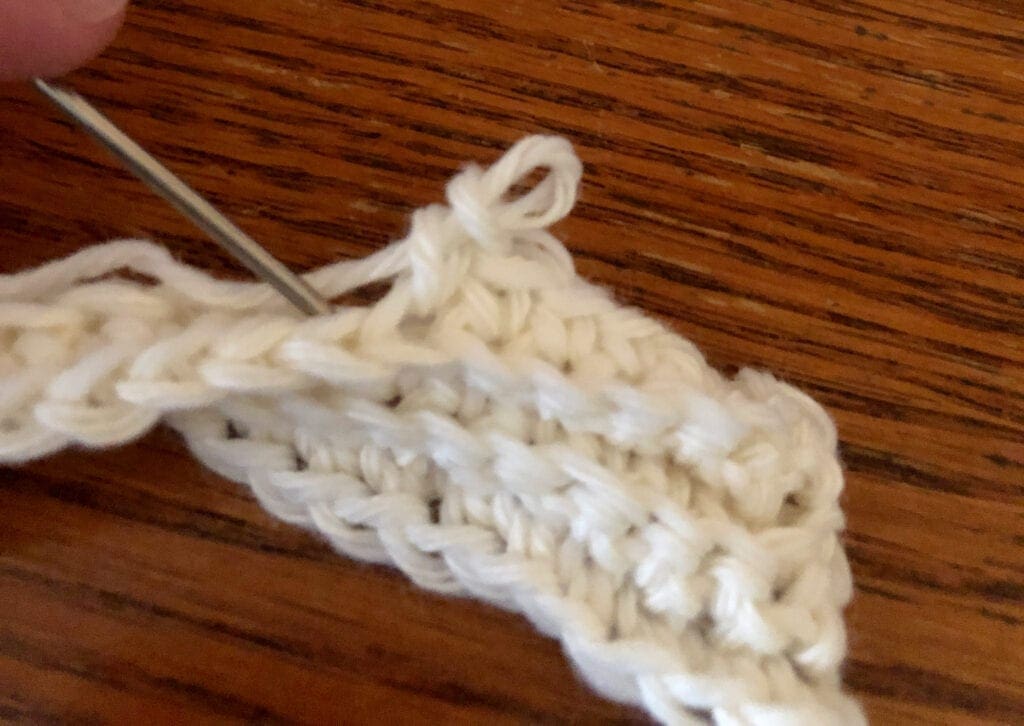
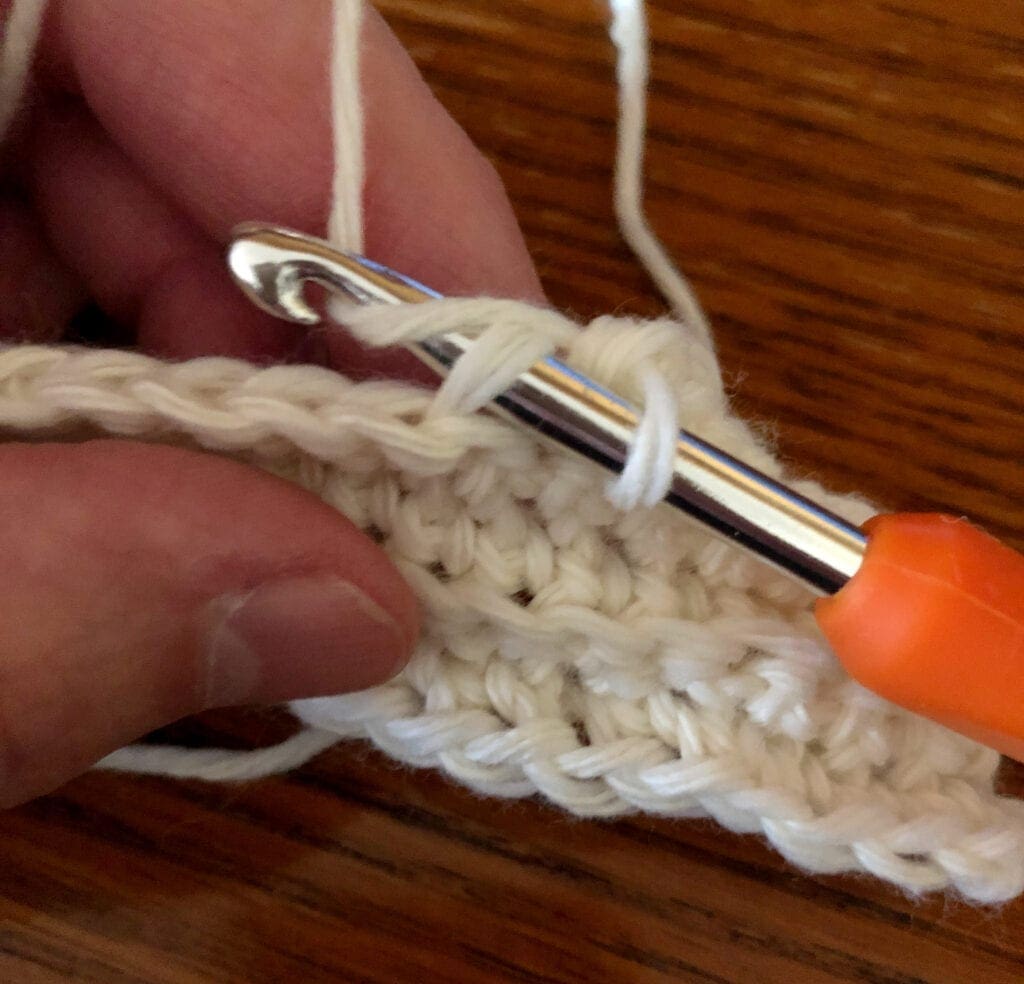
The creation of the ribbed look is achieved by crocheting in the back loop of each stitch.
In the photo below, the needle is pointing to the back loop of the crochet stitch.
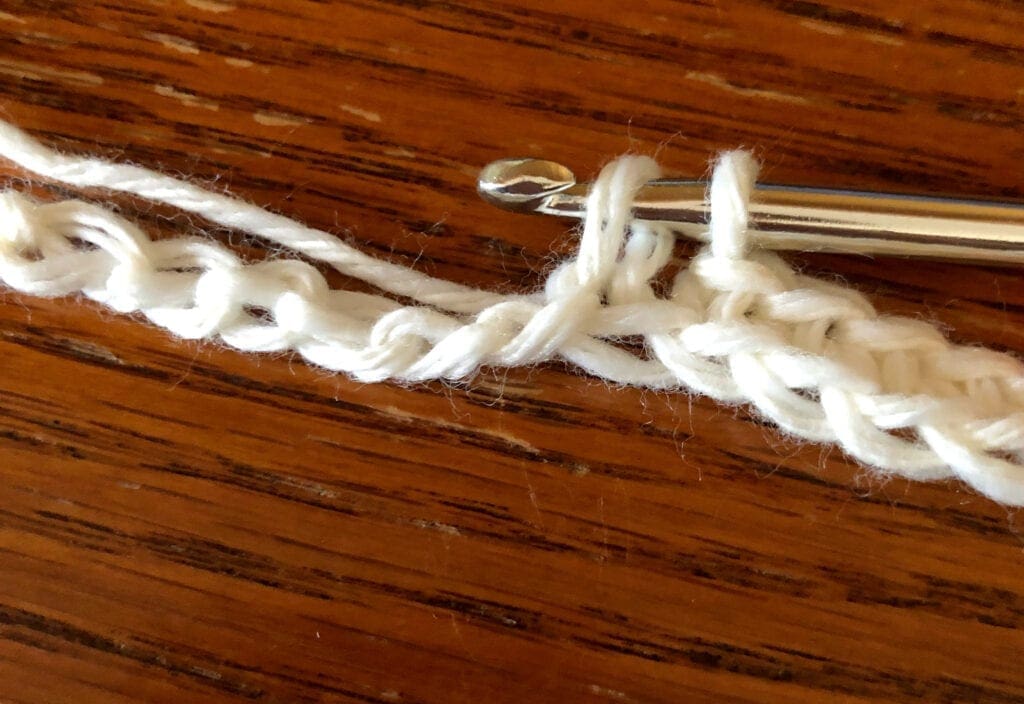
The photo below shows the crochet hook being inserted into the back loop. Yarn over and pull through the yarn completing the desired stitch. Today it is a back loop single crochet.
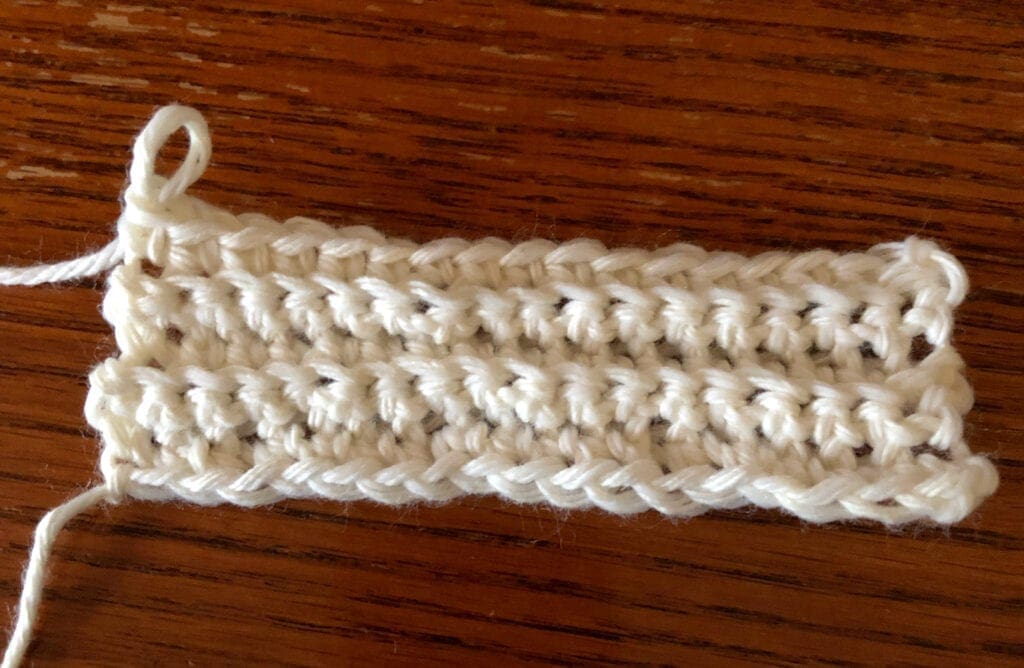
Small swatch of crochet showing the ribbing that is formed by crocheting in the back loop.
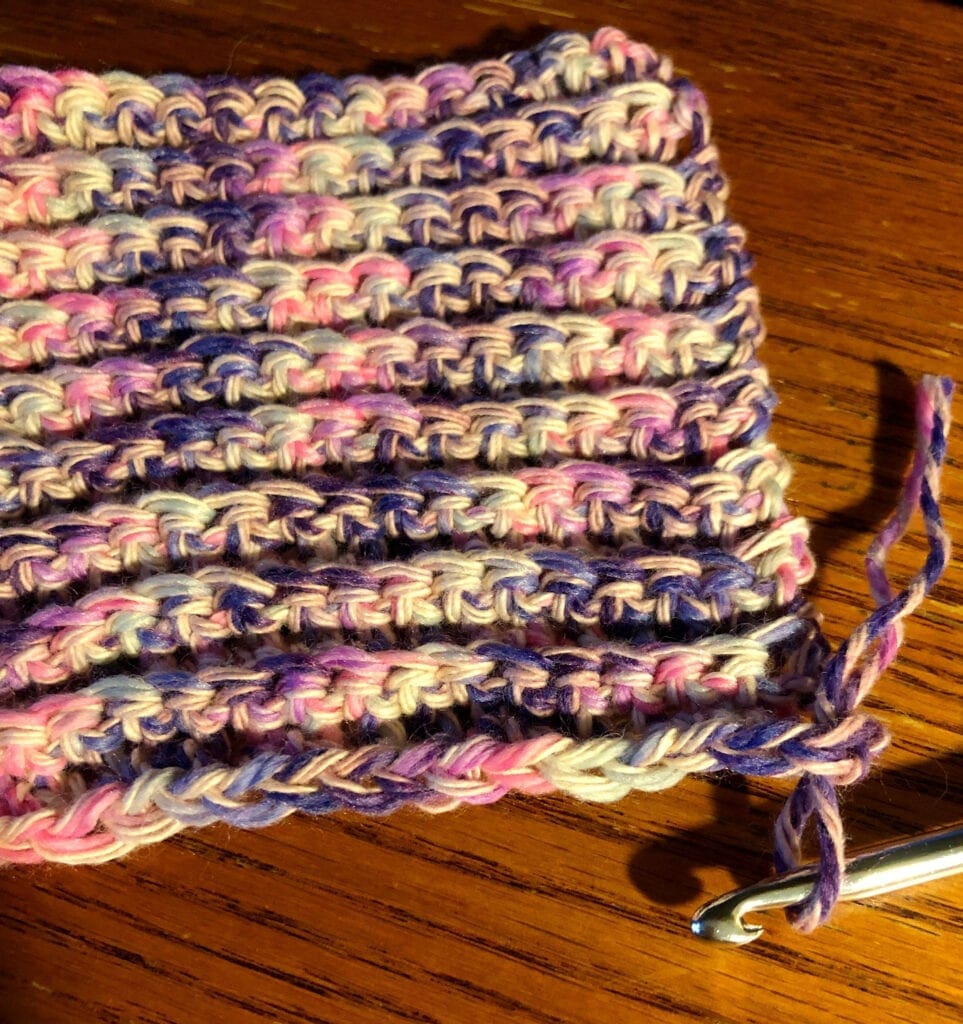
Directions: Ribbed Crochet Mug Rug Coaster
Gauge
Gauge is not critical for this pattern. However, there are approximately 16 single crochet stitches per 4 inches.
Size
This coaster is a 4 1/2 inches X 4 1/2 Inches square without the fringe added. With the fringe it is 8 1/2 inches X 8 1/2 inches.
Materials
Soothing Lavender Lion Brand Comfy Cotton Blend approximately 100 yards. If you are using a skein of something like Lily Sugar ‘N Cream yarn, one skein is plenty for one coaster including the fringe. If you would like to make this from the same yarn I used today, you can find it here.
Size H Crochet Hook
Yarn Needle
Scissors
Tape Measure – this will help is cutting the fringe evenly
Special Notes
The CH 1 does not count as a stitch.
The crochet pattern is worked in rows.
The first row is worked into the back bump of the chain stitches. There are photos of how this is worked below the pattern if you are not familiar with this. This gives the crochet pattern a cleaner edge when the fringe is added.
Fringe is trimmed to 2 inches after being added. However, this can be trimmed to any length you desire.
The number in the brackets ( ) is the stitch count for each row.
Abbreviations
BLSC = Back Loop Single Crochet
CH = Chain Stitch
SC = Single Crochet
ST = Stitch
STs = Stitches
Directions:
Begin CH 18
Row 1
Working in the back bump of each CH ST, SC in the second CH from the hook and in each CH across. CH 1, turn (17 STs)
Row 2
BLSC in each ST across. CH 1, turn (17 STs)
Rows 3 – 18
Repeat row 2.
Finishing
Weave in the yarn ends before adding the fringe.
Adding Fringe to the Mug Rug
To create the fringe, cut 6 inch pieces of yarn. You will need 1 piece of yarn for each ST on the bottom and top of the crochet square.
Once the fringe is added, I trimmed it to approximately 2 inches.
To attach the fringe, use your hook to push through the foundation chain two loops.
Fold the yarn in half and loop the middle onto the hook and pull through. Bring the strands of yarn through the loop and pull snug.
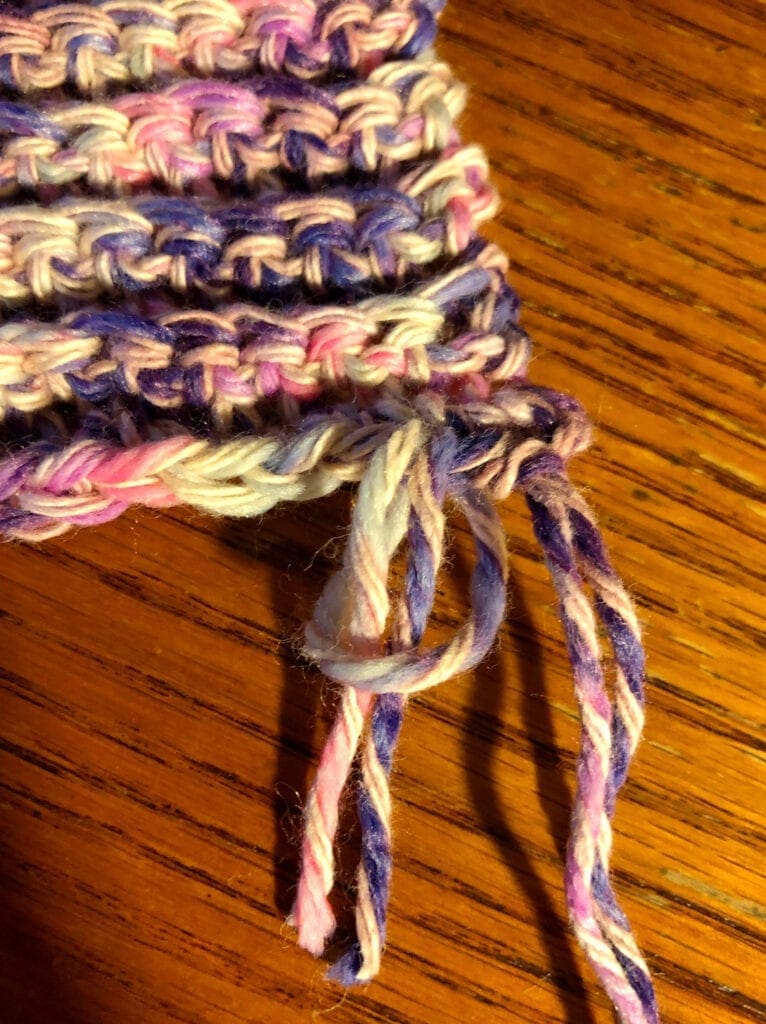
Working in the Back Bump of a Chain Stitch
When working the initial row after the foundation chain, sometimes, the stitches can become stretched out. Therefore, working in the back bump seems to hold the stitches together better for a more professional looking finish to your crochet project.
In the photo below, the needle is pointing at the back bump of the chain stitch.
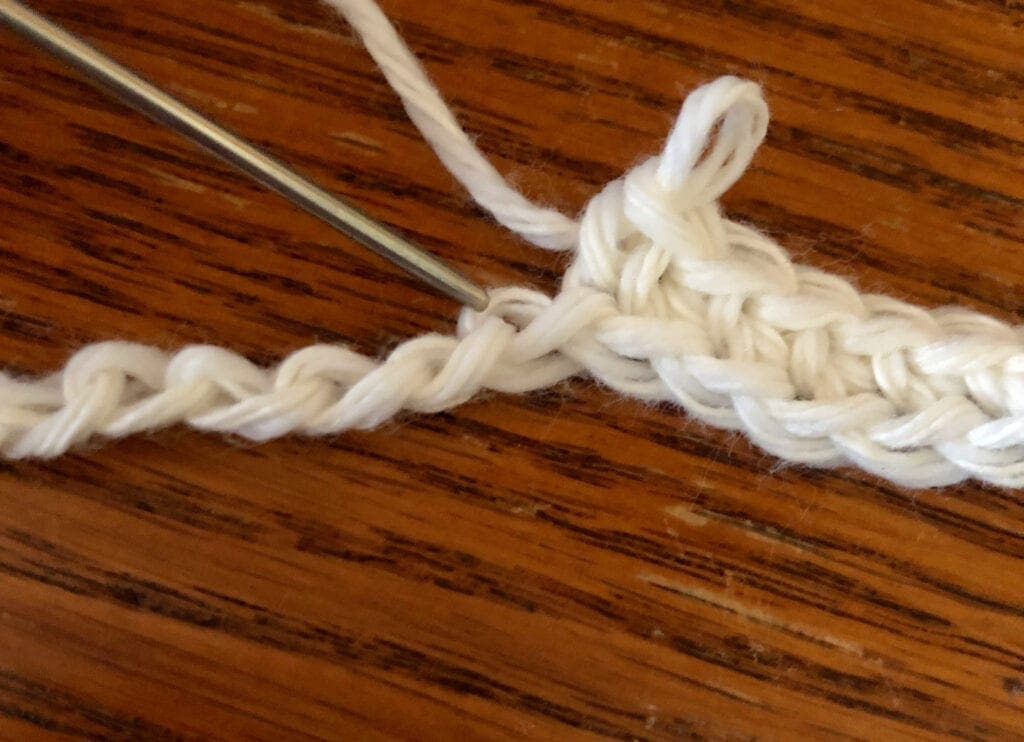
Insert the hook into the back bump and complete the desired crochet stitch.
Here is a Video on How to Add Fringe to Crochet Projects
If you loved this post, please share. It helps to show me that these types of posts are helpful – thank you!
I hope that you liked this pattern. If you are looking for more ideas for crocheted projects, here are a few others you may enjoy.

You can find Victoria crocheting, quilting, and creating recipes. She has cooked in restaurants for over 20 years, including many larger parties. She learned to crochet when she was just 11 years old and has been crocheting ever since; over 50 years now. Over 40 years ago, she loved her first class in sewing and continues to hone her skills in quilting. Many have enjoyed the handmade gifts over the years. In her professional career, she has worked in management in a wide variety of businesses including higher education as a dean of a division. All the while attending college part-time to achieve her doctorate in higher education with an emphasis in e-learning.

Pingback: Crochet Coaster Patterns | StitchPieceN'Purl.com