Last updated on January 19th, 2026 at 10:27 pm
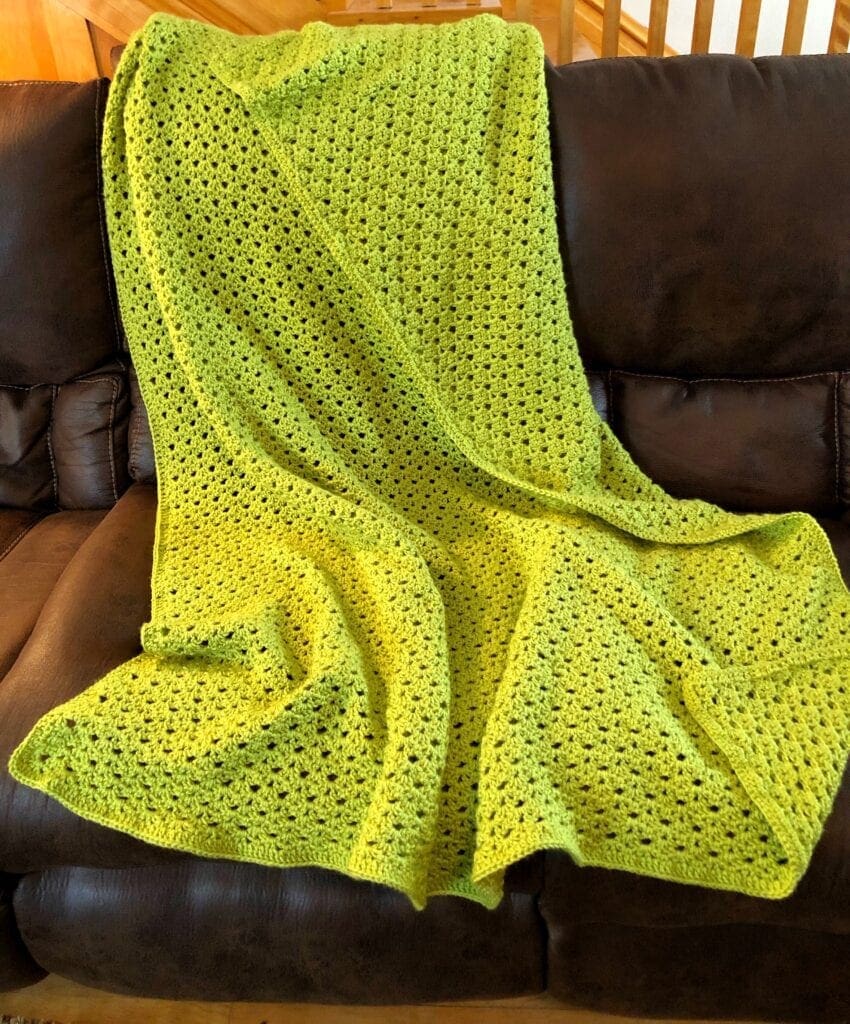
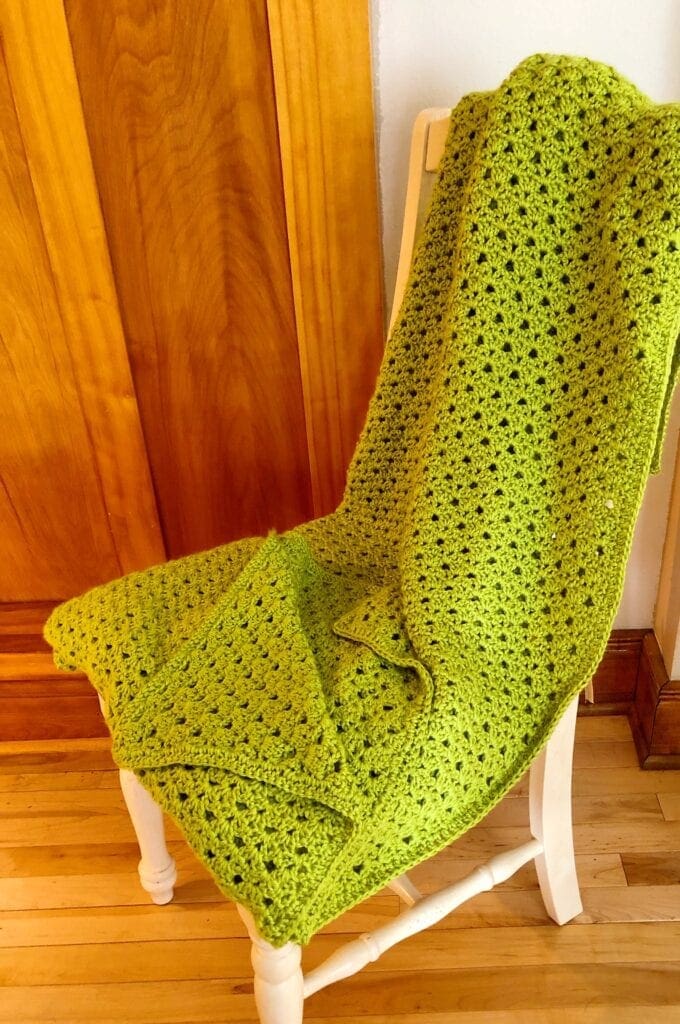
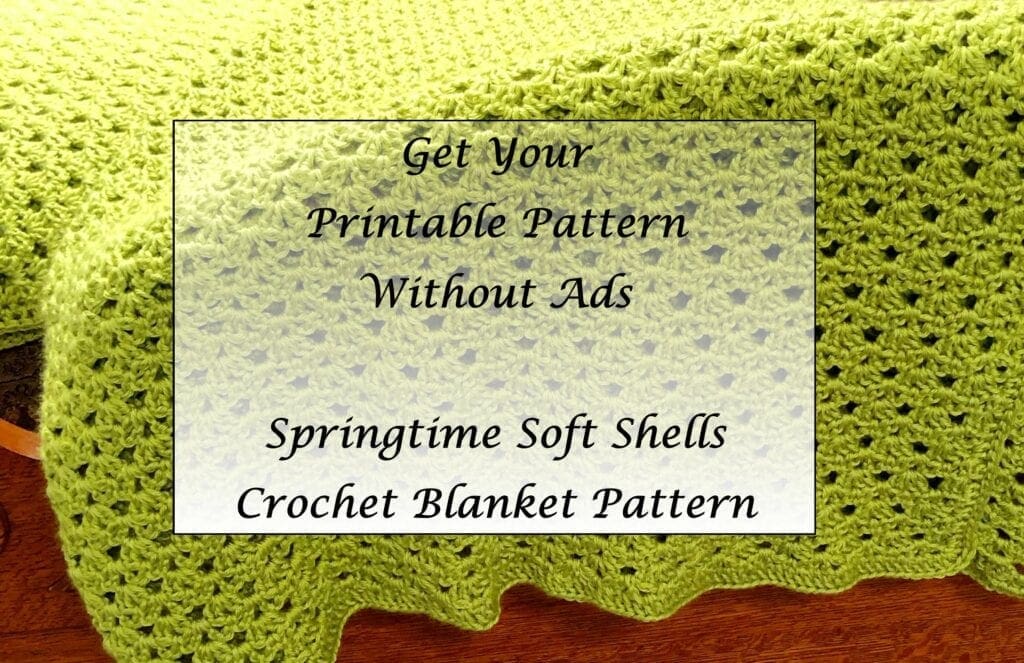
This new springtime soft shells crochet blanket pattern will be a treasured heirloom for years to come. Use two versions of the v stitch to achieve a beautiful look and feel. This pattern is a four-row repeat to create the luxurious crochet pattern.
*Post contains affiliate links* for more information please read the disclaimer on the About Us page.
- Crochet Blanket for My Son-in-Law
- Creating the Crochet Pattern
- Video Tutorial for Pattern
- Crochet Pattern Notes
- No Chain Double Crochet Video Tutorial
- Special Stitches Used
- Crochet Skill Level
- Crochet Blanket Size
- Changing the Blanket Size
- Materials
- Abbreviations
- Finishing Border
- Right Hand Tutorial of First Nine Rows
- Left Hand Tutorial of First Nine Rows
Crochet Blanket for My Son-in-Law
To many of us that crochet, we appreciate it when people like our handiwork. My son-in-law asked me one day when I was going to make something for him. To be honest, I felt a little bad that I had not made him something yet.
Yet, at the same time, it was a wonderful feeling that he wanted me to make him something. He said he wanted a large blanket in bright green. At least over five foot long, as he is over six foot tall. The color was to be as close to the color of his car as possible.
Here is a photo of his car.
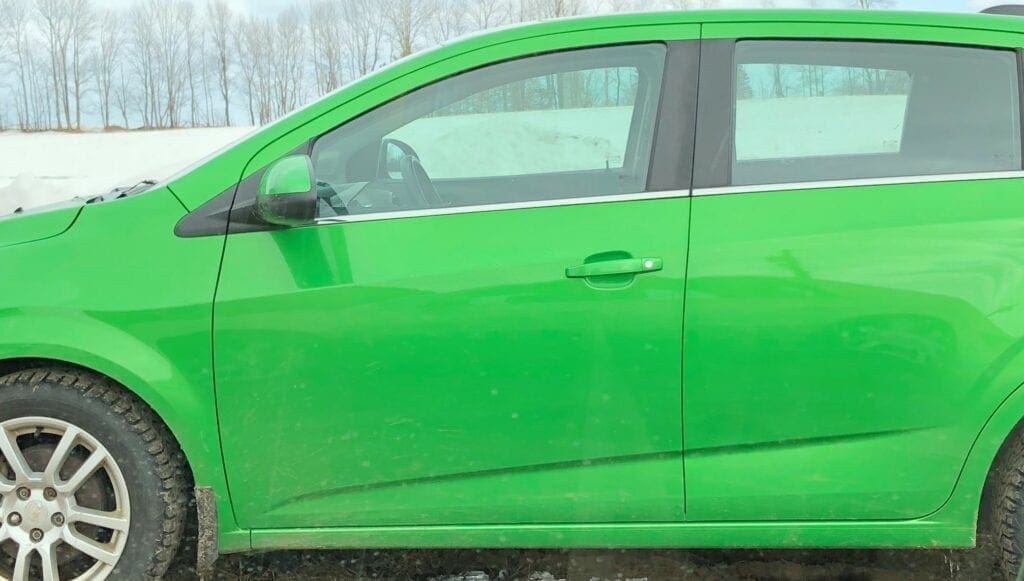
Yup…the green is not even close!
I had purchased 4 different colors of yarn for him to choose from. In my defense, he picked the green color for the blanket. 🙂 As long as he likes it, that is all that matters.
Creating the Crochet Pattern
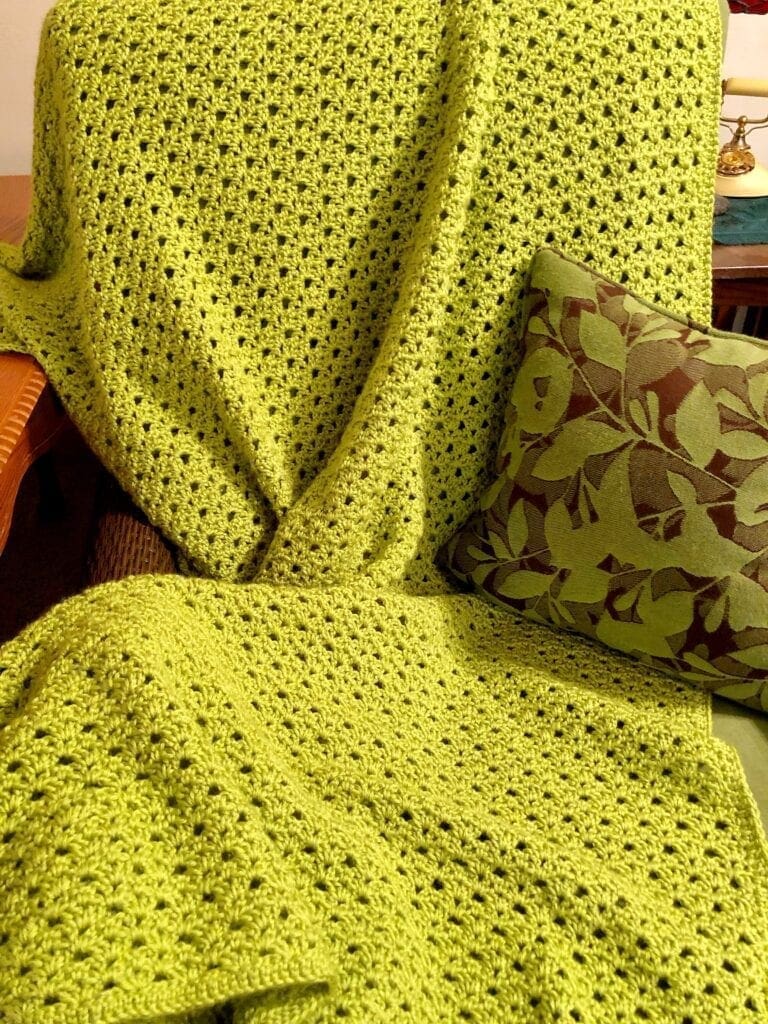
Sometimes, I have a pattern in mind and look for just the right yarn to make with the pattern. In this case, I had a beautiful yarn and had to figure out a pattern that would show off the beautiful green hues.
This crochet blanket needed to be showy, yet manly enough for my son-in-law. He did not want a tightly woven blanket. I needed to figure out just the right stitch combination to allow for some holes and still be fitting for a male. Finally, figured out the stitch combination; after thinking time, browsing patterns, and testing different stitch patterns.

Video Tutorial for Pattern
Near the bottom, there is a video tutorial for the crochet pattern. Since some prefer a written pattern and others want to also see the pattern being done, I have done both for you. I hope it helps in understanding the crochet pattern.
Crochet Pattern Notes
There are a few things that I want to make sure I point out for successful completion of the crochet pattern.
Each row is starts with a Chainless starting stitch. For instance, use the Chainless Double Crochet rather than a Chain 3. Use the Chainless Single Crochet rather than a Chain 1.
The foundational row uses the No Chain Double Crochet rather than a chain of stitches and row of double crochet. For your convenience, there is a video on the No Chain Double Crochet Stitch.
Use Stitch Markers after each four row repeat. This will help be able to tell what row pattern you are on when you pick your work back up.
No Chain Double Crochet Video Tutorial
Special Stitches Used
V Stitch: (DC, CH 1, DC) into the same stitch
2 DC – V Stitch: (2 DC, CH 1, 2 DC) into the same stitch
Crochet Skill Level
Intermediate
This pattern is a bit more difficult; however, once the initial nine rows are completed, the pattern has a four row repeat. Therefore, I would place this as an intermediate level.
Crochet Blanket Size
The overall size of the blanket is 50 inches wide X 64 inches long.
One skein of yarn yielded a section 50 inches wide X 7.5 inches long.
Changing the Blanket Size
The blanket is worked in multiples of 5 + 7. Therefore, if you would like the blanket wider or narrower, make sure that the foundational row of stitches is divisible by 5. Then add 7. For instance, this blanket is 195 + 7 stitches, which equals 202 stitches. Adjust the length by just stopping on after any one of the four row repeats.

Materials
Chartreuse Caron Simply Soft Total of 9 skeins or 2,835 yards. If you are unable to find the yarn locally, you can purchase it here.
Crochet Hook Size H
Yarn Needle
Scissors
Abbreviations
CH = Chain
DC = Double Crochet
SC = Single Crochet
SK = Skip
SK ST = Skip Stitch
ST = Stitch
STs = More than one Stitch
SL ST = Slip Stitch
Directions: Springtime Soft Shells Crochet Blanket Pattern
Begin with No Chain Double Crochet 202 Stitches (note, there is a video on this above)
Row 2:
Chainless DC into the first ST, Skip 2 STs, 2 DC – V Stitch into the next ST, [skip 4 STs, 2 DC – V Stitch into the next ST]. Repeat between [ ] until 3 Stitches left. Then SK 2 STs and DC in last ST, turn.
Row 3:
2 DC into first ST, CH 1, SK 2 STs, SC into the next CH 1 SP, CH 1. [SK 2 Sts, V Stitch into the next CH 1 SP of the V Stitch of the previous row, CH 1, SK 2 STs, Sc into the next CH 1 SP, CH 1]. Repeat between [ ] until 3 STs left. Then SK 2 STs and 2 DC into last ST, turn.
Row 4:
(DC, CH 1, 2 DC) into first ST, [SK next (DC, CH 1 SP, SC, CH 1 SP), 2 DC – V Stitch into the next CH 1 SP of the V Stitch of the previous row]. Repeat between [ ] until the last CH 1 SP of the V Stitch, then SK (CH 1 SP, SC, CH 1 SP, DC). end with (2 DC, CH 1, DC) into the last DC ST, turn.
Row 5:
SC into first ST, CH 1, SK next Ch 1 SP. [SK 2 STs, V Stitch into the CH 1 SP space between 2 DC – V Stitch of the previous row, CH 1, SK 2 STs, SC into the next CH 1 SP, CH 1]. Repeat between [ ] until last 2 DC – V Stitches of previous row. CH 1, SK 2 STs, SK next CH 1 SP, SC into last DC ST, turn.
Row 6:
Dc into the first ST, SK next CH 1 SP. [2 DC – V Stitch into next CH 1 SP of the V Stitch of the previous row, SK next (CH 1 SP, SC, CH 1 SP)] Repeat between [ ] until the last CH 1 SP of the V Stitch of previous row. SK next CH 1 SP, DC into last SC ST, turn.
Row 7:
2 DC into the first ST, CH 1, SK 2 STs, SC into next CH 1 SP, CH 1 [SK 2 STs, V Stitch into the CH 1 space between the 2 DC – V Stitches of the previous row, CH 1 SK 2 STs, SC into the next CH 1 SP, CH 1]. Repeat to the last 2 STS. Skip to STs, DC into the last DC ST, turn.
Row 8:
(DC, CH 1, 2 DC) into first ST, [SK next (DC, CH 1 SP, SC, CH 1 SP), 2 DC – V Stitch into the next CH 1 SP of the V Stitch of the previous row]. Repeat between [ ] until the last CH 1 SP of the V Stitch, then SK (CH 1 SP, SC, CH 1 SP, DC). end with (2 DC, CH 1, DC) into the last DC ST, turn.
Row 9:
SC into first ST, CH 1, SK next Ch 1 SP. [SK 2 STs, V Stitch into the CH 1 SP space between 2 DC – V Stitch of the previous row, CH 1, SK 2 STs, SC into the next CH 1 SP, CH 1]. Repeat between [ ] until last 2 DC – V Stitches of previous row. CH 1, SK 2 STs, SK next CH 1 SP, SC into last DC ST, turn.
Repeat Crochet Rows
Continue on with the pattern making it as long as you wish by repeating rows 6 – 9.
After the initial 9 row set up, I repeated rows 6 – 9 33 times or until the crochet blanket was 64 inches long.
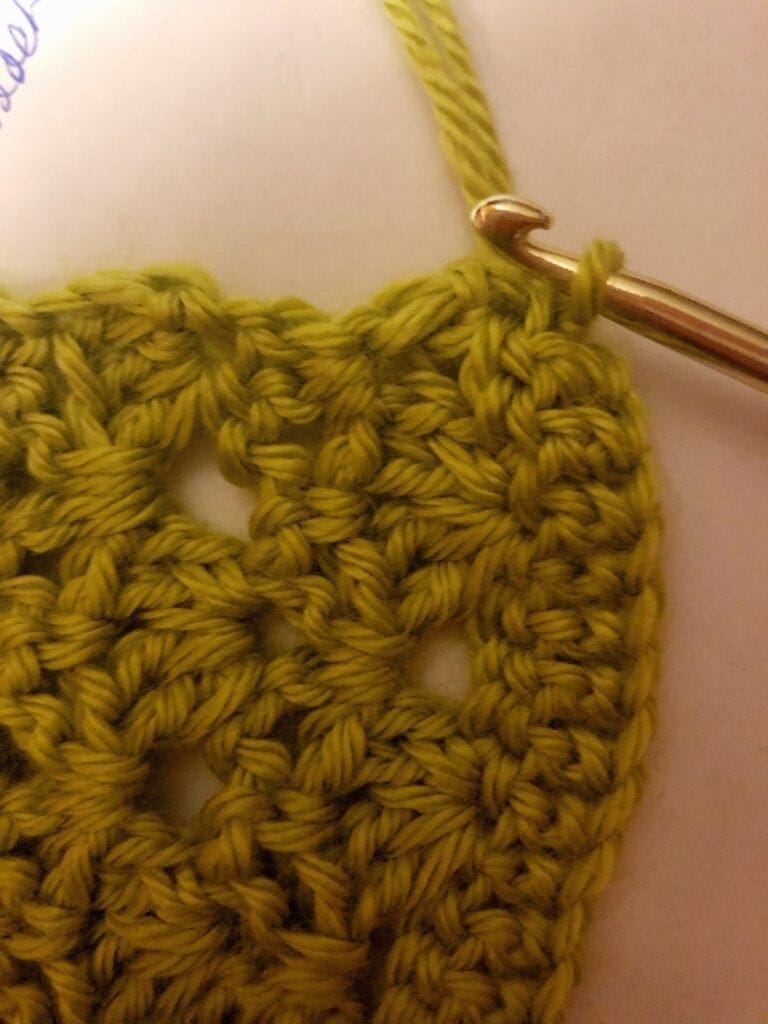
Finishing Border
Since the pattern started off with the no chain double crochet, one of the sides of the border is already complete. Therefore, start the yarn on the top of one of the corners. I started on the bottom right as I am right handed and will be working from right to the left. The first photo below shows the corner where I started the yarn.
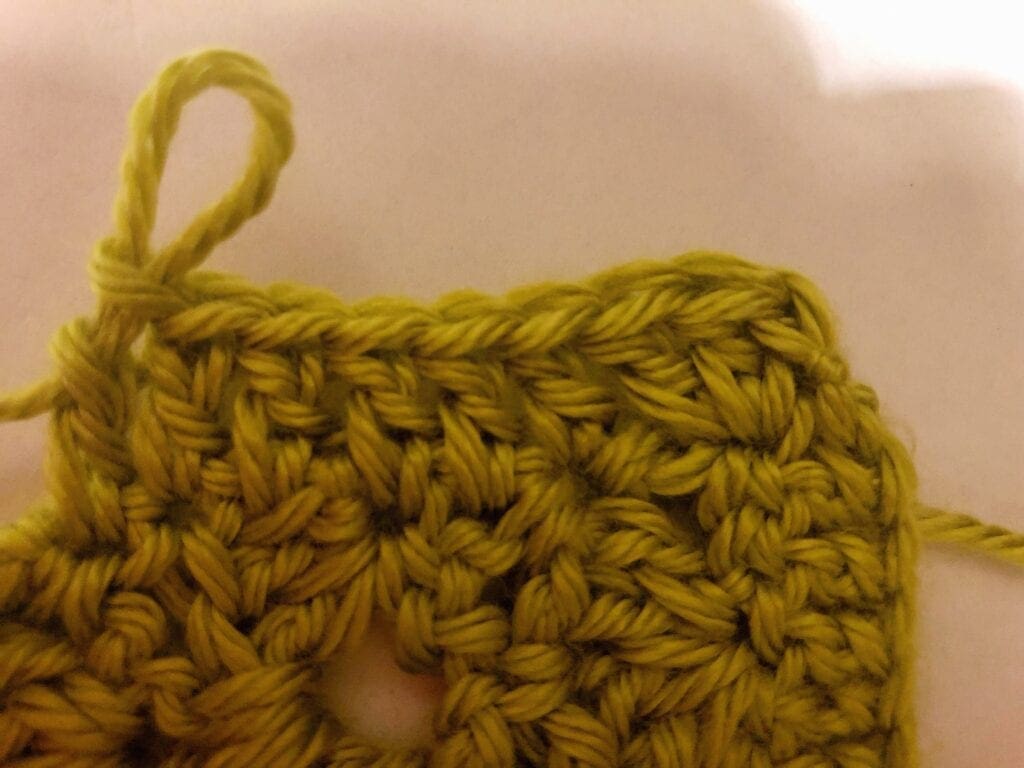
Complete a Double Crochet for each stitch along the three sides without a border. For the corners, double crochet 3 times in the corner stitch. This will help ease the stitches around the corner and the blanket will lay flat. Join to the initial no chain double crochet with a SL ST. Weave in all yarn ends until they are snug. Cut off excess yarn.
Video of Crochet Pattern
Here is the video of the first 9 rows being crocheted. There is also a smaller crochet blanket that I am working on that starts with a row of chains. Not sure how that will turn out yet.
Right Hand Tutorial of First Nine Rows
Left Hand Tutorial of First Nine Rows
If you loved this post, please share. It helps to show me that these types of posts are helpful – thank you!
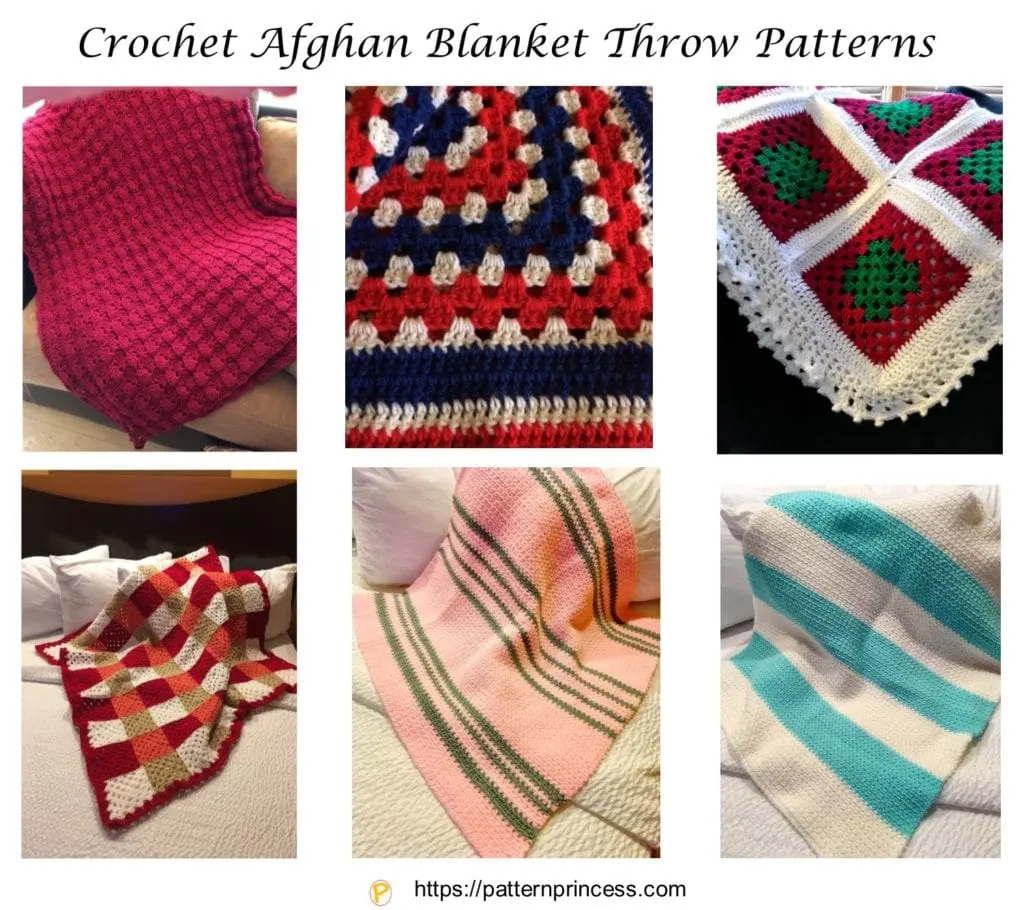
I hope that you liked this pattern. If you are looking for more ideas for crocheted projects, here are a few others you may enjoy.

You can find Victoria crocheting, quilting, and creating recipes. She has cooked in restaurants for over 20 years, including many larger parties. She learned to crochet when she was just 11 years old and has been crocheting ever since; over 50 years now. Over 40 years ago, she loved her first class in sewing and continues to hone her skills in quilting. Many have enjoyed the handmade gifts over the years. In her professional career, she has worked in management in a wide variety of businesses including higher education as a dean of a division. All the while attending college part-time to achieve her doctorate in higher education with an emphasis in e-learning.
Can you explain what this means in Row 4 ? SK next (DC, CH 1 SP, SC, CH 1 SP), 2 DC
I’m not sure if you are skipping what is in parentheses or you left out a word “skip next”…
Thanks, Charles
yes, you skip over to the CH 1 SP of the V-Stitch.