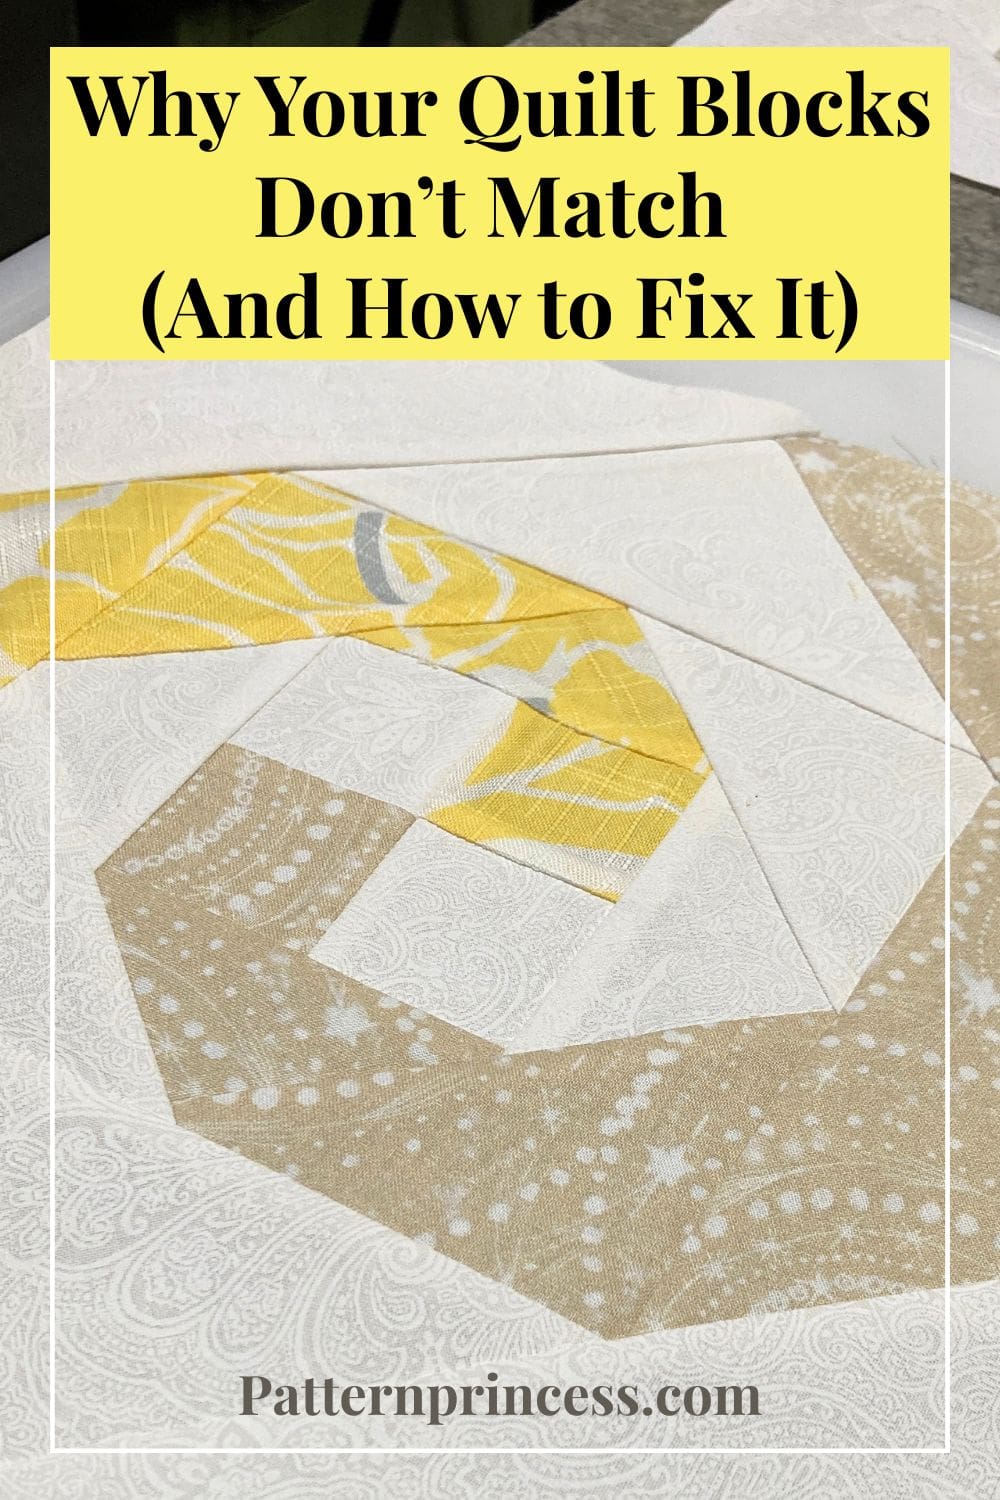
Wondering why your quilt blocks don’t match? Perfect quilters don’t exist, but accurate quilt blocks do. There’s nothing more frustrating than laying out your quilt blocks—only to realize they don’t line up.
You pressed your seams perfectly, trimmed every edge, and still your quilt blocks refuse to match. Some are just a little too big. Others are slightly too small. Your points don’t meet, your seams won’t nest, and suddenly that beautiful quilt you imagined feels… a bit off.
If this has happened to you, you’re not alone. Every quilter—yes, even experienced ones—has been here.
The good news? This is completely fixable. Mismatched quilt blocks aren’t a skill issue. They’re a measurement, cutting, and seam consistency issue. Most new quilters fight the same three problems over and over, and once you know what’s causing the chaos, the fixes are straightforward.
And once you understand what’s causing it, your quilting will improve dramatically.
Let’s get your blocks square, your seams accurate, and your next quilt top looking like it came from someone who’s been quilting for decades.
Why We Love Learning This Early
This is one of those skills that changes everything.
Once you get consistent seam allowances and accurate cutting down, your quilting becomes:
- More enjoyable
- Less frustrating
- Much more professional-looking
And the best part? You’ll spend less time fixing mistakes and more time creating.
Common Mistakes That Make the Problem Worse
Certain habits feel helpful but actually sabotage your accuracy.
New quilters especially fall into patterns that seem logical but create more mismatched blocks instead of fewer. These mistakes are easy to make because they feel like you’re being careful, but they’re working against you.
- Using the edge of your presser foot as a seam guide without testing it first. Not all presser feet are exactly 1/4 inch from the needle to the edge. Test it before you trust it.
- Pressing seams before checking the seam allowance. Once you press a seam, it’s harder to see if the allowance was accurate. Check your seam width first, then press.
- Cutting multiple layers of fabric at once without securing them. Layers shift when you cut, and the bottom piece ends up a different size than the top. Pin or clip layers together, or cut one at a time.
- Skipping the step of squaring up fabric before cutting strips. If your fabric isn’t square, every strip you cut will be crooked, and every block you make will be off.
- Rushing through the cutting and sewing process. Accuracy takes a little extra time. Speeding through creates errors that take way longer to fix later.
The Most Common Reasons Your Quilt Blocks Don’t Match
Your blocks don’t match because of invisible inconsistencies that add up fast.
Most quilters assume their technique is fine and blame the pattern or fabric. But in reality, three specific problems create 90% of mismatched blocks: inconsistent seam allowances, inaccurate cutting, and bias edge stretch. Each one throws off your block size by a little bit, and when you multiply that across a dozen blocks, your quilt top ends up with wavy borders and seam intersections that refuse to line up.
Here’s what’s actually happening:
Let’s break down the most common causes so you can quickly spot what’s happening in your own quilt.
The first thing to do is figure out which problem is sabotaging your blocks. Measure your seam allowance with a ruler, check your cutting accuracy on scrap fabric, and handle bias edges like they’re made of tissue paper.
1. Inconsistent ¼ Inch Seam Allowance
This is the #1 reason blocks don’t match.
If your seam guide shifts even 1/16 inch from block to block, your finished size changes. A block that should be 12.5 inches unfinished becomes 12.25 inches or 12.75 inches. When you sew those together, the shorter row forces the longer row to stretch or pucker.
Even being off by just a thread or two adds up across multiple seams. By the time you finish a block, it can be noticeably too big or too small.
Fix:
- Use a ¼” presser foot if you have one.
- Test your seam allowance on scrap fabric . Measure after sewing to confirm accuracy.
- 1/4″ Tape for Stitching Straight or Diagonal Seams. I have this on my sewing machine and it is another tool to help me maintain the correct seam allowance.
How to Get a Perfect Quarter Inch Seam Every Time
A perfect quarter inch seam is the backbone of accurate blocks, and most quilters are off without realizing it.
Your sewing machine doesn’t come with a magical seam guide that guarantees precision. The edge of your presser foot might be close, but close isn’t the same as exact. If your seam allowance is inconsistent, every piece you sew will be the wrong size, and those errors stack up fast when you’re assembling a quilt top with dozens of blocks.
- Test your current seam allowance. Cut three strips of fabric 1.5 inches wide and 6 inches long. Sew two strips together along the long edge using your normal foot position. Press the seam to one side. Measure the width of the sewn unit. It should be exactly 2.5 inches wide. If it’s not, your seam allowance is off.
- Adjust your needle position or use a guide. Most machines let you move the needle position to the left or right. Shift it until your test strip measures 2.5 inches. If your machine doesn’t have that feature, place a piece of masking tape or a magnetic seam guide exactly 1/4 inch from the needle as a visual barrier.
- Sew slowly and consistently. Speed creates drift. Your fabric shifts left or right when you’re rushing, and that throws off your seam line. Keep your eyes on the edge of the fabric against the guide, not on the needle.
- Press seams consistently in the same direction. Pressing seams to opposite directions between rows helps seam intersections nest together. If you press randomly, your seams create bulk in unpredictable spots, and your blocks won’t lie flat.
Once you’ve dialed in your quarter inch seam, mark it with tape or a guide you trust. Consistent seam allowances fix more problems than any other single change you can make.
2. Fabric Wasn’t Cut Accurately
Rotary cutters slip. Rulers shift. Fabric folds aren’t perfectly aligned. If you’re cutting different sizes even slightly off the mark, your smaller pieces won’t assemble into the right size block no matter how carefully you sew.
If your pieces aren’t cut correctly, your blocks won’t match—no matter how carefully you sew.
Fix:
- Use a sharp rotary cutter
- Double-check ruler alignment before cutting
- Cut slowly and carefully (rushing causes slips)
- Iron fabric before cutting
Here’s how to cut with precision:
- Use a Sharp Blade. Dull blades drag and skip, which leaves jagged edges and inaccurate measurements. Replace your blade every 3 to 4 projects, or sooner if you notice any pulling.
- Press Fabric First. Wrinkled fabric doesn’t lie flat, and that creates lumps under your ruler. A quick press with starch or sizing keeps fabric stable and prevents stretch.
- Anchor Your Ruler. Press down firmly on the ruler with your non-cutting hand, especially at the edge where you’re cutting. If the ruler shifts even a millimeter, your cut is off.
- Cut with Smooth Motion. Jerky or angled cuts create wavy edges. One smooth motion keeps the blade against the ruler edge and gives you straight lines.
- Measure twice, cut once. Before you slice through the fabric, double check that your ruler is aligned on the correct line. One wrong cut can ruin an entire strip or block.
Small cutting errors feel harmless in the moment, but when you sew a dozen blocks together, those little mistakes add up to blocks that are wildly different sizes. Measure carefully, cut cleanly, and your blocks will start matching before you change anything else.
Cutting Fabric the Right Size (Without Guessing)
If your cutting is sloppy, your sewing can’t save you.
Accurate cutting means every piece starts at the exact size the pattern calls for. But rotary cutters slip, rulers shift mid-cut, and fabric stretches under pressure. If you’re eyeballing your cuts or using a dull blade, you’re introducing size errors before you even sit down at your sewing machine.
3. Bias Edges That Stretch (And How to Control Them)
Triangles and diagonal seams can be tricky because they create bias edges—fabric cut on the diagonal of the grain. Unlike straight cuts, bias edges naturally stretch when you sew them or press them. This can quickly turn a perfectly cut piece into a misshapen one.
If your blocks seem to “grow,” warp, or won’t line up—bias is often the culprit.
Why This Happens
Fabric has two stable directions (lengthwise and crosswise grain). But when you cut on the diagonal, you’re working on the bias, which is flexible and stretchy.
That means:
- Pieces can stretch while sewing
- Edges can distort while pressing
- Blocks can lose their shape before you even realize it
How to Prevent Bias Stretching
Handle Fabric Gently (This is HUGE)
Try not to pick up or move bias edges more than necessary.
Think: lift and place, not pull and drag
Use Pins (or Clips) Generously
Bias edges shift easily.
Pin at:
- Both ends
- The center
- Any seam intersections
This keeps everything stable while sewing.
Don’t Push or Pull While Sewing
Let your machine feed the fabric naturally. Let the feed dogs pull the fabric through naturally. If you pull (even slightly), you’ll stretch the bias edge without realizing it.
Press—Don’t Iron
This is one of the biggest game changers.
Instead of sliding the iron back and forth:
- Lift the iron
- Press straight down
- Lift again and move to the next spot
Sliding the iron across bias edges stretches them. No dragging = no stretching
Starch Your Fabric Before Cutting
This is a pro-level beginner tip that makes a huge difference.
Lightly starching fabric:
- Adds stability
- Reduces stretch
- Makes cutting and sewing more accurate
This is especially helpful for star blocks and small pieces.
How to Fix Stretched Bias Edges
Already dealing with wonky pieces? Here’s what you can do:
Square Up Your Blocks. Use a ruler to trim everything back to the correct size. This is often the easiest and cleanest fix
Ease the Fabric Back into Shape. If the stretch is minor, you can gently guide the fabric back while sewing.
Use Steam Carefully. A little steam can help relax fibers—but don’t overdo it. Press and let the fabric cool completely before moving
Add Sashing for Flexibility. If blocks aren’t perfectly matching, sashing can help “absorb” small differences and make everything look intentional.
Use a walking foot when assembling rows. A walking foot feeds the top and bottom fabric through at the same rate, which prevents one layer from stretching more than the other. This is especially helpful when you’re joining rows that are slightly different lengths.
Pin seam intersections and ease in the excess. If one row is a little longer than the other, pin the seam intersections first so they line up, then gently stretch the shorter row to match as you sew. The fabric has a little bit of give, and this works for small differences.
Press seams open instead of to one side if there’s too much bulk. Pressing seams open distributes the bulk evenly and can help rows lie flatter when blocks aren’t perfectly matched.
These fixes won’t make your blocks mathematically perfect, but they’ll get your quilt top flat and square enough to finish. Sometimes a beautiful quilt is more about creative problem solving than flawless precision.
Bias edges can feel frustrating at first, but learning to handle them is a big turning point in quilting.
Once you get the hang of it, you’ll notice:
- Sharper points
- Flatter blocks
- Much better alignment
And suddenly, those tricky triangle blocks (like half square triangles and flying geese) become so much easier to work with.
Not Squaring Up Your Blocks
Skipping this step is a big one for beginners.
If your fabric isn’t square, every strip you cut will be crooked, and every block you make will be off. Even slightly uneven blocks will throw off your entire quilt layout.
Fix:
- Use a quilting ruler to trim each block to the exact same size
- Line up seams and edges before trimming
- Don’t skip this—even pros do it!
Seams Not Pressed Properly
Pressing (not ironing!) helps everything lay flat and align correctly. Lift, press, move, press again.
Fix:
- Press seams to one side or open (depending on pattern)
- Avoid stretching fabric while pressing
- Use steam lightly for better accuracy
Mixing Different Sewing Speeds or Techniques
Going fast on some seams and slow on others can change your seam allowance without you realizing it.
Fix:
- Maintain a steady sewing speed
- Guide fabric gently—don’t push or pull
How to Fix Quilt Blocks That Don’t Match
Already have blocks that aren’t quite right? Don’t worry—you’ve got options.
Trim Larger Blocks Down
If some blocks are slightly bigger, trim them to match the smallest block size.
Pro tip: Always measure your smallest block first and use that as your standard.
Add Sashing Between Blocks
Sashing (strips of fabric between blocks) is a lifesaver.
It gives you a little flexibility and can hide minor size differences beautifully.
Ease Seams Carefully
If blocks are just slightly off, you can gently ease the fabric as you sew.
This works best for very small differences—not major size issues.
Redo Problem Blocks
If one block is way off, it’s often faster (and less frustrating) to remake it.
Think of it as practice—not failure.

Quick Fix Quilt Block Chart
| Problem | Most Likely Cause | Quick Fix |
| Blocks too small | Seam allowance too large | Adjust seam to true ¼” |
| Blocks too large | Seam allowance too narrow | Move needle or guide |
| Points don’t match | Cutting or seam inconsistency | Recheck ruler + seam |
| Blocks wavy | Bias stretch or pressing | Press, don’t iron |
| Seams bulky | Poor pressing direction | Press consistently |
| Rows don’t match | Mixed accuracy issues | Pin + ease or add sashing |
Beginner Quilting Tips for Better Results
- Measure often—don’t wait until the end
- Sew a test block before starting your project
- Keep your tools sharp and accurate
- Take your time (quilting is not a race!)
Troubleshooting Quick Guide
Blocks too small?
→ Your seam allowance is likely too big
Blocks too large?
→ Your seam allowance is too narrow
Points not matching?
→ Cutting or seam accuracy issue
Blocks won’t lay flat?
→ Pressing problem or fabric stretching
Best Ways to Use This Knowledge
Once you’ve mastered this, you’ll notice a big difference in:
- Half square triangles
- Flying geese blocks
- Pinwheel blocks
- Full quilt layouts
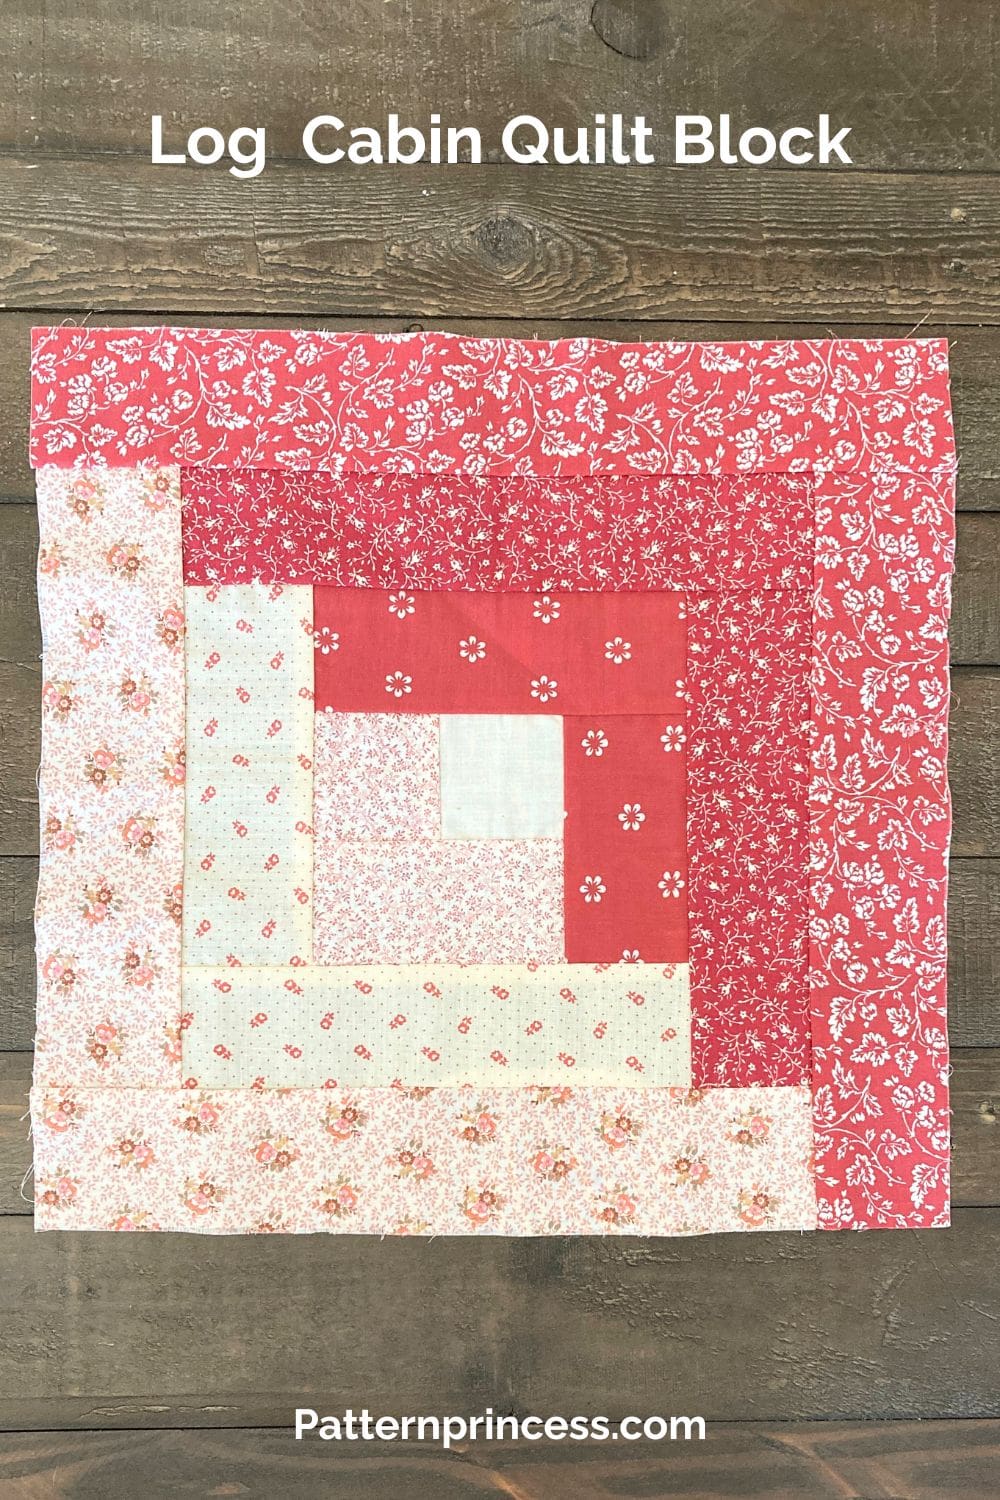
- Log Cabin blocks
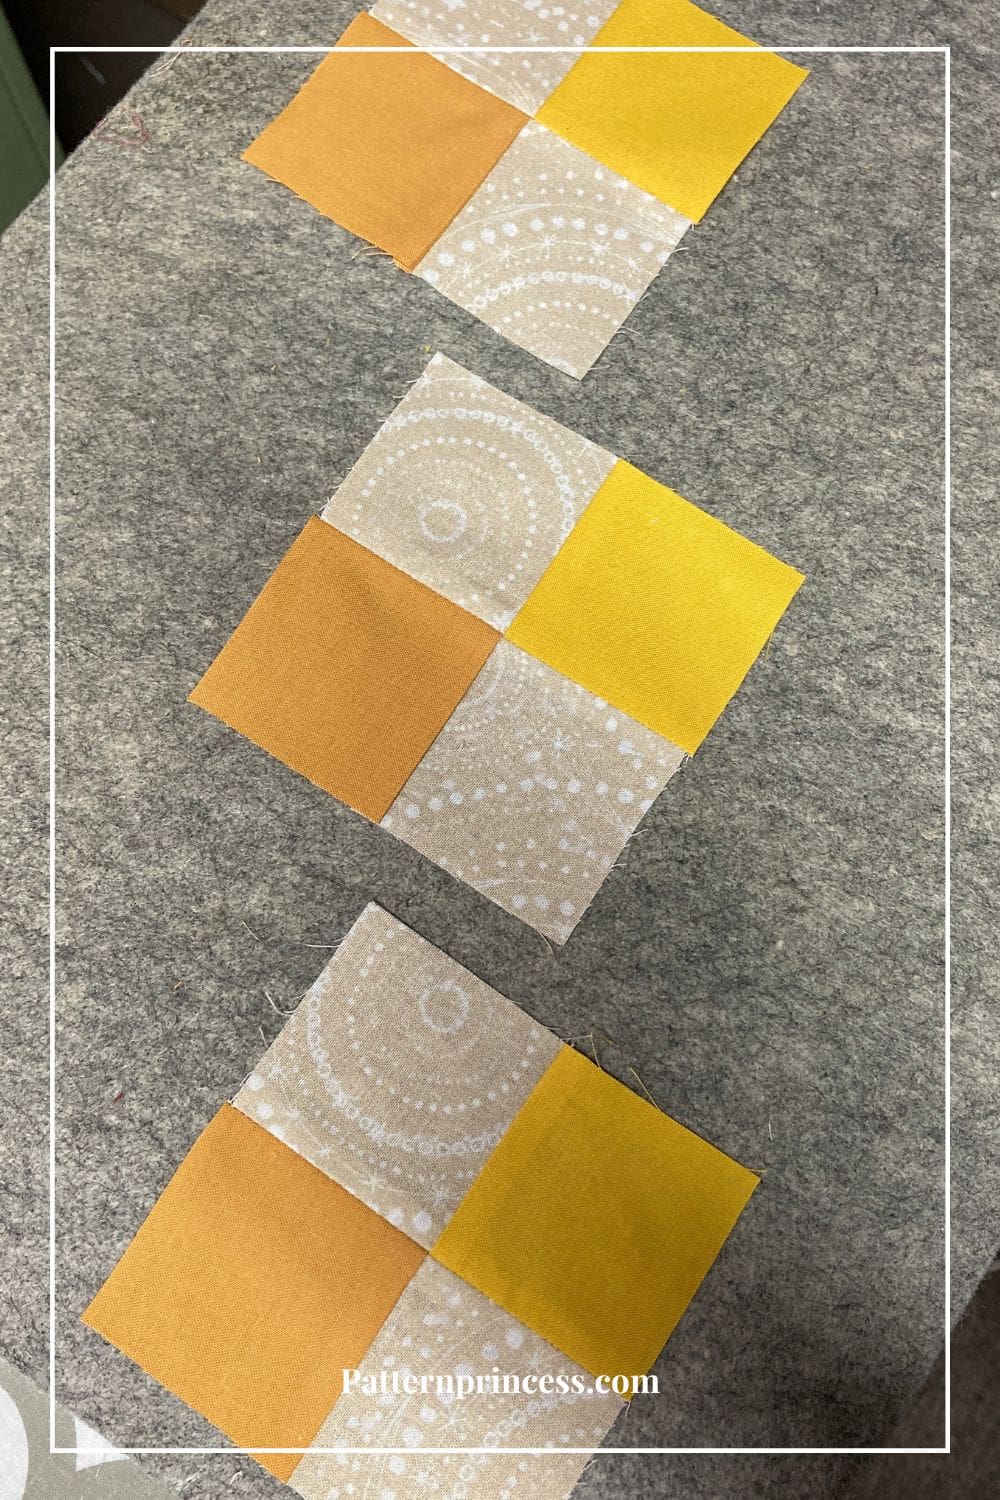
- Four patch blocks
Everything starts lining up beautifully—and that’s when quilting really becomes fun.
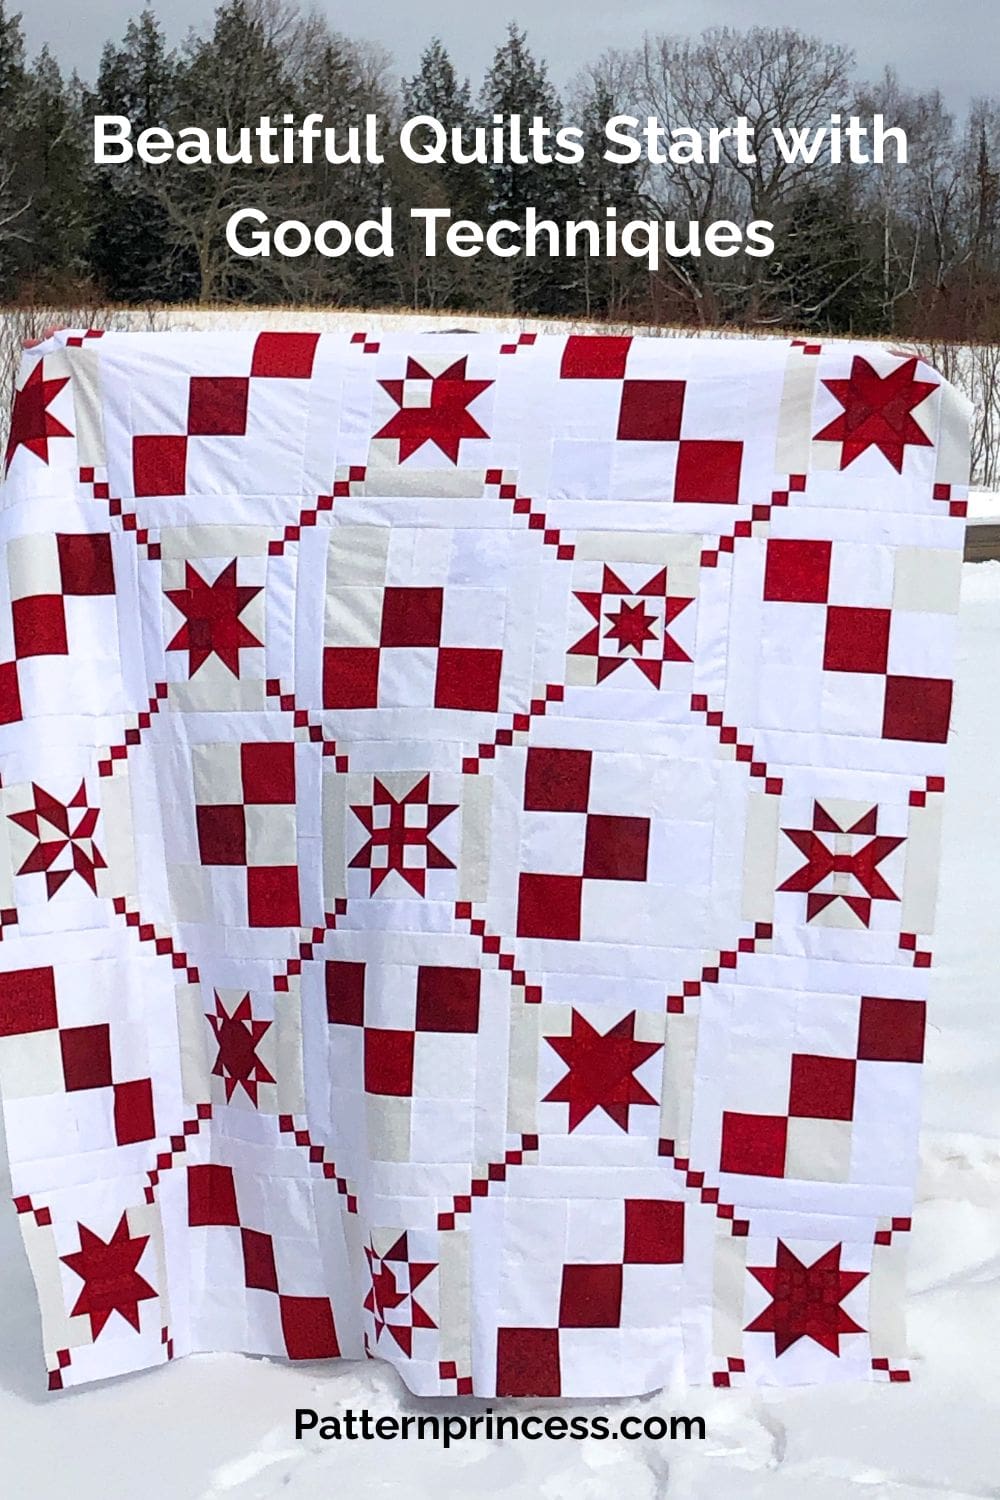
Beautiful Quilts Start with Good Techniques
Small habits create big results in quilting. Swap out the mistakes for the correct techniques, and your blocks will match without you having to fight for it.
Your quilt blocks don’t have to be perfect to make a beautiful quilt, but they do need to be consistent. The same seam allowance, accurate cuts, and careful handling of bias edges will get you 90% of the way there. The rest is just practice and knowing when a quick fix is good enough.
If your quilt blocks don’t match right now, you’re not doing anything wrong—you’re learning. Every slightly crooked seam and mismatched corner is part of the process. Stick with it, make a few adjustments, and you’ll be amazed at how quickly things improve.
Before long, those blocks will come together like they were meant to.
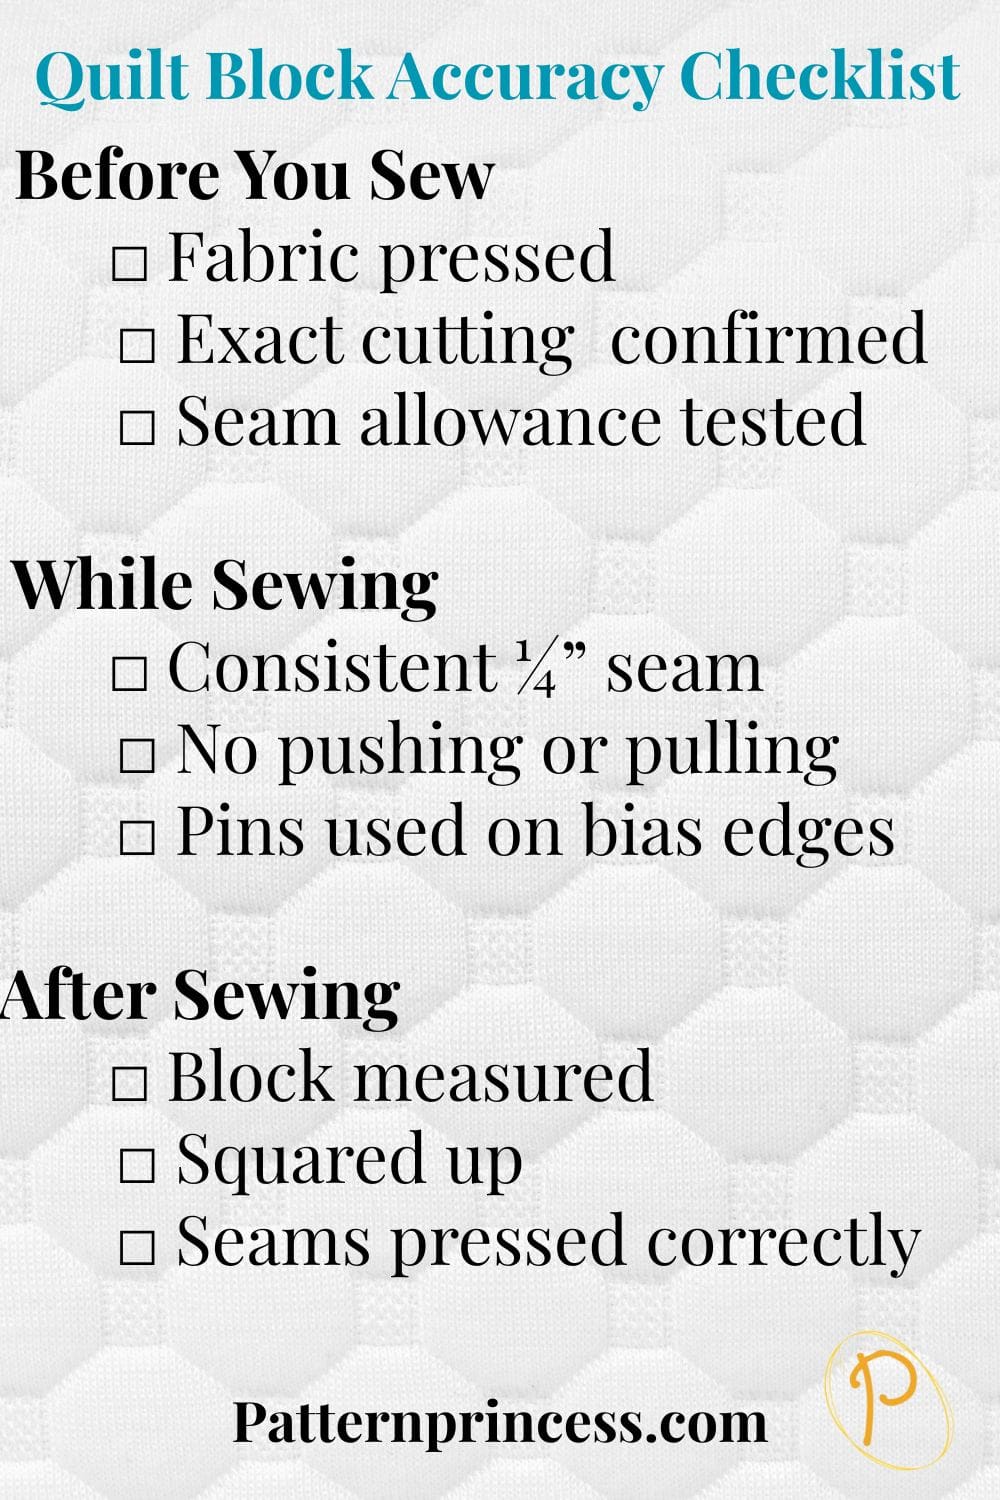
If you are new to quilting, this Quilt Block Accuracy Checklist may come in handy to help you remember all the steps to create squares that line up.

You can find Victoria crocheting, quilting, and creating recipes. She has cooked in restaurants for over 20 years, including many larger parties. She learned to crochet when she was just 11 years old and has been crocheting ever since; over 50 years now. Over 40 years ago, she loved her first class in sewing and continues to hone her skills in quilting. Many have enjoyed the handmade gifts over the years. In her professional career, she has worked in management in a wide variety of businesses including higher education as a dean of a division. All the while attending college part-time to achieve her doctorate in higher education with an emphasis in e-learning.