Last updated on October 4th, 2025 at 02:57 pm
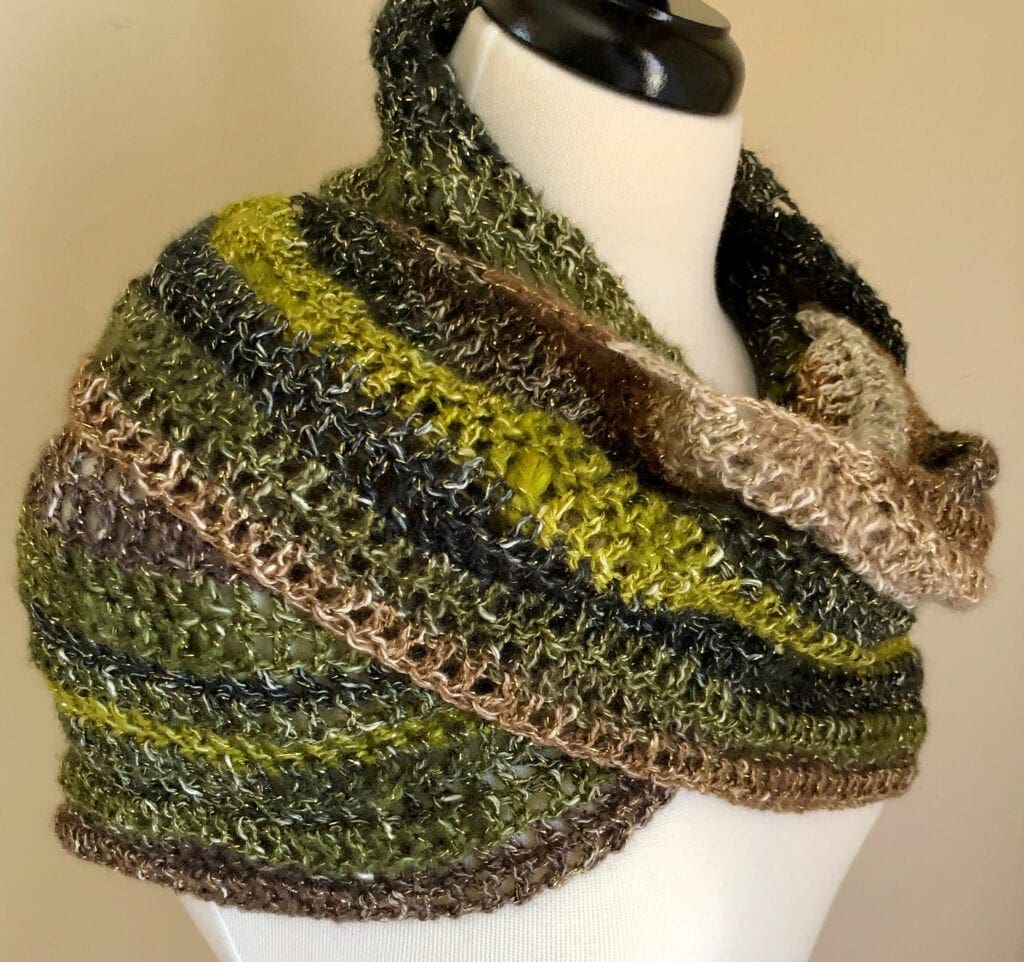
If you are looking for a crochet pattern that uses one skein of yarn, this woodland faeries triangle shawl will not disappoint. Lovely lacy flowing scarf.
*Post contains affiliate links* for more information please read the disclaimer on the About Us page.
How did I come up with the name of this shawl?
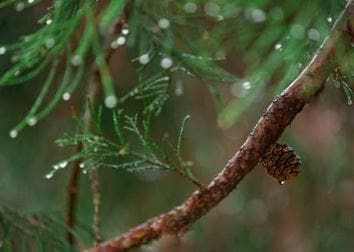
As I was admiring the lovely colors showing up as I worked through the skein of yarn, I kept thinking about woods and faeries. It just kept bringing beautiful images to mind. To help you visualize what I was thinking, as I crocheted this lacy shawl, here are a few photos to help you.
The trees in the woods are just gorgeous and the sun glinting through the trees highlights the colors even more. See the resemblance in the shawl?
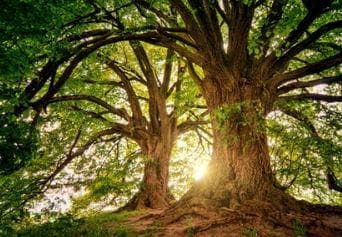
This photo is a closeup of a few tree branches and I could just see a cute little faerie sitting on there wings and all. I know, and active imagination right?
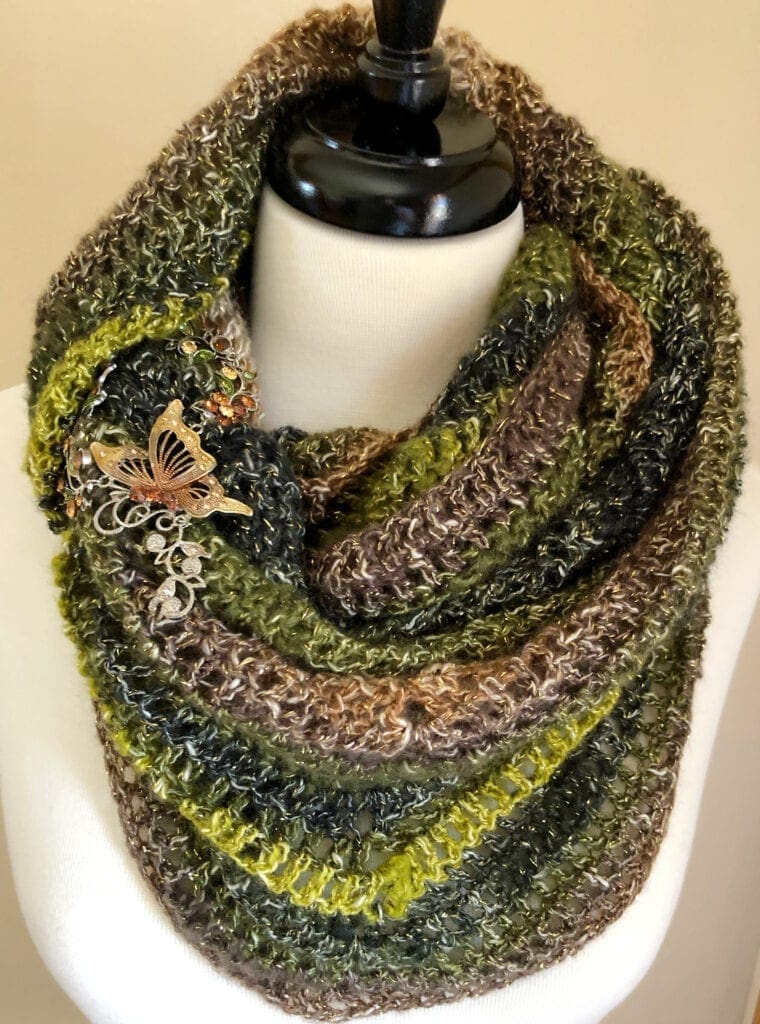
Butterfly Pin
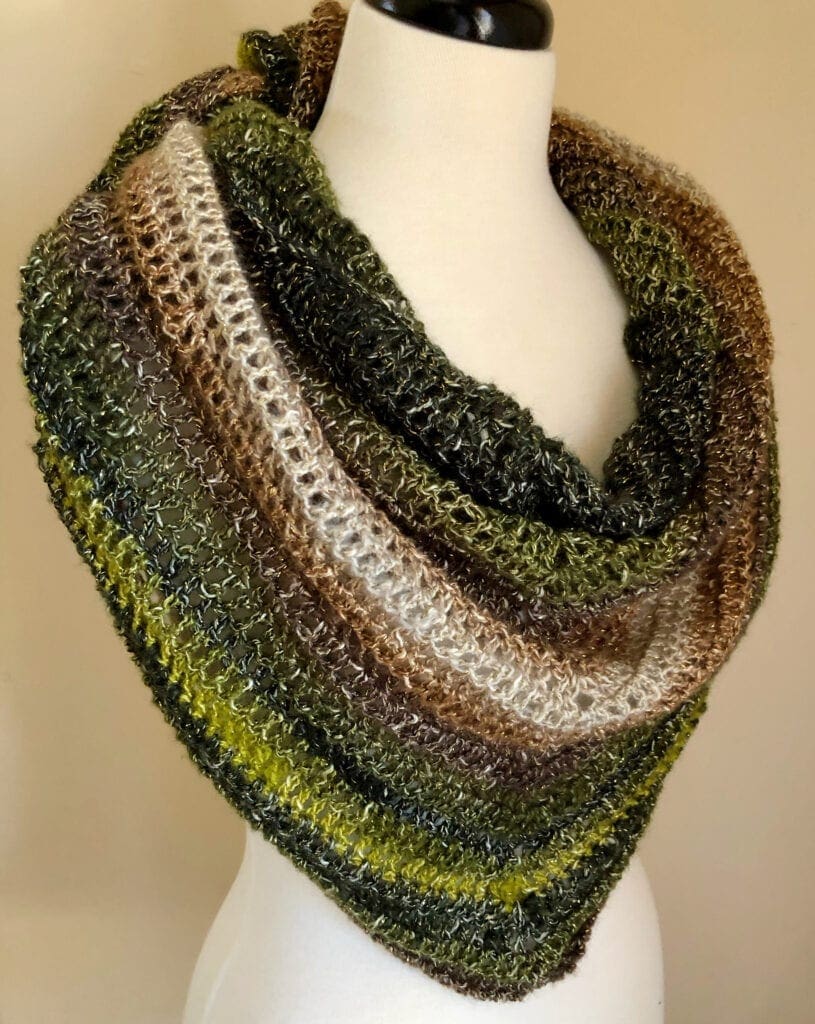
I added a butterfly pin as an accessory to this lacy shawl. Sometimes, it is just the right addition to create the look you want. This pin also helps hold the shawl in place too. The butterfly pin reminds me of a woodland faerie. There are quite a few beautiful pins to choose from here.
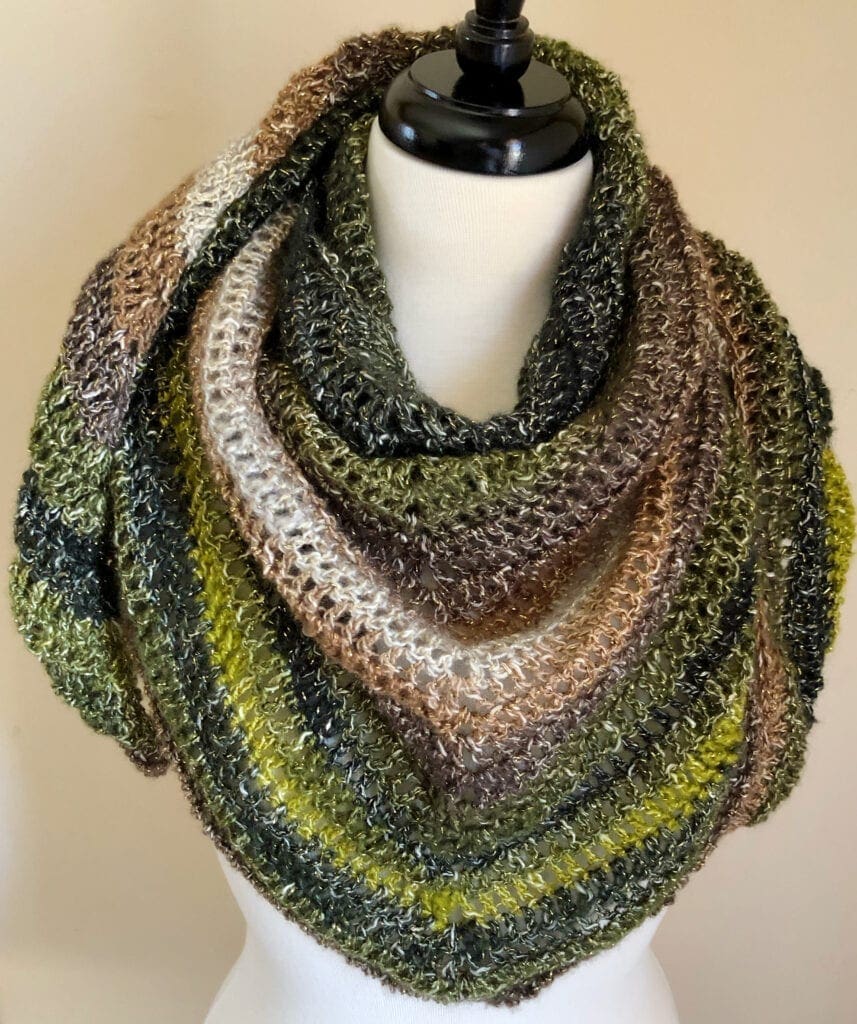
Simple Triangle Shawl
This crochet pattern is so easy, it really can be your first triangle shawl pattern. The best part of this wrap is that it is a one row repeat. You can keep repeating until you reach the desired size or until you run out of yarn.
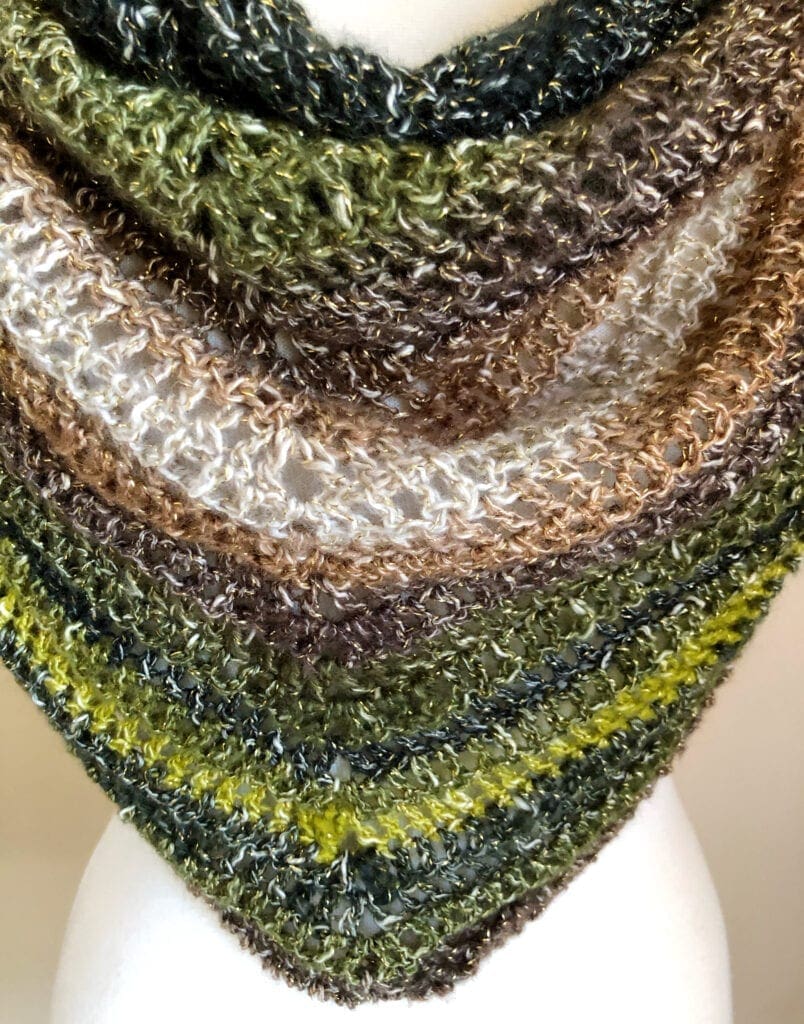
Shawl in a Ball Yarn
While I made this with one skein of yarn, you can really use multiple skeins of yarn if you choose; changing colors as you desire. The yarn used for this pattern is called Graceful Green. It is a shawl in a ball yarn from Lion Brand Yarns. Because there is 481 yards in this one skein, there was no need to join addition yarn skeins. This means just two pieces of yarn to weave in. Yay!
The colors of this yarn throughout are just lovely how they transition. While this yarn is on the thin side, I think that is part of the beauty of the end result. The drape of a light handmade accessory like this is so wonderful.
Video Tutorial
I really wanted to make sure that if you were a beginner at crochet that you could make this shawl/wrap. Therefore, I made a video tutorial to help understand the pattern. Also, if you are new at reading a crochet pattern, this might help you too. However, if you are an experienced crocheter looking for a simple pattern, this shawl is one you should check out.
The video links for both a left and right hand crocheter are below the written pattern.
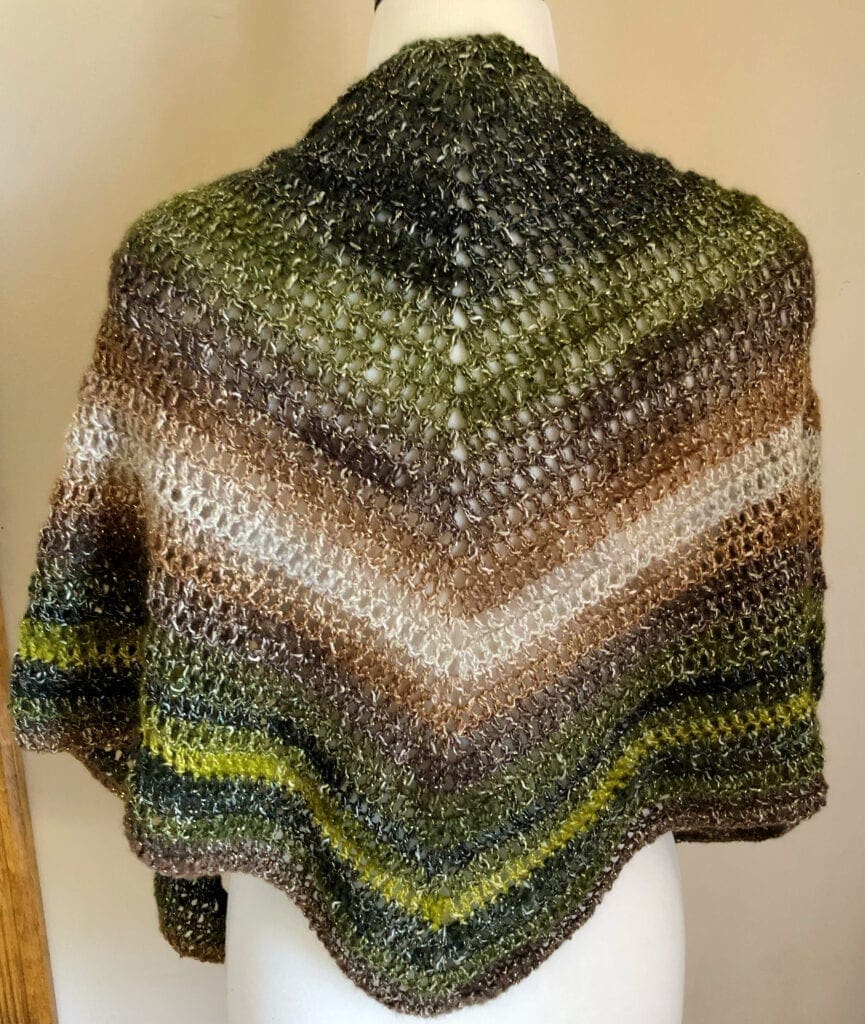
Hole Size in the Middle of the Shawl
Notice the hole in the mid-point of the shawl? Normally when I see crochet triangle shawls, that hole is a little larger. I wanted to have a bit smaller hole; therefore, I used a chain 1 in that space. However, if you would rather have a larger hold size in the middle, just crochet a chain 2 there instead of the chain 1.
Choosing a Crochet Hook Size
For this crochet pattern, the yarn package called for a J crochet hook. That is what I used today. it gives the shawl a bit more lacy look to it. Additionally, it is much easier to get your hook into the stitch spaces.
You can certainly use a smaller crochet hook; however, you will have a bit smaller shawl in the end.
Directions: Woodland Faerie Triangle Shawl
Gauge and Size
The gauge is not super important because you can truly use any yarn and just stop the pattern when your shawl is big enough. My shawl ended up measuring 64 inches wide from corner to corner and 23 inches from top to bottom. Remember, if you want a larger or smaller shawl, reduce or add to the number of rows.
Materials
Graceful Green Lion Brand Shawl in a Ball 1 skein or 481 yards. If you are not able to find this yarn locally, you can find it here.
Size J Crochet Hook
Yarn Needle
Scissors
Abbreviations
CH = Chain
DC = Double Crochet
SL ST = Slip Stitch
SP = Space
ST = Stitch
Directions
Begin CH 4 SL ST into the first CH. This will form a circle.
Row 1
CH 3, in the circle, 3 DC, CH 1, 3 DC. Turn
Row 2 and Beyond
CH 3, 3 DC into the same ST. DC in each ST until you reach the CH 1 SP of the previous row. In the CH 1 SP work (DC, CH 1, DC). Then continue on working a DC in each ST across. In the last ST work 3 DC. Turn
Finishing
Weave in all of your yarn ends and cut off any excess.
I was able to get 35 rows out of this 1 skein of yarn.
Video Tutorials of the Crochet Pattern
Right Hand Video Tutorial
Left Hand Video Tutorial
If you loved this post, please share. It helps to show me that these types of posts are helpful – thank you!
I hope that you liked this pattern. If you are looking for more ideas for crocheted projects, here are a few others you may enjoy.

You can find Victoria crocheting, quilting, and creating recipes. She has cooked in restaurants for over 20 years, including many larger parties. She learned to crochet when she was just 11 years old and has been crocheting ever since; over 50 years now. Over 40 years ago, she loved her first class in sewing and continues to hone her skills in quilting. Many have enjoyed the handmade gifts over the years. In her professional career, she has worked in management in a wide variety of businesses including higher education as a dean of a division. All the while attending college part-time to achieve her doctorate in higher education with an emphasis in e-learning.


