Last updated on January 19th, 2026 at 10:15 pm
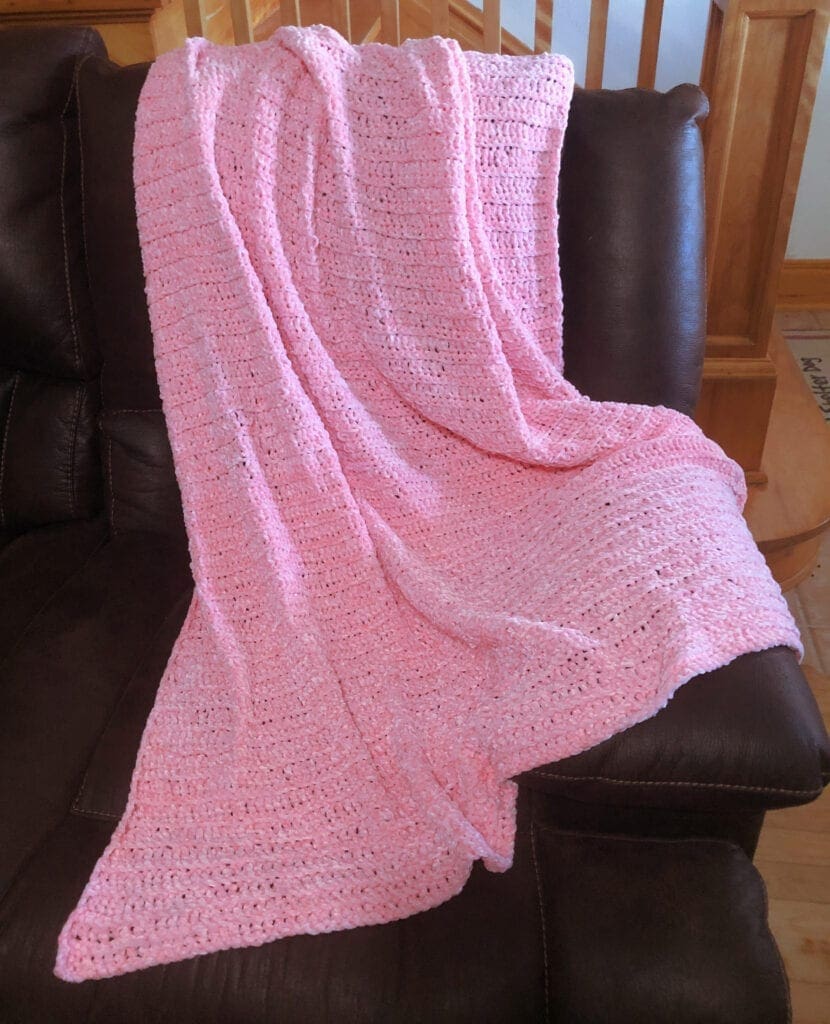
This velvet yarn crochet blanket is soft and squishy. The plush blanket is so comfortable to cover up with. I feel like I am in an expensive hotel spa staying cozy under a fancy and expensive afghan.
Post contains affiliate links and we earn commissions if you shop through the links on this page. For more information please read the disclaimer on the About Us page.
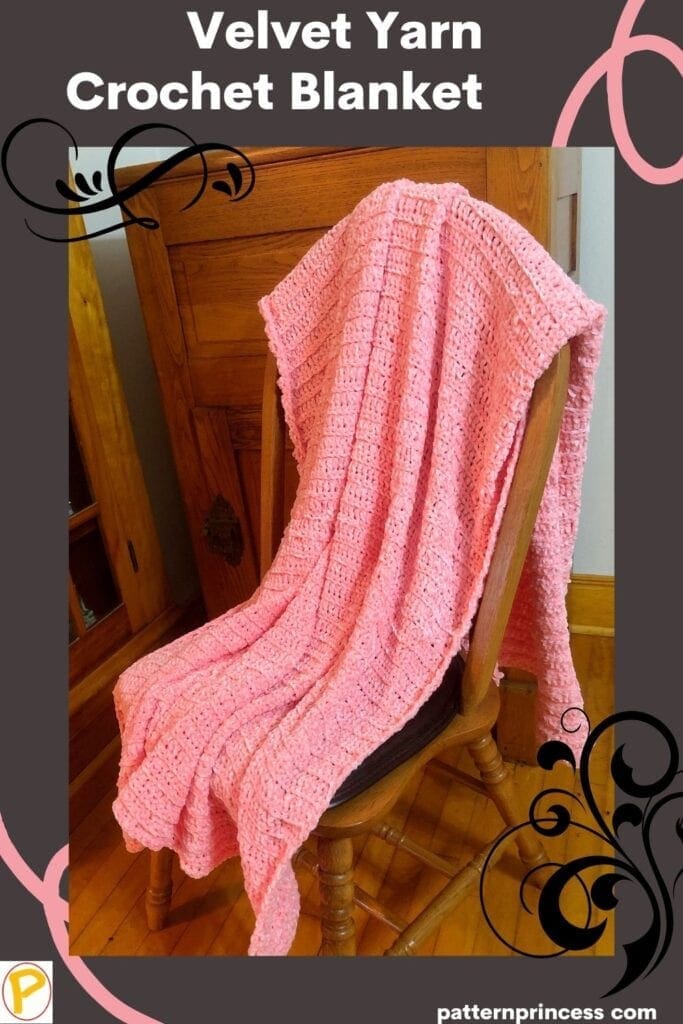
See How Easy Making a Velvet Crochet Afghan can be
Making a luxurious velvet yarn afghan can be done successfully. Once I had a chance to work with this yarn, I was gliding along effortlessly. The result is a plush and warm blanket to snuggle up with.
Chunky Soft Blanket with Texture
This crochet pattern uses a row of single crochet alternatively with a row of back loop double crochet. The single crochet row provides a bit of stability for the double crochet row and together, they create a lovely textured blanket.
To keep this diy project easy, I did not add a crochet border to this afghan. Further, using just one color means less yarn ends to weave in.
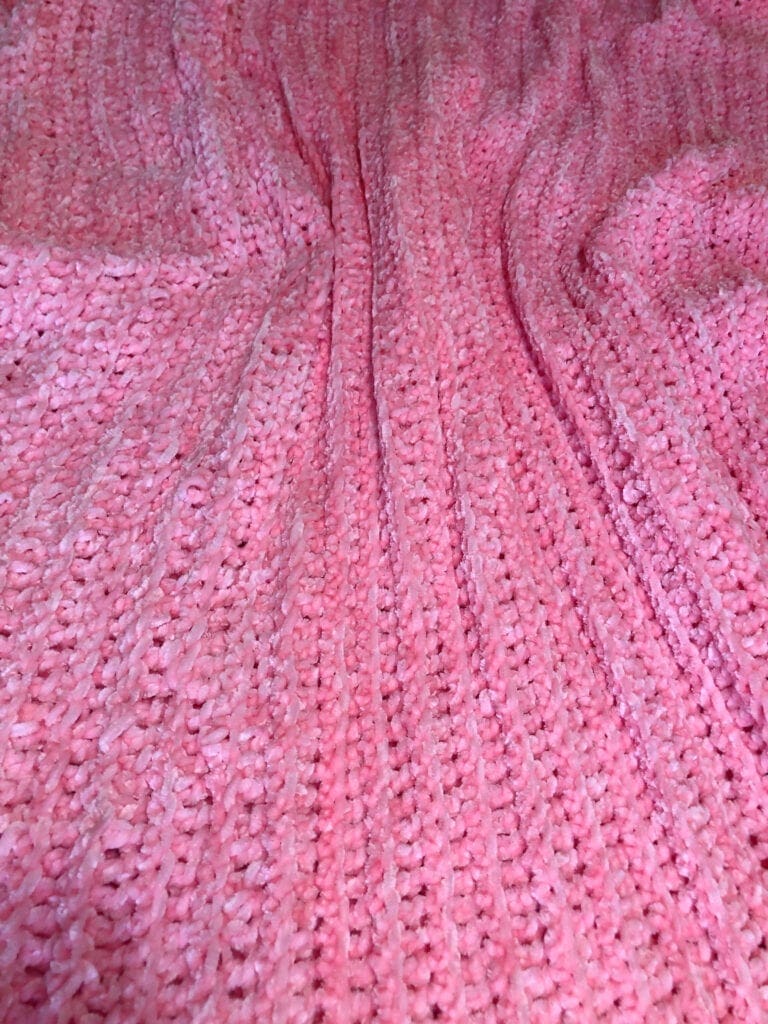
Crocheting a Swatch First
Since this is my first velvet yarn project, I did a swatch to see how this yarn would look with the stitch choices. I tried a few stitch combinations first and landed on this one. Working with velvet yarn can be a little tricky as it is a rather slippery and chunky yarn; however, once you find the right stitch and tension to use, you will be gliding along nicely.
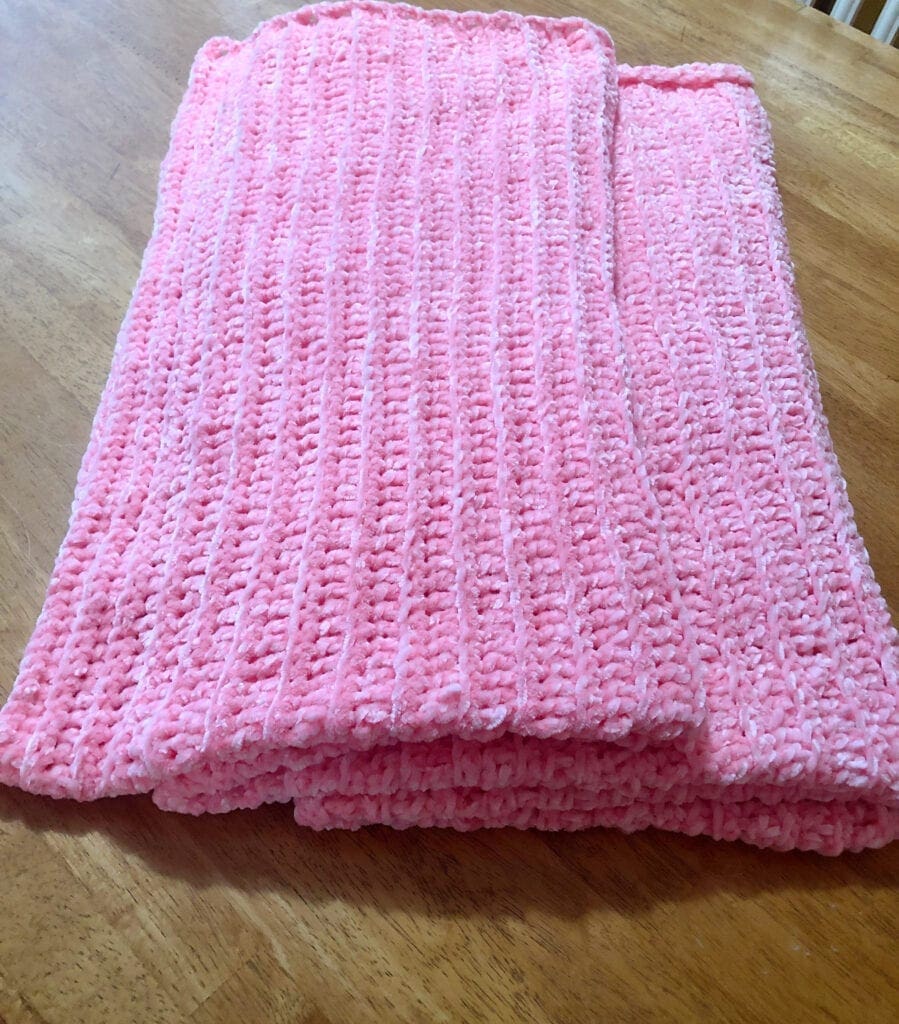
Crochet Pattern Using Velvet Yarn
I have crocheted many blankets now; however, this is the first one that I have made using velvet yarn. There were a few rows along with way where I had to remove the stitches and redo.
While I do love this yarn now that I have had a chance to work with it a bit more, it does take some getting used to in the beginning. There are a few tips and tricks that I will share with you too.
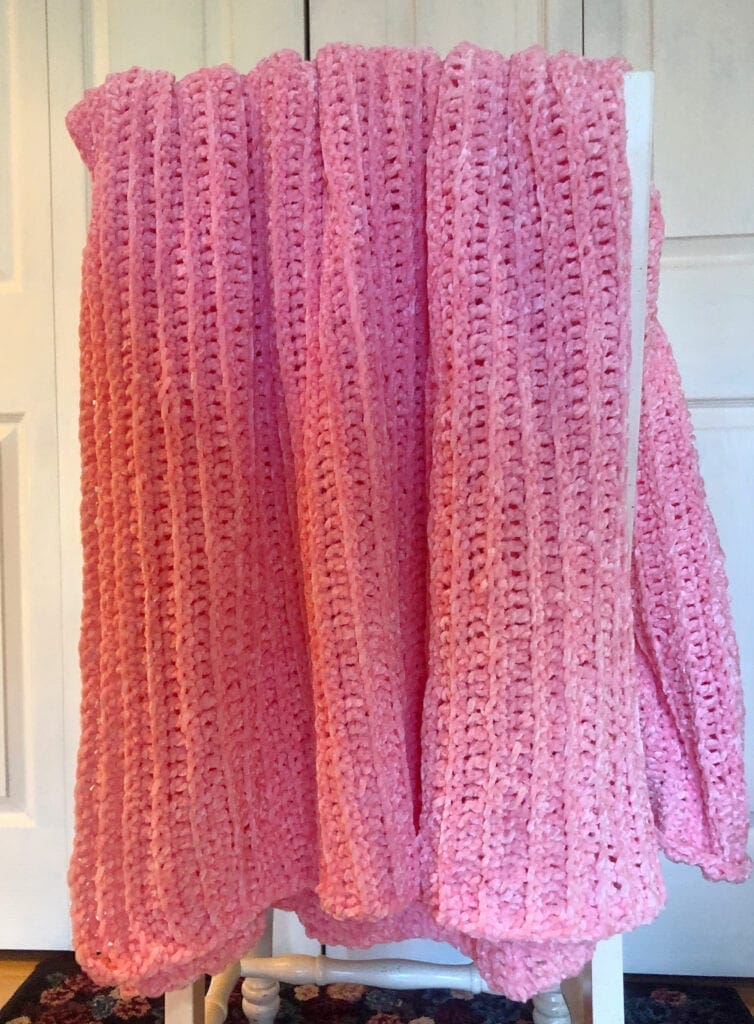
Making a Crochet Swatch Before the Larger Afghan
My swatch I made for this blanket turned out lovely; therefore, I proceeded on with the larger afghan. That is when I noticed a few issues.
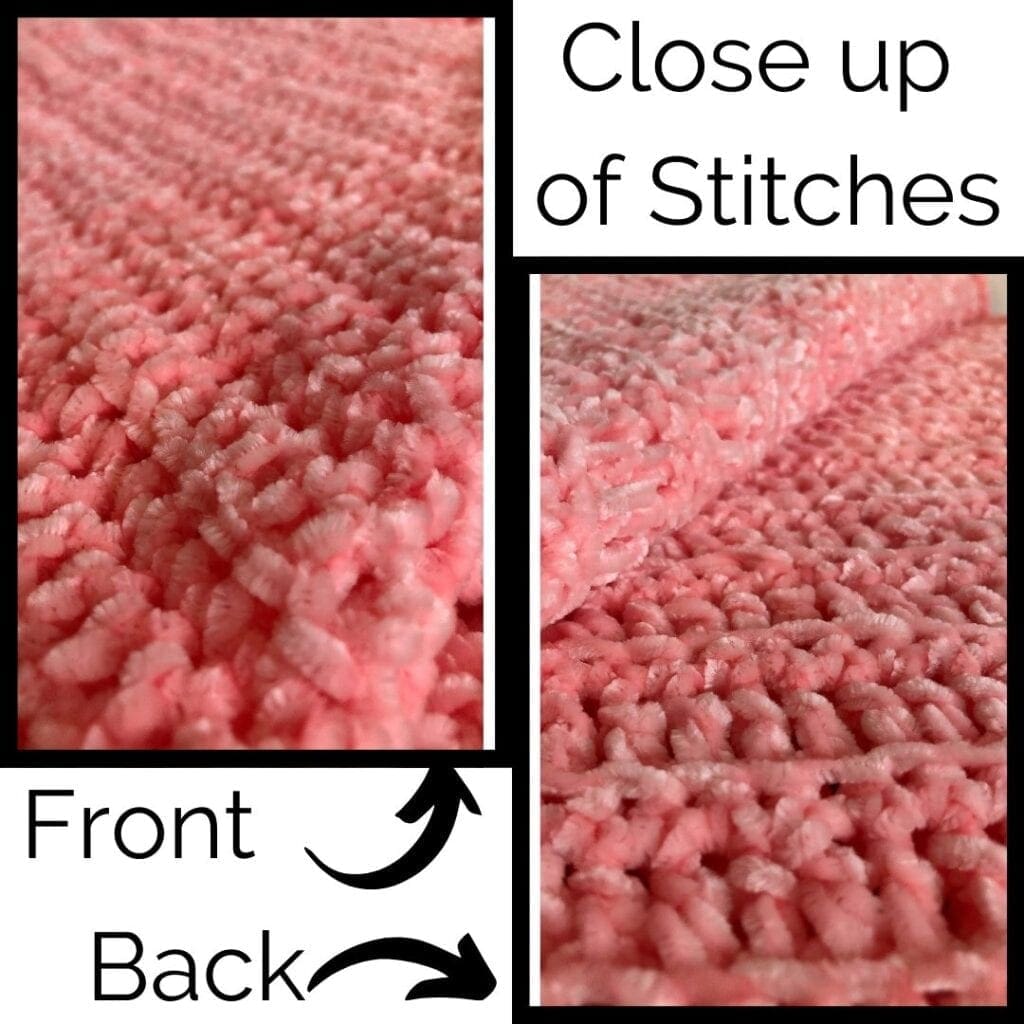
When I first started crocheting the larger project, I was crocheting a bit loosely. After a few rows, I checked my work a bit closer as I noticed a few stitches that seemed to pull quite loose. After trying to adjust the stitches close to the larger piece of yarn that seemed to work out, I gave up and decided to rip a few rows out and redo them.
Use More Tension When Crocheting with Velvet Yarn
After that, I crocheted a bit tighter with my stitch and in no time, I was gliding along nicely. However, throughout the blanket, I did have to double check the stitches. There were a few times that I had to rip out a few rows and redo them.
One of the areas I noticed that caused the stitches to pull tighter in one place and create a loose stitch that some folks refer to as “worming”, is when I would put down my hook and get more yarn off the skein.
When I did this, I realized that I was pulling on the blanket and causing a tighter stitch and the loop on the hook was not as tight as when I was just crocheting along. Therefore, each time I took more yarn off the skein, I was careful to watch for this. If I thought the stitch had tightened up, I pulled it out and redid the stitch before moving on.
Bernat Baby Velvet Yarn Crochet Blanket
Velvet Yarn Used for This Crochet PatternThis blanket was made using three skeins of Yarnspirations Bernat Baby Velvet yarn. There are other types of velvet yarn and other crocheters have noted that there is a slight difference when working with each one. Here is a great resource that helps understand the differences in velvet yarn.
Weaving in Yarn Tails with Velvet Yarn
Since this velvet yarn is a bit slippery, I like to have a quite long yarn tail to weave in about 12-16 inches. Make sure that the yarn is weaved back and forth enough to be snug. Another option is to join the yarn using a knot that will not pull out. I tried that when changing one of the skeins of yarn and it held nicely. Just to be save, I left tails on the yarn and weaved that in too. Here is a tutorial on how to make the knot.
Check Your Work Frequently
It is best to take a moment and carefully review your work every few rows. That way, if you see a stitch that has worked its way out, you can rip out the stitches, correct your tension and redo them. I find it is much easier to redo a few rows that something I have been working on a few weeks. If I was near the end of a project and saw a stitch worked out, I might just want to throw the project away. So, I check my work often.
Directions: Velvet Yarn Crochet Blanket
Gauge
12 single crochet to every 4 inches
Size
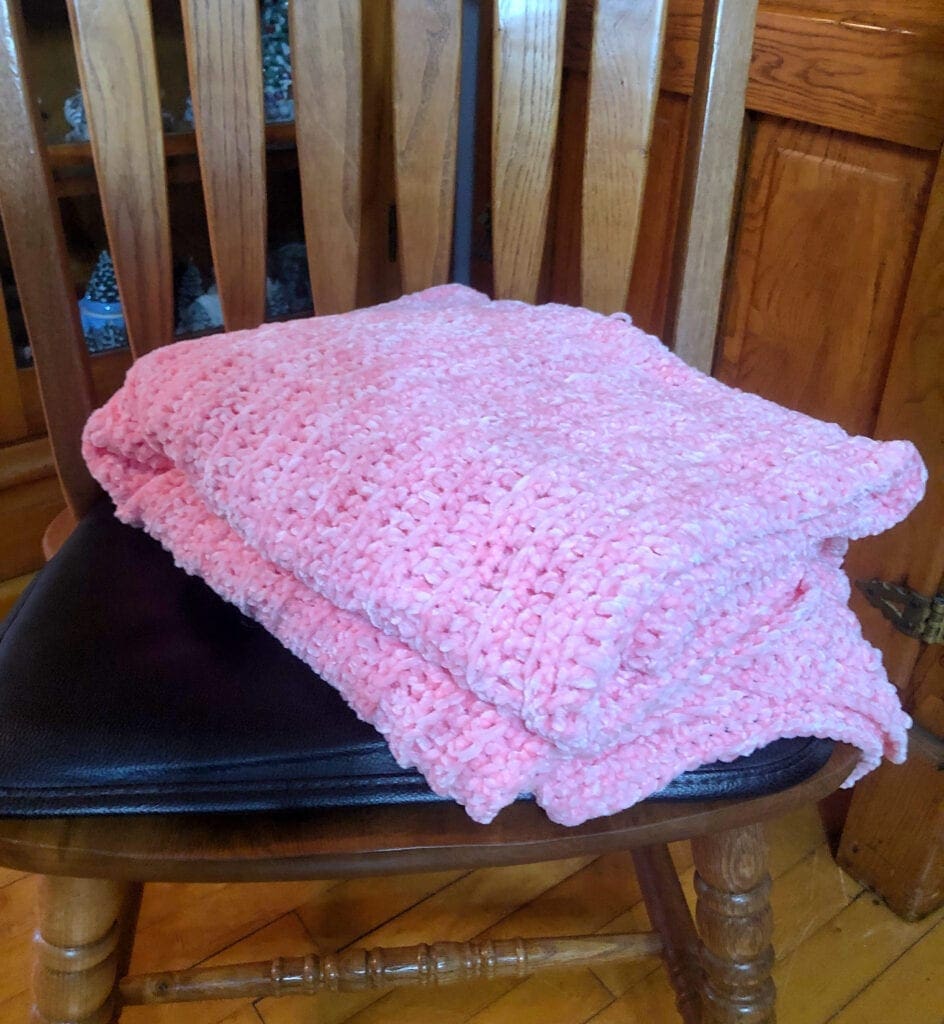
68 inches long X 48 inches wide
Each skein yielded 40 rows.
To change the size of the blanket, just increase or decrease the beginning chain stitches and add or subtract the number of rows.
Materials
Ever After Pink Yarnspirations Bernat Baby Velvet yarn. I used 3 skeins or a total of 1,476 yards. If you are not able to find this yarn locally, you can find it here.
Size K Crochet Hook Use a smaller hook if you find stitches pulling loose for the double crochet row.
Yarn needle
Scissors
Abbreviations
BLDC = Back Loop Double Crochet
CH = Chain Stitch
DC = Double Crochet
ST = Stitch
STs = Stitches
Pattern Notes:
The beginning chain three counts as a double crochet for each row.
The beginning chain two counts as a single crochet. I used the chain two for the single crochet row, so it was easy to find the last stitch and have an easy place to insert the hook for the last stitch of the row. It keeps the edges even.
Turn at the end of each row.
Do a swatch first and if you see any BLDC stitches looking loose, tighten your yarn tension or use a smaller hook size or two.
Since this is a slippery yarn, when changing skeins of yarn, leave an extra long yarn tail to weave in. If you would like extra security knot the two strands of yarn together too.

Crochet Pattern Directions
Begin
Chain 127 stitches
Row 1
In the second CH from the hook, SC and in each ST across. Turn (125 STs)
Row 2
CH 3 (Counts as a DC). BLDC in each ST across. Turn (125 STs).
Row 3
CH 2 (Counts as a SC). SC in each ST across. Turn (125 STs).
Row 4
CH 3 (Counts as a DC). BLDC in each ST across. Turn (125 STs).
Rows 5-120 or your desired length
Continue repeating rows 3 and 4.
Finishing
Weave in yarn ends and remove the excess.
If you are not familiar with how to crochet the back loop double crochet pattern, I have a quick video for you.
If you loved this post, please share. It helps to show me that these types of posts are helpful – thank you!
I hope that you liked this pattern. If you are looking for more ideas for crocheted projects, here are a few others you may enjoy.
[pt_view id=”c2414ed6ir”]
If you have never tried to make a shawl, this is a lovely lacy shawl that would be perfect with a pair of jeans and dressed up enough for a wedding.

You can find Victoria crocheting, quilting, and creating recipes. She has cooked in restaurants for over 20 years, including many larger parties. She learned to crochet when she was just 11 years old and has been crocheting ever since; over 50 years now. Over 40 years ago, she loved her first class in sewing and continues to hone her skills in quilting. Many have enjoyed the handmade gifts over the years. In her professional career, she has worked in management in a wide variety of businesses including higher education as a dean of a division. All the while attending college part-time to achieve her doctorate in higher education with an emphasis in e-learning.

Pingback: How to Crochet with Velvet Yarn - Pattern Princess