Last updated on October 4th, 2025 at 03:09 pm
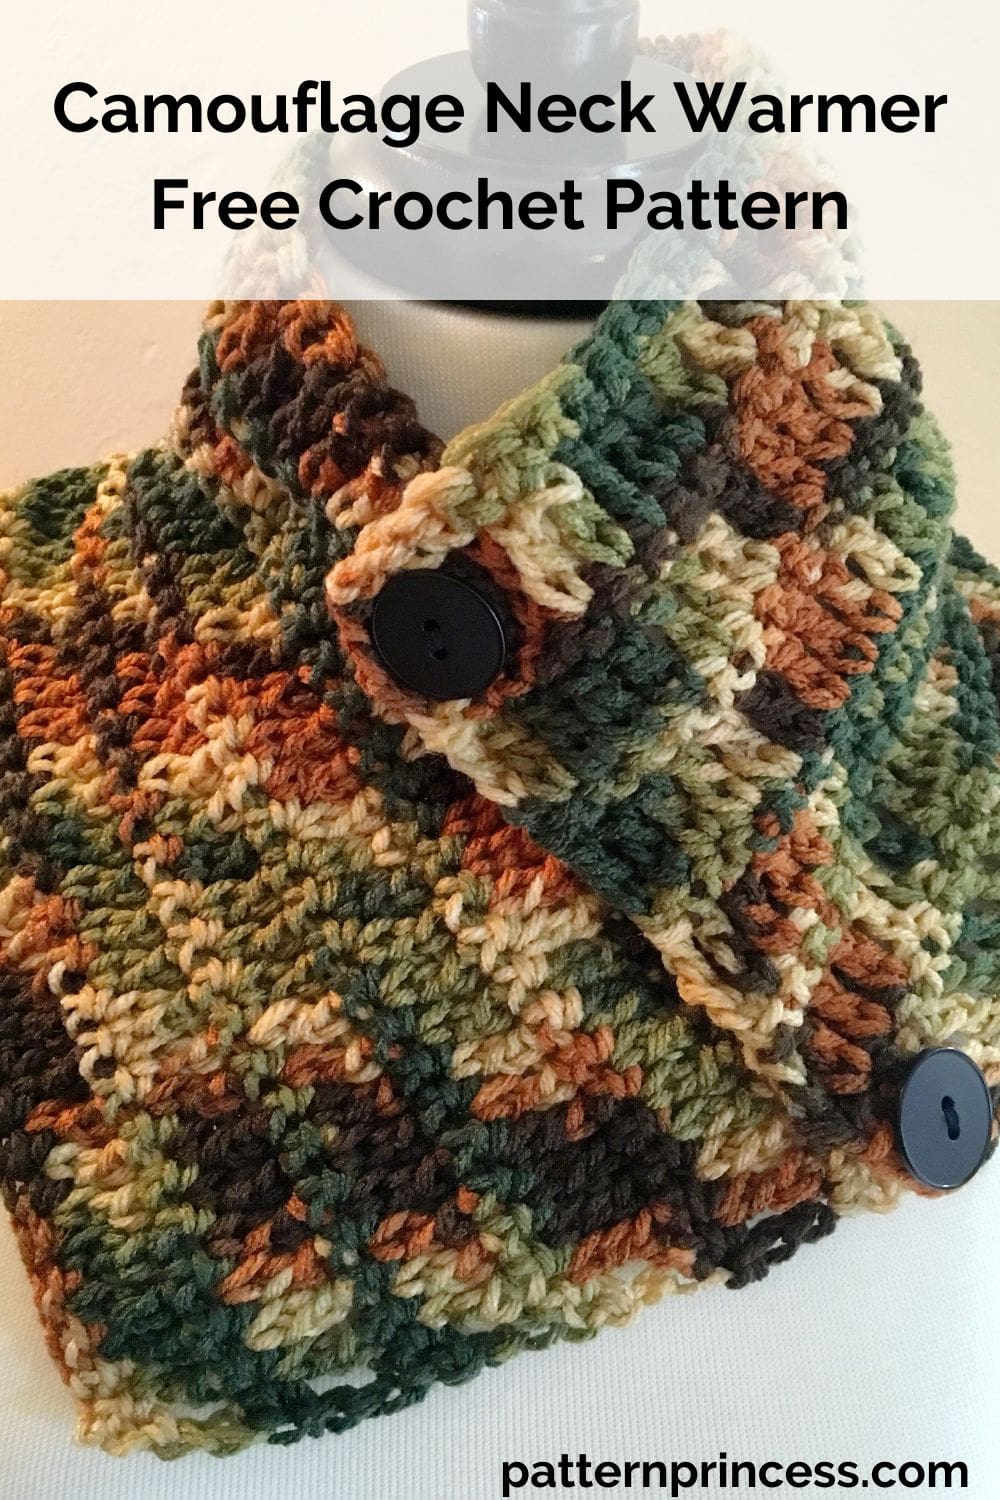
This camouflage neck warmer free crochet pattern is an easy beginner crochet pattern that not only uses one skein of yarn, but can also be made in a few hours. I just love simple patterns that can be made without much difficulty. The results are so beautiful.
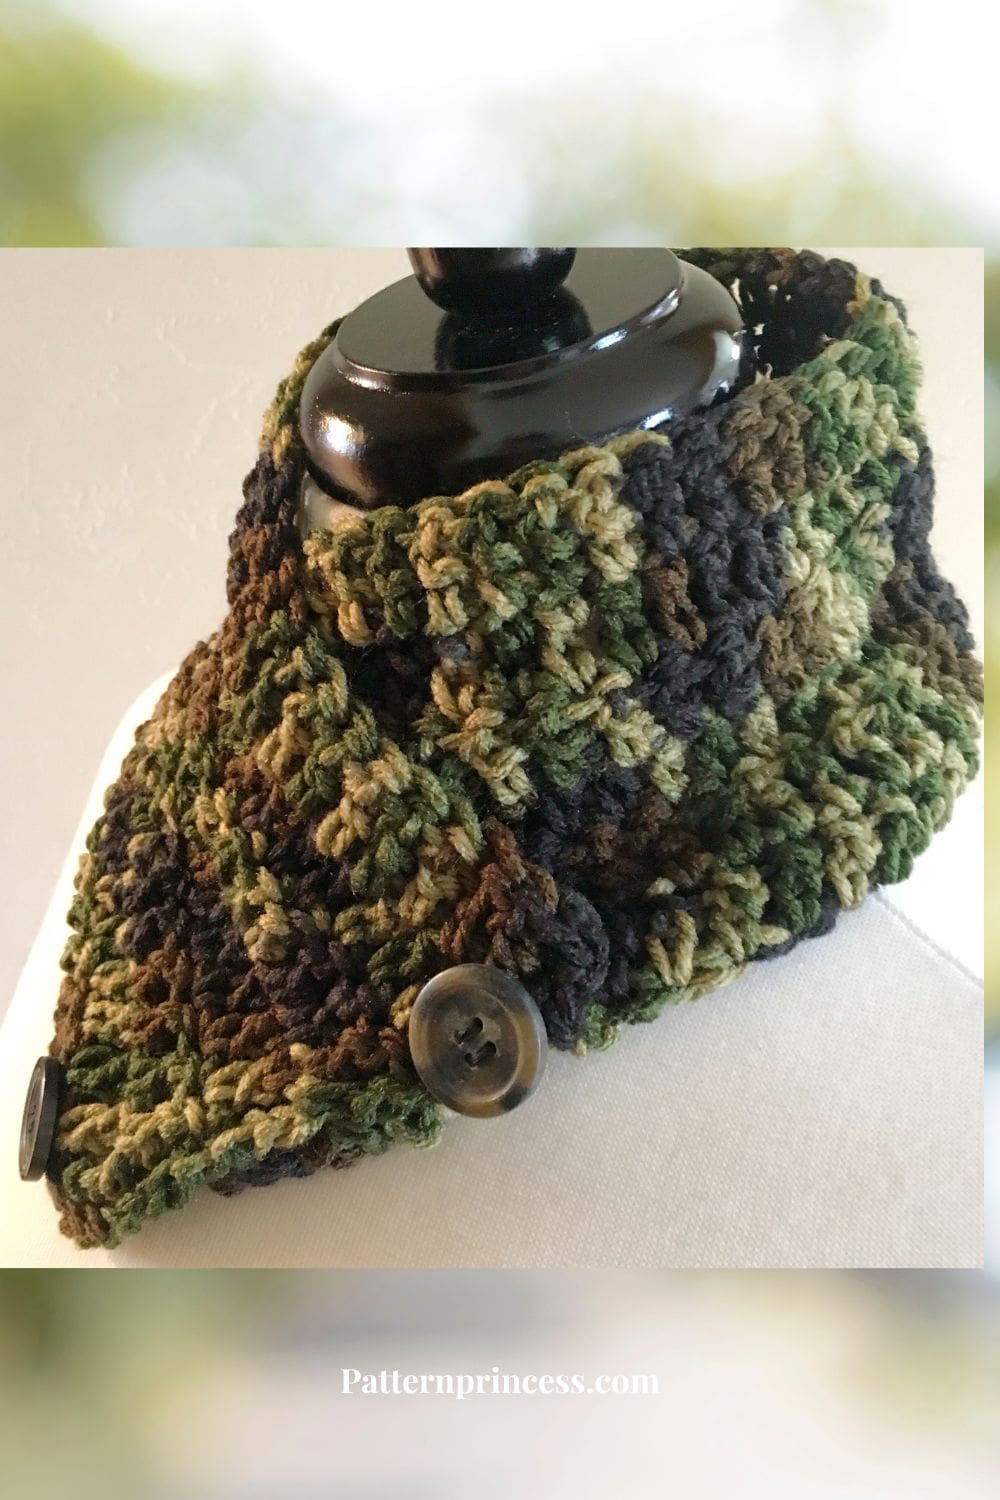
This camouflage clothing has more recently become a very desired fashion statement for outdoor women. This camouflage yarn can keep us women warm, looking feminine, yet have the outdoor look. Create an everyday fashion look with this stylish crochet neck warmer.
Two-Row Repeating Pattern
This crochet pattern repeats two rows throughout until the desired size is reached. If you can double crochet and single crochet, I would encourage you to give this pattern a try. Add two buttons that help show off the crochet neck warmer. These are so nice to slip on.
Buttons up for Warmth
This camouflage neck warmer is great for keeping your neck warm in the cooler weather. Without much bulk, it has just the right amount of length to button cozily around your neck. I like it because it does not hang down.
Personalize Your Look with the Perfect Button
One of the fun parts of finishing this neck warmer is choosing a button that reflects your style. Since no specific buttonhole is needed (thanks to the natural spaces in the crochet), you have the freedom to get creative!
- Rustic Vibes: Wooden buttons are a classic choice that pair beautifully with the camouflage yarn, giving your cowl a warm, outdoorsy feel.
- Modern & Sleek: Opt for a metallic or matte black button for a minimalist, contemporary look.
- Playful & Fun: Want to add some flair? Try a brightly colored or patterned button to make a statement.
- Vintage Charm: Repurpose a unique button from an old coat or thrift store find for a one-of-a-kind touch.
No matter which style you choose, your button is more than just functional—it’s a chance to make the neck warmer your own!
Directions: Camouflage Neck Warmer Free Crochet Pattern
Skill Level
Beginner Friendly
Crochet Gauge
4” x 4” (10 cm x 10 cm) 12 sc and 7 rows of pattern.
Size
8 1/2 inches wide x 30 inches long
Materials
- Yarn 1 skein Red Heart Camouflage Yarn, partial skein. The camouflage is available in different colors.
- Size H hook 5.0mm
- 2 Buttons
- Needle
- Thread
- Scissors
- Yarn Needle
If you are not able to find the yarn locally, you can purchase it online right from Red Heart through the link on our Savings Center page.
Abbreviations
- CH = Chain
- DC = Double Crochet
- SC = Single Crochet
- SP = Space
- ST = Stitch
Pattern Notes
This pattern is written in U S Crochet Terms.
The cowl is worked lengthwise in rows.
Turn at the end of each row.
Directions
Start by making a slip knot and adding the loop on the hook.
Chain any number of chains for the length you desire.
CH 90
Row 1
In the second CH from the hook, work a SC and in each ST across. Turn
Row 2
CH 3 (counts as DC). Work a DC in each ST across. Turn
Row 3
In the second CH from the hook, work a SC and in each ST across ending with a SC in the top CH of the first CH 3. Turn
Row 4
CH 3 (counts as DC). Work a DC in each ST across. Turn
Rows 5-11
Continue to repeat rows 3 and 4.
Finishing
Once you have completed the crochet work to your desired length, weave in the ends.
After you work the last ST, cut off the yarn leaving about a 12-inch long tail. Pull the yarn tail through the last loop on the hook.
Thread the yarn needle with the yarn tails and weave them through the crochet stitches back and forth until the yarn feels secure. Snip off the excess yarn.
If you are a beginner crocheter, you can find more detail on finishing your crochet project on the website.
How to Sew a Button on Your Crochet Cowl
Adding a button to your crochet neck warmer is the perfect finishing touch—it adds both function and style. Here’s how to do it:
What You’ll Need:
- 1 button (size of your choice; I used a ___ size button that complements the yarn)
- Needle with a large enough eye for your yarn or matching sewing thread
- Scissors
- Optional: Stitch marker or safety pin
Steps:
- Try It On for Placement: Wrap the neck warmer around your neck and decide where you’d like it to fasten. Use a stitch marker or safety pin to mark where the button should go.
- Thread Your Needle: If your yarn fits through the eye of a needle, you can use the same yarn to attach the button. Otherwise, use matching sewing thread for a cleaner look.
- Sew the Button On:
- Insert the needle from the back of the fabric to the front, through one of the buttonholes.
- Go down through the opposite buttonhole, pulling the yarn/thread snug.
- Repeat several times (usually 4–6 passes) to secure the button.
- For 4-hole buttons, sew through the opposite two holes in the same way.
- Secure the Yarn or Thread:
- On the backside of your cowl, tie a small knot or weave in the ends securely with your yarn needle or tapestry needle.
- Test the Fit: Make sure the button fits snugly through one of the gaps in your crochet stitches (no buttonhole is needed thanks to the open texture of crochet!).
This pattern not only makes for a quick and satisfying project, requiring just one skein of yarn and a few hours of your time, but it also yields stunning results.

Camouflage Neck Warmer Free Crochet Pattern
Equipment
- Size H hook 5.0mm
- 2 Buttons
- Needle
- Thread
- Scissors:
- Yarn Needle
Materials
- 1 skein Red Heart Camouflage medium weight Yarn partial skein. The camouflage is available in different colors. 236 yards per skein.
Instructions
Directions
- Start by making a slip knot and adding the loop on the hook.
- Chain any number of chains for the length you desire.
- CH 90
Row 1
- In the second CH from the hook, work a SC and in each ST across. Turn
Row 2
- CH 3 (counts as DC). Work a DC in each ST across. Turn
Row 3
- In the second CH from the hook, work a SC and in each ST across ending with a SC in the top CH of the first CH 3. Turn
Row 4
- CH 3 (counts as DC). Work a DC in each ST across. Turn
Row 5-11
- Continue to repeat rows 3 and 4.
Finishing
- Once you have completed the crochet work to your desired length, weave in the ends.
- After you work the last ST, cut off the yarn leaving about a 12-inch long tail. Pull the yarn tail through the last loop on the hook.
- Thread the yarn needle with the yarn tails and weave them through the crochet stitches back and forth until the yarn feels secure. Snip off the excess yarn.
- If you are a beginner crocheter, you can find more detail on finishing your crochet project on the website.
How to Sew a Button on Your Crochet Cowl
- Adding a button to your crochet neck warmer is the perfect finishing touch—it adds both function and style. Here’s how to do it:
What You'll Need:
- 1 button (size of your choice; I used a ___ size button that complements the yarn)
- Needle with a large enough eye for your yarn or matching sewing thread
- Scissors
- Optional: Stitch marker or safety pin
Steps:
- Try It On for Placement: Wrap the neck warmer around your neck and decide where you’d like it to fasten. Use a stitch marker or safety pin to mark where the button should go.
- Thread Your Needle: If your yarn fits through the eye of a needle, you can use the same yarn to attach the button. Otherwise, use matching sewing thread for a cleaner look.
Sew the Button On:
- Insert the needle from the back of the fabric to the front, through one of the buttonholes.
- Go down through the opposite buttonhole, pulling the yarn/thread snug.
- Repeat several times (usually 4–6 passes) to secure the button.
- For 4-hole buttons, sew through the opposite two holes in the same way.
Secure the Yarn or Thread:
- On the backside of your cowl, tie a small knot or weave in the ends securely with your yarn needle or tapestry needle.
- Test the Fit: Make sure the button fits snugly through one of the gaps in your crochet stitches (no buttonhole is needed thanks to the open texture of crochet!).
Notes
- CH = Chain
- DC = Double Crochet
- SC = Single Crochet
- SP = Space
- ST = Stitch
If you loved this post, share on your fave social media links. It helps to show me that these types of posts are helpful – thank you!
Here are some other crochet patterns you might enjoy.

You can find Victoria crocheting, quilting, and creating recipes. She has cooked in restaurants for over 20 years, including many larger parties. She learned to crochet when she was just 11 years old and has been crocheting ever since; over 50 years now. Over 40 years ago, she loved her first class in sewing and continues to hone her skills in quilting. Many have enjoyed the handmade gifts over the years. In her professional career, she has worked in management in a wide variety of businesses including higher education as a dean of a division. All the while attending college part-time to achieve her doctorate in higher education with an emphasis in e-learning.
Quick and Easy Crochet Pattern