Last updated on October 4th, 2025 at 03:12 pm
Two free cowl neck warmer and scarf crochet patterns. They both crochet up quickly with one skein of yarn. make matching headbands too. Learn how to make a crochet neck warmer and scarf. These are two that I made for my daughter and they were a joy to crochet.
*Post contains affiliate links*at no additional cost to you for more information please read the disclaimer on the About Us page.
Two Scarf Crochet Patterns and A Headband Pattern
Keep reading until the end to find out about all of the patterns in this group of easy crochet patterns.
Cowl Neck Warmer Pattern
It may not be winter in Wisconsin yet, but in my world, it is never too early to make something pretty to wear when those chilly days arrive. Also, in the hot summer, I do not need a heavy afghan on my lap to make me even warmer. These patterns work up quick and I love the blocked look that it has.
Two Scarf Crochet Patterns, okay, really four.
Keep reading until the end to find out about the scarf crochet patterns.
More than One Scarf
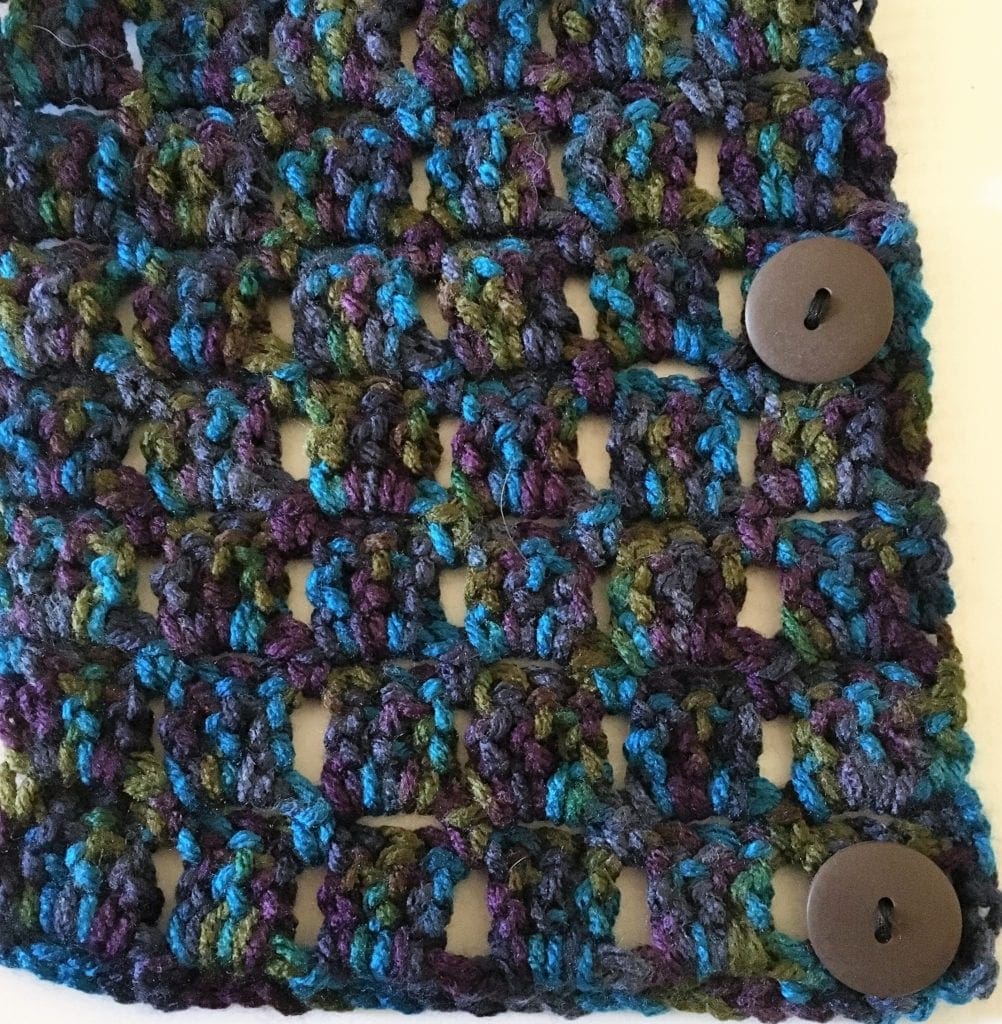
This neck warmer has buttons to help secure this cowl in place. I used the block stitch to create this lovely textured neck warmer. It is a quick crochet project and I love how the colors of the Peacock yarn come together.
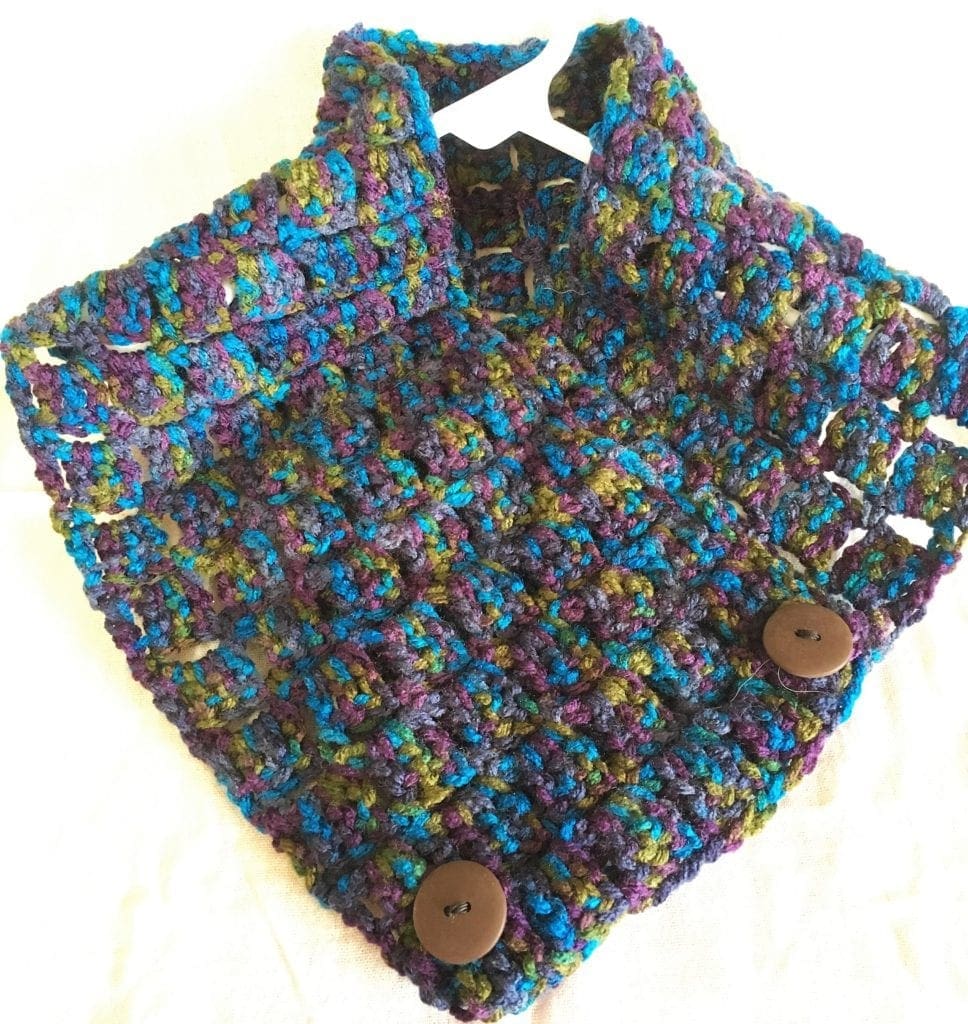
The first one is more of a cowl neck warmer and has buttons. It is approximately 30 inches long and buttons nicely around my neck without having all of the bulk of a long scarf. However, I lost the wrapper from around the yarn and I have spent hours upon hours looking for the same yarn. A Facebook friend from a crochet group knew the name of the yarn. She was spot on! Peacock. I can now share with you the yarn I used.
Materials
2 Buttons
Needle
Thread
Scissors
Yarn needle
Abbreviations
Ch = chain
Sc = single crochet
Dc = double crochet
Sp = space
St = stitch
Directions
Ch 26
Row 1: In the second ch from the hook, work a sc. *ch 3, skip 3 sp, sc in next ch* repeat from * until the end of the row.
Row 2: ch 3 *work 3 Dc in the ch 3 sp from the previous row. Ch 1* repeat from the * until the end of the row. Then work 1 sc in the turning chain.
Row 3: *ch 3, skip 3 sp, sc in next st* repeat from * until the end of the row.
Row 4: ch 3 and turn. *work 3 Dc in the Ch 3 sp from the previous row. Ch 1* repeat from the * until the end of the row. Then work 1 sc in the turning chain.
Repeat rows 3 and 4 until cowl is 30 inches long or desired length. I have made this in varying lengths, 30 or even 3 inches I think works the best. It still buttons close to the neck and keeps you warm without all the bulk of a long scarf.
Once you have completed the crochet work to your desired length, weave in the ends. Cut off the excess yarn.
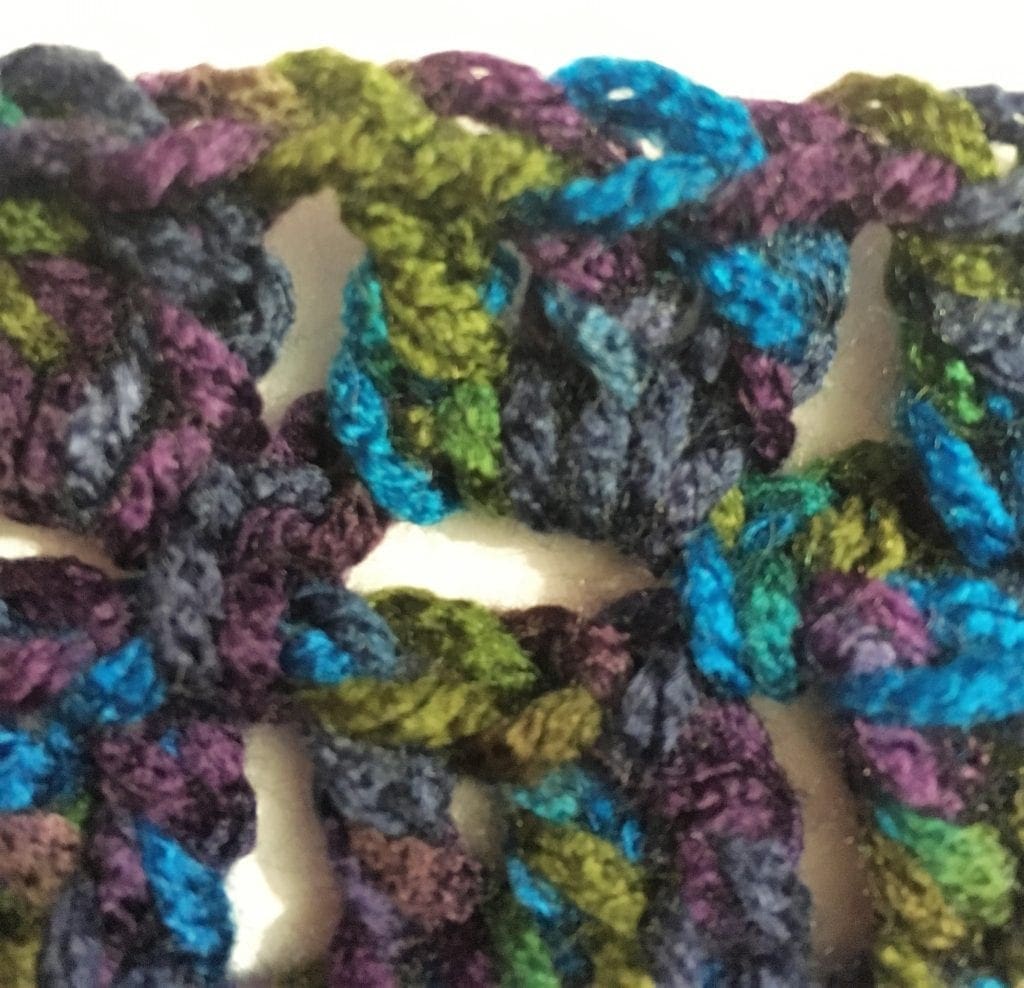
Here is a close up of the stitches to help you understand the pattern better…just in case I am not as clear as I think I am.
Buttons
This neck warmer has eyelet holes that were made throughout the crochet process, so you will have plenty of places to put your buttons. However, no matter where you choose to put your buttons, make sure your buttons are about a 1-inch button or even slightly bigger. This will help them not pull through the holes in the pattern. The buttons here are attached on the long side of the scarf using a needle and thread. I made sure to use the width of the scarf as a guide on placing the buttons.

Scarf Pattern
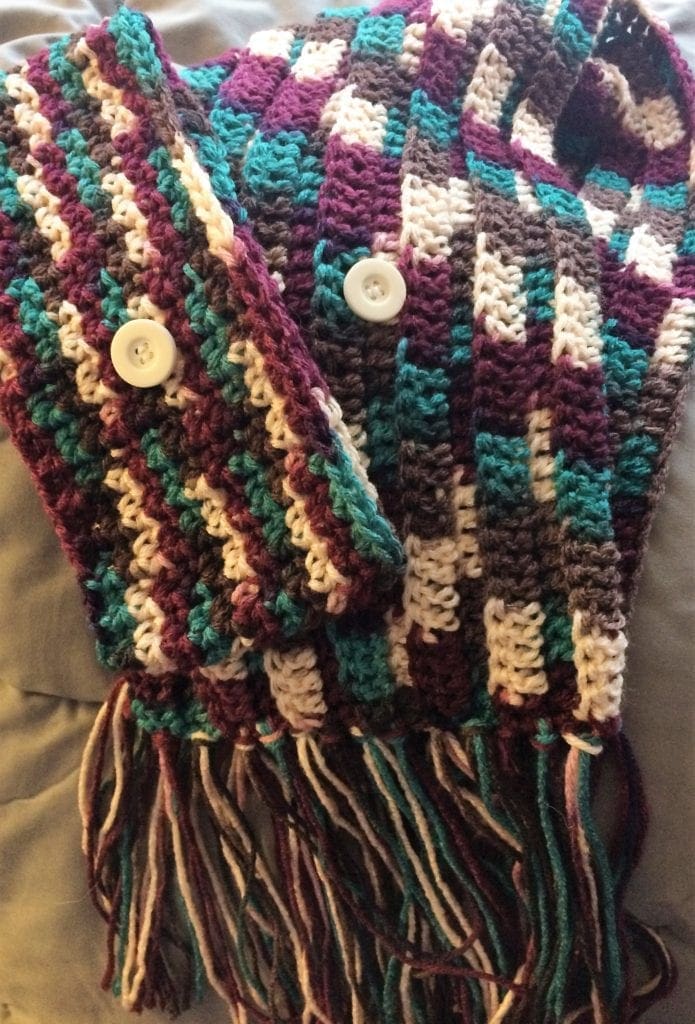
This pattern has a lovely look and feel. The fringe added to the ends makes this scarf fun. If you are looking for an easy way to get the ribbed look and feel in a scarf, this pattern works up quickly and has a stretchy, ribbed appearance.
The Size of the scarf is approximately 45 inches long. Pictured is both a headband and the scarf. The yarn shown in the picture is Red Hart Super Saver Antique.
Materials
Scissors
Yarn needle
Abbreviations
Ch = chain
Sp = space
St = stitch
Dc = double crochet
Directions
Ch 70
Row 1: in the third st from the hook, work a dc in the back loop of the ch. Continue working a dc in the back loop of each ch until the end.
Row 2: ch 3 and turn. Work a dc in the back loop of each ch until the end.
Repeat row 2 until the desired width. I did 13 rows.
Then on the edges fringe was added.
Making the Fringe
The fringe was made by wrapping the yarn around my iPad. (I know right? Very well thought out!). I cut one side. Then matching the cut ends together, I used three strands of yarn held together and folded it in half. Then still holding the ends together, the folded half was brought through a stitch on the end of the scarf just far enough to tuck the cut ends (that I had been holding) through the loop that is made when the pieces of yarn were folded in half. Once the ends of the yarn are tucked through and even again, pull them to snug up against the loop that the yarn was pulled through. About every other stitch we added more fringe. It made it full looking without too much bulk.
Crochet Headband Pattern
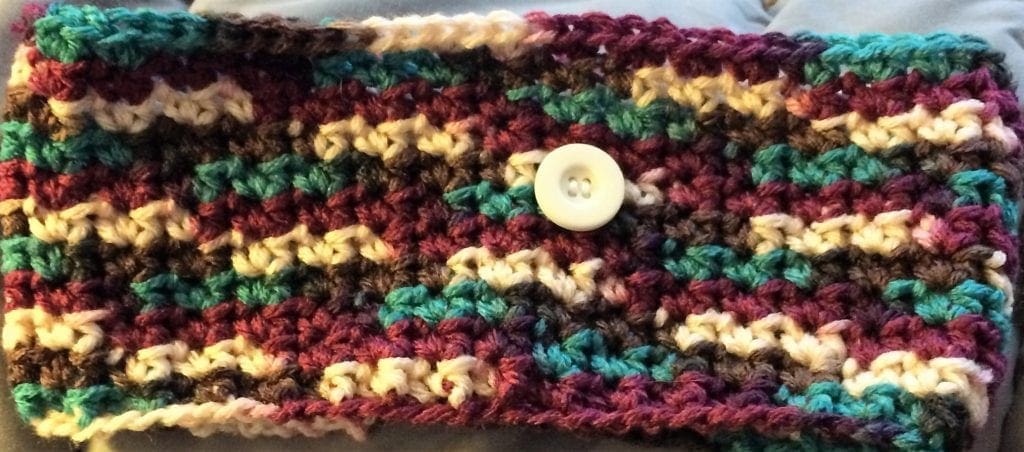
My daughter wanted a matching headband, so I did that too. This is the headband pattern I used. I also added a button to this.
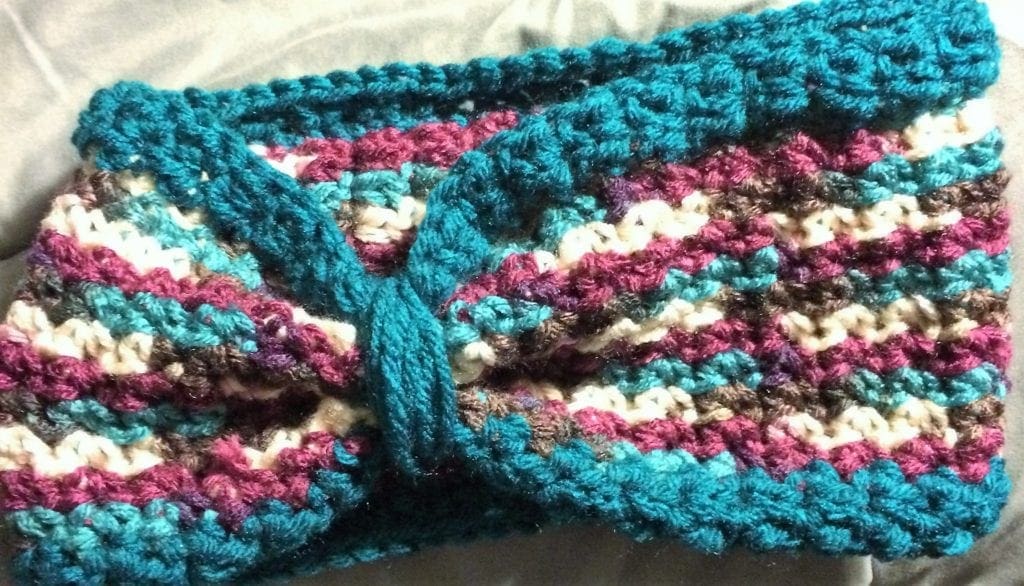
This is the same headband pattern with a row of teal added to the top and bottom. No button. I did take the teal yarn and wrap it around the headband securing it.
Enjoy making your very own crochet projects to keep you warm and cozy.
If you loved this post, share on your fave social media links. It helps to show me that these types of posts are helpful – thank you!
Here are some other crochet patterns you might enjoy.

You can find Victoria crocheting, quilting, and creating recipes. She has cooked in restaurants for over 20 years, including many larger parties. She learned to crochet when she was just 11 years old and has been crocheting ever since; over 50 years now. Over 40 years ago, she loved her first class in sewing and continues to hone her skills in quilting. Many have enjoyed the handmade gifts over the years. In her professional career, she has worked in management in a wide variety of businesses including higher education as a dean of a division. All the while attending college part-time to achieve her doctorate in higher education with an emphasis in e-learning.

