Last updated on July 5th, 2024 at 12:40 am
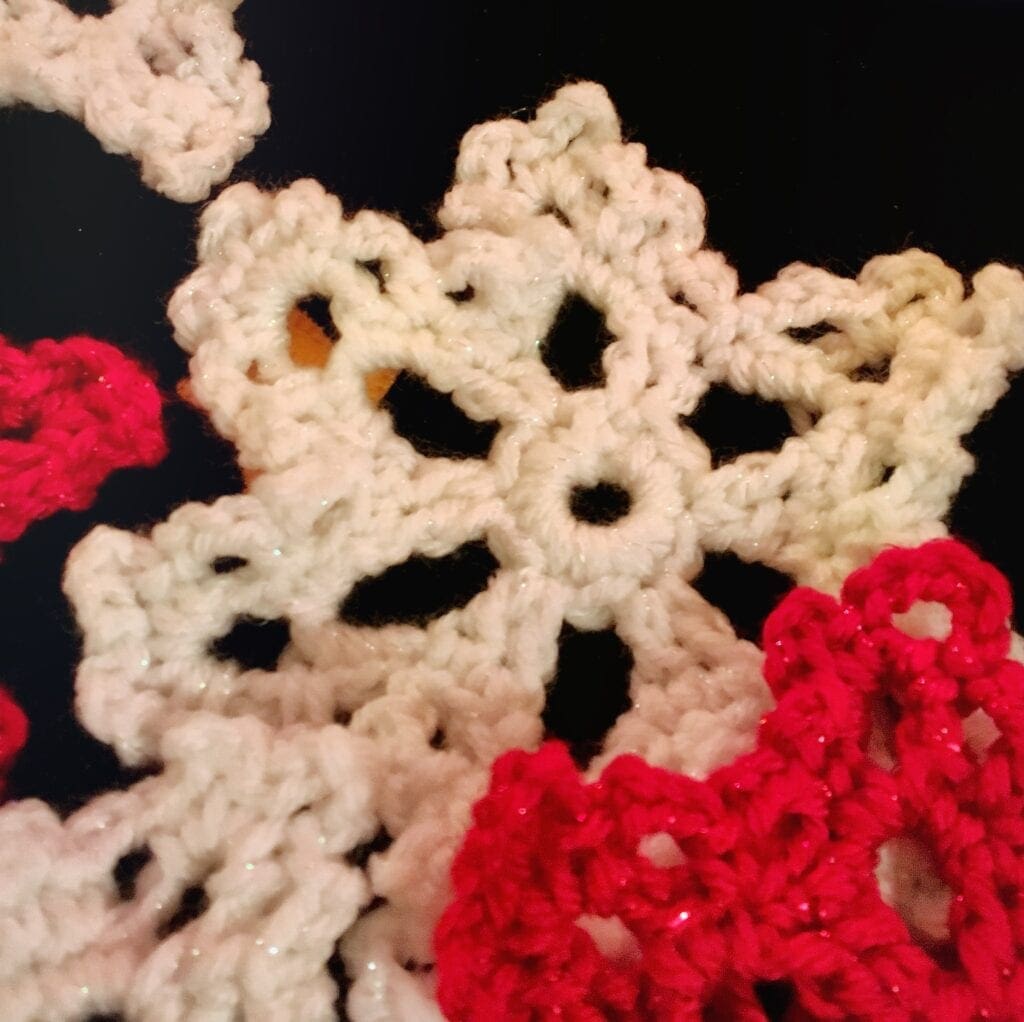
This beautiful crochet snowflake pattern works up very quick and it so pretty. Snowflakes can be used for decorations for the whole winter. String them together, sew them onto something else that you created, or just tuck them into your Holiday decorations. No matter where you choose to place yours, I am sure that it will be just perfect.
*Post contains affiliate links*at no additional cost to you for more information please read the disclaimer on the About Us page.
Handmade Holiday DIY
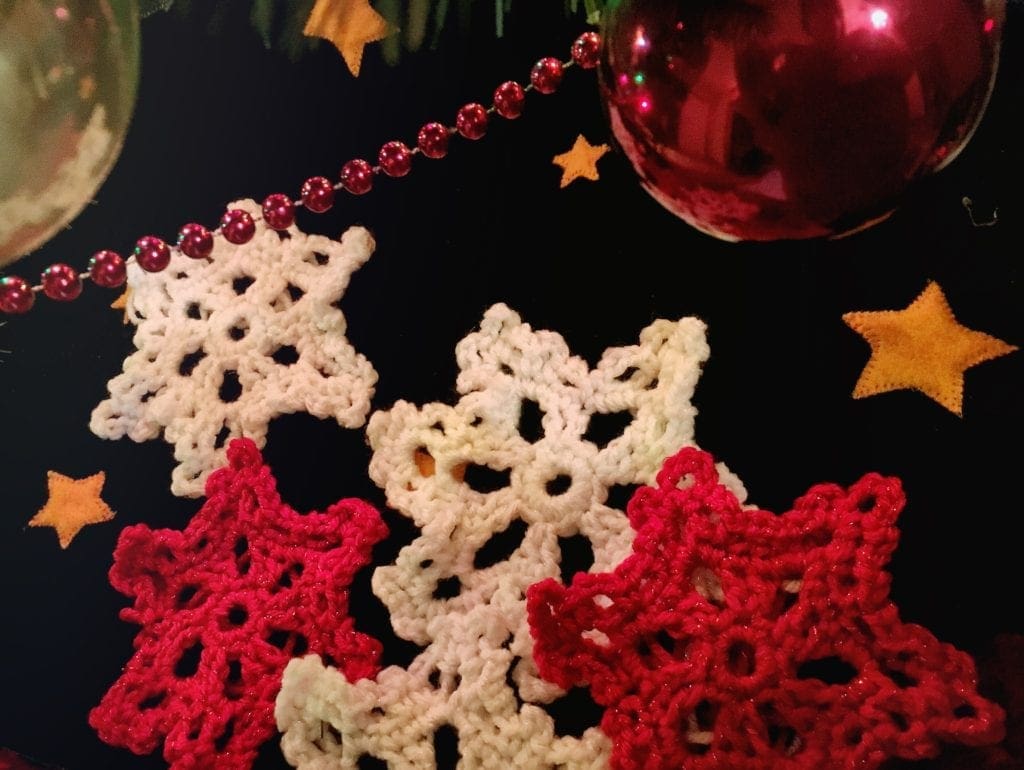
These snowflakes may seem complicated, but they really are not. It took a little bit to figure out the first one, but once I did, I just couldn’t stop making them. I actually wanted to make them in white and light blue. However, I ended up making them in white and red.
Holiday Decoration
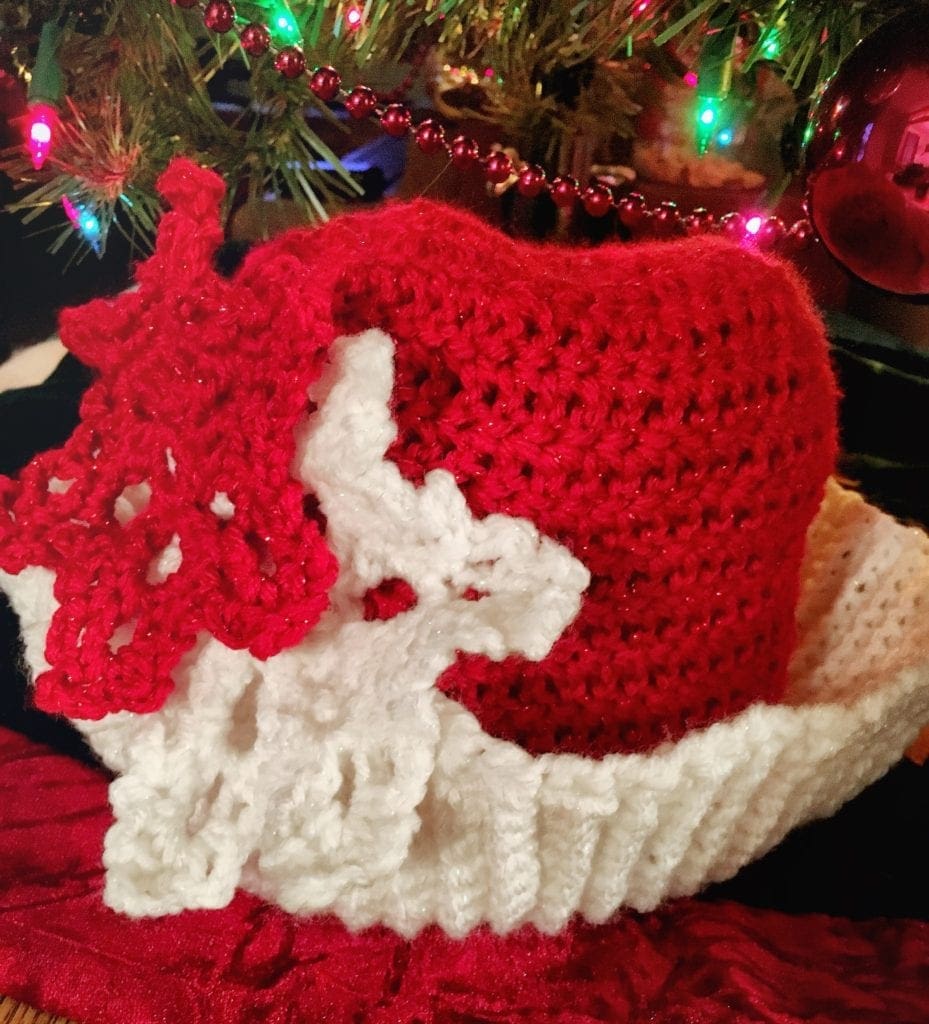
There is a cute Christmas hat that I made and it seemed like snowflakes would be the prefect adornment. You be the judge. Taking the time to create handmade DIY items for your home and family can be so rewarding.
Easy Crochet Snowflake Pattern
This Winter Holiday decoration is made in just four rounds. Therefore, they work up quickly. Experiment with various colors of yarn. Additionally, varying the thickness of the yarn will also make a difference in the look and feel of this pattern. Create unique handmade pieces to decorate gifts, hang on the Christmas tree, adorn a window, or just scatter in a coffee table as a coaster.
Create the look you love in your home.
With handmade DIY, you leave a little bit of yourself in each item you make.
Crochet Snowflake Pattern Directions
Difficulty:
Just a bit beyond beginner
Materials:
Boye Crochet Hook Size E
Yarn Needle
Stitch Marker
Scissors
Red Heart Love Metallic Red (Partial Skein)
Red Heart Love Metallic White (Partial Skein)
Abbreviations:
CH = chain
DC = Double Crochet
SC = Single Crochet
SL ST = Slip Stitch
ST = Stitch
Directions:
Begin with a magic circle. Red Heart Love Metallic Red (Partial Skein) Here is another post with complete directions on how to make a magic circle.
Round 1:
CH 1, SC 12 times into the magic circle. Join with a SL ST into the first SC.
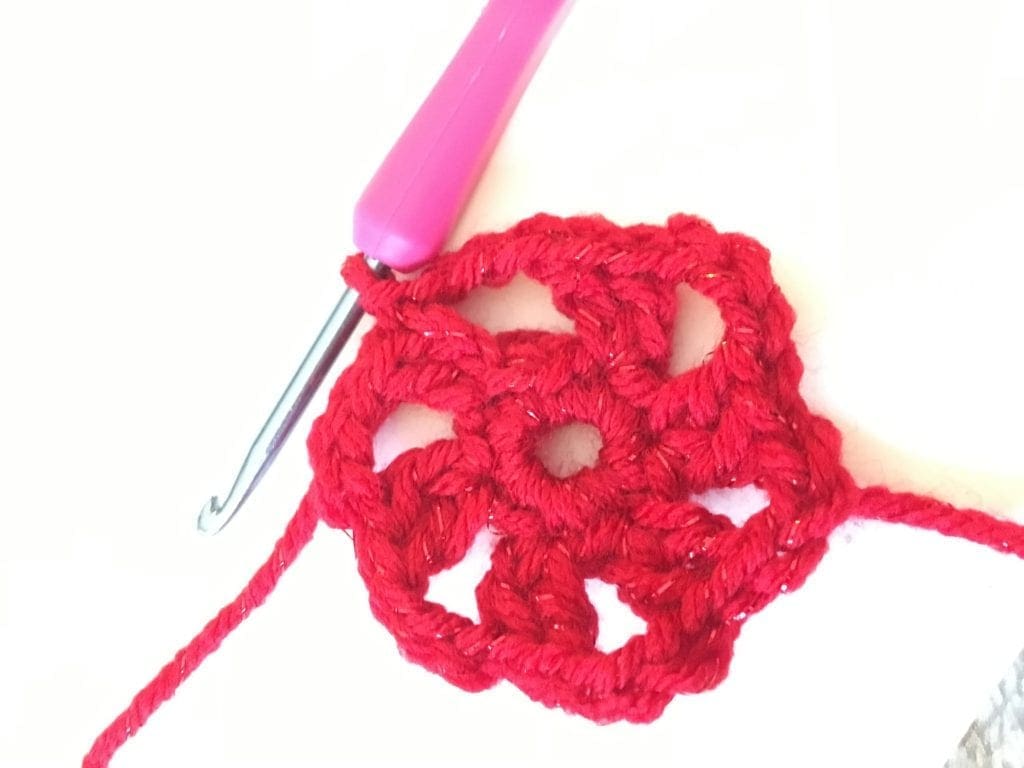
Round 2:
CH 3, DC into same ST, CH 3, Skip a ST, *2 DC in next ST, Ch 3, Skip ST*. Repeat between * 5 times. Join last CH 3 into 3rd CH of first CH 3 (the starting DC).
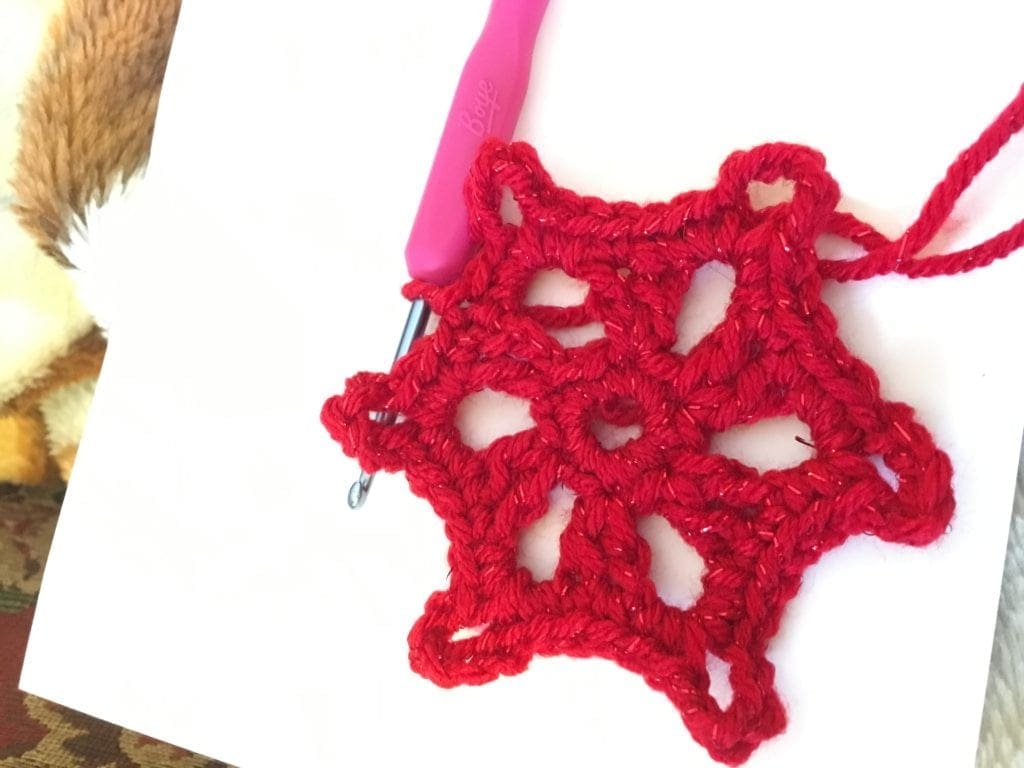
Round 3:
CH 1, SC in next DC, [2 SC, CH 5, 2 SC] in CH 3 space, *SC in next 2 DCs, 2 SC, CH 5, 2 SC, in CH 3 space.* Repeat between * 5 times. Join with a SL ST in CH 1 at the start of round.
Round 4:
*CH 3, SC in next SC, CH 2 skip 2 SCs, [SC, 3 CH, SC, CH 5, SC, 3 CH, SC] in CH 5 space, CH 2 Skip 2 SCs, SC in SC* 5 times. *CH 3, SC in next SC, CH 2, Skip 2 SCs, [SC, 3 CH, SC, CH 5, SC, 3 CH, SC] in CH 5 space, CH 2 SL ST into SL ST on previous round.
Finishing:
Pull the yarn through the last loop and weave in the end.
Enjoy your handmade snowflake

Stiffening the Crochet Snowflake
I did not use any type of stiffener for these snowflakes; however, I think that they would look nicer if I did.
If you loved this post, share on your fave social media links. It helps to show me that these types of posts are helpful – thank you!
Here are some other crochet patterns you might enjoy.

You can find Victoria crocheting, quilting, and creating recipes. She has cooked in restaurants for over 20 years, including many larger parties. She learned to crochet when she was just 11 years old and has been crocheting ever since; over 50 years now. Over 40 years ago, she loved her first class in sewing and continues to hone her skills in quilting. Many have enjoyed the handmade gifts over the years. In her professional career, she has worked in management in a wide variety of businesses including higher education as a dean of a division. All the while attending college part-time to achieve her doctorate in higher education with an emphasis in e-learning.

