Last updated on June 16th, 2026 at 07:39 am
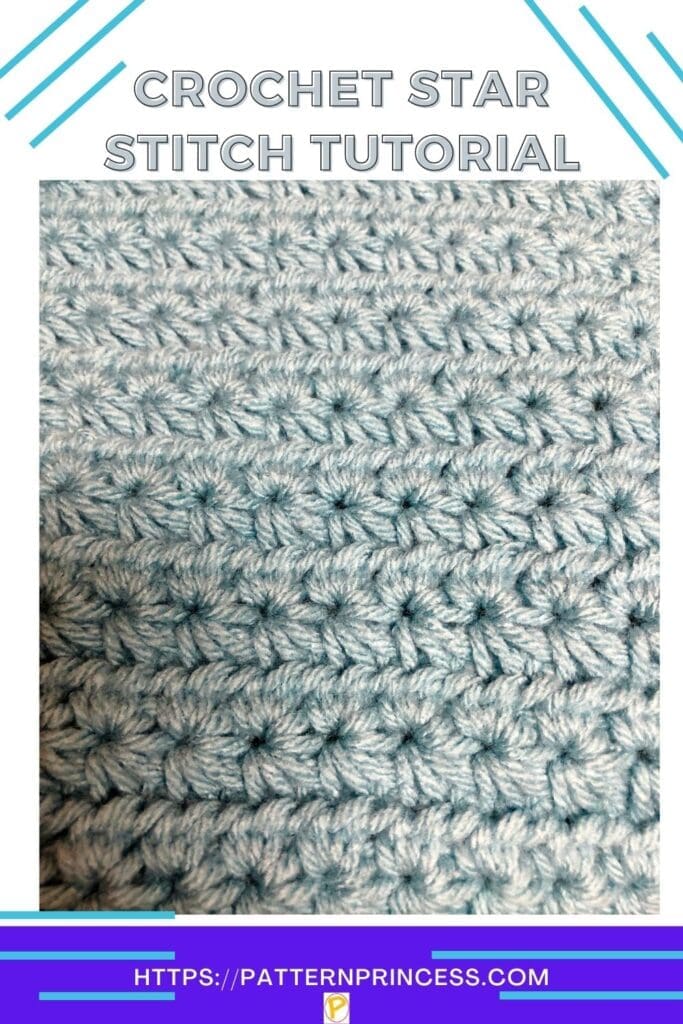
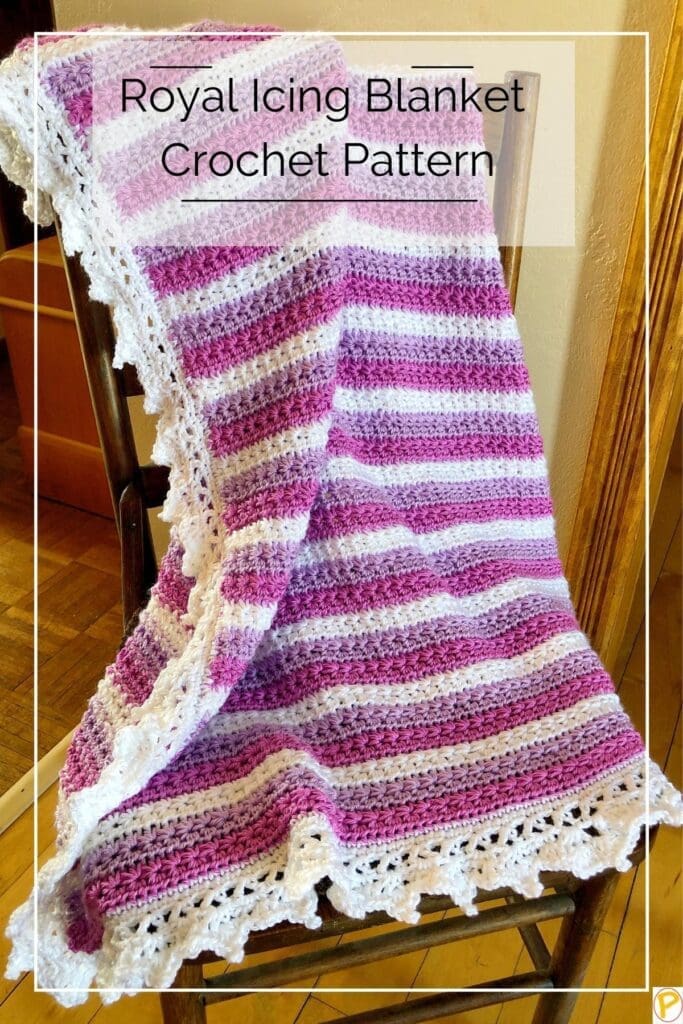
The crochet star stitch creates a beautiful textured fabric that resembles tiny stars, daisies, or flowers. While it may look complicated at first glance, this stitch is surprisingly beginner-friendly once you understand the two-row repeat. The finished fabric is dense, cozy, and full of texture, making it ideal for blankets, scarves, dishcloths, pillows, and other home décor projects.
In this tutorial, you’ll learn how to crochet the star stitch step-by-step with written instructions, detailed photos, and video tutorials for both right- and left-handed crocheters.
From the first time I saw this stitch used in an Afghan, I was in love with it. Every time something is made using the daisy stitch, I longed to learn this crochet stitch pattern.
I am so happy that I did! It is so much easier than I would have ever thought.
Why You’ll Love the Star Stitch
- Creates beautiful starburst or daisy-like texture
- Uses basic crochet skills
- Easy two-row repeat
- Great for blankets and accessories
- Works well with solid, striped, and gradient yarns
- Looks impressive even though it’s beginner-friendly
What is the Star Stitch?
The star stitch is a crochet stitch that uses single crochet and half double crochet stitches. Complete an easy 2-row repeat, which results in a star pattern on one side of the work.
Easy Crochet Daisy Stitch Tutorial
I always thought that this was just called the star stitch. More recently, I was reading more about this beautiful stitch pattern and found out that it can also be called the Marguerite stitch, daisy stitch, or the spiked cluster.
This tutorial includes step-by-step photos and a video tutorial for both right and left hand crocheters.
What to use the Star Stitch or Spiked Cluster Stitch for?
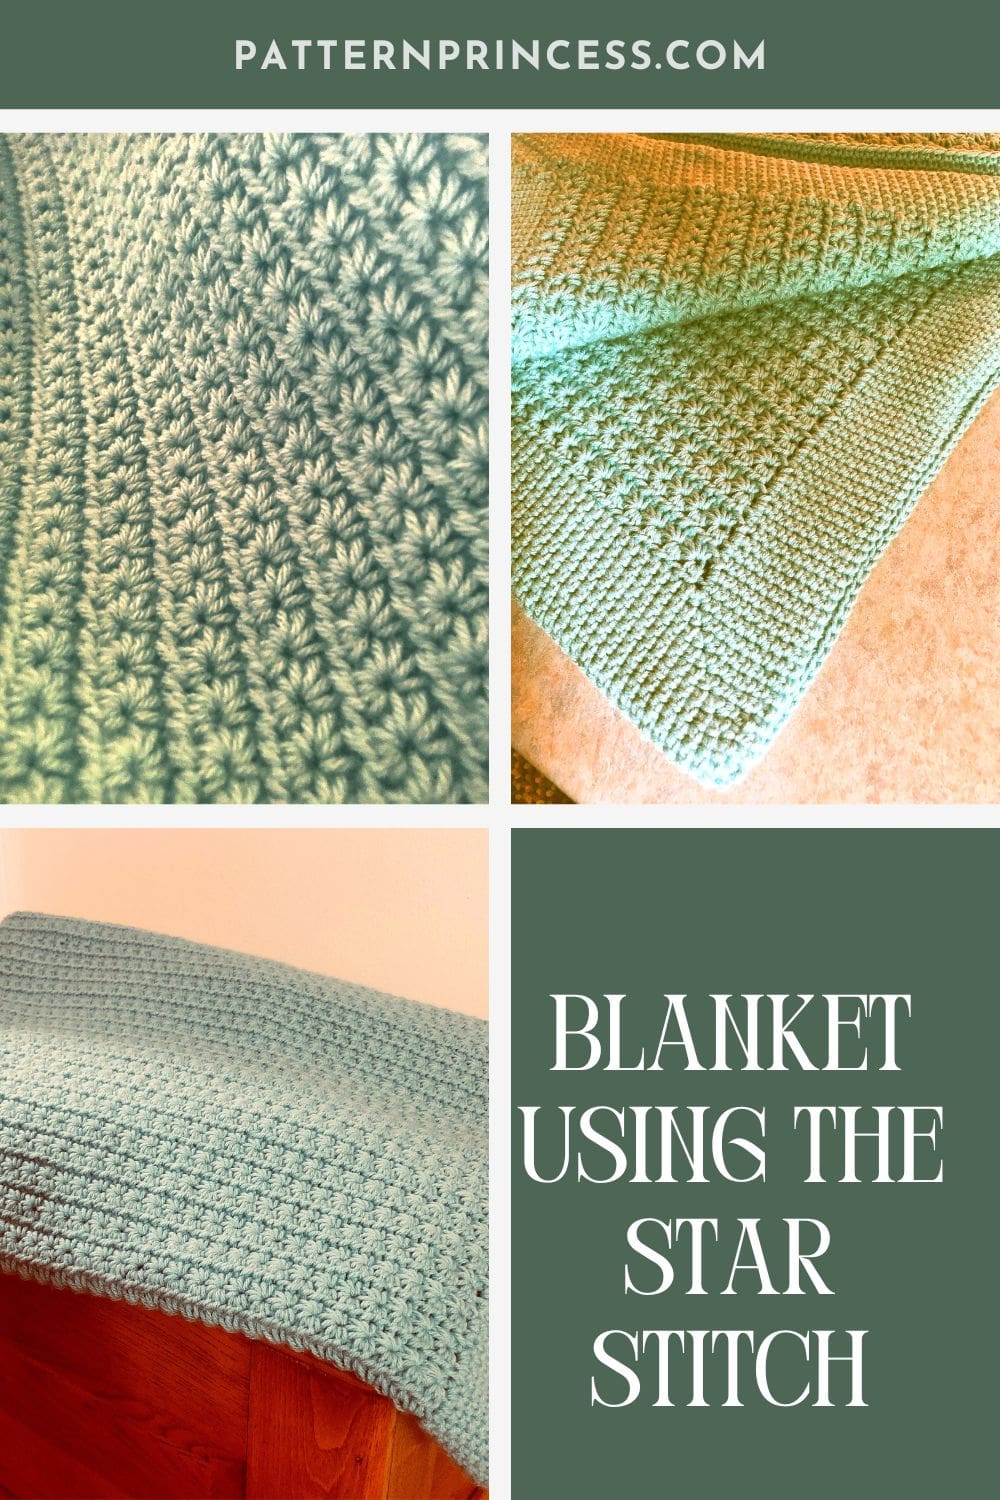
For my first project, I made a blanket. When practicing this stitch, which was new for me, I made a small swatch. Once I was four rows in, I was ready for a bigger project.
However, I have seen this charming stitch used for baby blankets, Christmas stockings, placemats, coffee cup holders, mug rugs, and so many other uses with beautiful texture.
It is a versatile crochet pattern that can have a pretty result.
Star Stitch at a Glance
| Feature | Details |
|---|---|
| Skill Level | Confident Beginner |
| Stitch Multiple | Odd number of chains |
| Row Repeat | 2 Rows |
| Texture | Dense and Textured |
| Stretch | Moderate |
| Reversible | No |
| Best For | Blankets, scarves, pillows, dishcloths |
Best Yarn for the Star Stitch
The star stitch looks best when the stitch definition is visible.
Recommended:
- Worsted weight (#4) yarn
- DK weight (#3) yarn
- Soft acrylic yarns
- Cotton yarn for dishcloths and home décor
- Solid or lightly variegated yarns
Avoid:
- Eyelash yarn
- Highly textured novelty yarn
- Fur yarn
How to Crochet the Star Stitch
At first, this looked very intimidating, and it stayed on my wish list for a few years. Then I decided to tackle this stitch pattern. I am so glad I did!
It is so much easier than I thought. Once you get the two-row repeat done, it is an easy crochet project with gorgeous results.
Crochet Basics Video and Photos
You will find the link for the video tutorial of this star stitch for both right hand and left hand crocheters below the written pattern and the step-by-step photos.
Get Your Ad Free Printable PDF in our Etsy Shop.
Directions: Crochet Star Stitch Tutorial
Skill Level
Advanced Beginner
You should be comfortable with the single crochet, double crochet stitch and half double crochet.
Gauge
The gauge will depend on the yarn and crochet hook used.
Size
The size depends on the number of chain stitches and rows crocheted.
Varying the Size
Vary the foundation chain stitches using any odd number.
Materials
This pattern works well with light or medium weight yarn.
Crochet hook recommended on the yarn package. Normally a Size H crochet hook 5.0mm or Size I crochet hook 5.5mm
Scissors
Yarn Needle
Stitch Markers
Measuring Tape
Abbreviations
- CH = Chain
- HDC = Half Double Crochet
- SC = Single Crochet
- SC5Tog = Single Crochet 5 Together
- STs = Stitches
- YO = Yarn Over
- [ ] = Repeat Between
Crochet Stitches
Chain Stitch (CH ST)
Begin the chain stitch by making a slip knot on the crochet hook. Leave about a 5-inch tail on the yarn. This will be weaved in later.
Next snug up the yarn loop that is on the crochet hook; while it should be firm, it should also be loose enough to slide on the hook with ease.
Keeping the loop on the hook, yarn over and draw the yarn through the loop. (The first chain stitch is complete).
Half Double Crochet (HDC)
Yarn over, insert the hook through a stitch and pull up a loop. Yarn over and pull through all three loops on the hook. For height, this stitch is between the single crochet and double crochet.
Single Crochet (SC)
Insert the hook in a stitch pull up a loop. Yarn over and pull through the two loops on the hook.
Special Stitches
Single Crochet 5 Together (SC5Tog)
Insert hook in next ST and draw up a loop. Repeat this 4 more times. Yarn over and draw the yarn through all 6 loops on the hook.
Pattern Notes
Written in US Terms.
The star stitch requires an odd number of chains. For the sample project, I used 21 stitches for the starting chains in the sample.
I like to start this stitch off with a row of single crochet as it provides a nice foundation for the first row of the star stitch. This row is optional, but if you are going to add a crochet border on your work, this will greatly reduce any unsightly gaps in the beginning chain row.
Work with loose even tension. This helps the star stitch form nicely and have a bit more symmetrical look.
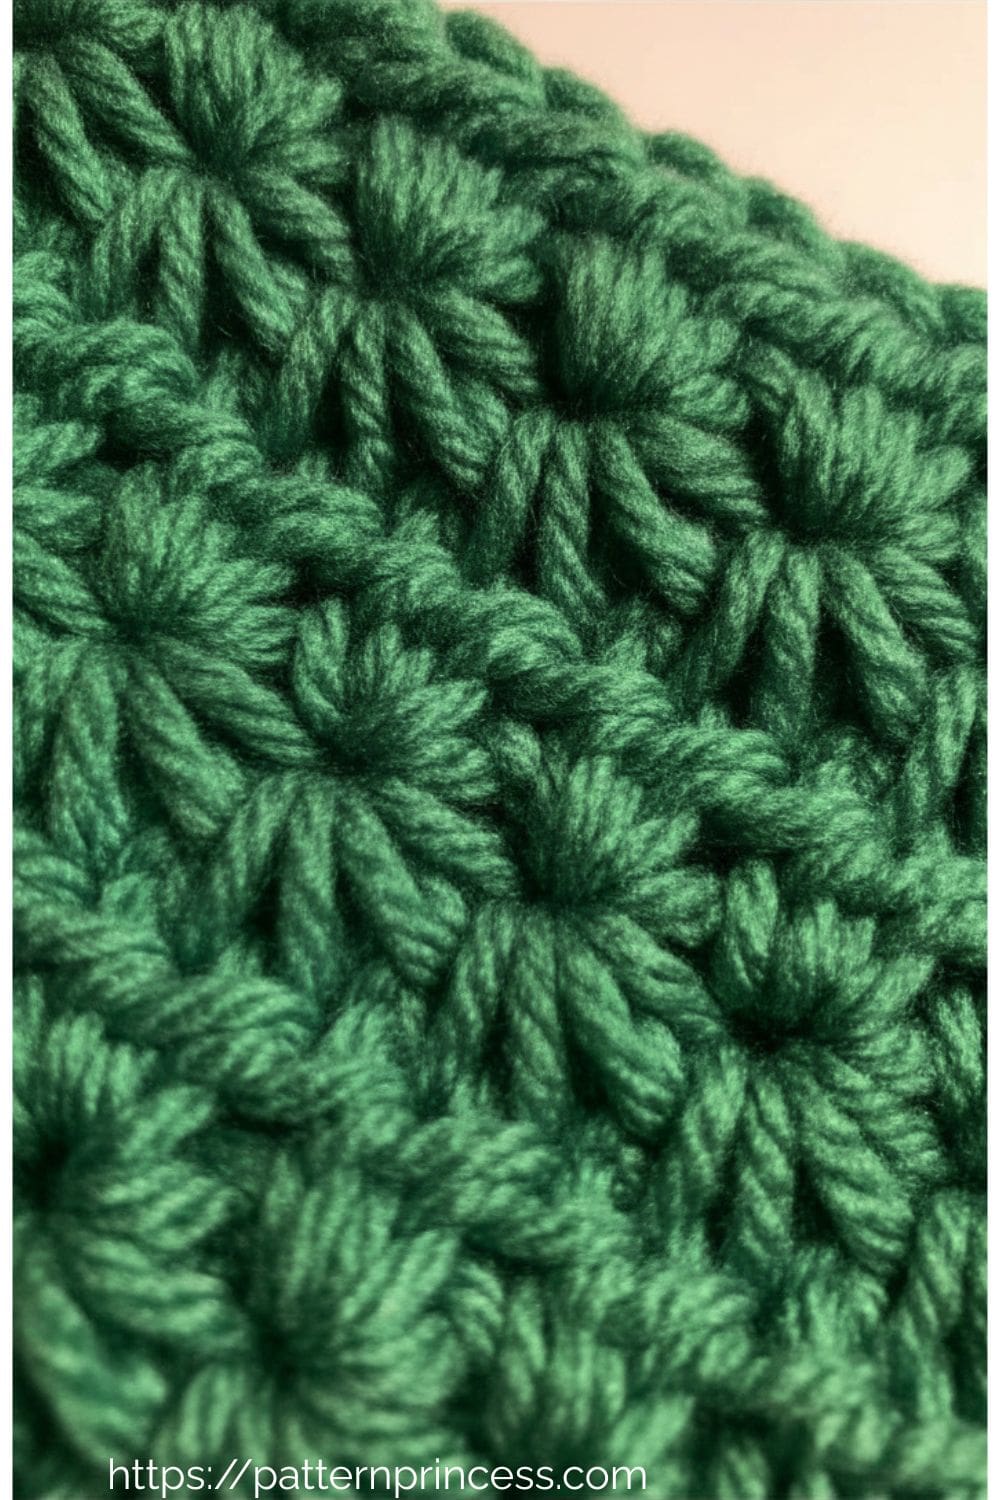
The placement of each stitch is important in making the daisy shape of this stitch. Therefore, it is essential that you place the hook in the correct stitch each step of the way.
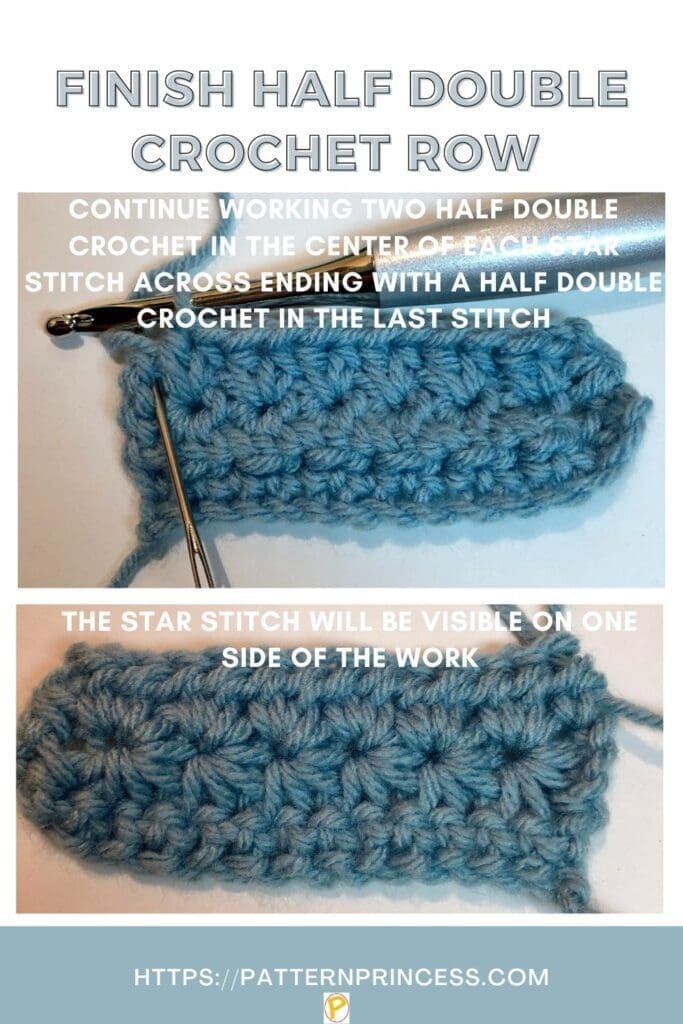
The full star stitch is visible when the half double crochet stitch row is worked.
Star Stitch Pattern
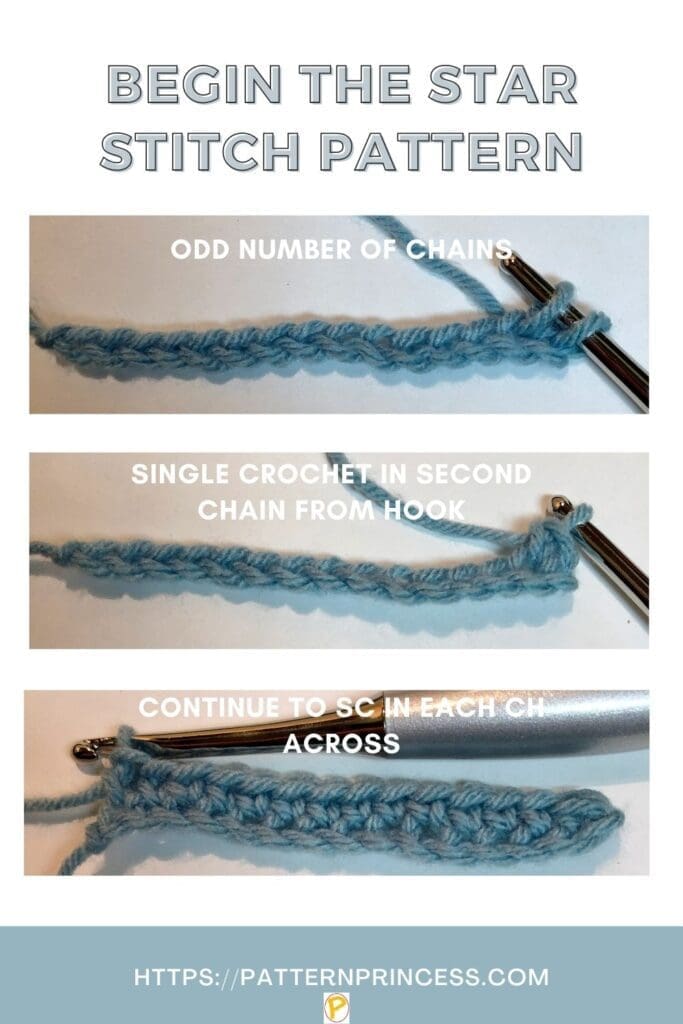
Make a slip knot on the crochet hook. Begin by chaining an odd number of chains.
Row 1
In the second CH from the hook, SC and in each ST across. Turn
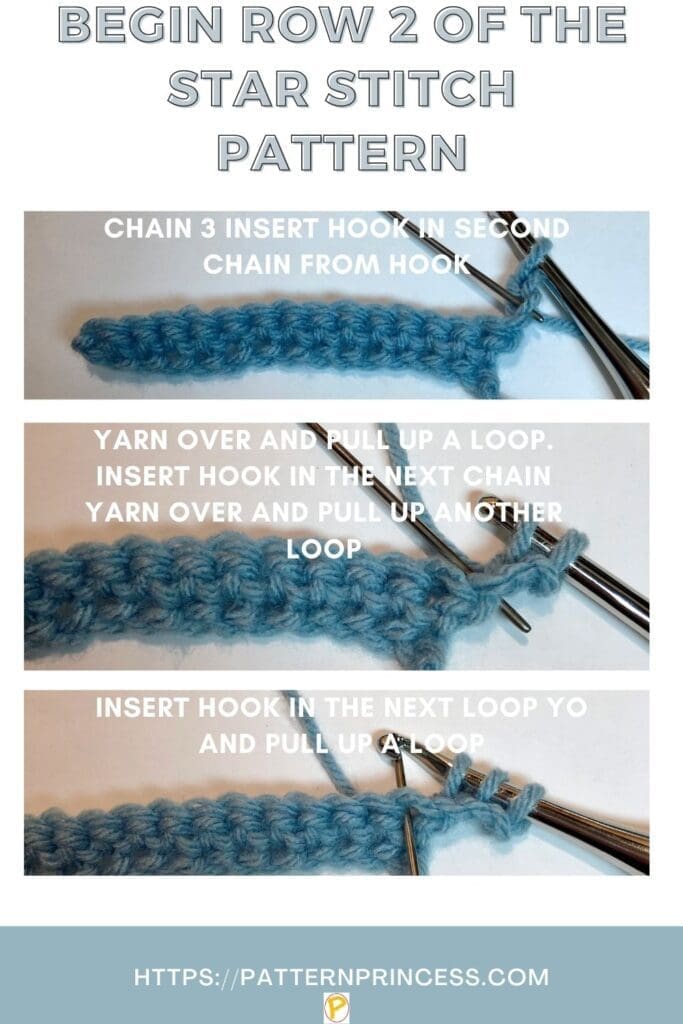
Row 2
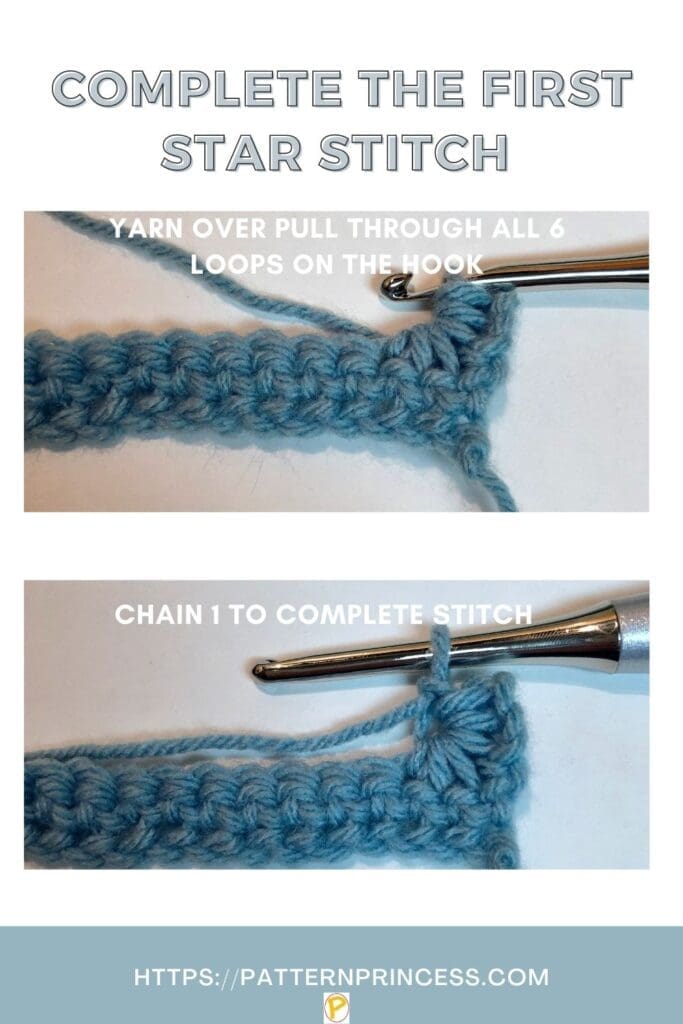
CH 3, insert the hook in the 2nd CH from the hook, YO and pull up a loop. Insert the hook in the next CH, YO and pull up a loop. There should be 3 loops on the hook. Insert the hook in the next ST, YO and pull up a loop. There should be 4 loops on the hook. Insert the hook in the next ST, YO and pull up a loop. You should have 5 loops on the hook. Insert the hook in the next ST, YO and pull up a loop. There should now be 6 loops on the hook. YO and pull through all 6 loops on the hook. CH 1 to complete the star. (Note: that was a SC5 Tog).
Begin working the second star stitch.
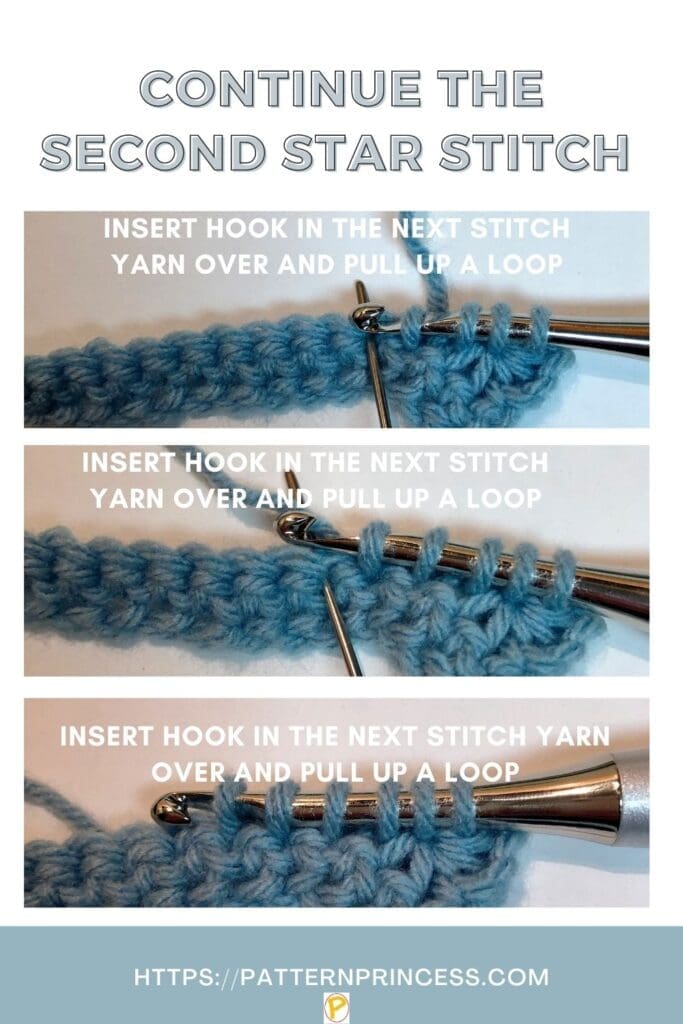
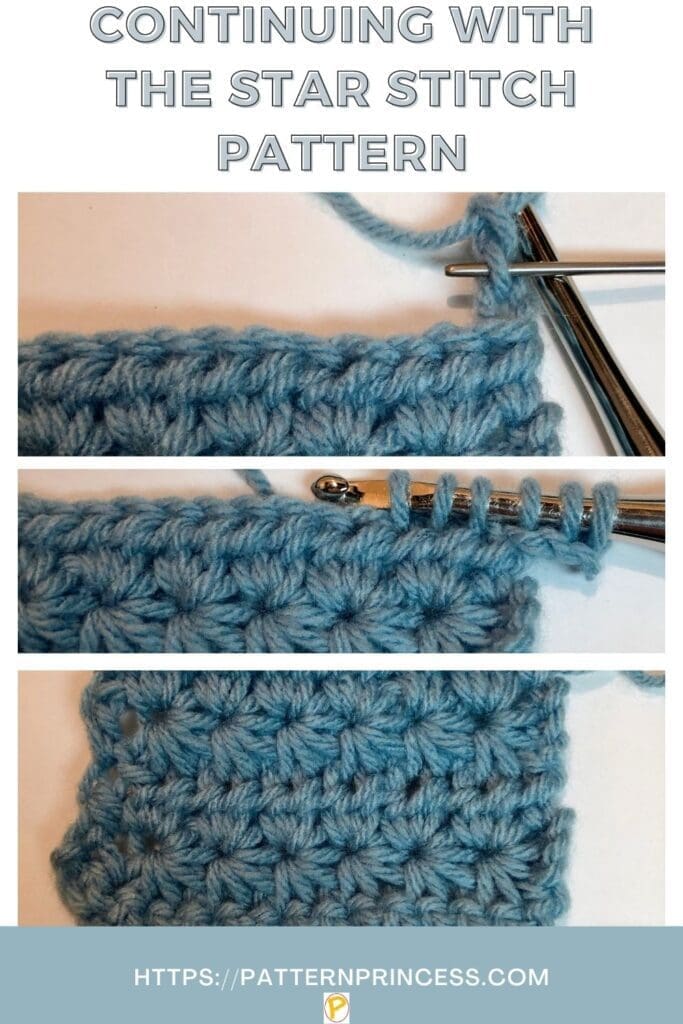
[In the eye or center hole that was just made, insert your hook, YO and draw up a loop. Insert the hook into the space between the last two STs from the first star. YO and draw up a loop. There will now be three loops on the hook. Next, insert the hook into the same stitch where the last stitch was worked for the previous star stitch. YO and draw up a loop. There are now four loops on the hook. Insert the hook in the next ST, YO draw up a loop for five loops on the hook. Insert the hook in the next ST, YO draw up a loop for six loops on the hook. YO and draw the yarn through all six loops on the hook. Finish the star with a CH 1 to close the second star.]
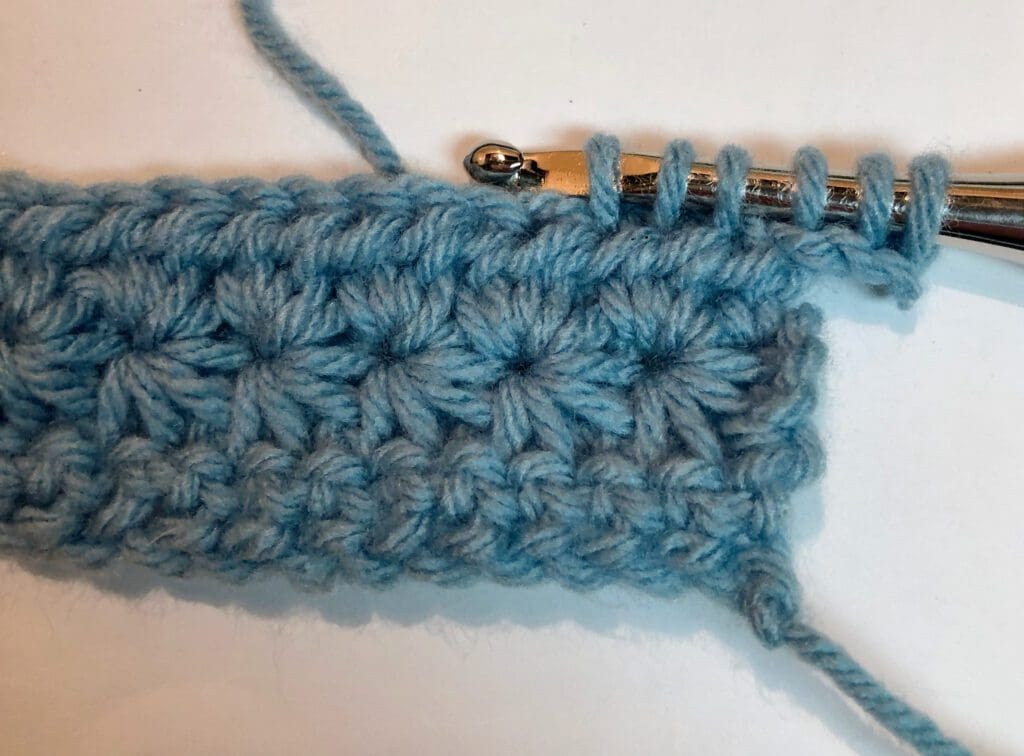
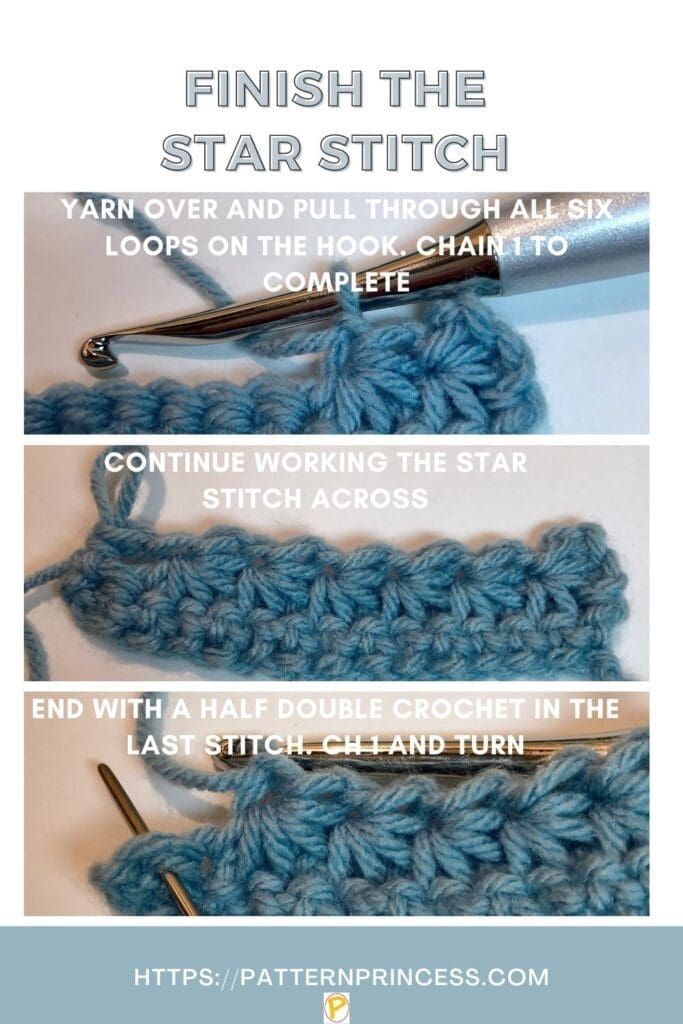
Repeat between the [ ] across the row to continue making star stitches. When you get to the end, make one HDC in the last stitch. CH 1 turn.
Row 3
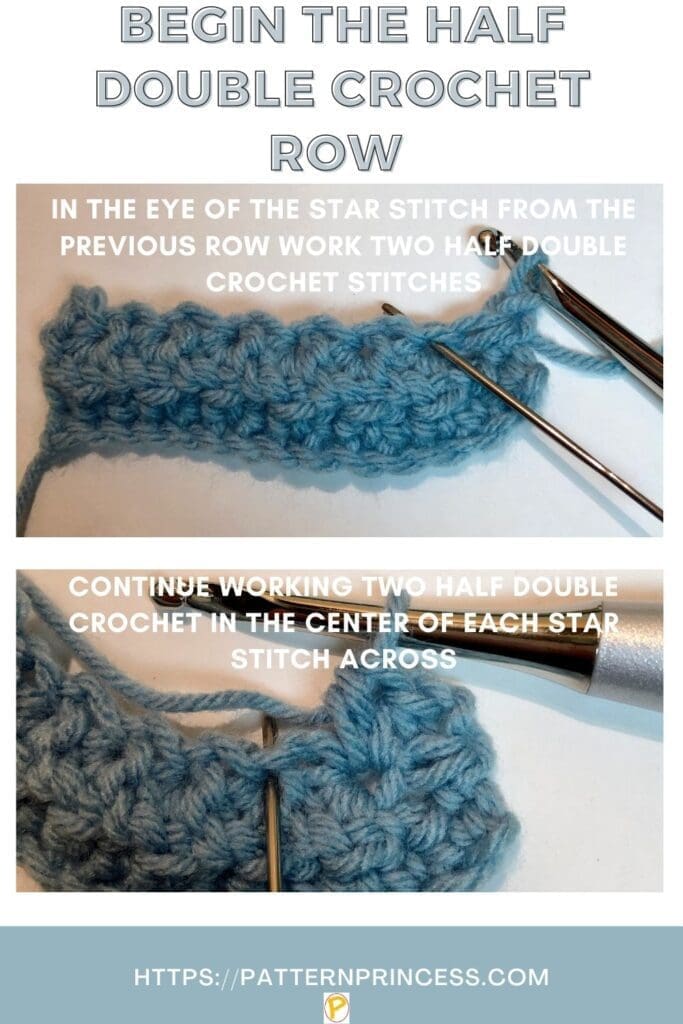
In the eye of the star stitch from the row below, crochet two HDC stitches. Continue working 2 HDC in each star stitch eye across. End with a HDC in the last ST. Turn
Row 4 and beyond
Repeat rows 2-3 until your desired length is reached.
Step-by-Step Photo Tutorial of the Star Stitch Pattern
The directions are illustrated through the photos below. I have added the specific part of the directions that relate to each picture.
Row 1
In the second CH from the hook, SC and in each ST across. Turn
Row 2
CH 3, insert the hook in the 2nd CH from the hook, YO and pull up a loop. Insert the hook in the next CH, YO and pull up a loop. There should be 3 loops on the hook. Insert the hook in the next ST, YO and pull up a loop.
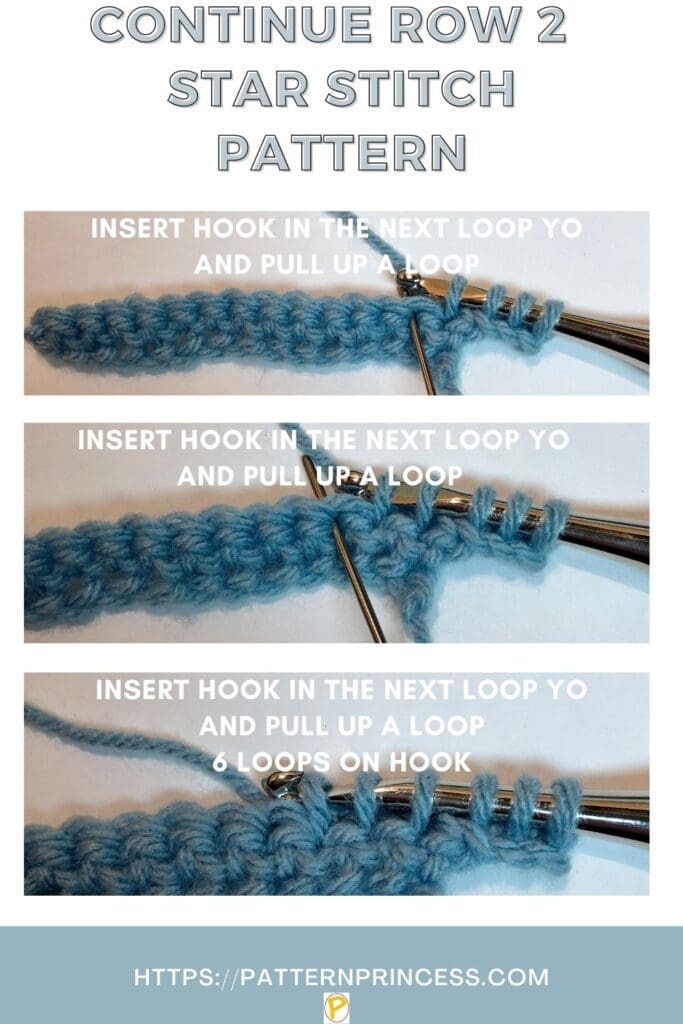
There should be 4 loops on the hook. Insert the hook in the next ST, YO and pull up a loop. You should have 5 loops on the hook. Insert the hook in the next ST, YO and pull up a loop. There should now be 6 loops on the hook. YO and pull through all 6 loops on the hook. CH 1 to complete the star. (Note: that was a SC5 Tog).
Begin working the second star stitch.
[In the eye or center hole that was just made, insert your hook, YO and draw up a loop. Insert the hook into the space between the last two STs from the first star. YO and draw up a loop. There will now be three loops on the hook. Next, insert the hook into the same stitch where the last stitch was worked for the previous star stitch. YO and draw up a loop. There are now four loops on the hook. Insert the hook in the next ST, YO draw up a loop for five loops on the hook. Insert the hook in the next ST, YO draw up a loop for six loops on the hook.
YO and draw the yarn through all six loops on the hook. Finish the star with a CH 1 to close the second star.] Repeat between the [ ] across the row to continue making star stitches. When you get to the end, make one HDC in the last stitch. CH 1 turn.
Row 3
In the eye of the star stitch from the row below, crochet two HDC stitches. Continue working 2 HDC in each star stitch eye across. End with a HDC in the last ST. Turn
Row 4 and beyond
Repeat rows 2-3 until your desired length is reached.
Crochet Star Stitch Video Tutorials
Common Star Stitch Problems
My stars don’t look even.
Work with loose, consistent tension and make sure you pull up all loops to the same height.
I can’t find the eye of the star.
The eye is the center opening created after pulling through all six loops and completing the chain 1.
My fabric is curling.
Try using a larger hook size or working with slightly looser tension.
The stitch count is off.
Double-check placement of the final HDC and count stitches after each row.
If you loved this post, please share. It helps to show me that these types of posts are helpful – thank you!
I hope that you liked this pattern. If you are looking for more ideas for crocheted projects, here are a few others you may enjoy.

You can find Victoria crocheting, quilting, and creating recipes. She has cooked in restaurants for over 20 years, including many larger parties. She learned to crochet when she was just 11 years old and has been crocheting ever since; over 50 years now. Over 40 years ago, she loved her first class in sewing and continues to hone her skills in quilting. Many have enjoyed the handmade gifts over the years. In her professional career, she has worked in management in a wide variety of businesses including higher education as a dean of a division. All the while attending college part-time to achieve her doctorate in higher education with an emphasis in e-learning.
Pingback: Blooming Crochet Star Stitch Blanket - Pattern Princess