Last updated on January 19th, 2026 at 09:41 pm
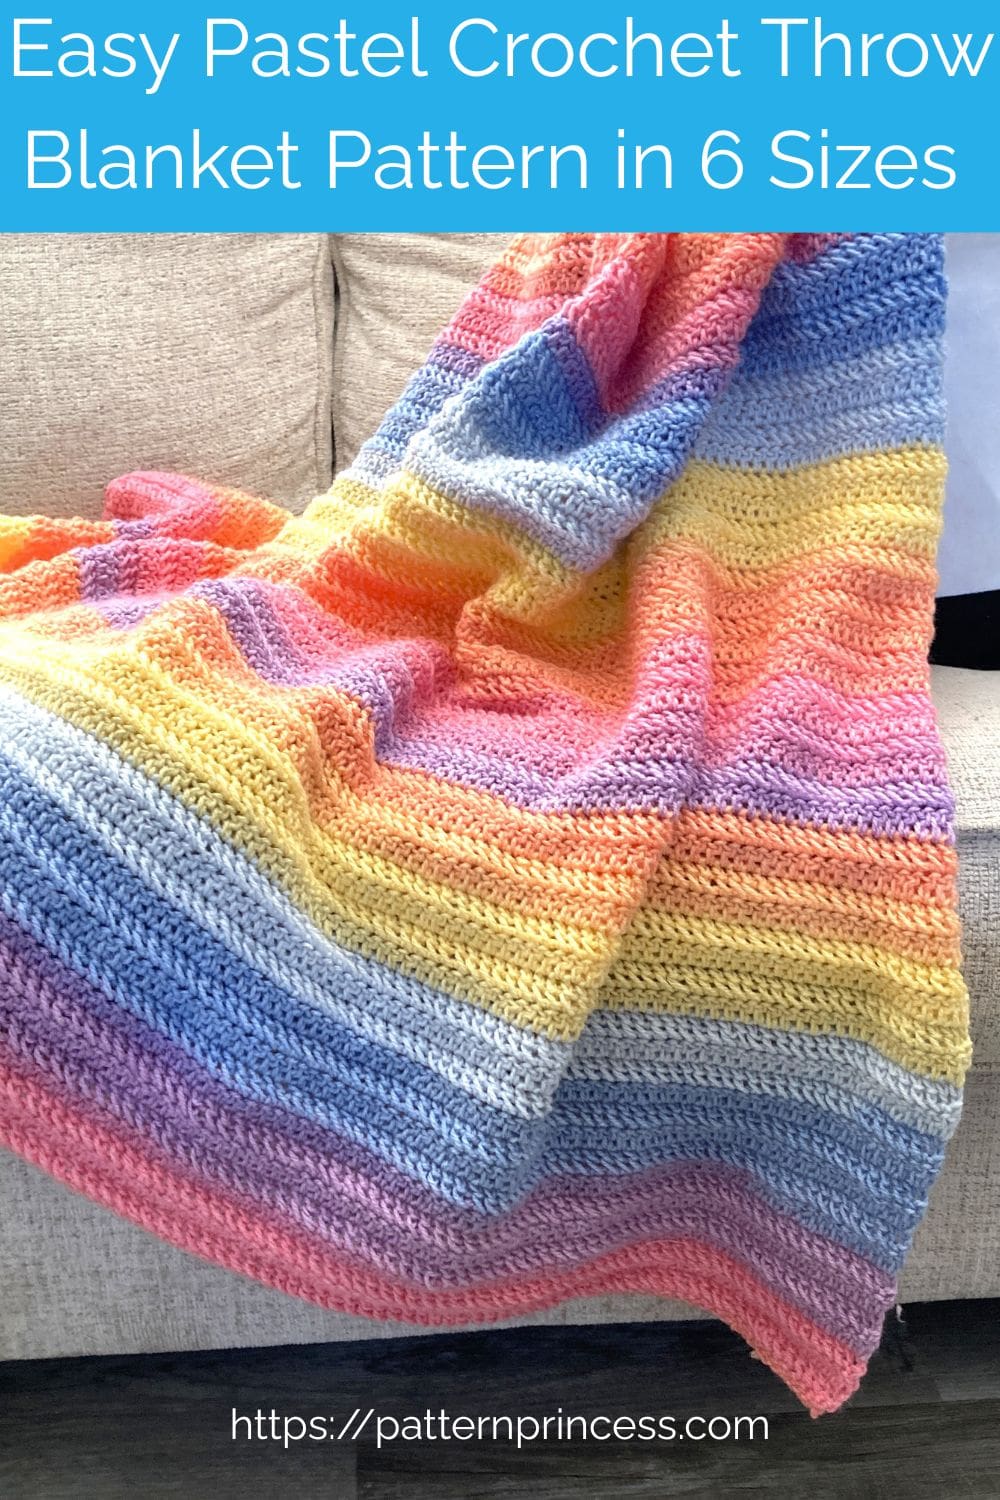
If you can double crochet, you can make this Pastel Crochet Throw Blanket. This free pattern is the perfect crochet pattern for beginners. It’s easy, beautiful, and quick!
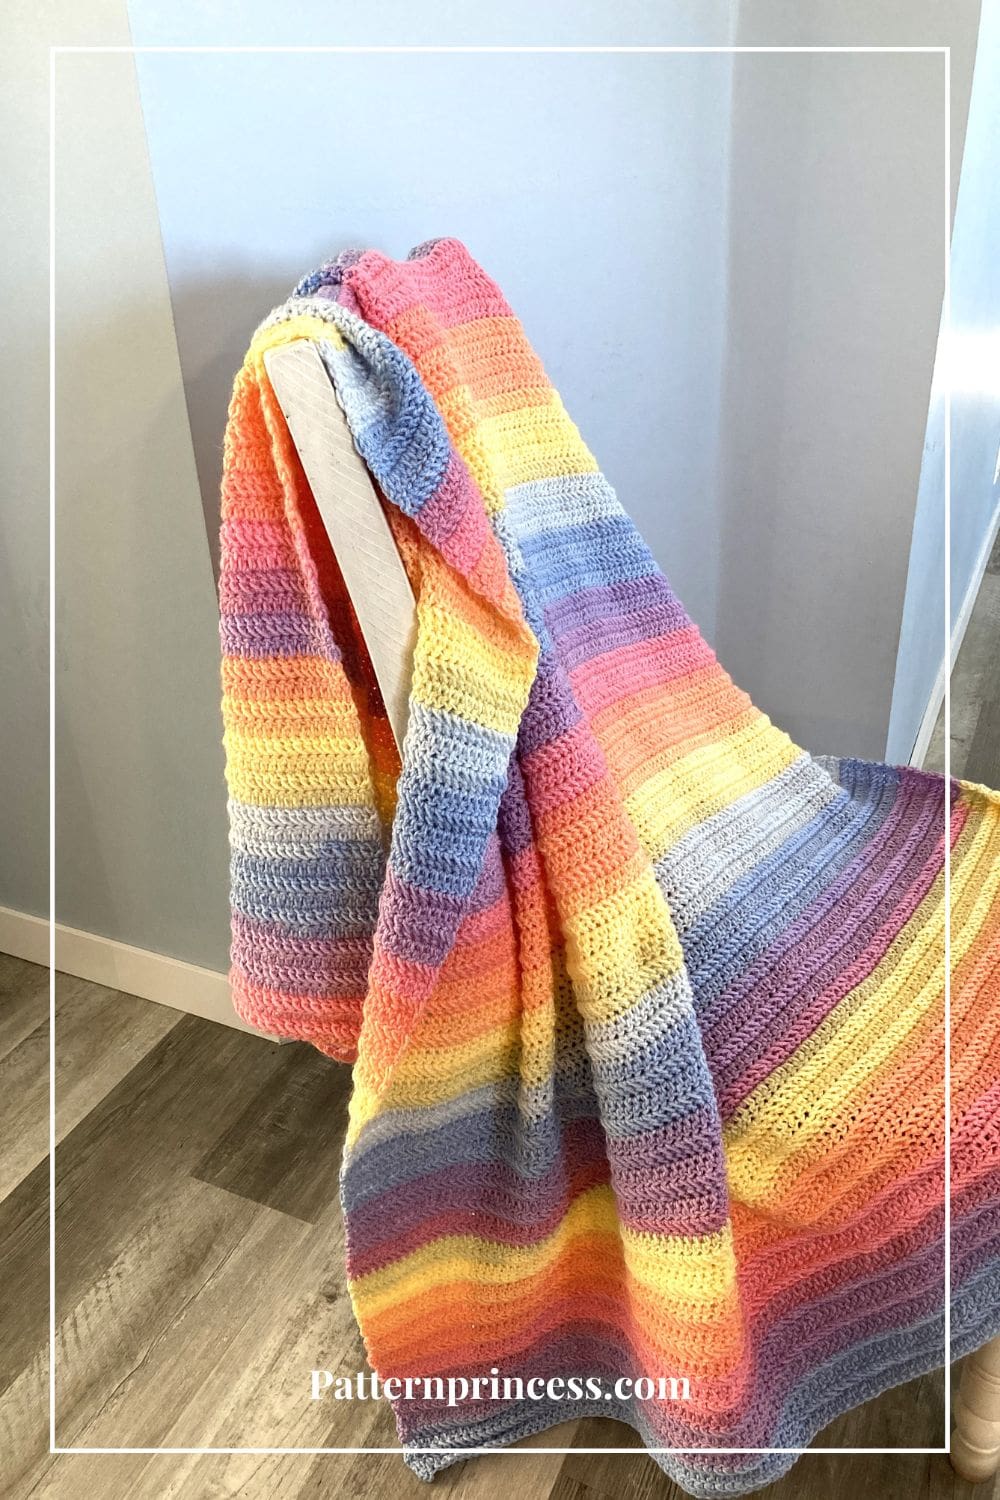
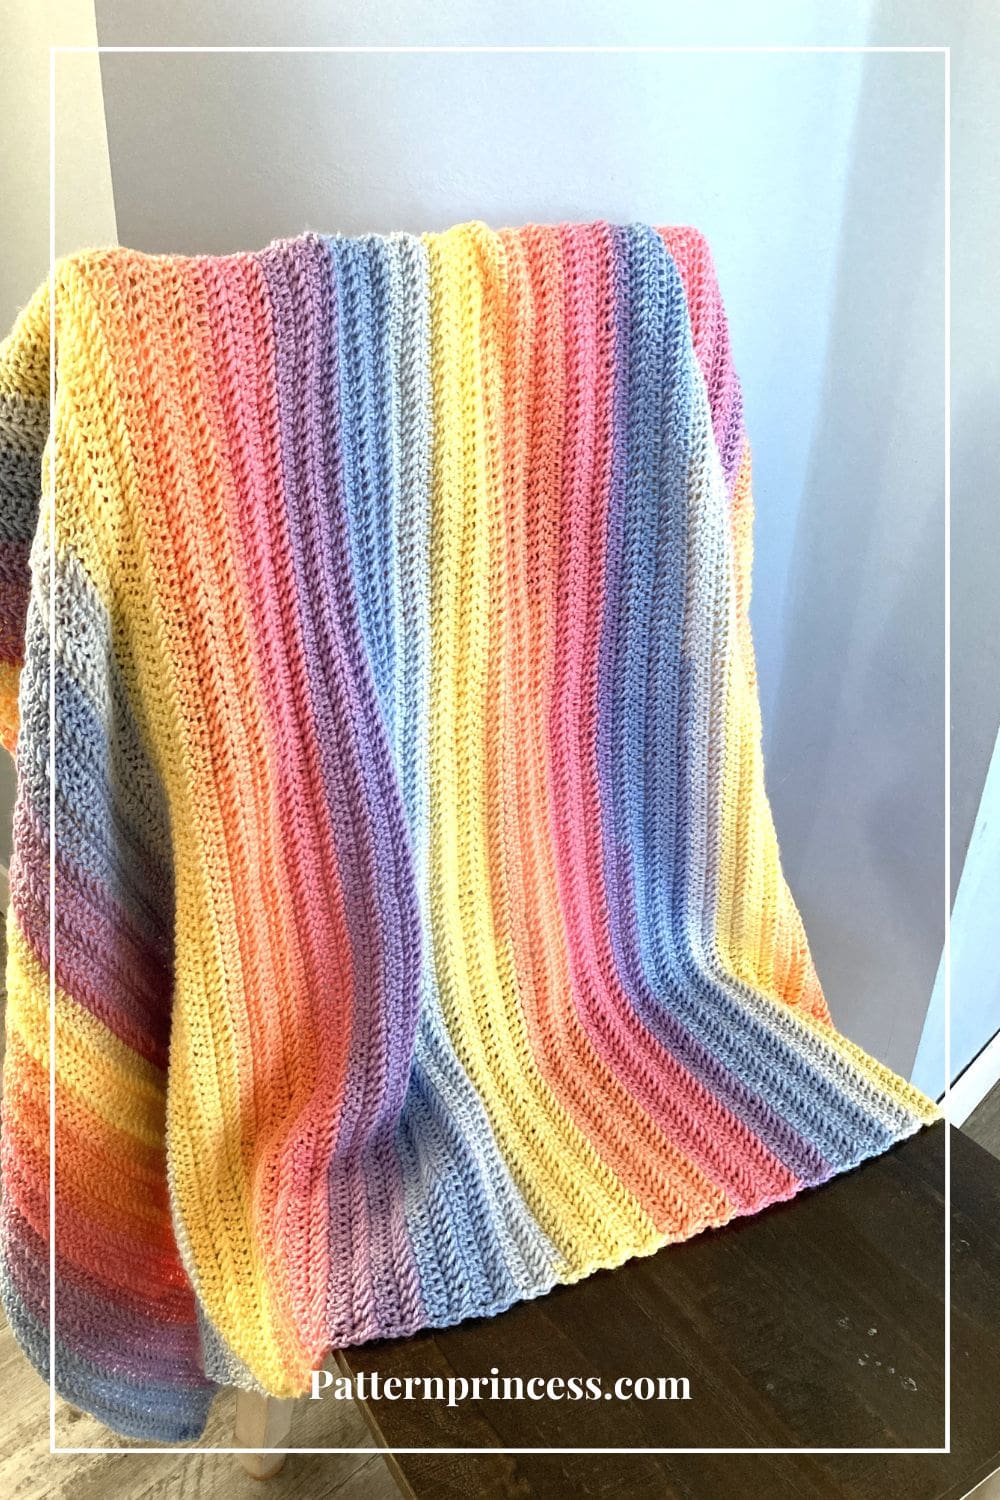
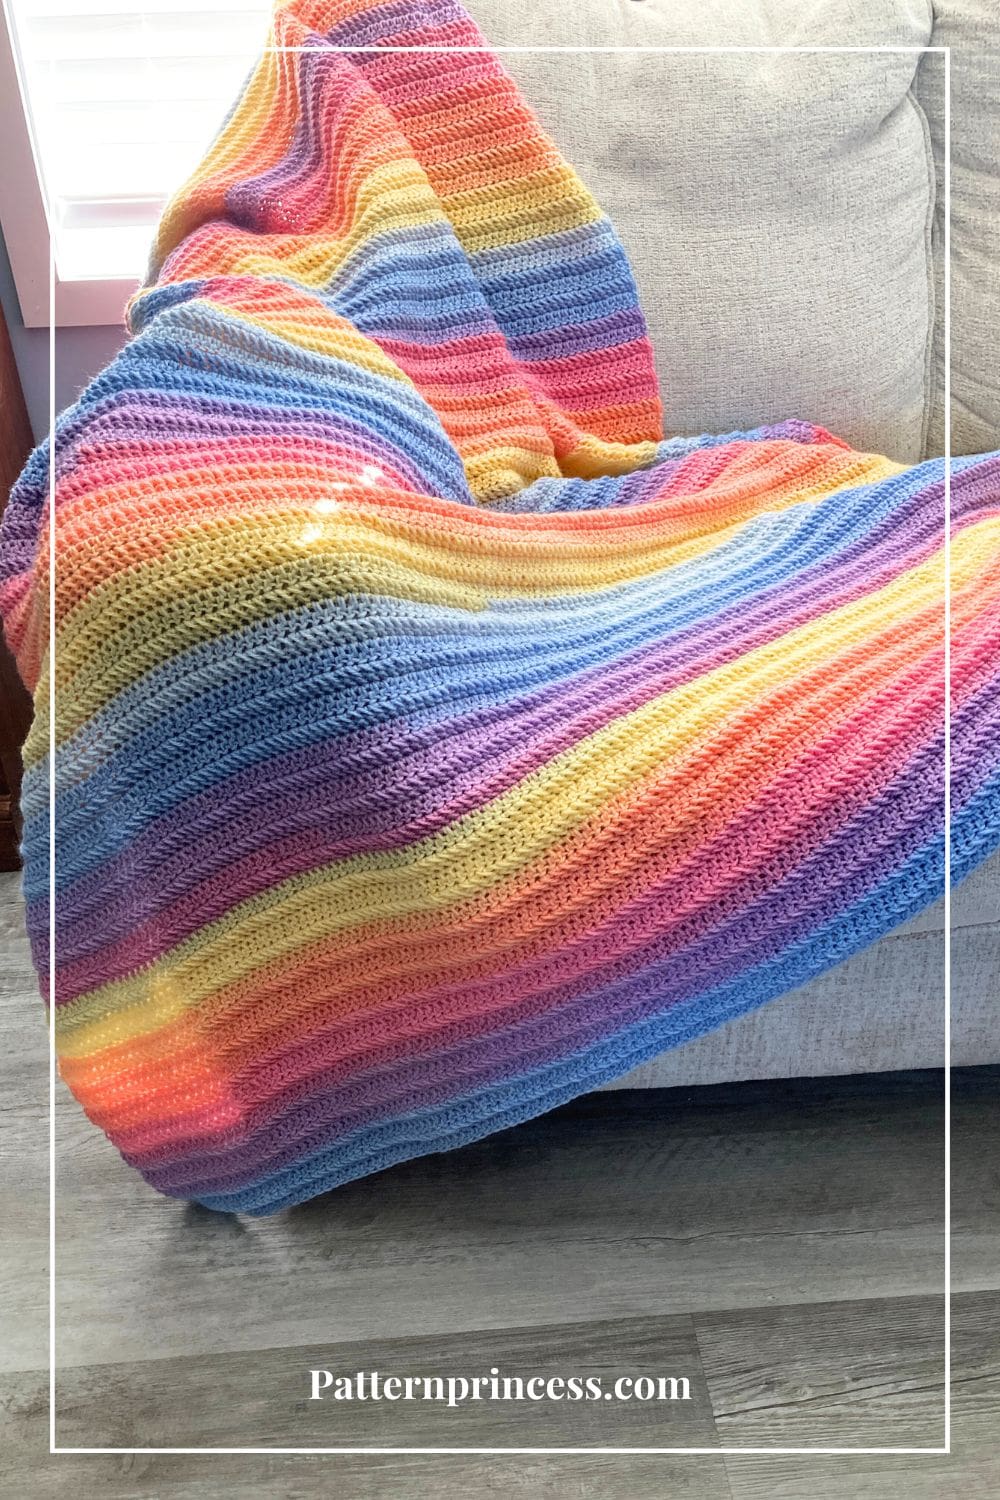
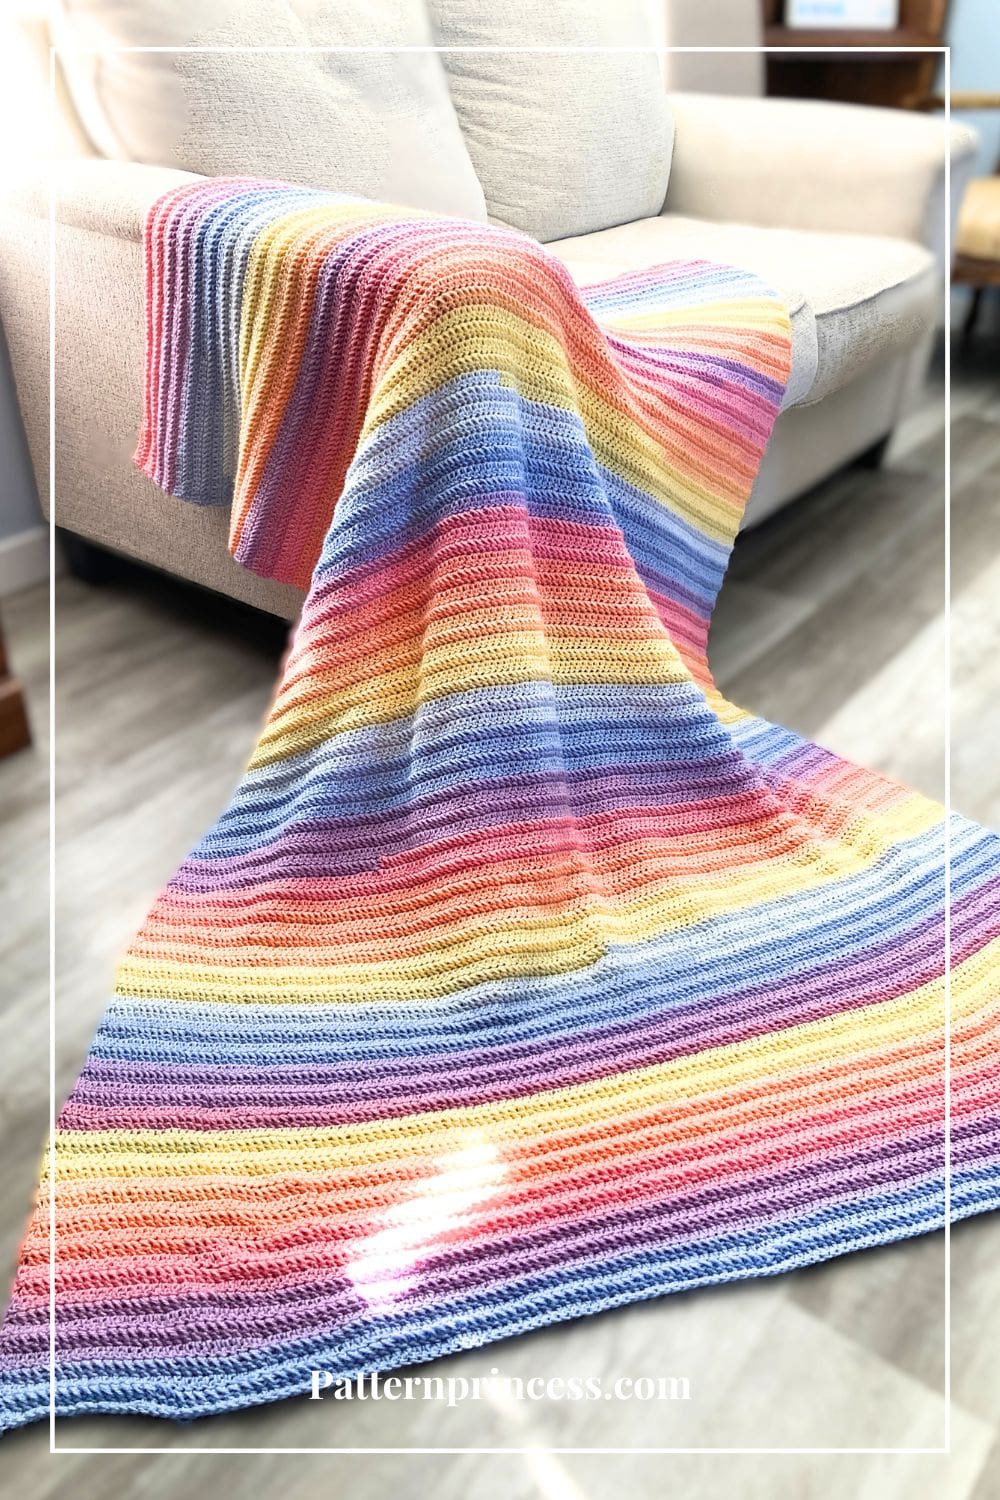
Learn how to crochet a cozy and stylish throw blanket using just one simple stitch. This pattern uses the slanted ridge stitch, which adds subtle texture to this gorgeous throw in pastel colors.
The Slanted Ridge Stitch is a modified version of the herringbone single crochet and double crochet. Blending the best of both worlds. You’ll yarn over, insert your hook into the lower leg of the previous stitch and the next stitch, then work through the loops to create that signature slanted texture. It’s a unique technique that’s surprisingly easy once you get the rhythm, and the results are stunning.
This simple and versatile pattern looks great in any color of yarn. You’ll be adding it to your home in no time at all.
Simple Throw Blanket Crochet Pattern in Pastel + Video
I’ve included 6 sizes, and I’ll even teach you how to make this blanket any size you want. Make a throw blanket for the back of your couch or a baby blanket for that upcoming baby shower.
- Baby: 40 X 40 inches
- Small Throw: 54 X 66 inches (shown)
- Medium Throw: 60 X 72 inches
- Large Throw: 70 X 80 inches
- Twin: 80 X 80 inches
- Full/Double: 80 X 90 inches
Even if you are new to crocheting, it is 100% possible to make a beautiful blanket.

Yarn Choices for This Lightweight Crochet Blanket
This throw is designed using Lion Brand Mandala in the color Acre Woods, a soft and airy #3 light-weight yarn that creates beautiful pastel transitions. The gentle color changes make the stitch texture stand out while keeping the blanket light, drapey, and perfect for year-round use. If you love soft, blended pastels, this yarn is an excellent match.
Using a lightweight #3 DK yarn for a blanket is a great choice due to its lightweight and drapey qualities. It’s appropriate for all seasons, especially the warmer weather when a light covering is all that is needed.
A lighter weight blanket is great for snuggly layers when the weather is unpredictable, making it perfect for all seasons and climates.
One of the best things about this pattern is its flexibility. While it was written with a light-weight yarn, it also works wonderfully with a #4 medium-weight (worsted) yarn. Choosing a thicker yarn will give your blanket a bit more structure and added warmth. Ideal if you want a cozier, heavier throw.
Just keep in mind: switching yarn weights will change the gauge, which affects the finished size. If you decide to use a medium-weight yarn, you may want to adjust your hook size or check your stitch counts to ensure your blanket turns out the size you want.
Whether you choose a light-weight pastel yarn for delicate drape or a worsted yarn for a more traditional, snuggly throw, this pattern adapts beautifully to your style and needs.
Get Your Ad Free Printable PDF in our Etsy Shop
Directions: Easy Pastel Crochet Throw Blanket
Skill Level
Confident Beginner Crocheter.
You should be able to read a crochet pattern and work double crochet stitches and chain stitches.
Gauge
Approximately 12 double crochet stitches and 7 rows every 4 x 4 inches.
Size
- Baby: 40 X 40 inches
- Small Throw: 54 X 66 inches (shown)
- Medium Throw: 60 X 72 inches
- Large Throw: 70 X 80 inches
- Twin: 80 X 80 inches
- Full/Double: 80 X 90 inches
Note. To change the width, you can use any number of beginning chain stitches. Change the length by increasing or decreasing the rows.
Abbreviations
- CH = Chain
- DC = Double Crochet
- SK = Skip
- SL ST = Slip Stitch
- ST = Stitch
- STs = Stitches
- [ ] = Repeat Between
Materials
Lion Brand Yarns Mandala Baby. Lightweight #3 yarn. Each yarn cake has 590 yards.
I used the color Acre Woods.
- Baby: 40 X 40 inches = 1,320 yards
- Small Throw: 54 X 66 inches (shown) = 2,950 yards
- Medium Throw: 60 X 72 inches = 3,586 yards
- Large Throw: 70 X 80 inches = 4,648 yards
- Twin: 80 X 80 inches = 5,312 yards
- Full/Double: 80 X 90 inches = 5,976 yards
If you are not able to find the yarn locally, you can purchase it online. Savings Center – Pattern Princess
Crochet Hook Size I 5.5 mm
Scissors
Tapestry needle
Crochet Pattern Notes
Written in US terms.
Detailed photos are shown within the written directions. You can find a video tutorial for both a left and right hand crocheter after the written pattern.
See the free written pattern for the stitch: Slanted Ridge Stitch Crochet Pattern for Beginners – Pattern Princess
Changing the Yarn
I changed the yarn right where I ran out. Here are two techniques that work well for this yarn and pattern. I used the Russian Join.
Magic Knot Yarn Join
The magic knot is a popular method for joining yarn because it creates a tight, invisible knot that rarely comes undone. Here’s how to do it.
- Lay the end of the new yarn and the old yarn parallel to each other.
- Tie a simple knot with each yarn strand around the other.
- Pull the two knots tightly until they form one strong knot.
- Trim the tails close to the knot.
This method works well with acrylic yarn, and it’s a great way to join yarn in the middle of a row without breaking your flow.
Watch the Video on how to do the Magic knot yarn join.
Russian Join
The Russian join is a secure way to join yarn, perfect for crochet projects where you don’t want visible joins. This method uses a yarn needle or tapestry needle to weave the ends of yarn back into itself.
Steps for a Russian Join.
- Take the two strands that you want to join together and cross them over each other.
- Fold each strand of yarn over on itself making sure to fold over the new strand.
- Take the tails and work them back in to the yarn that they came from.
- Using a pointy yarn needle, feed a short 2-3 inch tail back into itself.
- Pull the yarn through the fibers. Do this for each strand of yarn.
- Cut off any remaining ends of yarn and carry on with your crochet project.
This method works best for yarns like wool or acrylic. As long as it has plies or strands of yarn that you can work into. So, chenille yarn wouldn’t work for this method.
Watch the video on a Russian yarn join.
Basic Crochet Stitches Used
Chain Stitch (CH ST)
Begin the chain stitch by making a slip knot on the crochet hook. Leave about a 5-inch tail on the yarn. This will be weaved in later.
Next snug up the yarn loop that is on the crochet hook; while it should be firm, it should also be loose enough to slide on the hook with ease.
Keeping the loop on the hook, insert the hook in the stitch, wrap the yarn over the crochet hook from back to front. Draw the yarn through the loop. (The first chain stitch is complete).
HOW TO CROCHET THE CHAIN STITCH video tutorial
Double Crochet (DC). Yarn over, insert the hook through both loops and pull up a loop. Next, yarn over and pull through two loops on the hook. Lastly, yarn over again and pull through the last two loops on the hook.
HOW TO CROCHET THE DOUBLE CROCHET STITCH video tutorial
Begin
Chain Stitches
Start with a Slip Knot. Place a slip knot on your crochet hook.
Work a starting chain using any number of stitches.
- Baby: 40 X 40 inches = 120 stitches
- Small Throw: 54 X 66 inches (shown) = 163 stitches
- Medium Throw: 60 X 72 inches = 180 stitches
- Large Throw: 70 X 80 inches = 210 stitches
- Twin: 80 X 80 inches = 240 stitches
- Full/Double: 80 X 90 inches = 240 stitches
Row 1
Insert hook into the second chain and work a SC and in each stitch across. Turn
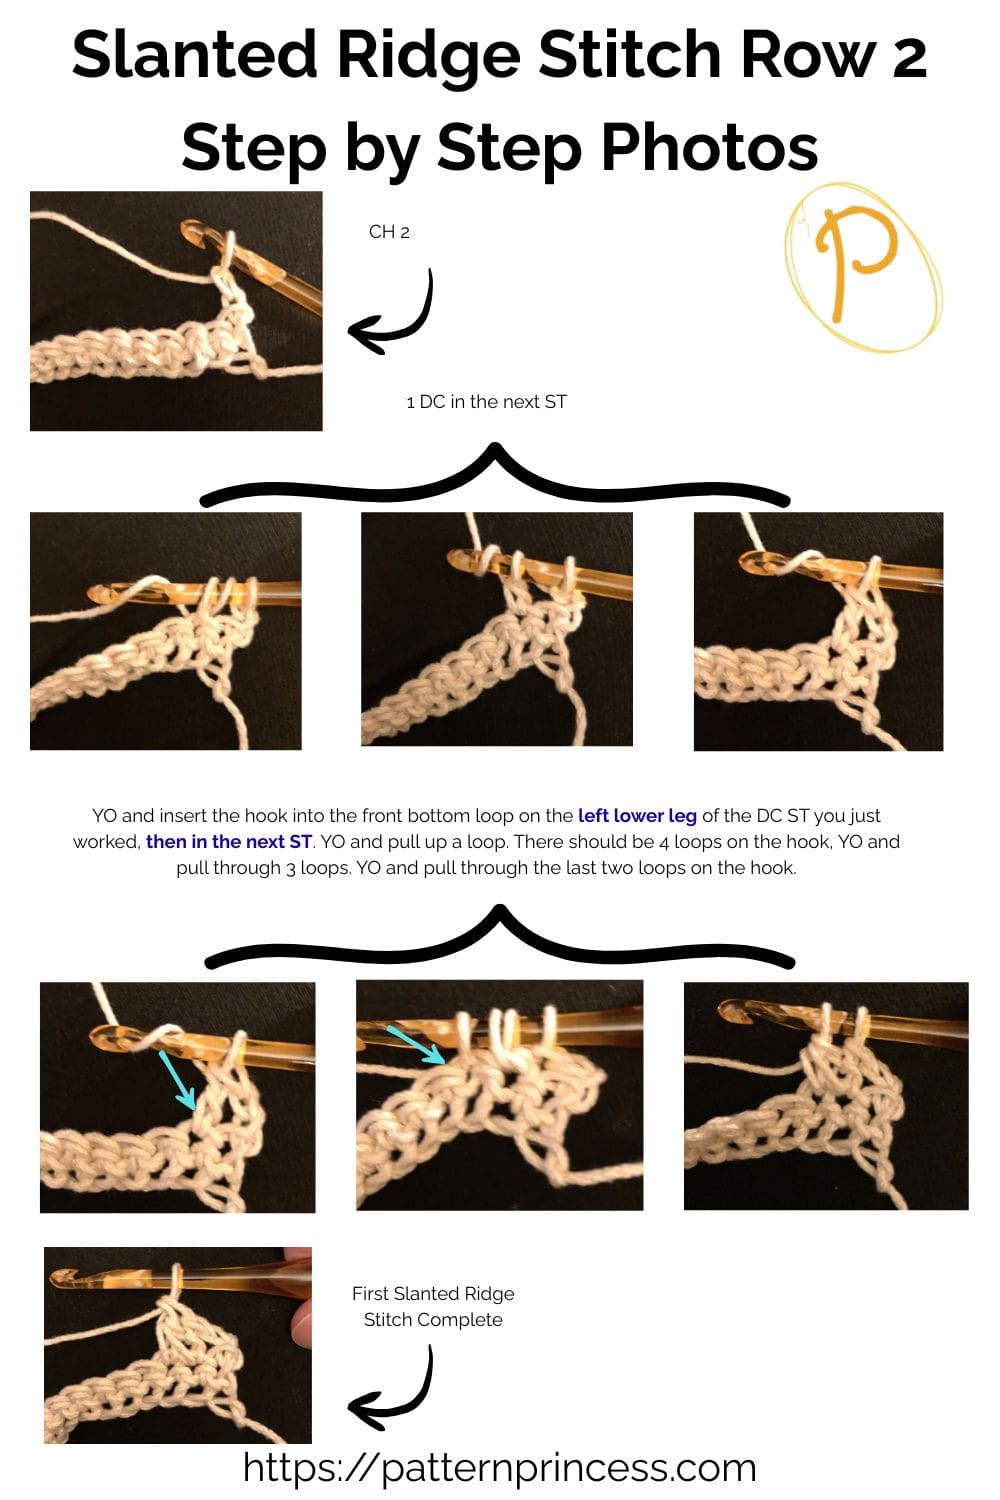
Row 2
CH 2 (Counts as a DC). In the next ST work 1 DC. [In the next ST, YO and insert the hook into the front bottom loop on the left lower leg of the DC ST you just worked, then in the next ST. YO and pull up a loop. There should be 4 loops on the hook, YO and pull through 3 loops. YO and pull through the last two loops on the hook. Repeat between [ ] to the end.
Rows 3 and beyond
Repeat row 2.
- Baby: 40 X 40 inches = 70 rows
- Small Throw: 54 X 66 inches (shown) = 118 rows
- Medium Throw: 60 X 72 inches = 125 rows
- Large Throw: 70 X 80 inches = 140 rows
- Twin: 80 X 80 inches = 139 rows
- Full/Double: 80 X 90 inches = 161 rows
Finishing
When you have reached your desired length, cut the yarn leaving about a 12-inch yarn tail. Pull the yarn tail through the last stitch.
Use the yarn needle to weave the yarn through the crochet stitches to secure.
You can find the video tutorials on our YouTube Channel
Right Hand Slanted Ridge Stitch
Left Hand Slanted Ridge Stitch
We hope you enjoyed this gorgeous crochet stitch. We have other free crochet patterns you may enjoy. Here is a bit of inspiration for your next project.

You can find Victoria crocheting, quilting, and creating recipes. She has cooked in restaurants for over 20 years, including many larger parties. She learned to crochet when she was just 11 years old and has been crocheting ever since; over 50 years now. Over 40 years ago, she loved her first class in sewing and continues to hone her skills in quilting. Many have enjoyed the handmade gifts over the years. In her professional career, she has worked in management in a wide variety of businesses including higher education as a dean of a division. All the while attending college part-time to achieve her doctorate in higher education with an emphasis in e-learning.