Last updated on July 5th, 2024 at 12:37 am
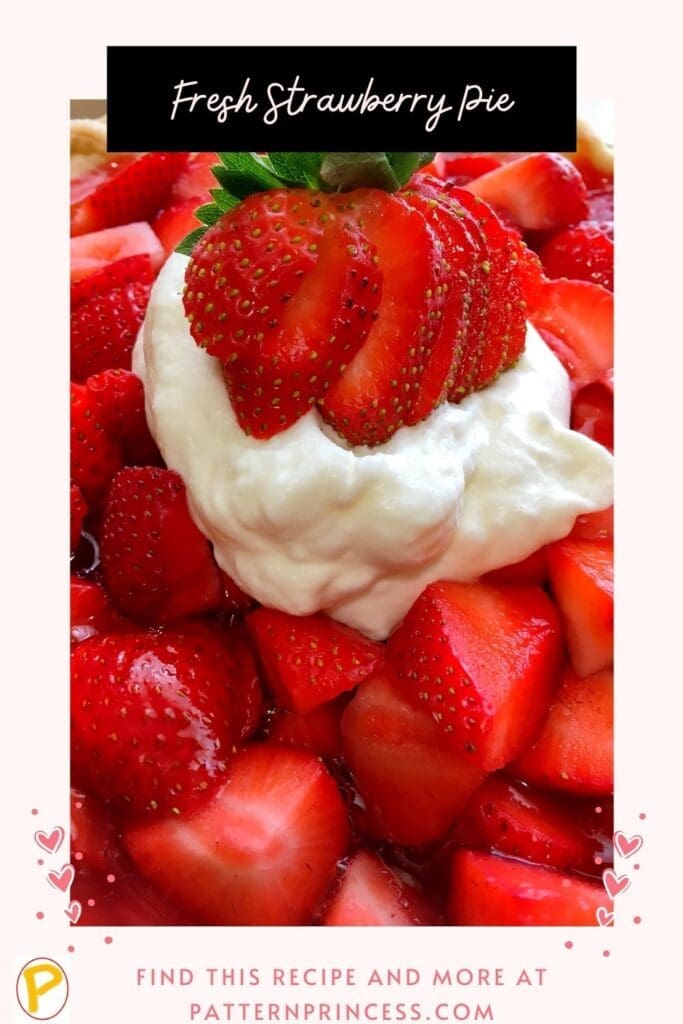
This fresh strawberry pie is quick and easy to make. The freshness of the strawberries are the center of attention in this recipe. Add a dab of homemade Whipping Cream and you have a perfect pairing.
*Post contains affiliate links* for more information please read the disclaimer on the About Us page.
Ingredients in Strawberry Pie
- 9-inch pie shell. This can be store bought or homemade. Here is my go-to recipe for a delicious flaky and buttery pie crust.
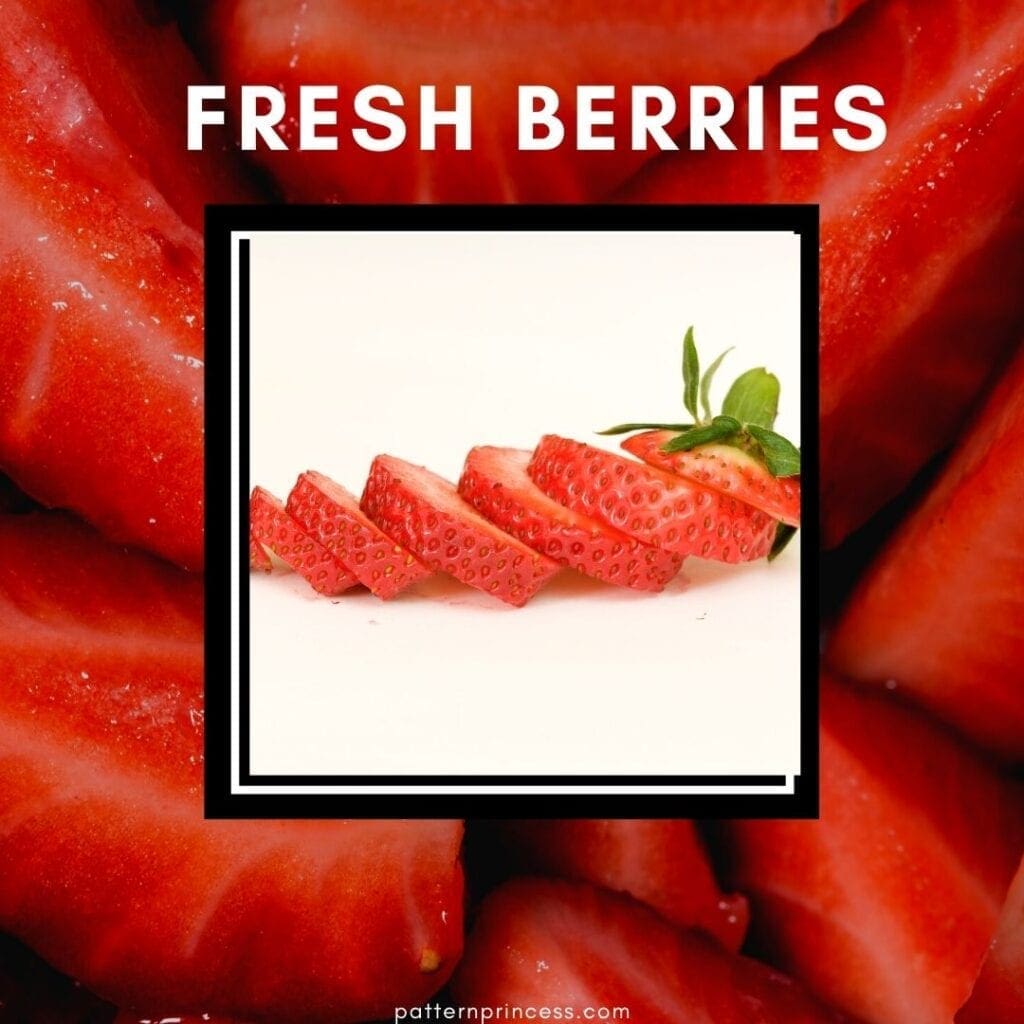
- Fresh Strawberries. They can be used whole or sliced. Either way, clean them and snip off the green leaves.
- Granulated sugar. This adds a bit of sweetness.
- Corn starch. This is used to thicken the filling.
- Water.
- Strawberry Gelatin 1 small package
- Whipped Cream. This is optional, but it sure makes the pie look pretty and taste a bit nicer with the creaminess.
How many Strawberries do you need for a pie?
Some recipes use cups, others use a pint, or quart. However, in this recipe, it is however many strawberries you can fit in the pie shell.
In general, plan on 4-6 cups of strawberries for a pie that has lots of filling piled high.
How Many Strawberries are in a Quart?
It is difficult to say exactly how many strawberries due to the variety of sizes. However, in general, there are 4 cups of strawberries to a quart. If your recipe calls for a pint of strawberries, that is approximately 2 cups.
How do you make strawberry pie from scratch?
This pie uses a pre-baked pie crust. The pie just has a bottom crust and that will need to be blind baked. This is the only baking that is required for this pie crust.
How to Blind Bake a Pie Crust
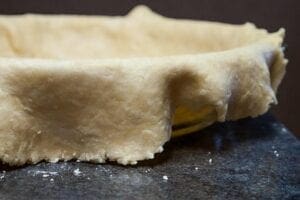
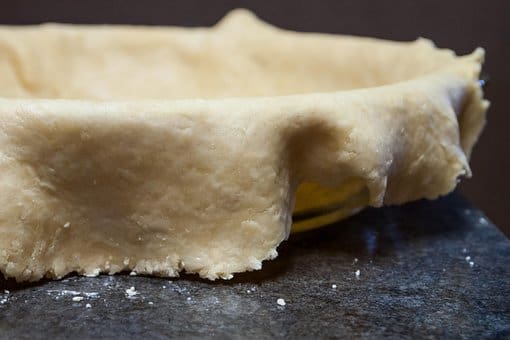
Roll your pie dough and transfer to a 9-inch pie plate. Trim the crust to a half inch overhang. Tuck the edges under and crimp the edges for a pretty edge. Dock the pie crust with a fork on the bottom and sides. You might be wondering what docking means. It simply poking holes in the dough so that it does not puff up during baking.
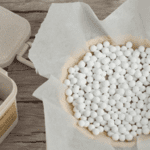
Line the inside of the crust with parchment paper, then fill with dried beans or baking weights. In a pre-heated 400-degree Fahrenheit oven, bake for 16-18 minutes, until the edges of the crust are a light golden color.
Remove the pie weights and parchment paper, brush all over with heavy cream or a whisked egg and return to the oven and bake another 10-12 minutes. This will help create a barrier between the pie filling and the crust, thus reducing the chance of having a soggy crust. Let cool to room temperature.
Make the Strawberry Pie Filling
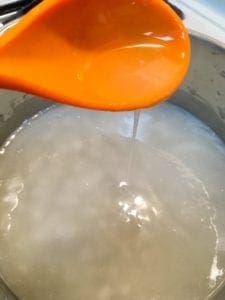
While the pie crust is cooling, it is time to make the filling. In a small saucepan, combine the sugar, cornstarch and water stir until smooth. Heat to boiling and cook for approximately 2 minutes or until thickened. (stir the entire time boiling). Remove from the heat; stir in gelatin until dissolved. Let sit until room temperature – approximately 20 minutes.
Clean and Slice the Fresh Strawberries
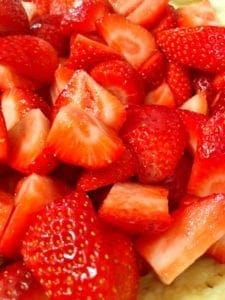
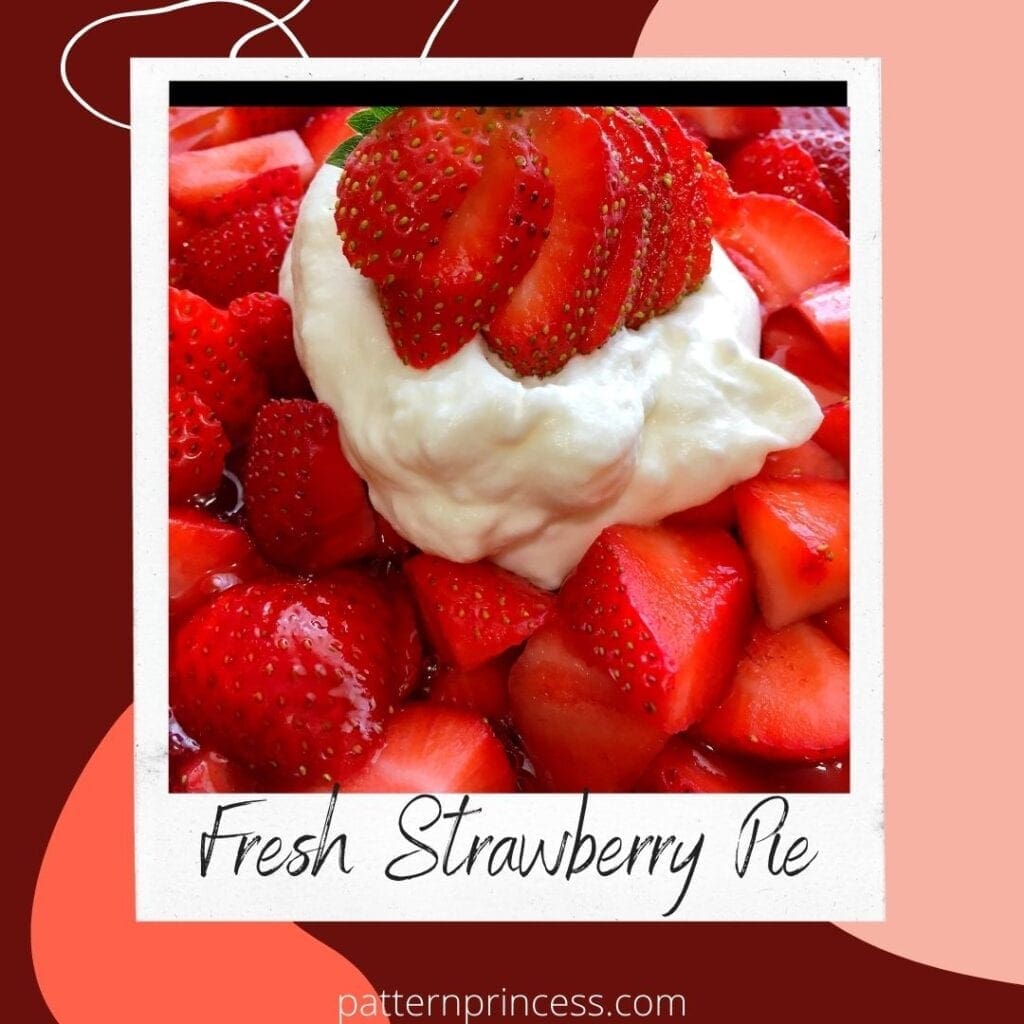
Some pie bakers prefer to add the strawberries to the pie crust whole. While this makes for a beautiful presentation, I prefer to eat a pie that has had the strawberries sliced. However, arrange them the way you like them.
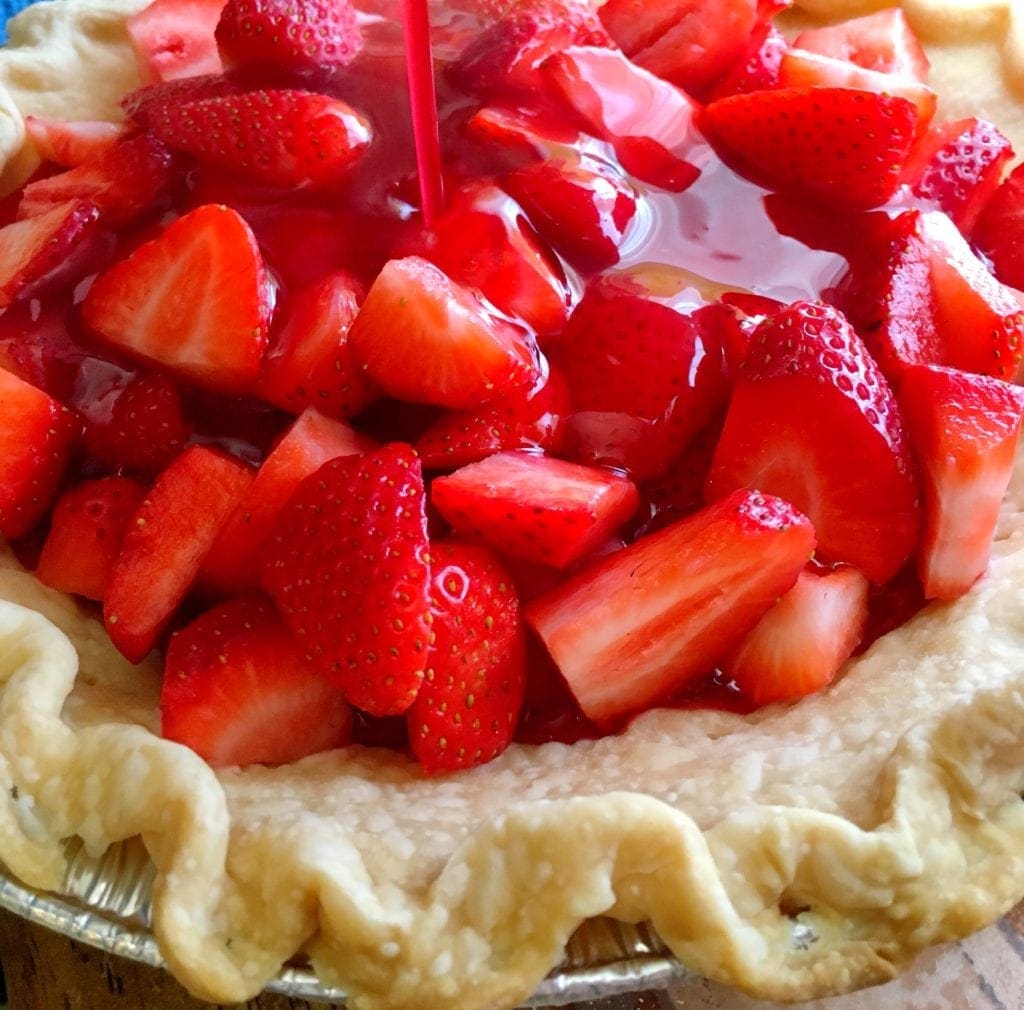
Add the Thickened Pie Filling. Once the gelatin is cool, pour over the strawberries. Cover and refrigerate until the gelatin is set.
Serve with a Dollop of Whipping Cream. Finally, serve with whipping cream. Using store bought whipped topping works great to keep things simple. However, you can also make your own homemade whipped cream topping. It just takes a few minutes.
No Soggy Crust
I have had strawberry pies like this where a gelatin was used and it makes a watery and soggy crust. That is because the gelatin is not firm and it soaks into the crust. This recipe firms up like jello once it is set up, which does not take long at all.
Additionally, baking the crust with a light brushing of whisked egg or heavy cream helps seal the crust. This creates a barrier between the pie filling and the pie crust.
This keeps the crust from turning soggy. I have had a pie in the refrigerator for two days just to see what would happen with the crust. My crust was still great after two days. To me, this helps this easy recipe be a go-to recipe.
Whole Versus Sliced Strawberries
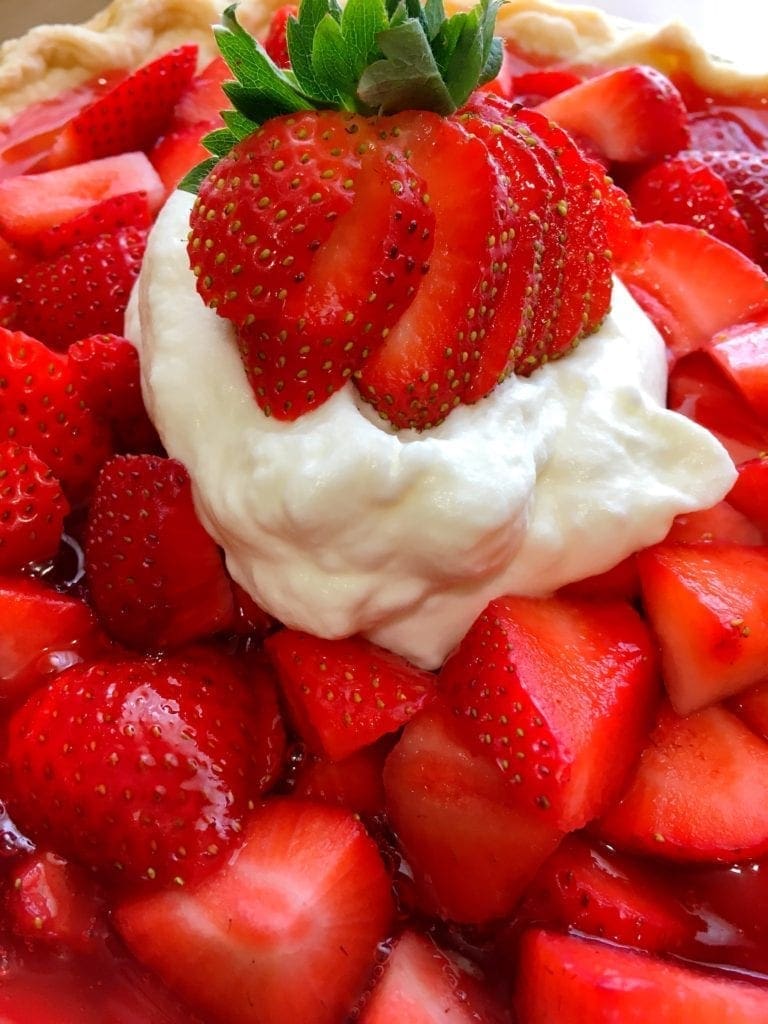
Here is just my opinion on this. While I think that whole strawberries look beautiful in a fresh strawberry pie, it is harder to eat without having to put the whole strawberry in your mouth. This makes it a bit hard to eat. My family has also given me their opinion on this.
As you can see, I cut up my strawberries for easier eating. My family appreciates that. They actually mention it when they are enjoying the pie.
Sweet Stabilized Whipped Cream
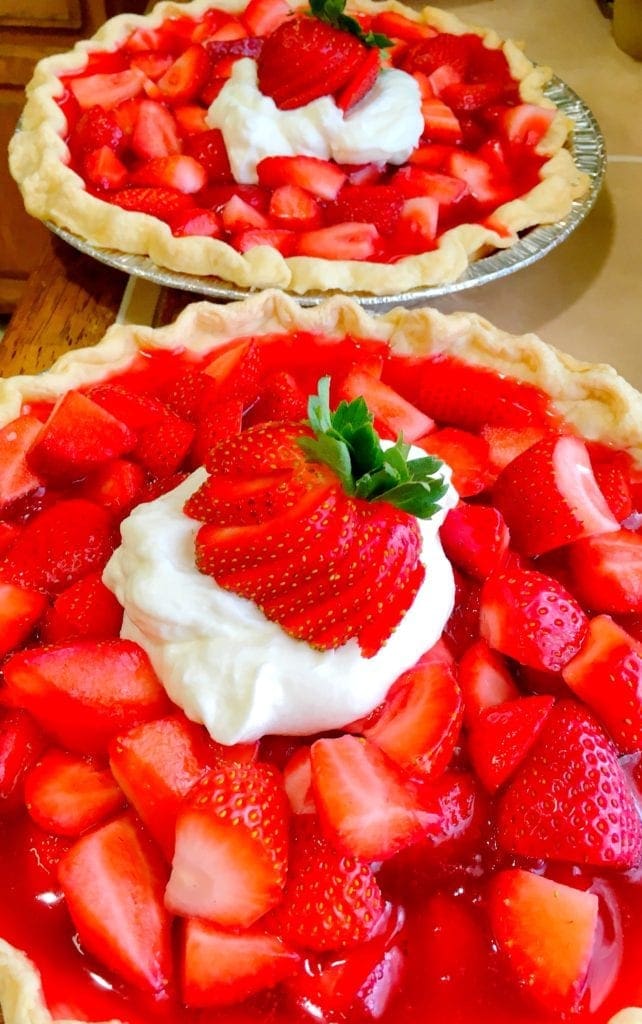
The pie in the photo is topped with real whipped cream. I love the taste of real whipped cream with this fresh strawberry pie. In warm weather, this will become a soupy mess. Learn how to help the whipped cream hold its shape in any weather.
Here is a recipe for the sweet stabilized whipped cream. It will stay set up for a few days. The picture above was on a day with temps into the 80s. Still looked and tasted great. This pie was fresh and flavorful. It looked good too and everyone was in line for a piece. Let’s just say, I did not take any pie home.
Why is my strawberry pie runny?
This is the complaint I see most often and most of the time it’s because the filling was not cooked enough, or the filling was not cool before adding to the pie crust and berries.
This fresh strawberry pie is not baked in the oven once the filling is added. Therefore, it is important to fully cook the filling on the stovetop.
This recipe calls uses cornstarch to create a very thick filling, so that your pie will set and slice nicely when chilled. However, it is important to note that the cornstarch needs to be dissolved first in a cold liquid, then heated to its boiling point. This helps in creating the thickening power of the cornstarch.
Further, make sure that the mixture comes to the full boil and cook for the entire time that the recipe recommends. The process of cooking the mixture also helps in reducing the liquid in the filling, which results in a thicker pie filling too.
Once the mixture is removed from the heat, the strawberry flavored gelatin is added and stirred until it is all incorporated. This also helps to thicken this pie filling.
Can a Strawberry Pie be Made Ahead of Time?
I highly recommend making this fresh strawberry pie recipe the day you are going to serve it. Once the pie has had an hour to chill and set, it is ready to eat. It is best eaten the day it is made.
How Long Will a Strawberry Pie Last?
Covered and refrigerated, it will hold up nicely for 1-2 days. After that, the crust might become a bit soggy. However, it is safe to eat up to 5 days. The quality of the pie is just not the same as the first day or two after it is made.
Fresh Strawberry Pie
As an Amazon Associate I earn from qualifying purchases.
Kitchen Essentials
Ingredients
- 1 9 inch pie shell
- 1 Quart Strawberries Sliced
- 3/4 Cup granulated sugar
- 2 Tbl. corn starch
- 1 Cup water
- 3 Oz. Strawberry Gelatin 1 small package
- 1/2 Cup Whipped Cream Optional
text ingredients
Instructions
- Roll your pie dough and transfer to a 9-inch pie plate. Trim the crust to a half inch overhang. Tuck the edges under and crimp the edges for a pretty edge. Dock the pie crust with a fork on the bottom and sides. You might be wondering what docking means. It simply poking holes in the dough so that it does not puff up during baking. Line the inside of the crust with parchment paper, then fill with dried beans or baking weights. In a pre-heated 400-degree Fahrenheit oven, bake for 16-18 minutes, until the edges of the crust are a light golden color.Remove the pie weights and parchment paper, brush all over with heavy cream or a whisked egg and return to the oven and bake another 10-12 minutes. This will help create a barrier between the pie filling and the crust, thus reducing the chance of having a soggy crust. Let cool to room temperature.

- In a small saucepan, combine the sugar, cornstarch and water stir until smooth. Heat to boiling and cook for approximately 2 minutes or until thickened. (stir the entire time boiling). Remove from the heat; stir in gelatin until dissolved. Let sit until room temperature – approximately 20 minutes.

- Wash, dry, and cut strawberries. Arrange on pie crust. (You certainly can arrange the strawberries whole with the pointed side up for a beautiful display)

- Once the gelatin is cool, pour over the strawberries. Cover and refrigerate until the gelatin is set.

Your Own Private Notes
Video
Notes
Why is my strawberry pie runny?
This is the complaint I see most often and most of the time it’s because the filling was not cooked enough, or the filling was not cool before adding to the pie crust and berries. This fresh strawberry pie is not baked in the oven once the filling is added. Therefore, it is important to fully cook the filling on the stovetop. This recipe calls uses cornstarch to create a very thick filling, so that your pie will set and slice nicely when chilled. However, it is important to note that the cornstarch needs to be dissolved first in a cold liquid, then heated to its boiling point. This helps in creating the thickening power of the cornstarch. Further, make sure that the mixture comes to the full boil and cook for the entire time that the recipe recommends. The process of cooking the mixture also helps in reducing the liquid in the filling, which results in a thicker pie filling too. Once the mixture is removed from the heat, the strawberry flavored gelatin is added and stirred until it is all incorporated. This also helps to thicken this pie filling.Can a Strawberry Pie be Made Ahead of Time?
I highly recommend making this fresh strawberry pie recipe the day you are going to serve it. Once the pie has had an hour to chill and set, it is ready to eat. It is best eaten the day it is made.How Long Will a Strawberry Pie Last?
Covered and refrigerated, it will hold up nicely for 1-2 days. After that, the crust might become a bit soggy. However, it is safe to eat up to 5 days. The quality of the pie is just not the same as the first day or two after it is made.Nutrition
A few of my favorite things
The Power of Positivity
If you loved this post, please share. It helps to show me that these types of posts are helpful – thank you!
I hope that you liked this recipe. If you are looking for more ideas on what to make, here are a few other recipes that you may enjoy.
[pt_view id=”c2bc295l7h”]

You can find Victoria crocheting, quilting, and creating recipes. She has cooked in restaurants for over 20 years, including many larger parties. She learned to crochet when she was just 11 years old and has been crocheting ever since; over 50 years now. Over 40 years ago, she loved her first class in sewing and continues to hone her skills in quilting. Many have enjoyed the handmade gifts over the years. In her professional career, she has worked in management in a wide variety of businesses including higher education as a dean of a division. All the while attending college part-time to achieve her doctorate in higher education with an emphasis in e-learning.


