Last updated on July 4th, 2024 at 11:29 pm
The Straight Box Stitch, with its clean lines and versatile texture, stands as a testament to the artistry that can be achieved with a simple hook and yarn.
Recently, I learned this new crochet stitch. I was looking for one that matches a baby blanket that my grandson uses. It is a hand-me-down crocheted blanket and I love the stitch pattern. I went on a hunt to figure out what the crochet stitch was. After a year of searching on and off, finally, I saw a video on the beautiful crochet stitch.
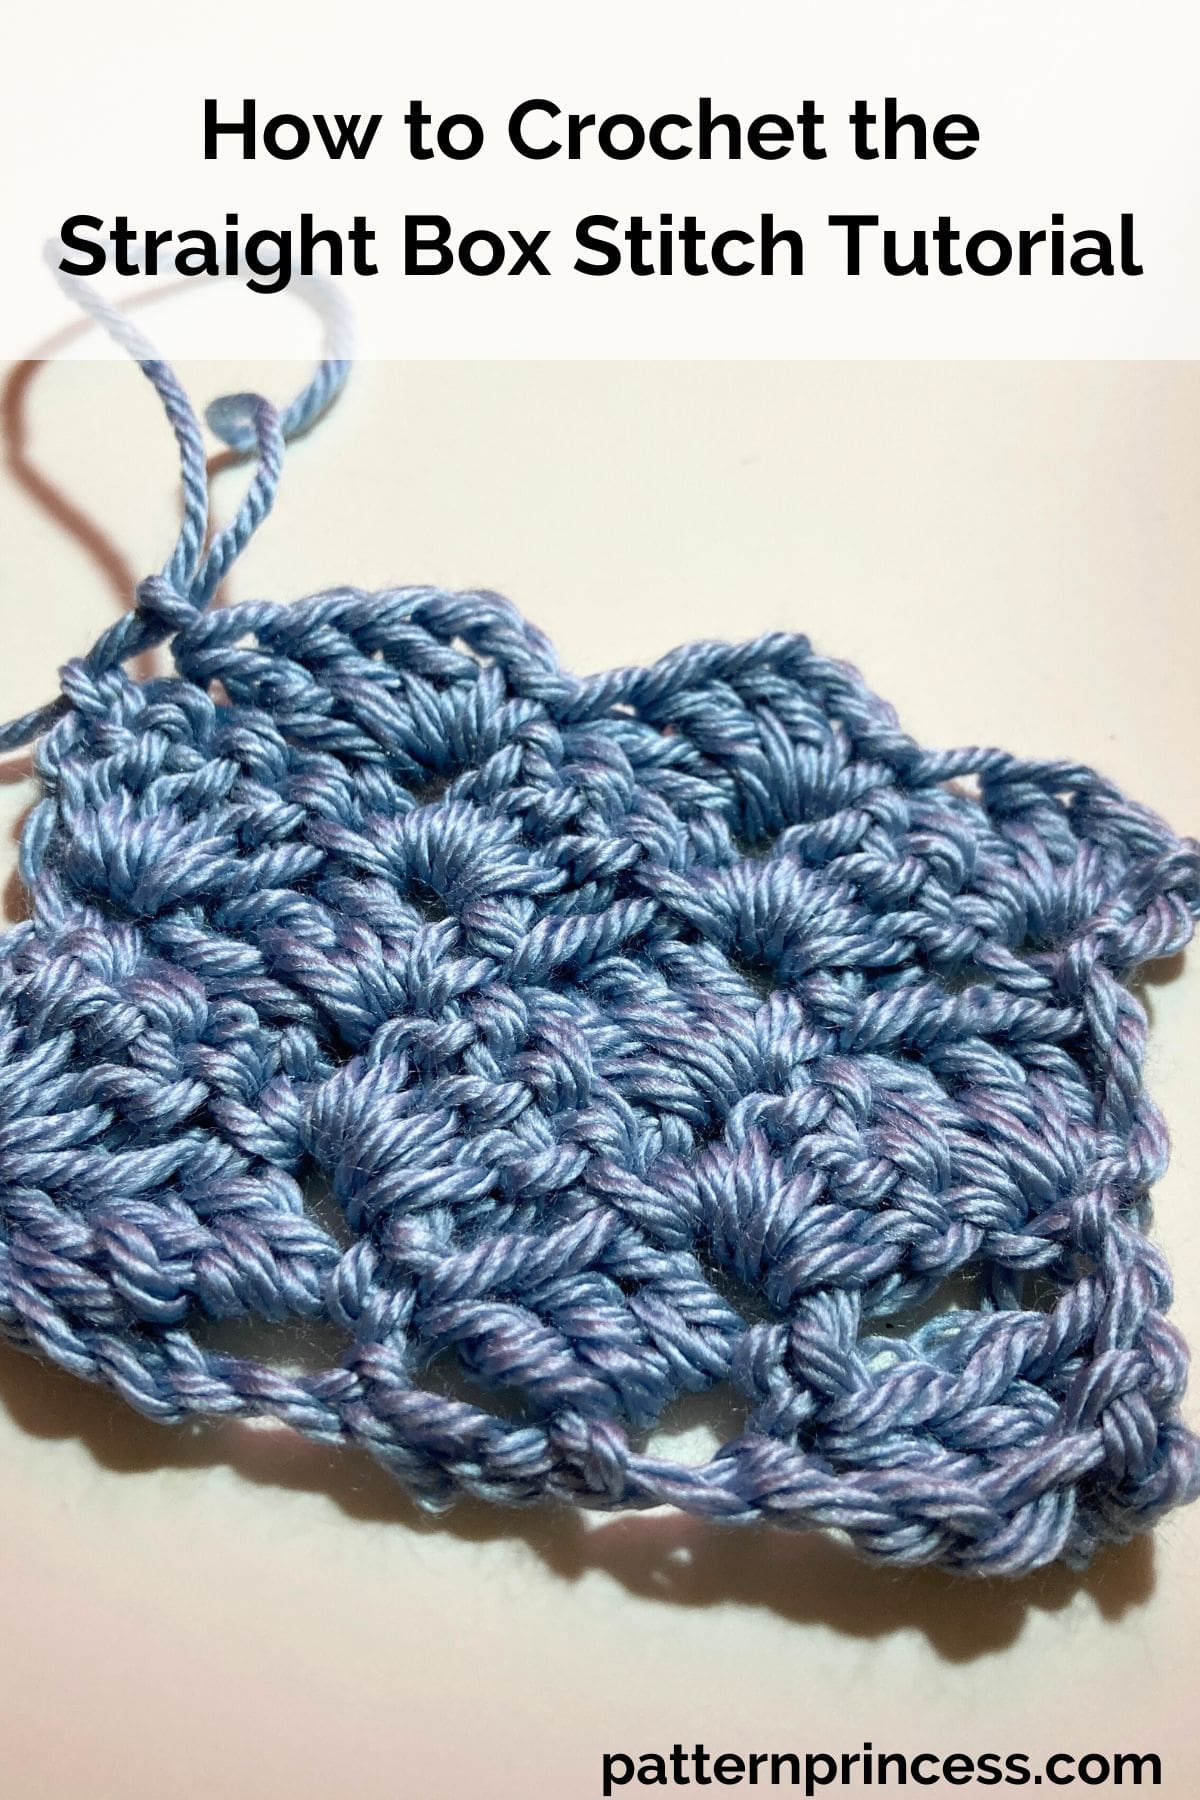
Now we are sharing this one with you. I made a practice swatch to make sure that this was the beautiful crochet stitch.
This beginner-friendly stitch is perfect for a variety of projects. From pretty baby blankets and afghans to ponchos, scarves, and beyond. It’s really a simple and versatile stitch to add to your crocheting repertoire. In this tutorial, we’ll walk you through the steps to master this stitch.
Post contains affiliate links, and we earn commissions if you shop through the links on this page. For more information, please read the disclosure section under the About Us page.
Why I Love This Crochet Stitch
This pattern is a repeat of row 2 and once you know where to put your hook for the stitches, it is easy. I love crochet projects like this that are such low stress. They can be done with ease while I am spending time with my family.
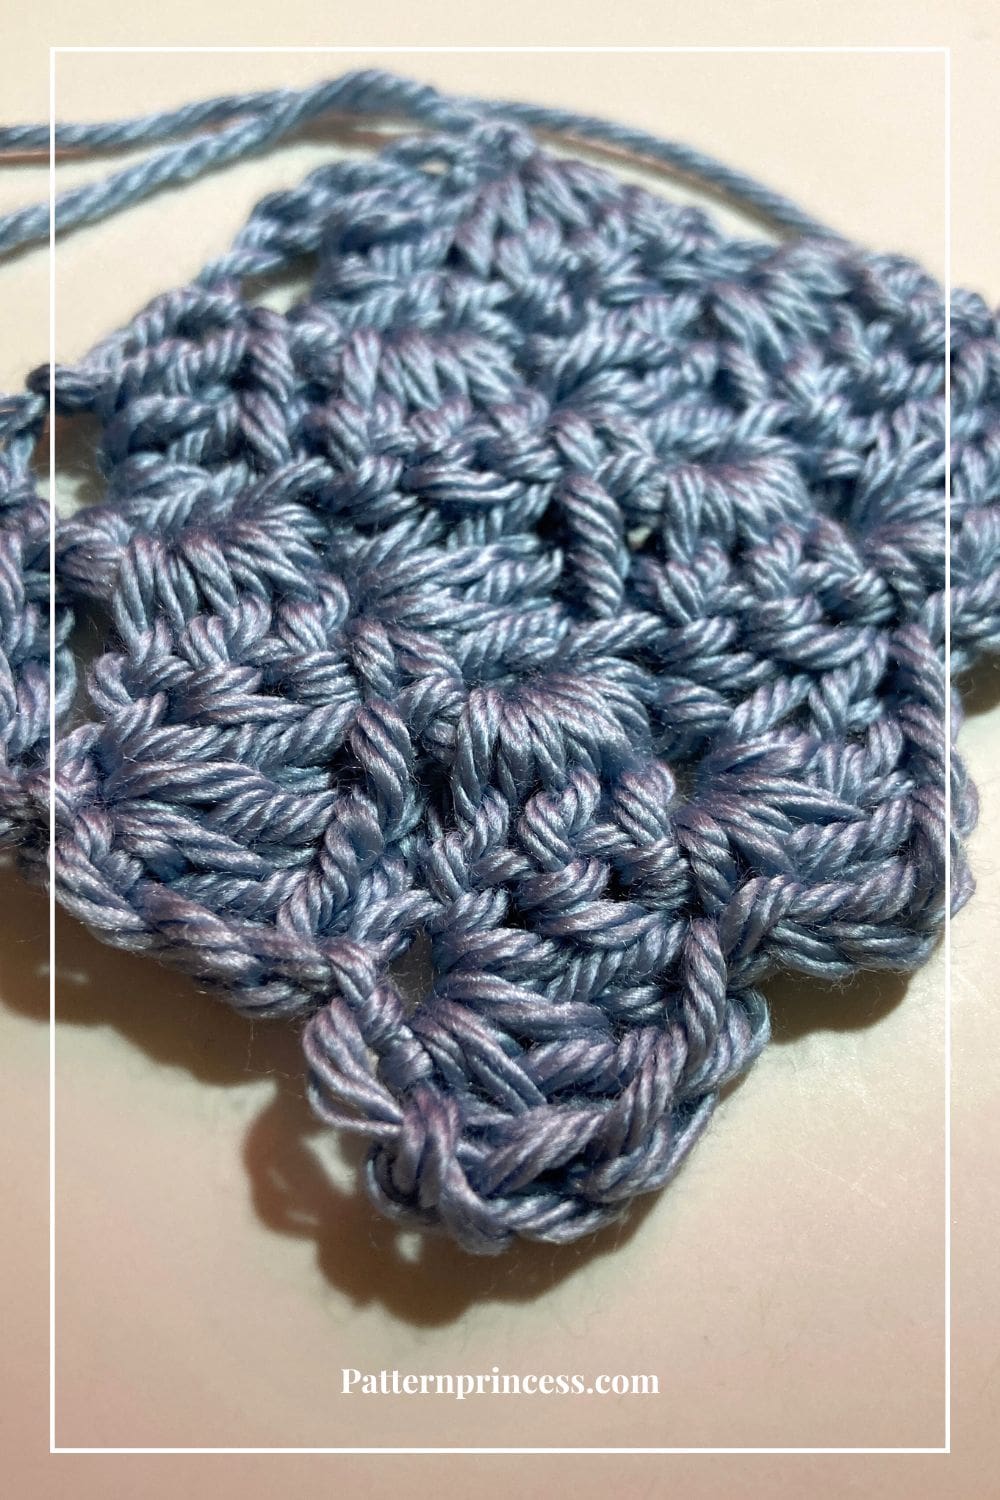
I love the look. The grouping of stitches resembles the granny stitch, but they are on an angle. Yet, it creates a lovely snuggly fabric without large holes.
This pattern is reversible. The back of the work looks the same as the front.
There is a nice straight edge which makes this a great for an optional border.
We are currently working on the cutest crochet baby blanket using this straight box stitch. Since we are going to add a border, we are carrying the yarn up the side. We are using three colors of yarn where we change color every other row. As soon as we finish the pattern and get it written up, we’ll make sure to share the free pattern with you.
Yarn for this Pretty Stitch
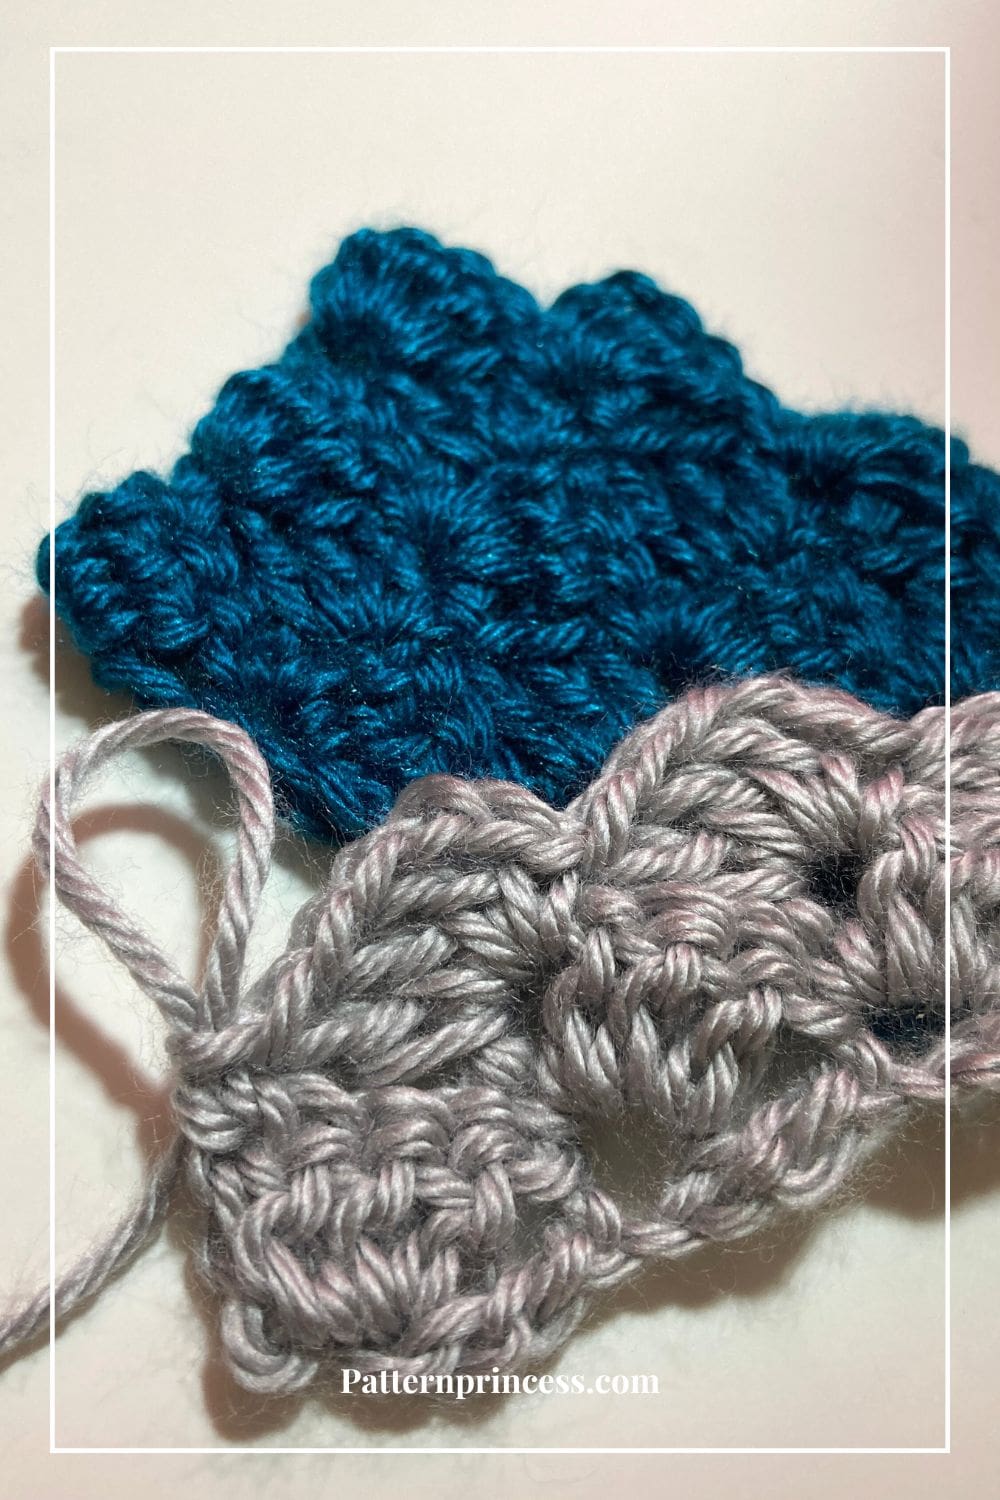
This stitch is pretty in a single color yarn or different colors of yarn worked into stripes. It really comes into its own when worked in rows of graduating colors in a self-striping yarn, or in alternating colors.
This may work well with any type of yarn. I am using a number 4 medium weight yarn with this pattern for the baby blanket that I am currently working on. However, it may be nice with a bulky yarn too. We may have to try that combination soon for you.
Step-by-Step Photos and Video Tutorial
Along with the written instructions, we have also included a step by step video and photo tutorial of the crochet straight box stitch on our Youtube channel. Sometimes I find it a lot easier to follow a video tutorial than a pattern.
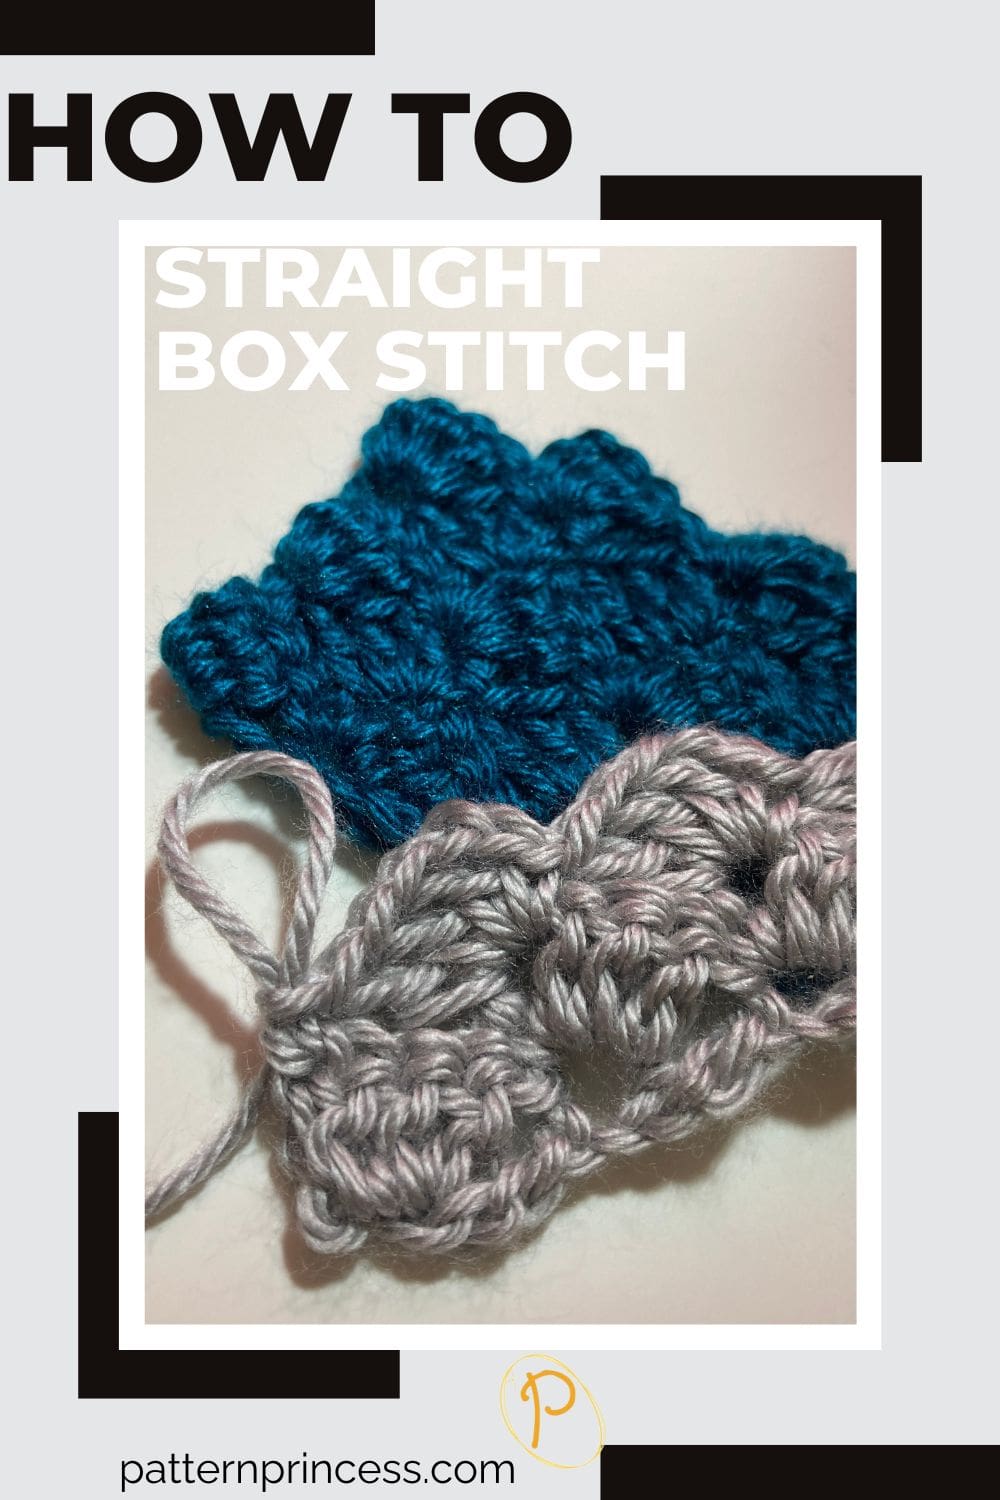
Directions: How to Crochet the Straight Box Stitch Tutorial
Skill Level
Confident Beginner Crocheter.
You should be able to read a crochet pattern and work double crochet stitches and chain stitches.
Gauge
The gauge for your project will depend on the yarn and crochet hook used.
Size
Make your starting chain in multiples of 4.
The sample is 16 chain stitches wide. To adjust the width, use multiples of 4. Therefore, the sample is 4 X 4 = 16 stitches. Adjust the length by adding or decreasing rows.
Abbreviations
CH = Chain
DC = Double Crochet
SC = Single Crochet
SK = Skip
ST = Stitch
STs = Stitches
[ ] = Repeat Between
Materials
This pattern works nicely with a medium-weight yarn.
Use a crochet hook size for the yarn used.
Yarn Needle
Scissors
Crochet Pattern Notes
Turn at the end of each row.
The chain two at the beginning of each row counts as a double crochet. Alternatively, you can work a chain three if you want less height.
Another alternative to this pattern is when working the single crochet and chain two for each cluster of stitches. You could work a slip stitch and chain three.
You will be working a series of crochet stitches around the chain stitches in the row below that was created by the CH 2. Once you get going, this is a nice crochet project to do if you don’t want a lot of counting.
Repeat row two throughout the pattern.
This pattern is written in U S Crochet Terms.
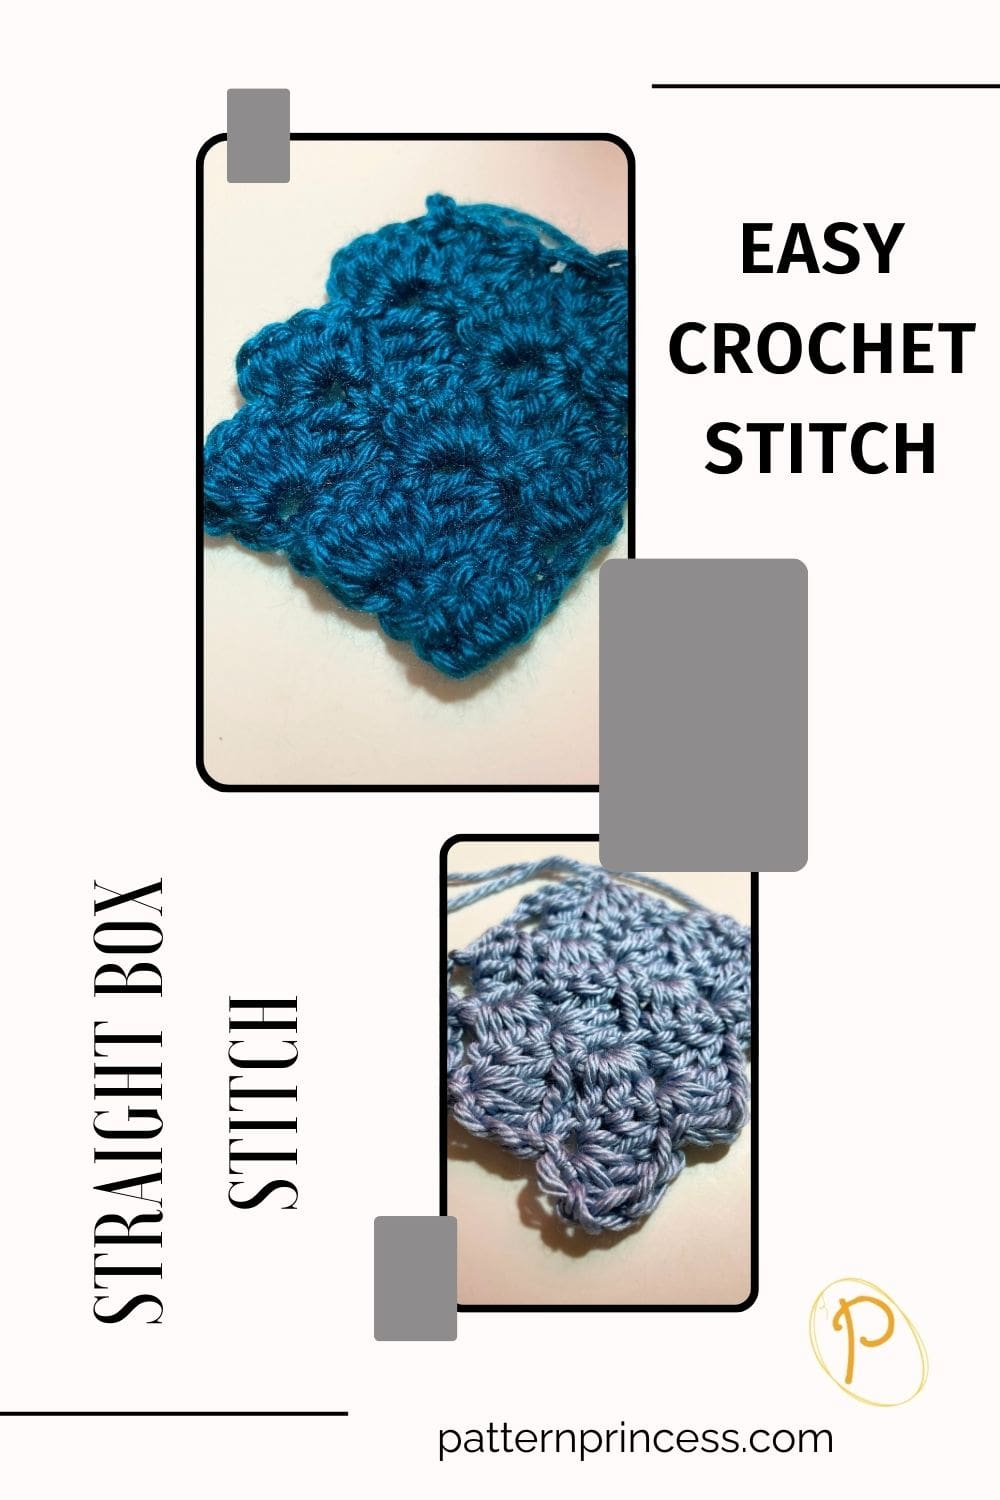
Basic Crochet Stitches Used
Double Crochet (DC). Yarn over, insert the hook through both loops and pull up a loop. Next, yarn over and pull through two loops on the hook. Lastly, yarn over again and pull through the last two loops on the hook.
Straight Box Stitch Cluster. (SC, CH 2, 3 DC) in the same Stitch.
Crochet Pattern Directions
Begin
Chain your desired number of foundation chain stitches.
The sample is 16 chain stitches wide. To adjust the width, use multiples of 4.
Row 1
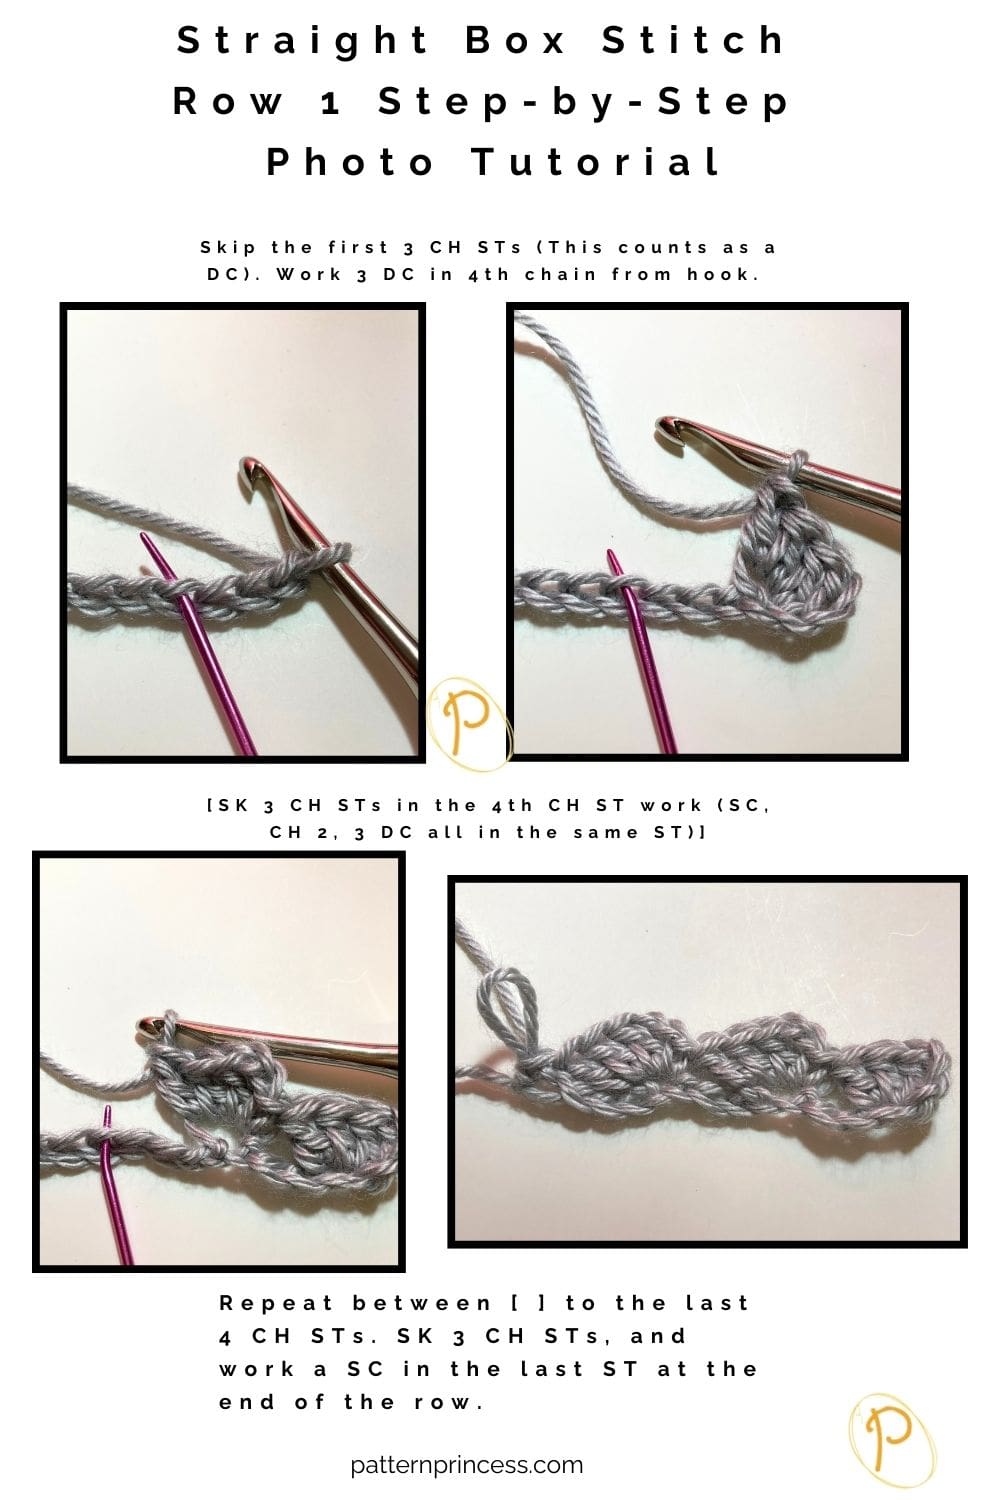
Skip the first 3 CH STs (This counts as a DC). Work 3 DC in 4th chain from hook. [SK 3 CH STs in the 4th CH ST work (SC, CH 2, 3 DC all in the same ST)]. Repeat between [ ] to the last 4 CH STs. SK 3 CH STs, and work a SC in the last ST at the end of the row. Turn
Row 2
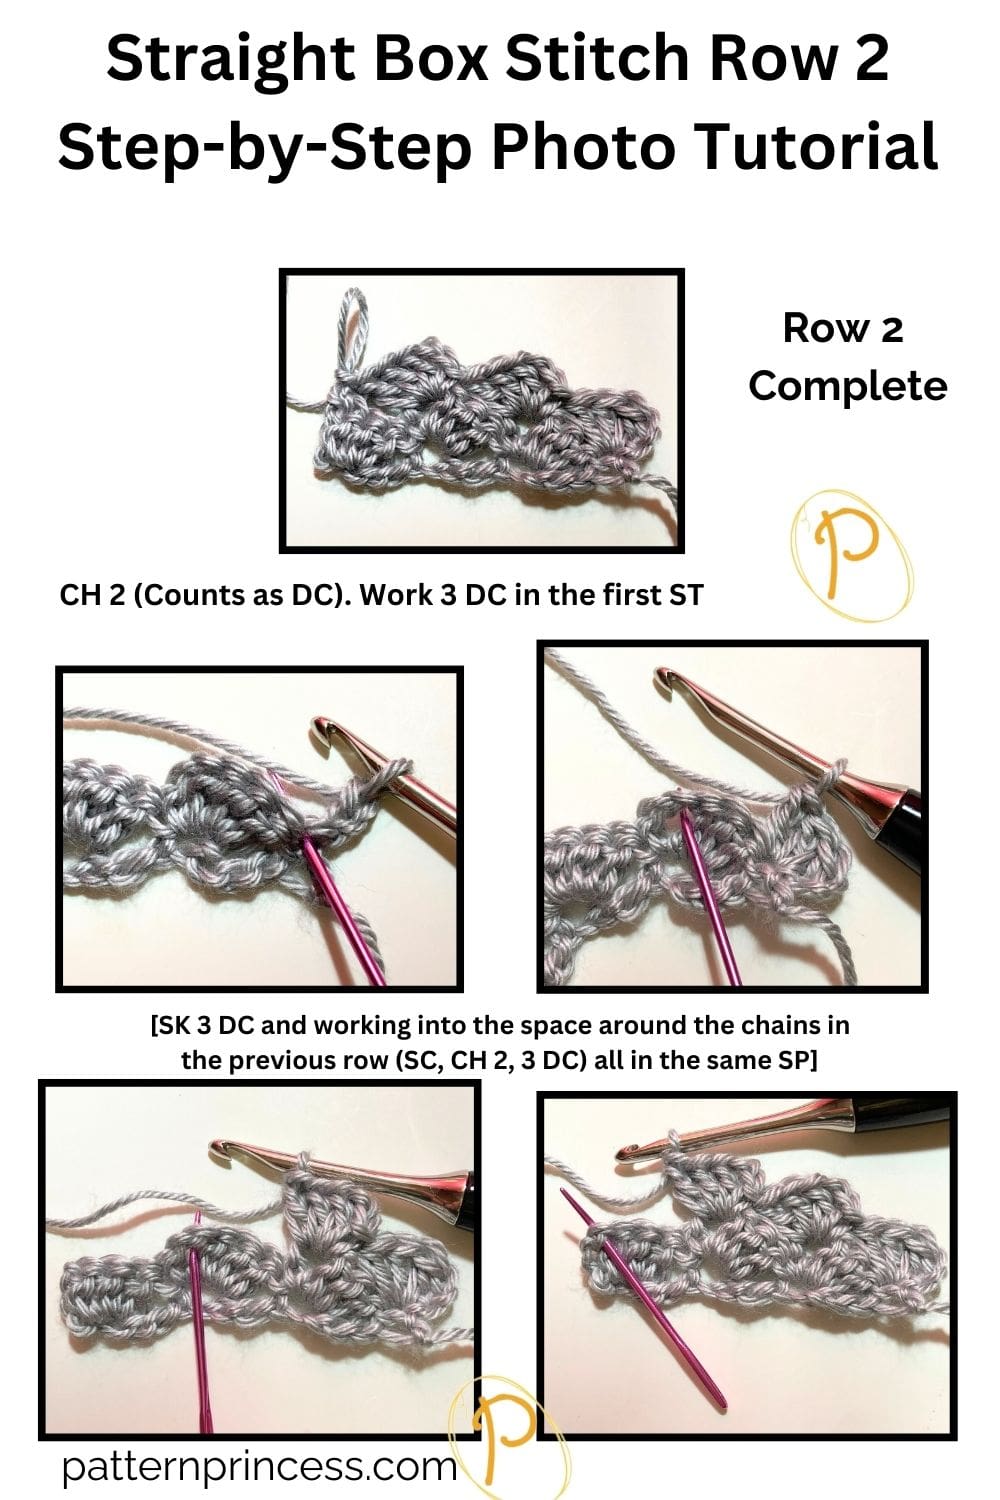
CH 2 (Counts as DC) (optionally, you can work a CH 3). Work 3 DC in the first ST or in the SP below. [SK 3 DC and working into the space around the chains in the previous row (SC, CH 2, 3 DC) all in the same SP]. Repeat between [ ] to the last 4 CH STs. SK 3 STs, and work a SC in the last ST. Turn
Rows 3 and Beyond
Continue Repeating row 2
Finishing
When you have reached your desired length, cut the yarn leaving about a 12-inch yarn tail. Pull the yarn tail through the last stitch.
Use the yarn needle to weave the yarn through the crochet stitches to secure.
How to Finish off Crochet
If you are new to crochet, you may find the tutorial on finishing off your crochet work useful.
YouTube Crochet Tutorial for the Straight Box Stitch
Here are some common mistakes that people make when crocheting the Straight Box Stitch
Miscounting stitches: This is a common mistake that can happen when you’re not paying close attention to your work. It’s important to count your stitches regularly to ensure that you’re on track and not accidentally adding or skipping stitches.
Working too tightly or too loosely:
The Straight Box Stitch requires a consistent tension to maintain its shape. If you work too tightly, your stitches will be too small, and the fabric will be stiff. If you work too loosely, your stitches will be too big, and the fabric will be floppy.
Maintaining consistent tension in your crochet project is the key to achieving uniform and polished stitches. However, it’s quite common for tension to fluctuate organically as we progress through a project—sometimes even within a single row.
Working into the wrong stitch: This can happen if you’re not paying close attention to your work. Be sure to insert your hook into the correct stitch to avoid this mistake.
We hope you enjoyed this stitch. We have other crochet stitch tutorials along with other free crochet patterns you may enjoy too.
Happy Crocheting with your next project.

You can find Victoria crocheting, quilting, and creating recipes. She has cooked in restaurants for over 20 years, including many larger parties. She learned to crochet when she was just 11 years old and has been crocheting ever since; over 50 years now. Over 40 years ago, she loved her first class in sewing and continues to hone her skills in quilting. Many have enjoyed the handmade gifts over the years. In her professional career, she has worked in management in a wide variety of businesses including higher education as a dean of a division. All the while attending college part-time to achieve her doctorate in higher education with an emphasis in e-learning.
