Last updated on December 7th, 2025 at 02:12 pm
Learning how to join yarn quickly, easily, and invisibly is a game changer. Whether you’re in the middle of a project and need to switch to a new ball of yarn, or you’re planning a color change, joining yarn seamlessly really helps make crocheting enjoyable.
We have all been there. You’re in the middle of a row of crochet and there is a flaw in the yarn. And, you need to cut the length of yarn out and join the two yarn ends.
At some point in your project, you’ll reach the end of a skein or ball of yarn. When this happens, you’ll need to join a new yarn ball or switch to a new color.
You can just bring the new yarn through the crochet project and weave in both the yarn ends. Or, you could join the yarn and forget weaving in yarn ends.
When joining yarn, there are a few options to choose from. We’ll walk you through different methods to join yarn. From fine threads to super bulky synthetics.
You can confidently finish your crochet projects without loose ends or visible knots.
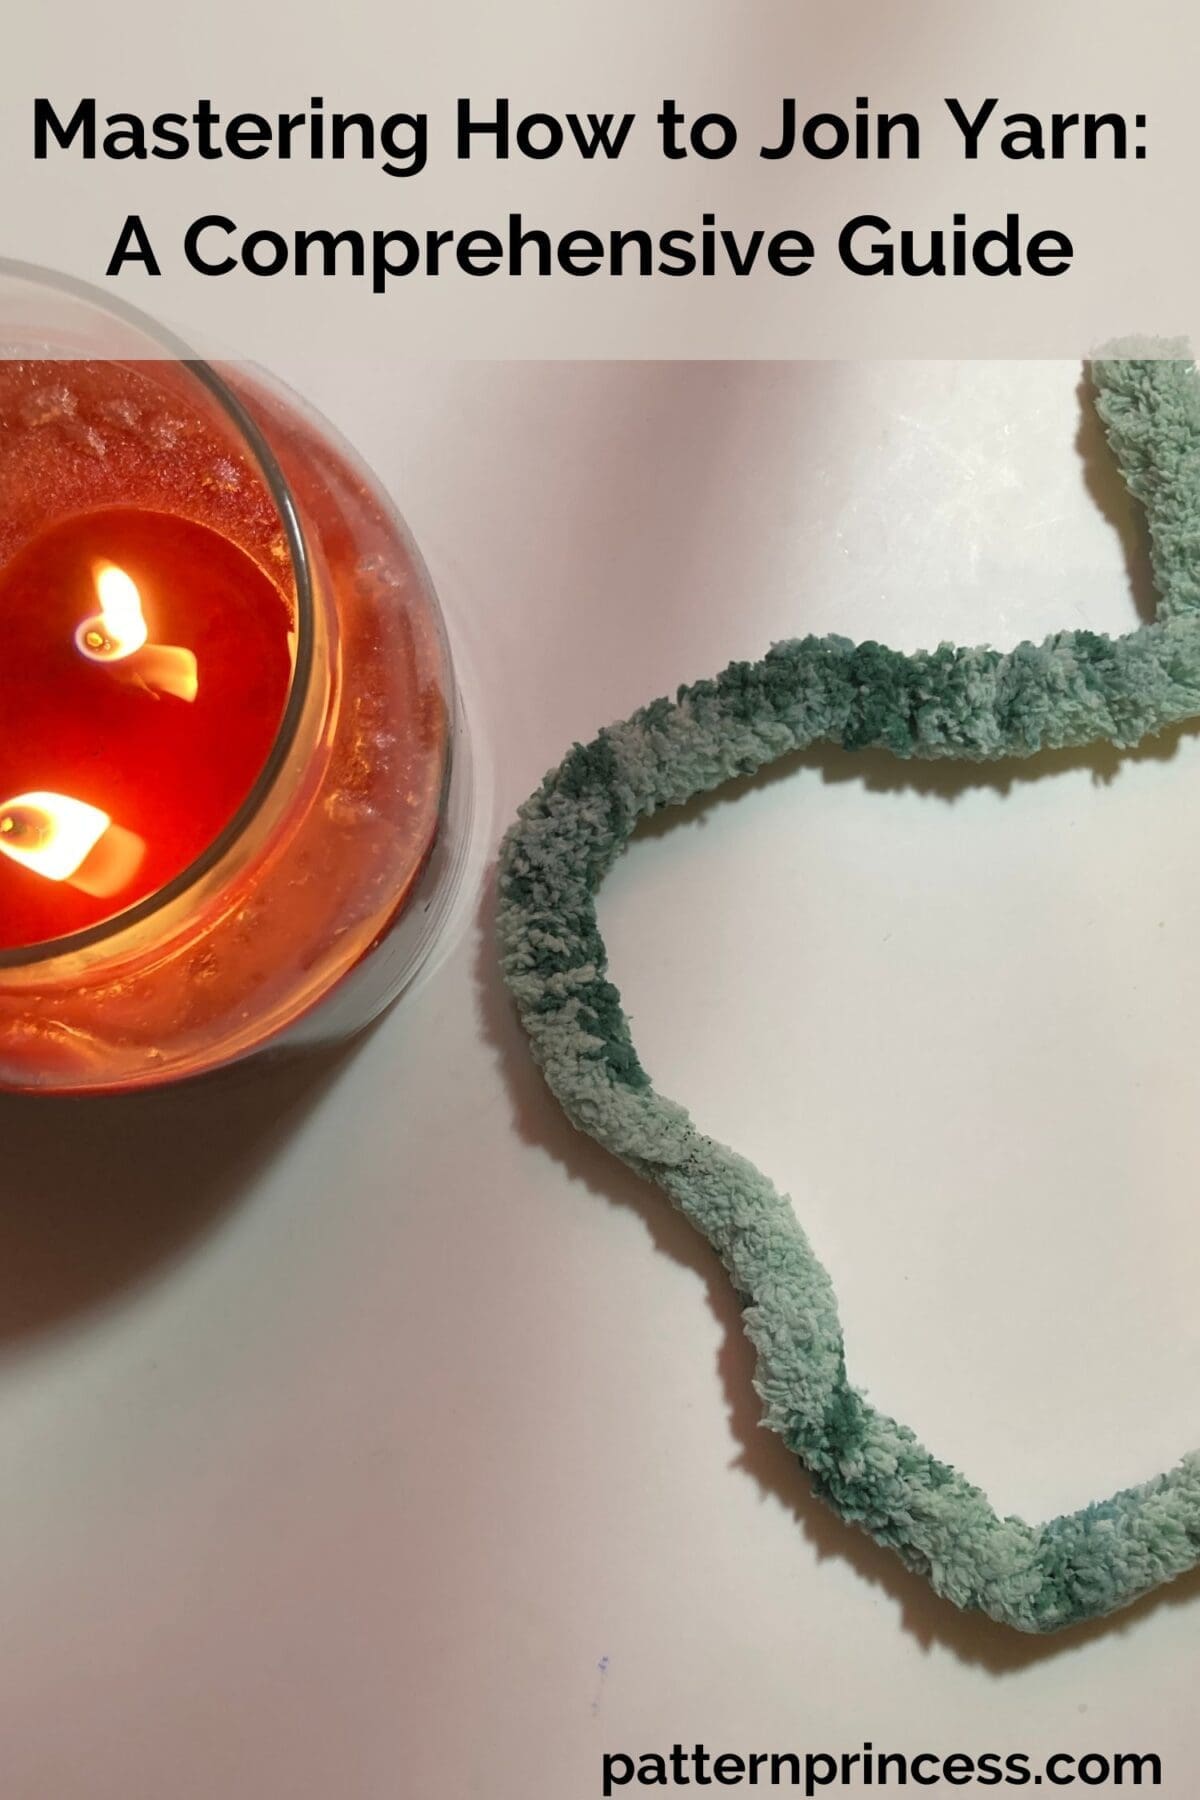
Table of contents
Essential Tools for Joining Yarn
Before we dive into the techniques, let’s go over the basic tools you’ll need.
Yarn Needle (or Tapestry Needle). Useful for weaving in ends and executing methods like the Russian join.
Felting Needle. Perfect for creating a seamless felting join with feltable fibers.
Lighter or Candle. For melting synthetic yarn. Especially the super bulky yarn.
Scissors. To trim the yarn ends neatly.
Glass of Water or Water in a Spray Bottle. Handy for methods like the spit splice, which involves moisture to fuse natural fibers.
Some methods also require nothing but your hands and a little bit of yarn. The method you choose depends on your yarn type and project.
Basic Techniques for Joining Yarn Ends
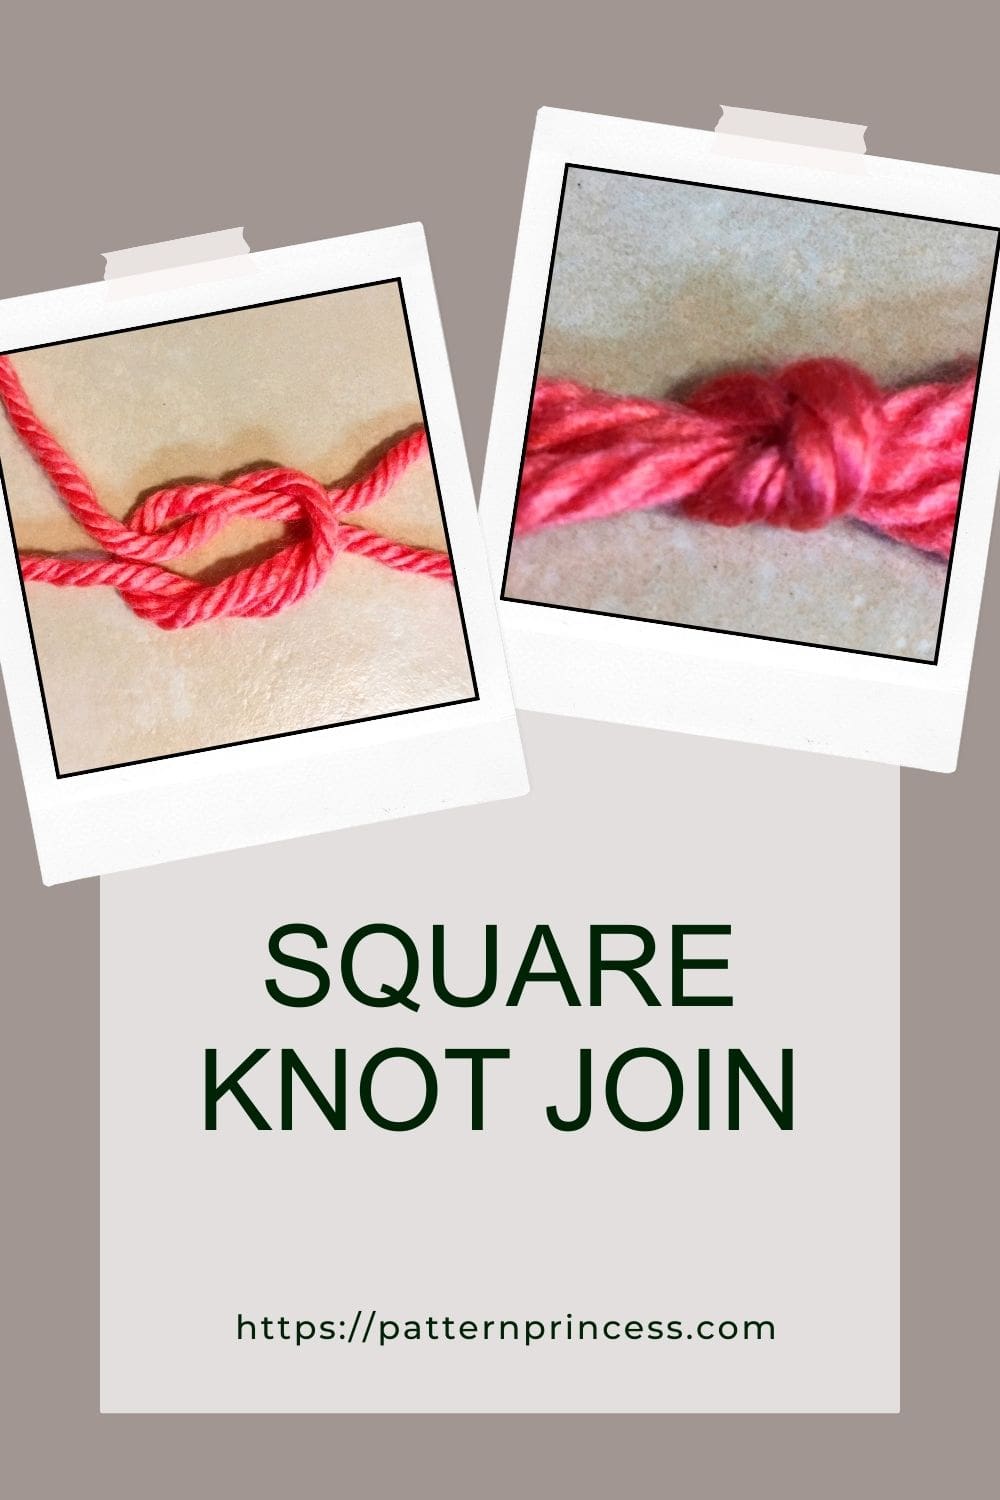
Overlapping Knot Join
A simple way to join yarn is by overlapping the ends of the old and new strands. Tie a double knot with both ends, and continue working, making sure the knots fall at the back of the work.
- Cross one end over the other to form a plus sign or an X. Pull snug.
- Repeat the process putting the opposite yarn tail over the other to form the X. Pull snug.
Though this method can create a small bump, it’s a secure way to join yarn, especially for chunkier yarns.
See a step-by-step blog post on how to tie a square knot. Here is a photo on how to tie a square knot.
Magic Knot Yarn Join
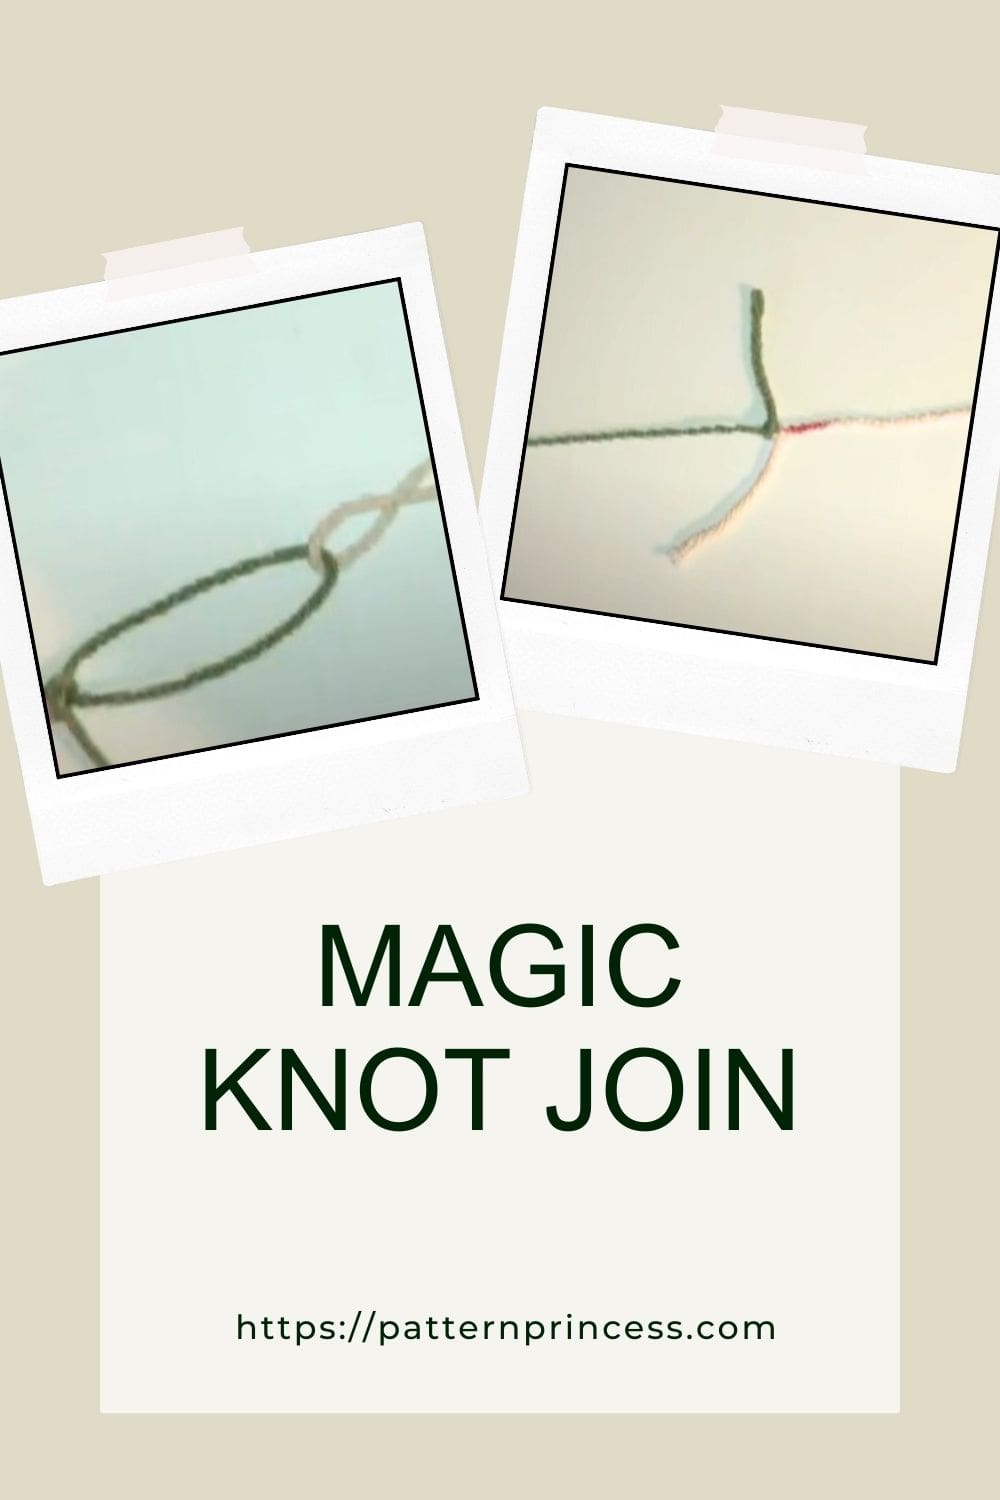
The magic knot is a popular method for joining yarn because it creates a tight, invisible knot that rarely comes undone. Here’s how to do it.
- Lay the end of the new yarn and the old yarn parallel to each other.
- Tie a simple knot with each yarn strand around the other.
- Pull the two knots tightly until they form one strong knot.
- Trim the tails close to the knot.
This method works well with acrylic yarn, and it’s a great way to join yarn in the middle of a row without breaking your flow.
Watch the Video on how to do the Magic knot yarn join.
Russian Join
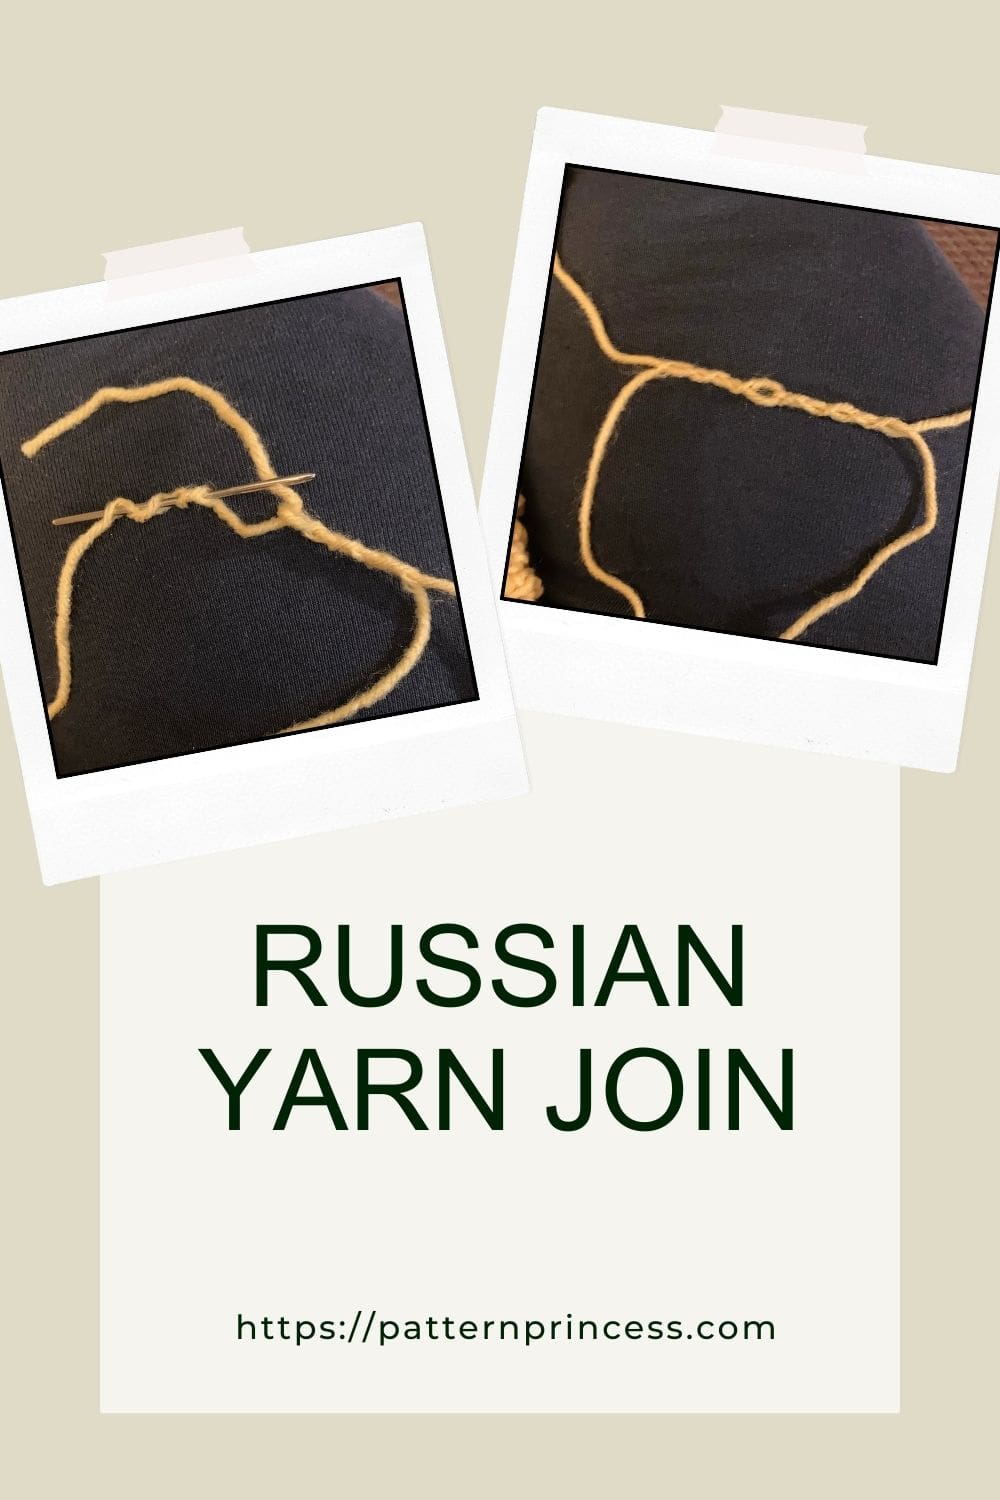
The Russian join is a secure way to join yarn, perfect for crochet projects where you don’t want visible joins. This method uses a yarn needle or tapestry needle to weave the ends of yarn back into itself.
Steps for a Russian Join.
- Take the two strands that you want to join together and cross them over each other.
- Fold each strand of yarn over on itself making sure to fold over the new strand.
- Take the tails and work them back in to the yarn that they came from.
- Using a pointy yarn needle, feed a short 2-3 inch tail back into itself.
- Pull the yarn through the fibers. Do this for each strand of yarn.
- Cut off any remaining ends of yarn and carry on with your crochet project.
This method works best for yarns like wool or acrylic. As long as it has plies or strands of yarn that you can work into. So, chenille yarn wouldn’t work for this method.
Watch the video on a Russian yarn join.
Advanced Techniques for Specialty Yarns
Spit Splice
The spit splice is ideal for feltable yarns like non-superwash wool. This method relies on moisture and friction to fuse the fibers together, creating an invisible join.
How to Spit Splice.
- Overlap the ends of the old yarn and new yarn by a few inches.
- Wet the overlapping ends you can use a glass of water to dip the ends in. Or use a spray bottle filled with water to spray the water on the ends..
- Rub the yarn ends between the palms of your hands to create heat, felting the fibers together.
- Once the yarn has fused, continue working.
This technique works well with fine and medium-weight natural fibers. I have found it doesn’t work with synthetic yarns like acrylic.
Felting Join (Felted Join)
Similar to the spit splice, the felting join uses a felting needle to join two ends of yarn. This method is especially helpful for wool projects.
- Lay one yarn end over the other.
- Work on top of a soft base as you’ll be poking the yarn with a felting needle.
- Take your felting needle and start needling, or jabbing, the yarn while holding the needle straight.
- Once the fibers are intertwined, you are ready to continue on with your crochet project. However, the more you jab with the felting needle, the harder the wool becomes. So, take care that you don’t felt too much that it becomes stiff, which makes it harder to work with.
You can use this method with single-ply yarns or thicker yarns where feltable fibers are present. Simply use the felting needle to poke and bind the fibers together until a secure join forms.
Ply-Split Join
The invisible join is excellent for garter stitch projects where you want the join to completely disappear. With this method, you’ll be splitting the plies of the yarn and weaving them together so the join is almost not noticeable.
- Split the plies by un-twisting and separating half of the plies on each end of the yarn about 2-3 inches. For example, if the yarn is a 3-ply yarn, separate two of the plies from the other ply.
- Overlap the split plies.
- Weave them back into the yarn by re-twisting the two yarn ends.
This creates a single continuous length of yarn with an invisible join.
Melting Ends (for synthetic yarn)
For synthetic yarns, such as acrylic or nylon, melting the ends can be an effective way to create a seamless join. This technique involves carefully melting the yarn ends with a flame, such as a lighter, to fuse them together.
I use this for super bulky yarn. I’ve found when trying to tie a knot or weave in super bulky yarn, the ends always pop out.
Melting the ends is a great way create a seamless join. This technique involves carefully melting the yarn ends with a flame, such as a lighter, to fuse them together.
- Hold the yarn ends in one hand with both ends pointing out. It is easier to light the yarn on fire this way.
- In the other hand use a lighter or a candle to light the ends of the yarn on fire.
- Put the lit ends of the yarn together and the flame will go out.
- Roll the joined yarn together between the palms of your hands a few times.
That’s it. You can keep crocheting with your chunky yarn.
Video on melting synthetic yarn ends join. This video uses a candle to burn and melt the ends.
Video on melting Acrylic Yarn on Jumbo yarn using a handheld burning tool to melt the ends together.

Project-Specific Techniques
Joining Yarn at the End of a Row
For projects with planned color changes, like stripes or different colors in a blanket, you can drop the old yarn at the beginning of the color change and pick up the new color at the start of the row. Ensure the yarn type matches for consistency.
The end of a row is one of the easiest places to join yarn. Simply drop the old strand of yarn and pick up the new yarn ball when you reach the end of your row. Work the first stitch of the new row using the new yarn, and leave a long tail to weave in later.
This baby blanket has a nice photo tutorial on changing yarn at the end of the row.
Changing Color in the Middle of a Row
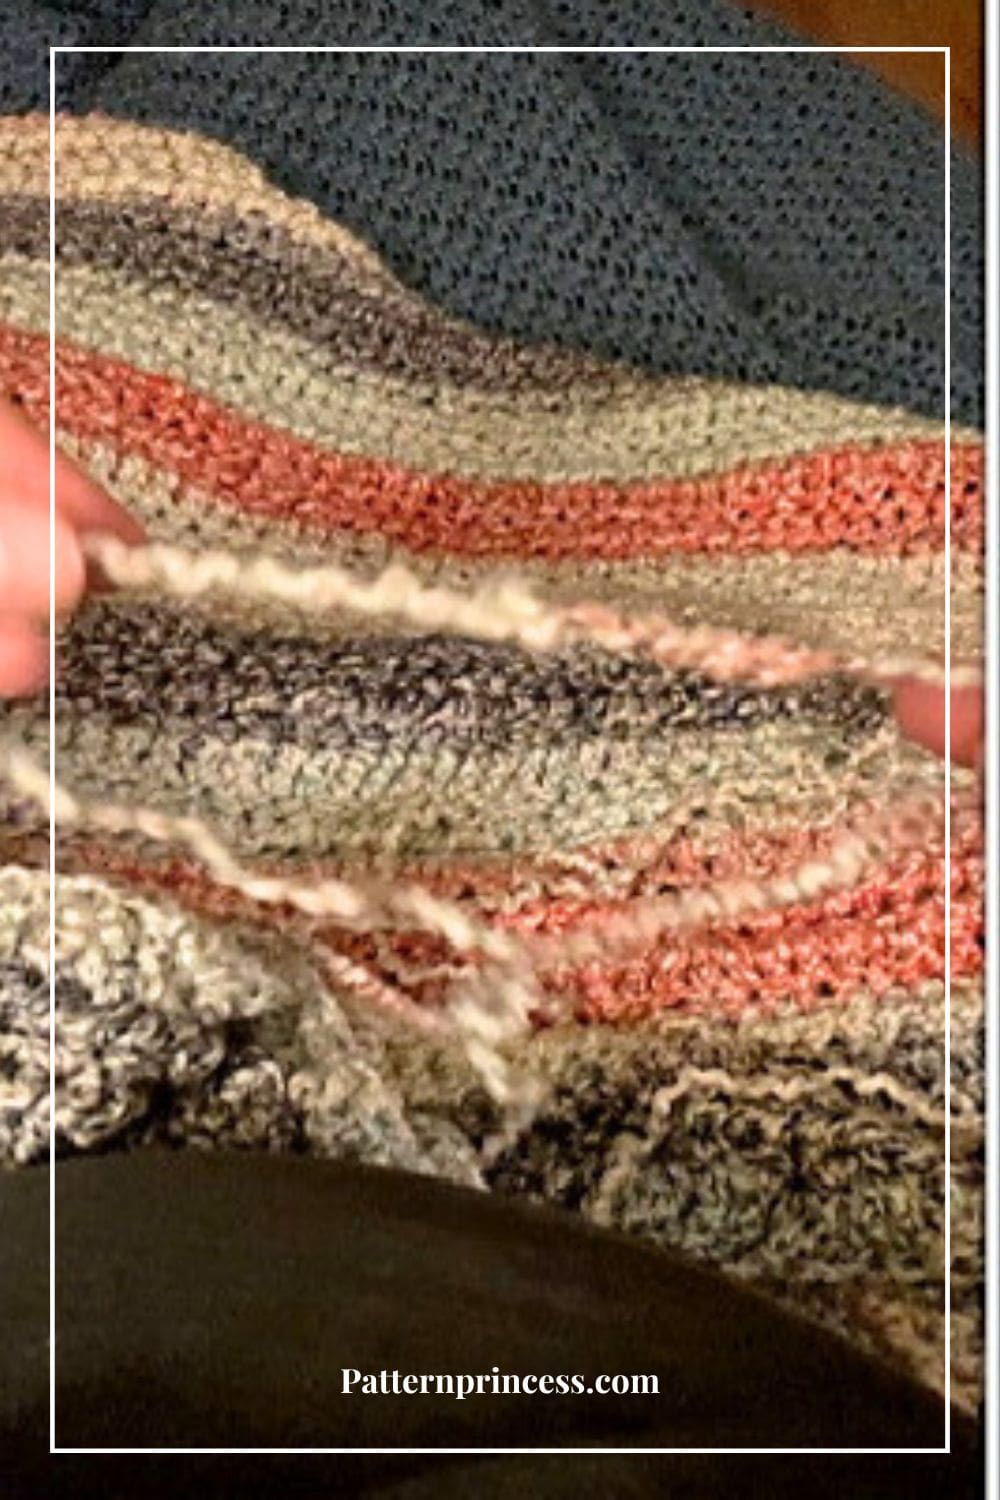
Sometimes, you’ll want to change color throughout a row or round of crochet. In that case, you’ll want to carry the yarn through the row or the round.
Here’s how to do it.
When working in rows, carry the yarn along the back of your work and work the stitches around the carried yarn and the stitch you are working in.
When working in rounds, carry the yarn along the inside of your work.
Here’s how to do it. Insert your hook into the stitch and the yarn you are carrying. Complete the stitch as usual, trapping the carried yarn inside.
Additional Tips for Troubleshooting and Perfecting Joins
If you are afraid of the join not holding, leave a long tail (about 6-8 inches) when joining yarn. This is added assurance that the join will hold as you can weave in the yarn ends as extra protection.
For projects with high tension, use methods like the Russian join or split splice join to avoid knots or bumps.
If your yarn keeps slipping, especially with synthetic yarns, consider using a knot join or weaving in the ends more securely.
Whether you’re working with thin yarns, bulky yarns, or something in between, finding the best way to join yarn will elevate your projects and give them a professional finish.
Experiment with these techniques and find your favorite method for different yarn types and projects.

You can find Victoria crocheting, quilting, and creating recipes. She has cooked in restaurants for over 20 years, including many larger parties. She learned to crochet when she was just 11 years old and has been crocheting ever since; over 50 years now. Over 40 years ago, she loved her first class in sewing and continues to hone her skills in quilting. Many have enjoyed the handmade gifts over the years. In her professional career, she has worked in management in a wide variety of businesses including higher education as a dean of a division. All the while attending college part-time to achieve her doctorate in higher education with an emphasis in e-learning.
