Last updated on July 5th, 2024 at 12:43 am
Seaside Reflections Chunky Crochet Baskets are so beautiful to use throughout the house. Handmade home decor that helps control clutter too. These baskets are so easy to crochet. There are patterns for multiple basket sizes.
*Post contains affiliate links*at no additional cost to you for more information please read the disclaimer on the About Us page.
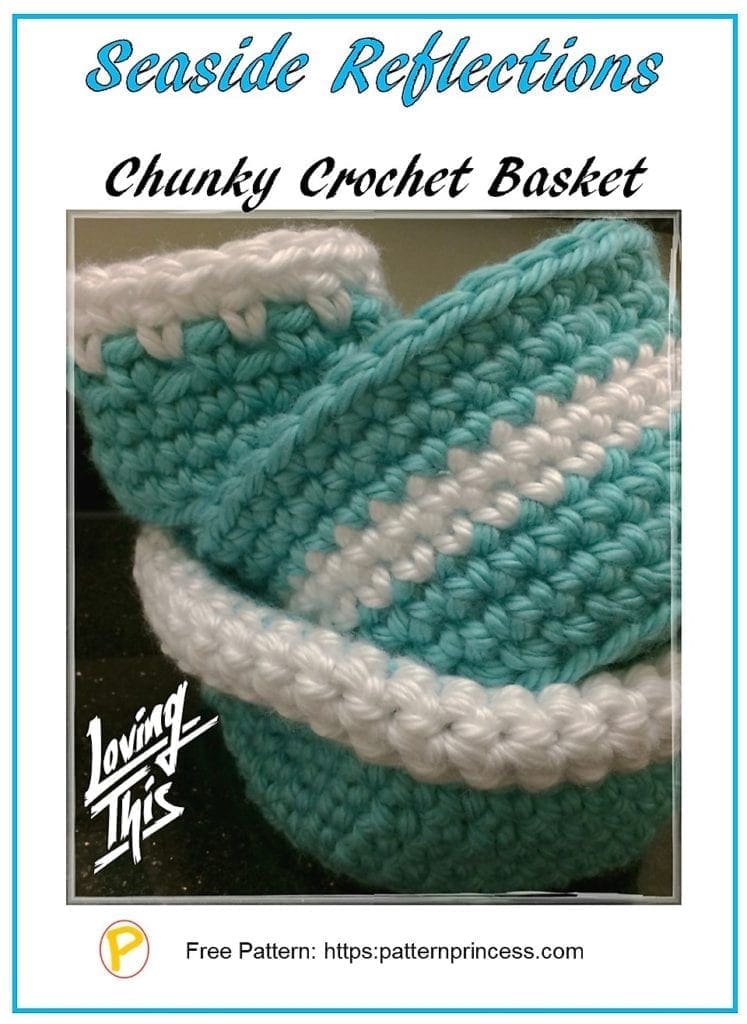
Fun Beginner Crochet Basket
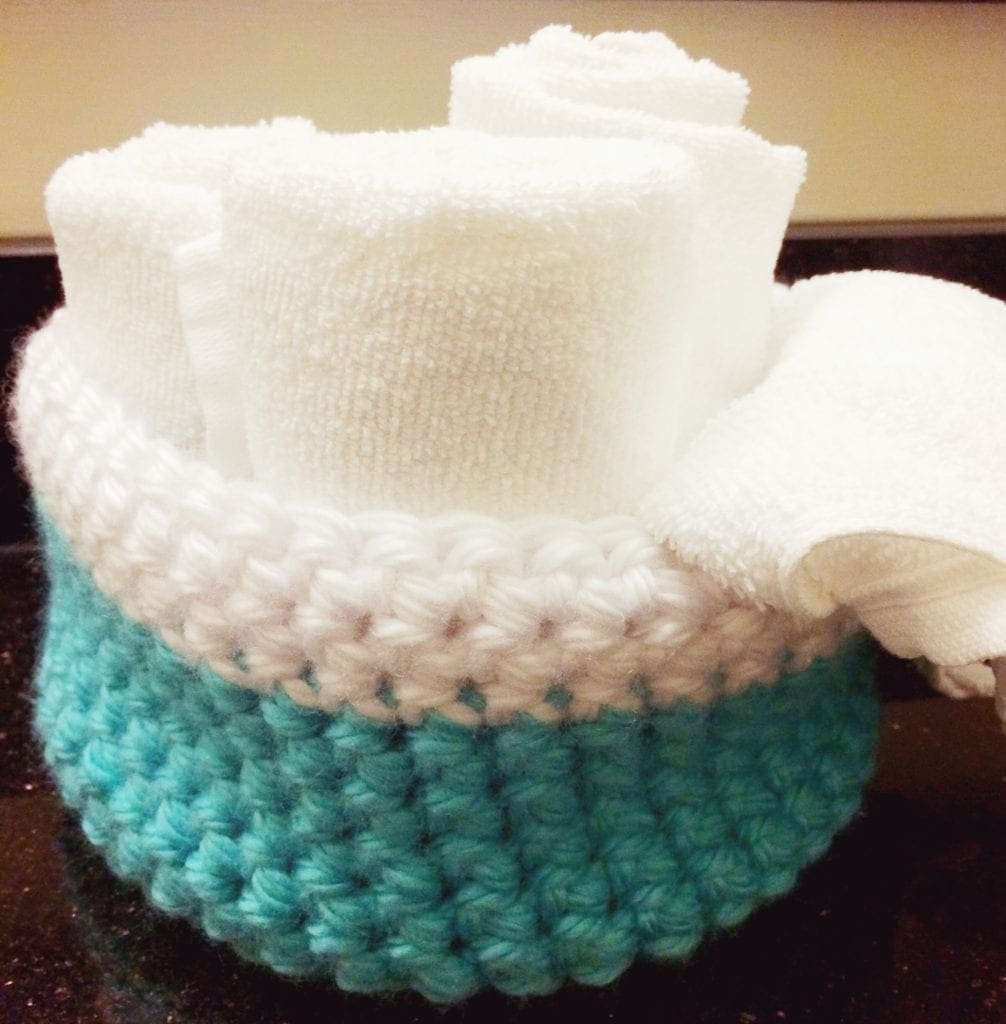
My sister and daughter sent me pictures of some crochet baskets that they thought were pretty. I thought so too and got the basket bug; even though I had never made a basket before! I thought I could figure it out. The picture shows the first three crochet baskets that I made.
Finding Time To Crochet
Actually, I was sitting in a hotel room alone for two nights. After a meeting the first day, I took a trip to the yarn store. Always a fun adventure.
I must say, the yarn I chose is absolutely beautiful and it is great to work with. It just feels like a high-quality yarn and if you look at the pictures of the crochet baskets, I think the yarn really helped make them pop.
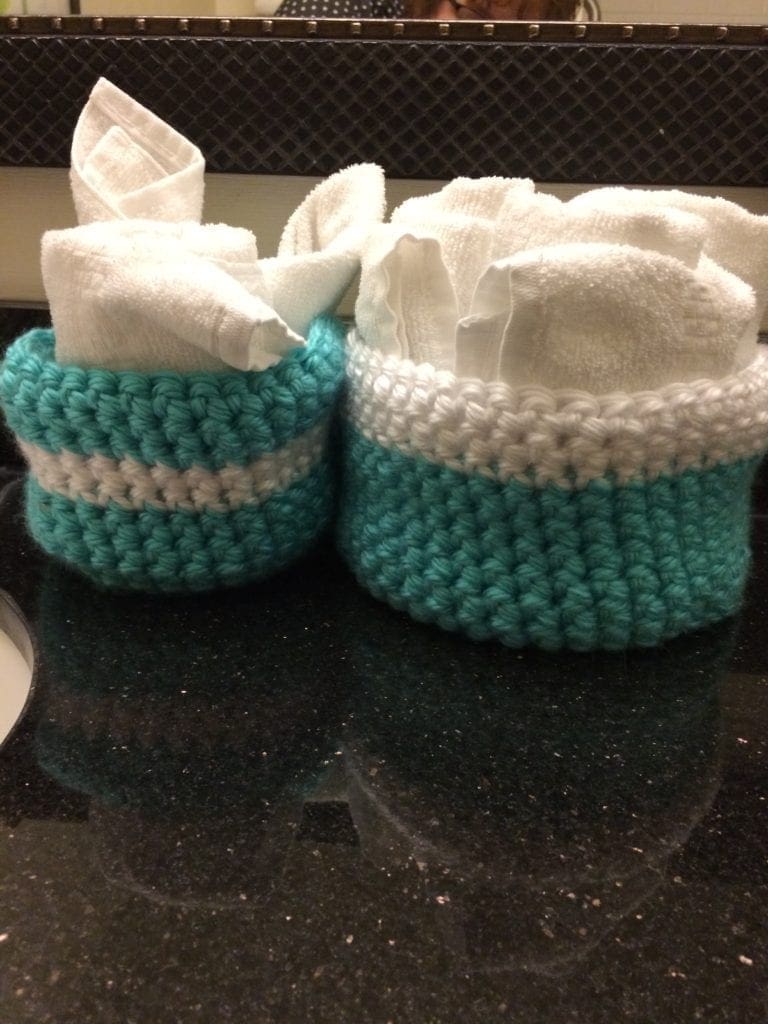
My very first basket was the one in the middle. Then the larger one, then the smaller one with left over yarn. Now, mind you, I had to rip out stitches a few times and rework until it was right. However, I didn’t give up. Once I had it figured out…well; you can see the results.
Taking Pictures
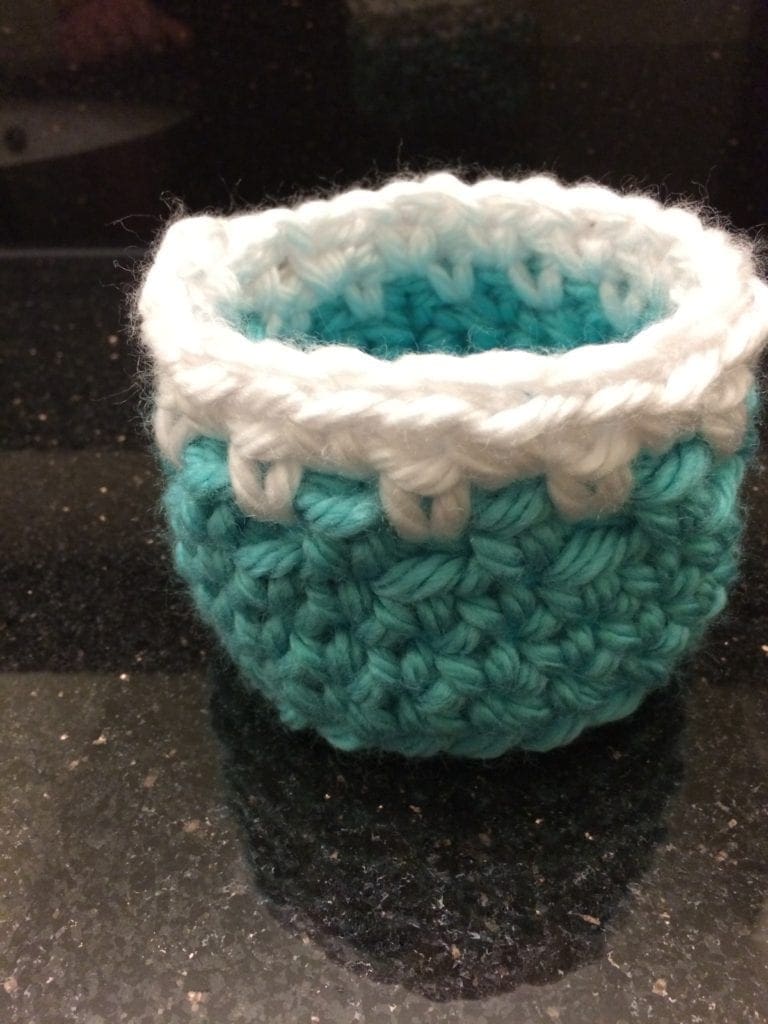
I found out that taking pictures in a hotel bathroom with the bowls on the counter turn out very nice. Great lighting and I love the reflection of the counter. What a great way to spend the evenings enjoying some me time. I sent a picture to my daughter and sister. They said that they liked them – a lot. I brought them home.
I no longer have these chunky crochet baskets. Sad, right? My daughter took them all! I guess she really did like them.
Catching the Crochet Basket Bug
Since these first three baskets; I have made more. Of course, I will be sharing those in future posts with you too. I found out that I love making them.
My daughter is getting married this year and we have a bridal shower coming up. I have made a number of different styles and colors of these chunky crochet baskets.
I plan on giving them as gifts at the shower. Thinking that a bottle of shower gel and a puffy scrubber would be a great addition to the crochet basket. At least, I sure hope that the guests like them.
Photos of Chunky Crochet Baskets
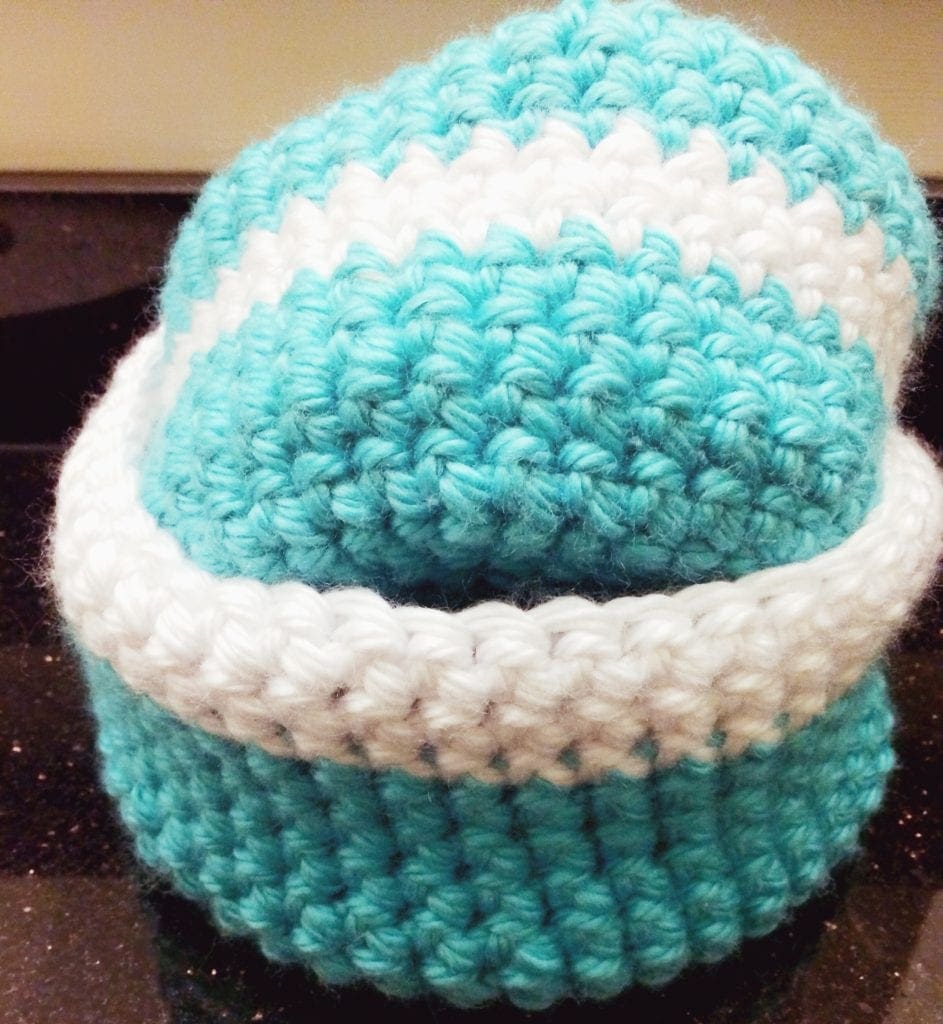
The picture below is showing the medium and the small crochet baskets on display. Just to give you a visual of how nice they can look.
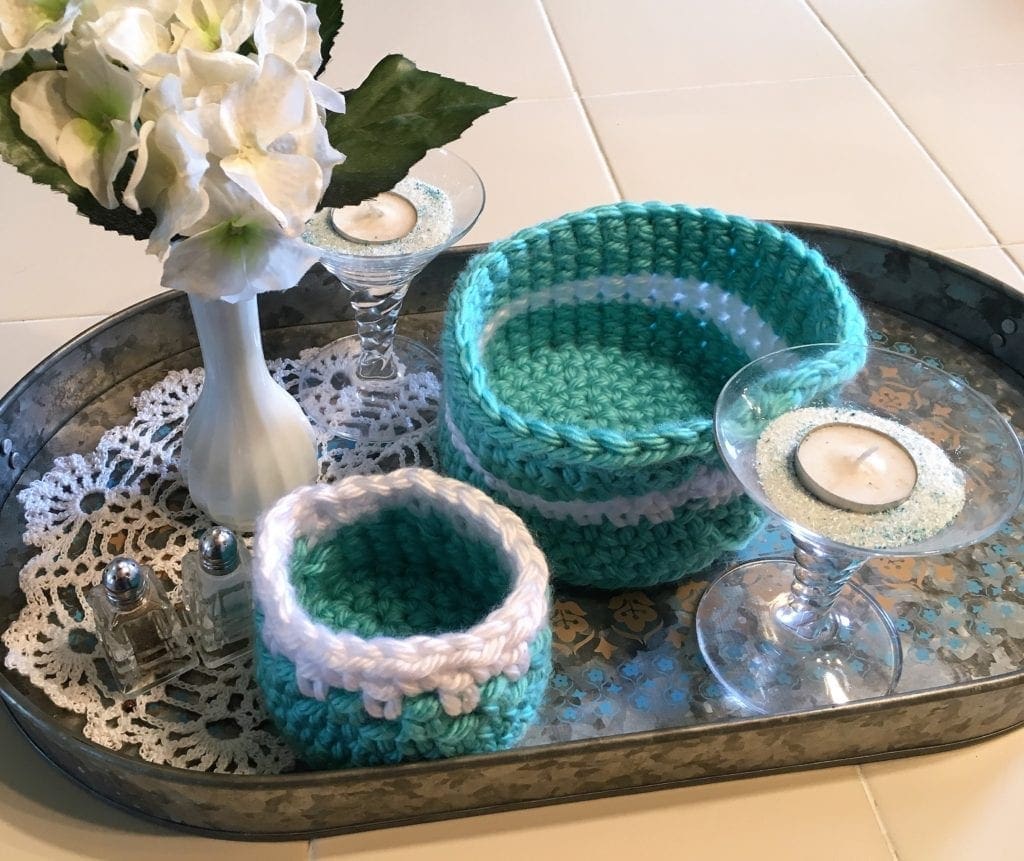
Seaside Reflections Chunky Crochet Baskets
Difficulty:
This is a great crochet project. It is easier than it may look. I would say this is just a bit beyond beginner level.
Materials:
Lion Brand Miami Seafoam (1 skein for the medium size, 1 skein for the large size, left over yarn from the medium crochet basket).
Lion Brand New York White (part of a skein for all three baskets).
Boye Crochet Hook Size N
Yarn Needle
Stitch Marker
Scissors
Abbreviations:
SC = Single Crochet
SL ST = Slip Stitch
ST = Stitch
CH = Chain
Directions: Medium Chunky Crochet Basket
Directions:
Begin with Magic Circle.
Using Lion Brand Miami Seafoam. Here is another post with complete directions on how to make a magic circle.
Beginning Round:
9 SC in Magic circle and SL ST into first CH (insert a stitch marker in this stitch to help you find the beginning and end of each row).
Round 2:
(CH 1, which does not count as a ST). 2 SC in each ST and SL ST into first SC. Should be 18 SC in this row. (move the stitch marker to the last ST).
Round 3:
(CH 1, which does not count as a ST).*2 SC in first ST, 1 SC in next ST*. Continue this pattern from * until the end of the row and join to the first SC with a SL ST. (Continue to move the stitch marker).
Round 4:
(CH 1, which does not count as a ST). *2SC in first ST, 1 SC in next two ST*. Continue this pattern from * until the end of the row and join to the first SC with a SL ST.
Round 5:
(CH 1, which does not count as a ST). *2 SC in first ST, 1 SC in next three ST*. Continue this pattern * until the end of the row and join to the first SC with a SL ST.
Round 6:
(CH 1, which does not count as a ST). *2 SC in first ST, 1 SC in next Four ST*. Continue this pattern * until the end of the row and join to the first SC with a SL ST.
Round 7:
(CH 1, which does not count as a ST). *2 SC in first ST, 1 SC in next Five ST*. Continue this pattern * until the end of the row and join to the first SC with a SL ST.
This next row is the beginning of the sides.
Round 8:
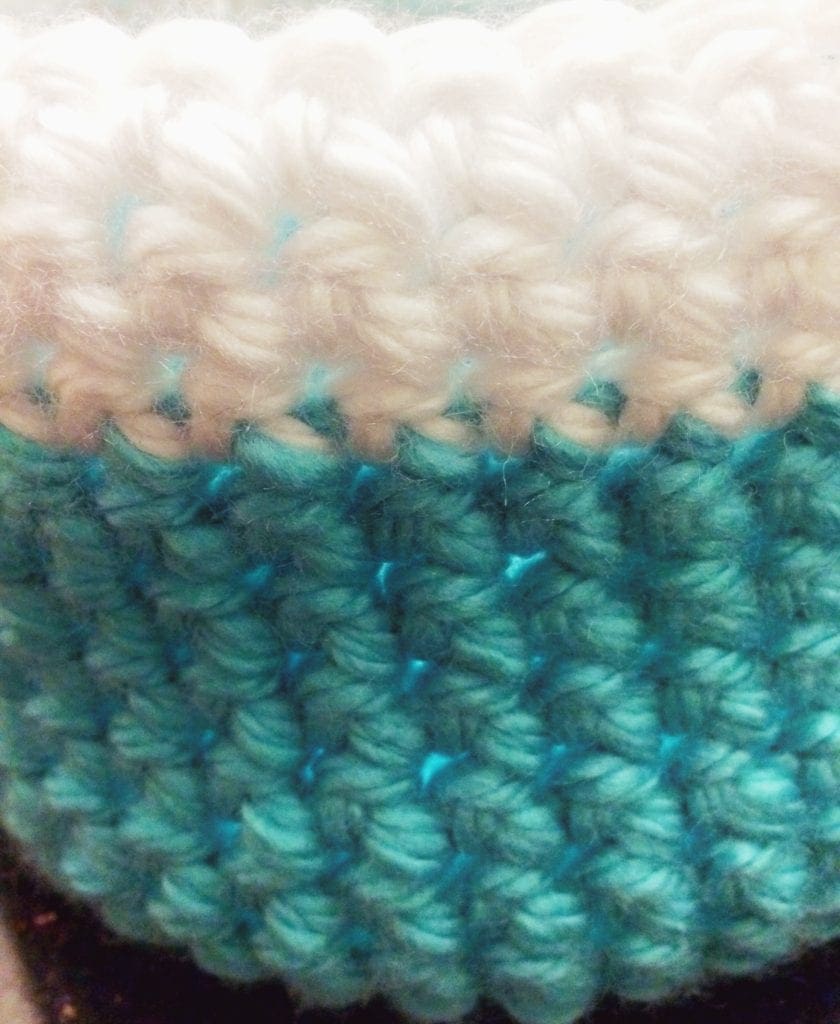
(CH 1, which does not count as a ST). 1 SC in back loop of each ST until the end of the row and join to the first SC with a SL ST. (Continue to move the stitch marker). This is the first row of the sides of the basket. So, you may see the edge begin to form.
Rounds 9-12:
1 SC in each ST until the end of the row and join to the first SC with a SL ST. (Continue to move the stitch marker).
Change yarn to Lion Brand New York White.
Rounds 13-16:
1 SC in each ST until the end of the row and join to the first SC with a SL ST. (Continue to move the stitch marker).
Change yarn back to Lion Brand Miami Seafoam.
Rounds 17-20:
1 SC in each ST until the end of the row and join to the first SC with a SL ST. (Continue to move the stitch marker).
Finishing off:
pull the yarn through the last loop. Using the yarn needle, weave in the ends of the yarn.
Photos of Crochet Basket Pattern
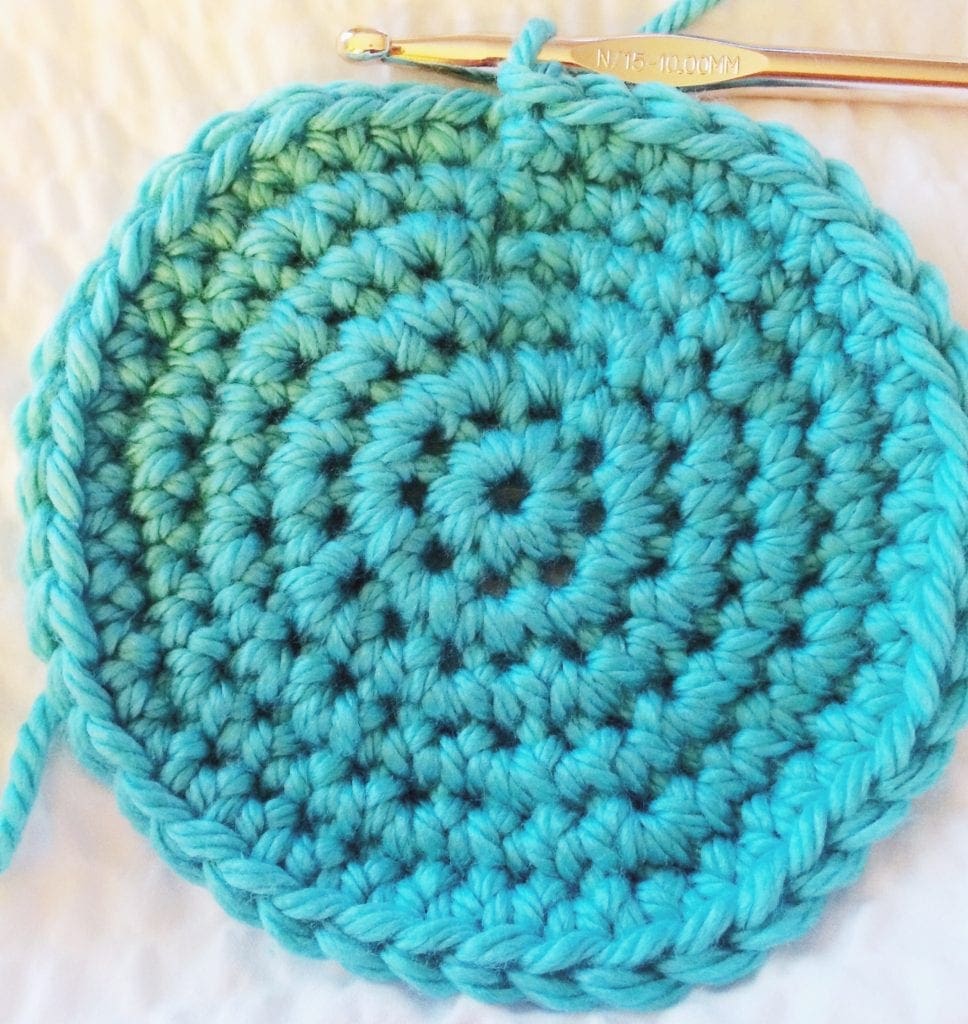
First Row of Sides of Crochet Basket
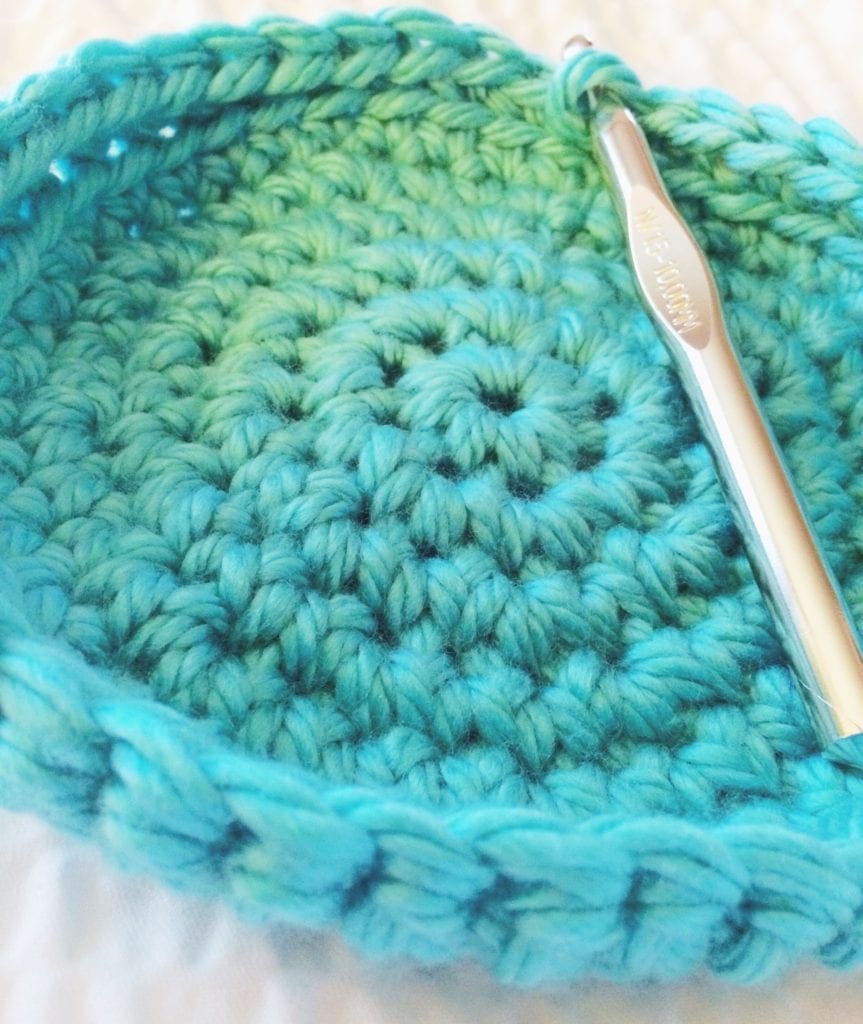
Small Chunky Crochet Basket
Yarn
Partial Skein of Lion Brand Miami Seafoam
Partial Skein of Lion Brand New York White
Directions:
Begin with Lion Brand Miami Seafoam.
Make a magic circle.
Here is another post with complete directions on how to make a magic circle.
Beginning Round:
6 SC in Magic circle and SL ST into first CH (insert a stitch marker in this stitch to help you find the beginning and end of each row).
Round 1:
(CH 1, which does not count as a ST). 2 SC in each ST and SL ST into first SC. Should be 12 SC in this row. (move the stitch marker to this stitch).
Round 2:
(CH 1, which does not count as a ST). *2 SC in first ST, 1 SC in next ST*. Continue this pattern from * until the end of the row and join to the first SC with a SL ST. (Continue to move the stitch marker).
Round 3:
(CH 1, which does not count as a ST). *2SC in first ST, 1 SC in next two ST*. Continue this pattern from * until the end of the row and join to the first SC with a SL ST.
This next row is the beginning of the sides. .
Round 4:
1 SC in back loop of each ST until the end of the row and join to the first SC with a SL St. (Continue to move the stitch marker).
Rounds 5-9:
1 SC in each ST until the end of the row and join to the first SC with a SL ST.
Change yarn to Lion Brand New York White.
Round 10:
*1 SC in first ST. Then do a spike stitch, which is inserting the hook into a stitch from the lower row, yarn over, pull through and complete the SC*. Continue from * until the end of the row and join to the first SC with a SL St. (Continue to move the stitch marker).
Round 11:
1 SC in each ST until the end of the row and join to the first SC with a SL ST.
Finishing off:
pull the yarn through the last loop. Using the yarn needle, weave in the ends of the yarn.
Large Chunky Crochet Basket
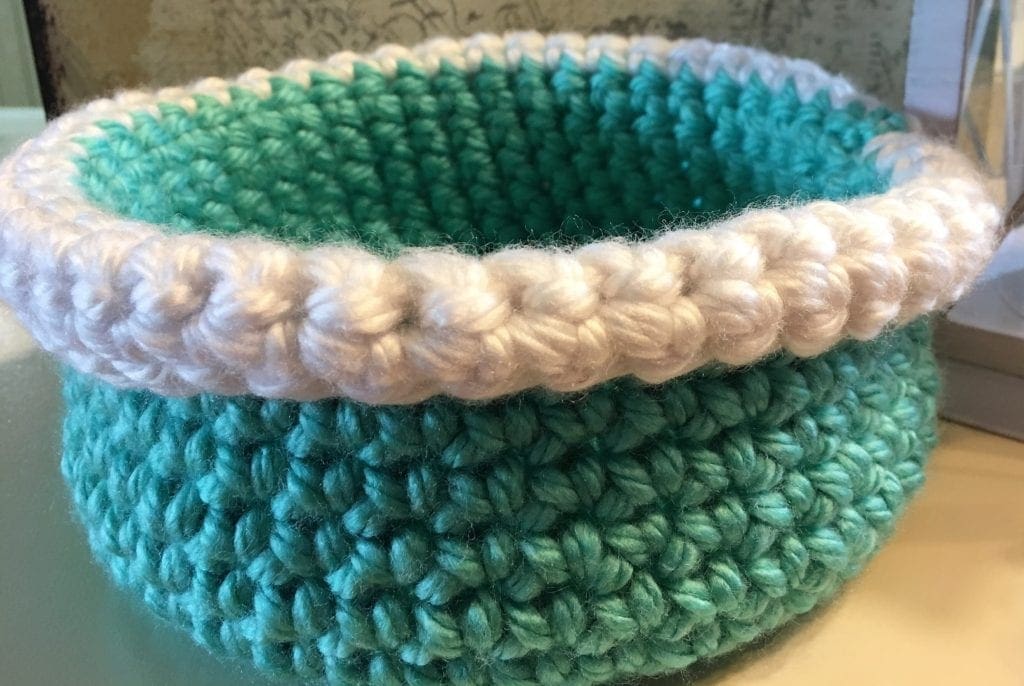
Notice the difference in the look of the crochet stitches on the sides of the large basket?
The stitches are the same. One is inside out and the other is not. Additionally, one has the top white edge rolled down too. Achieve a variety of looks with the same crochet pattern.
Yarn
Partial Skein Lion Brand New York White
One Skeins Lion Brand Miami Seafoam
Directions:
Begin with Lion Brand Miami Seafoam.
Make a magic circle.
Here is another post with complete directions on how to make a magic circle.
Beginning Round:
9 SC in Magic circle and SL ST into first CH (insert a stitch marker in this stitch. Helps to find the beginning and end of each row).
Round 2:
(CH 1, which does not count as a ST). 2 SC in each ST and SL ST into first SC. Should be 18 SC in this row. (continue to move the stitch marker).
Round 3:
(CH 1, which does not count as a ST). *2 SC in first ST, 1 SC in next ST*. Continue this pattern from * until the end of the row and join to the first SC with a SL ST.
Round 4:
(CH 1, which does not count as a ST). *2SC in first ST, 1 SC in next two ST*. Continue this pattern from * until the end of the row and join to the first SC with a SL ST.
Round 5:
(CH 1, which does not count as a ST). *2 SC in first ST, 1 SC in next three ST*. Continue this pattern * until the end of the row and join to the first SC with a SL ST.
Round 6:
(CH 1, which does not count as a ST). *2 SC in first ST, 1 SC in next Four ST*. Continue this pattern * until the end of the row and join to the first SC with a SL ST.
Round 7:
(CH 1, which does not count as a ST). *2 SC in first ST, 1 SC in next Five ST*. Continue this pattern * until the end of the row and join to the first SC with a SL ST.
Round 8:
(CH 1, which does not count as a ST). *2 SC in first ST, 1 SC in next Six ST*. Continue this pattern * until the end of the row and join to the first SC with a SL ST.
This next row is the beginning of the sides.
Round 9:
1 SC in back loop of each ST until the end of the row and join to the first SC with a SL St.
Round 10-19:
1 SC in each ST until the end of the row and join to the first SC with a SL St.
Change yarn to Lion Brand New York White.
Rounds 20-22:
1 SC in each ST until the end of the row and join to the first SC with a SL ST.
Finishing off:
pull the yarn through the last loop. Using the yarn needle, weave in the ends of the yarn.
Want an even larger crochet basket?
Surprise – I have one here for you.
Bonus Pattern:
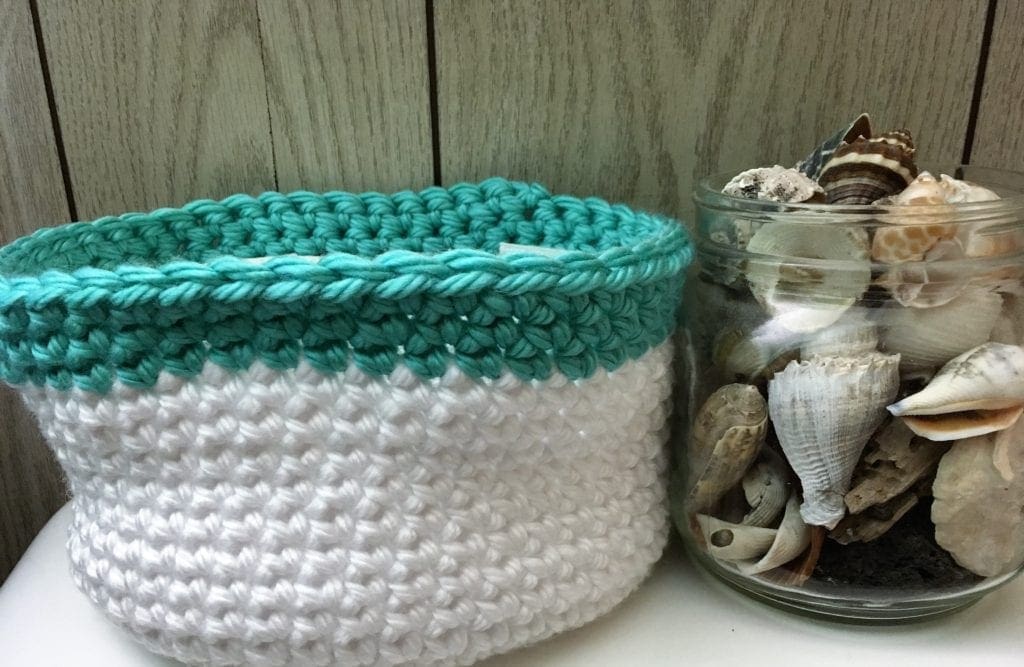
Extra-Large Chunky Crochet Basket
This basket is large enough to hold two rolls of toilet paper. It is a pretty way to have extra on hand. I almost think it could be really cute if I could figure out how to make a lid for this one too. That should be put on my to-do list.
Two skeins of the Lion Brand New York White
Partial Skein of the Lion Brand Miami Seafoam
Directions:
Using the Lion Brand New York White,
Make a magic circle.
Here is another post with complete directions on how to make a magic circle.
Beginning Round:
9 SC in Magic circle and SL ST into first CH (insert a stitch marker in this stitch to help you find the beginning and end of each row).
Round 2:
(CH 1, which does not count as a ST). 2 SC in each ST and SL ST into first SC. Should be 18 SC in this row. (move the stitch marker to this stitch).
Round 3:
(CH 1, which does not count as a ST). *2 SC in first ST, 1 SC in next ST*. Continue this pattern from * until the end of the row and join to the first SC with a SL ST.
Round 4:
(CH 1, which does not count as a ST). *2SC in first ST, 1 SC in next two ST*. Continue this pattern from * until the end of the row and join to the first SC with a SL ST. (Continue to move the stitch marker).
Round 5:
(CH 1, which does not count as a ST). *2 SC in first ST, 1 SC in next three ST*. Continue this pattern * until the end of the row and join to the first SC with a SL ST.
Round 6:
(CH 1, which does not count as a ST). *2 SC in first ST, 1 SC in next Four ST*. Continue this pattern * until the end of the row and join to the first SC with a SL ST.
Round 7:
(CH 1, which does not count as a ST). *2 SC in first ST, 1 SC in next Five ST*. Continue this pattern * until the end of the row and join to the first SC with a SL ST.
Round 8:
(CH 1, which does not count as a ST). *2 SC in first ST, 1 SC in next Six ST*. Continue this pattern * until the end of the row and join to the first SC with a SL ST. (Continue to move the stitch marker).
This next row is the beginning of the sides. .
Round 9:
1 SC in back loop of each ST until the end of the row and join to the first SC with a SL St.
Rounds 10-19:
1 SC in each ST until the end of the row and join to the first SC with a SL St.
Change yarn to Lion Brand Miami Seafoam.
Rounds 20-23:
1 SC in each ST until the end of the row and join to the first SC with a SL St. (Continue to move the stitch marker).
Finishing off:
pull the yarn through the last loop. Using the yarn needle, weave in the ends of the yarn.
If you loved this post, share on your fave social media links. It helps to show me that these types of posts are helpful – thank you!
Here are some other crochet patterns you may enjoy making. Come check them out.
[pt_view id=”ec1f912f7l”]

You can find Victoria crocheting, quilting, and creating recipes. She has cooked in restaurants for over 20 years, including many larger parties. She learned to crochet when she was just 11 years old and has been crocheting ever since; over 50 years now. Over 40 years ago, she loved her first class in sewing and continues to hone her skills in quilting. Many have enjoyed the handmade gifts over the years. In her professional career, she has worked in management in a wide variety of businesses including higher education as a dean of a division. All the while attending college part-time to achieve her doctorate in higher education with an emphasis in e-learning.

