Last updated on July 4th, 2024 at 11:19 pm
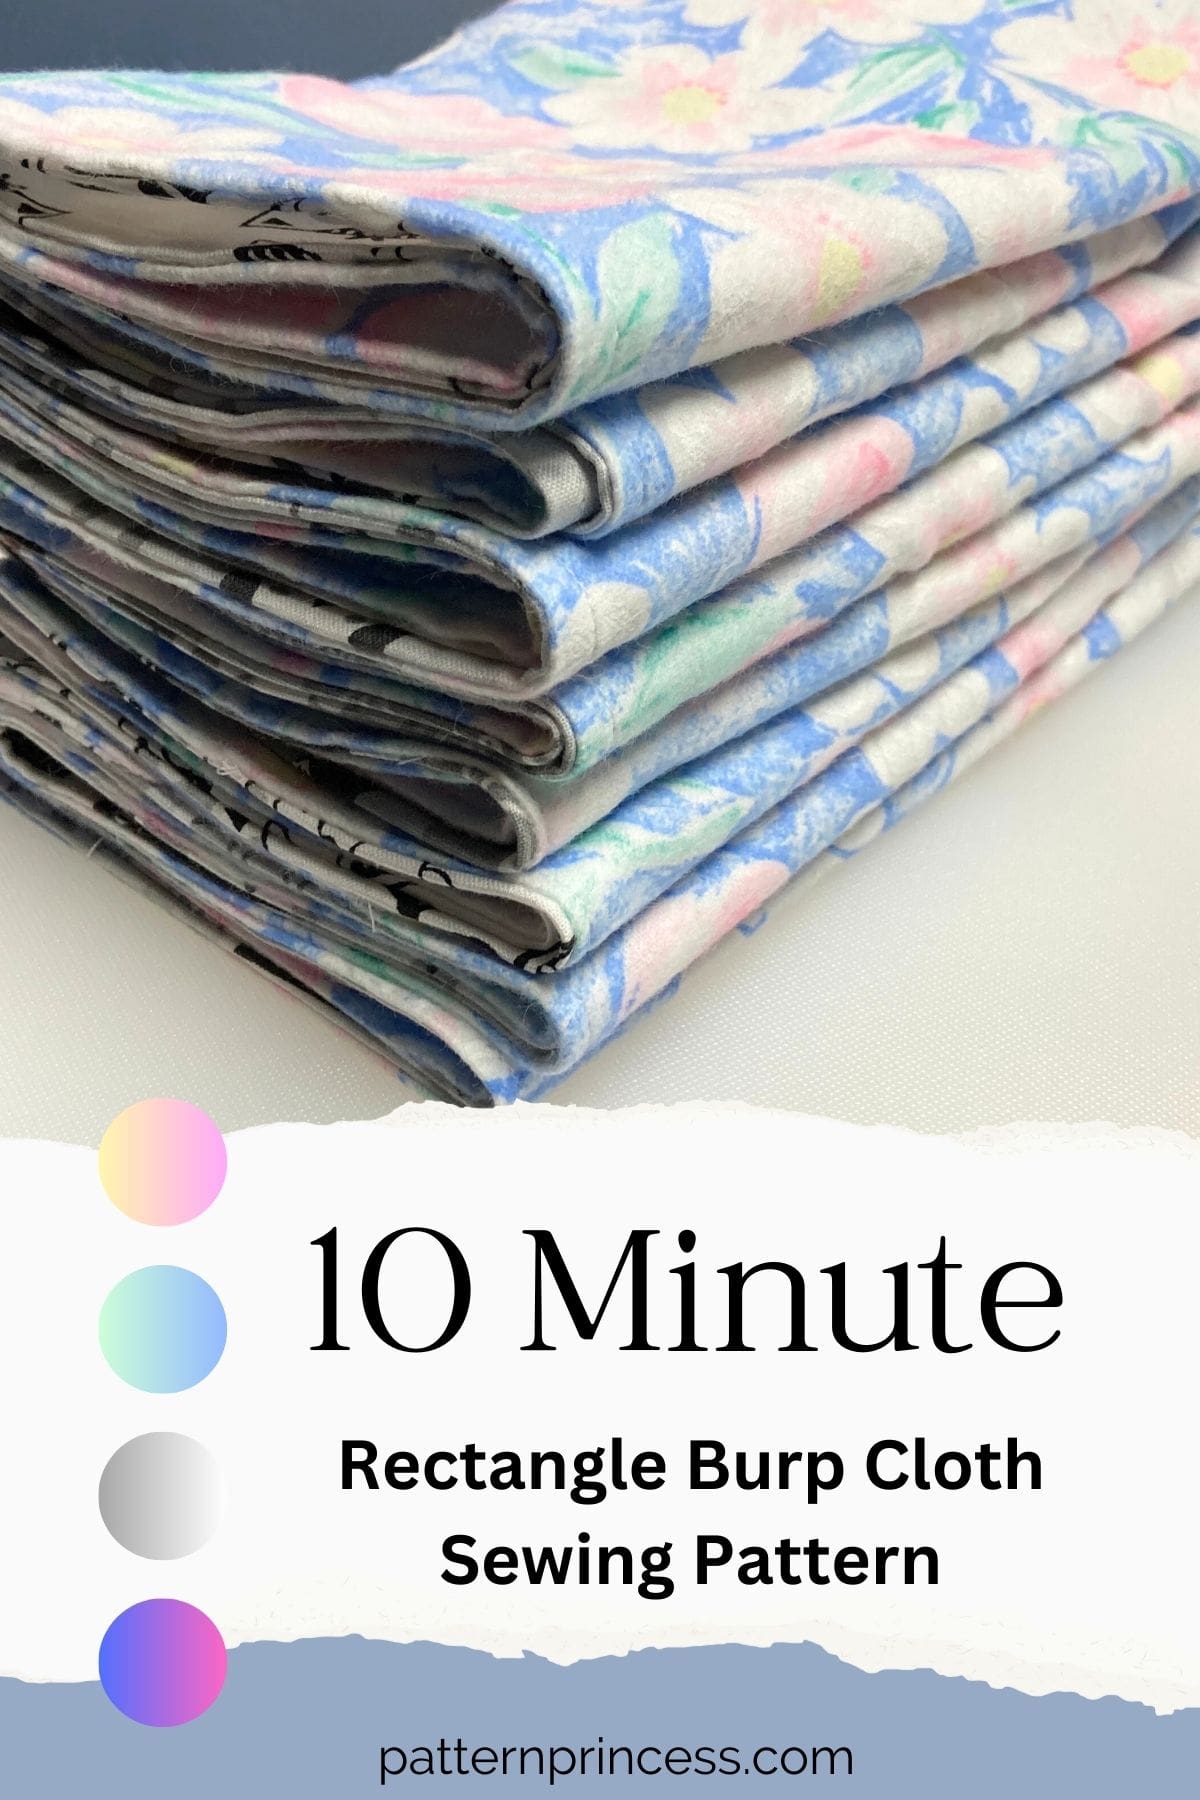
In this tutorial, we will show you how easy it is to make a Rectangle Burp Cloth in just 10 minutes. Perfect for beginners and experienced sewers alike. A quick and easy sewing project and it makes a great baby shower gift.
You can never have too many baby burp cloths on hand for those unexpected messy moments. The best part about sewing projects for babies is that you can use up your fabric scraps. It’s a cost-effective and much appreciated gift for the new parents.
With just 8 simple steps, this DIY free pattern is easy. No special template is required. Just measure, cut your fabrics, sew together, turn inside out, top stitch and you are done.
Make One or Many
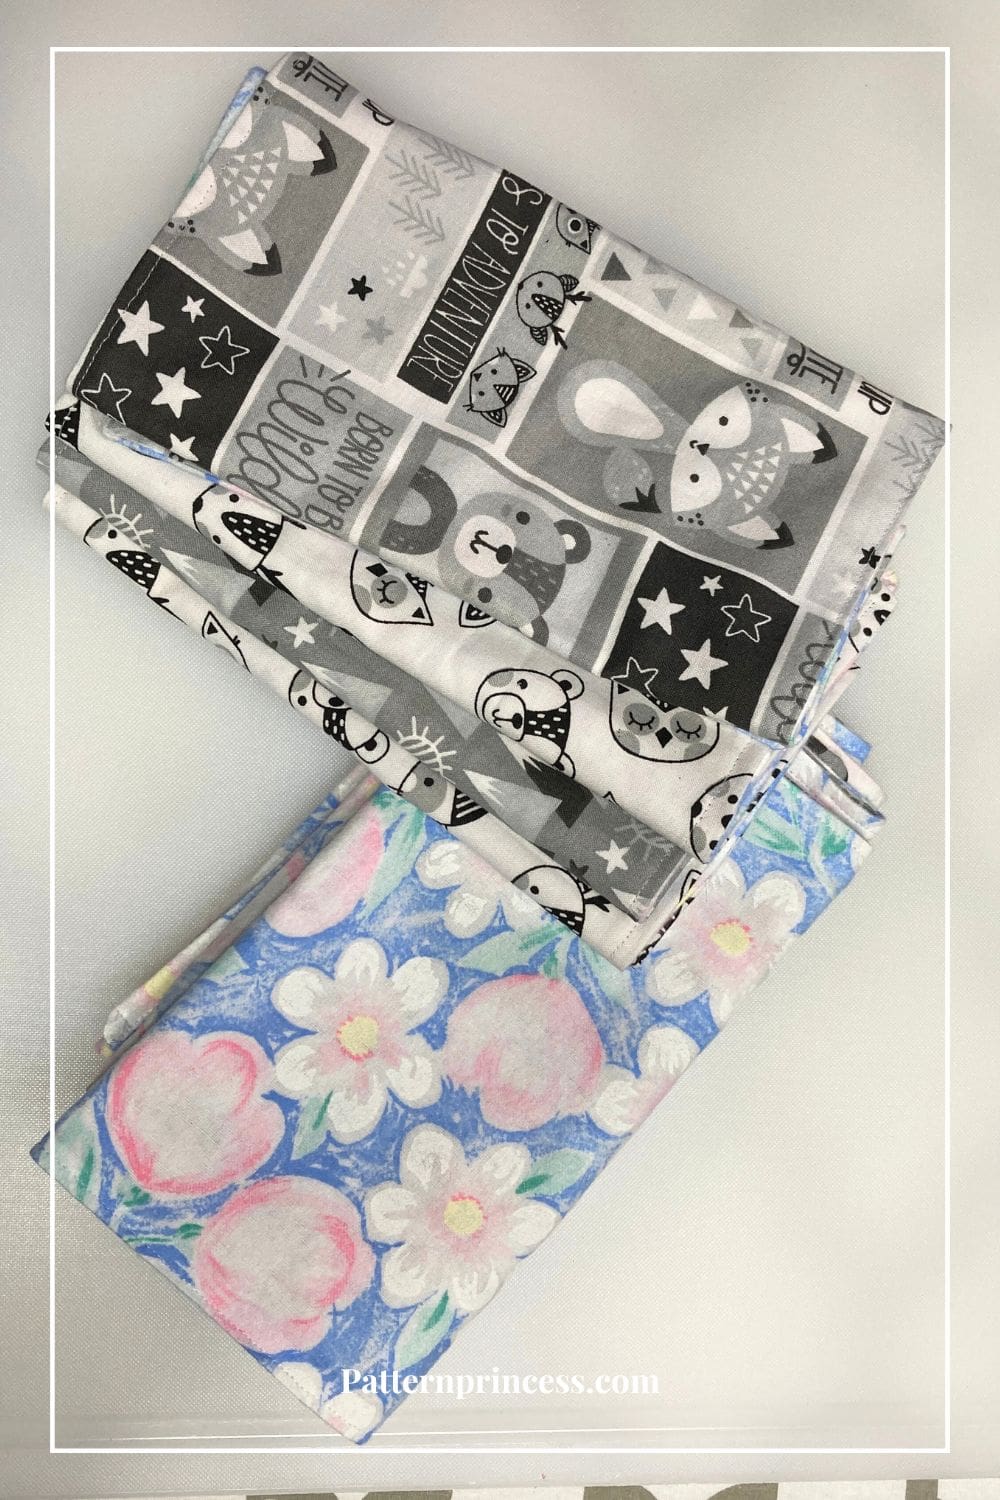
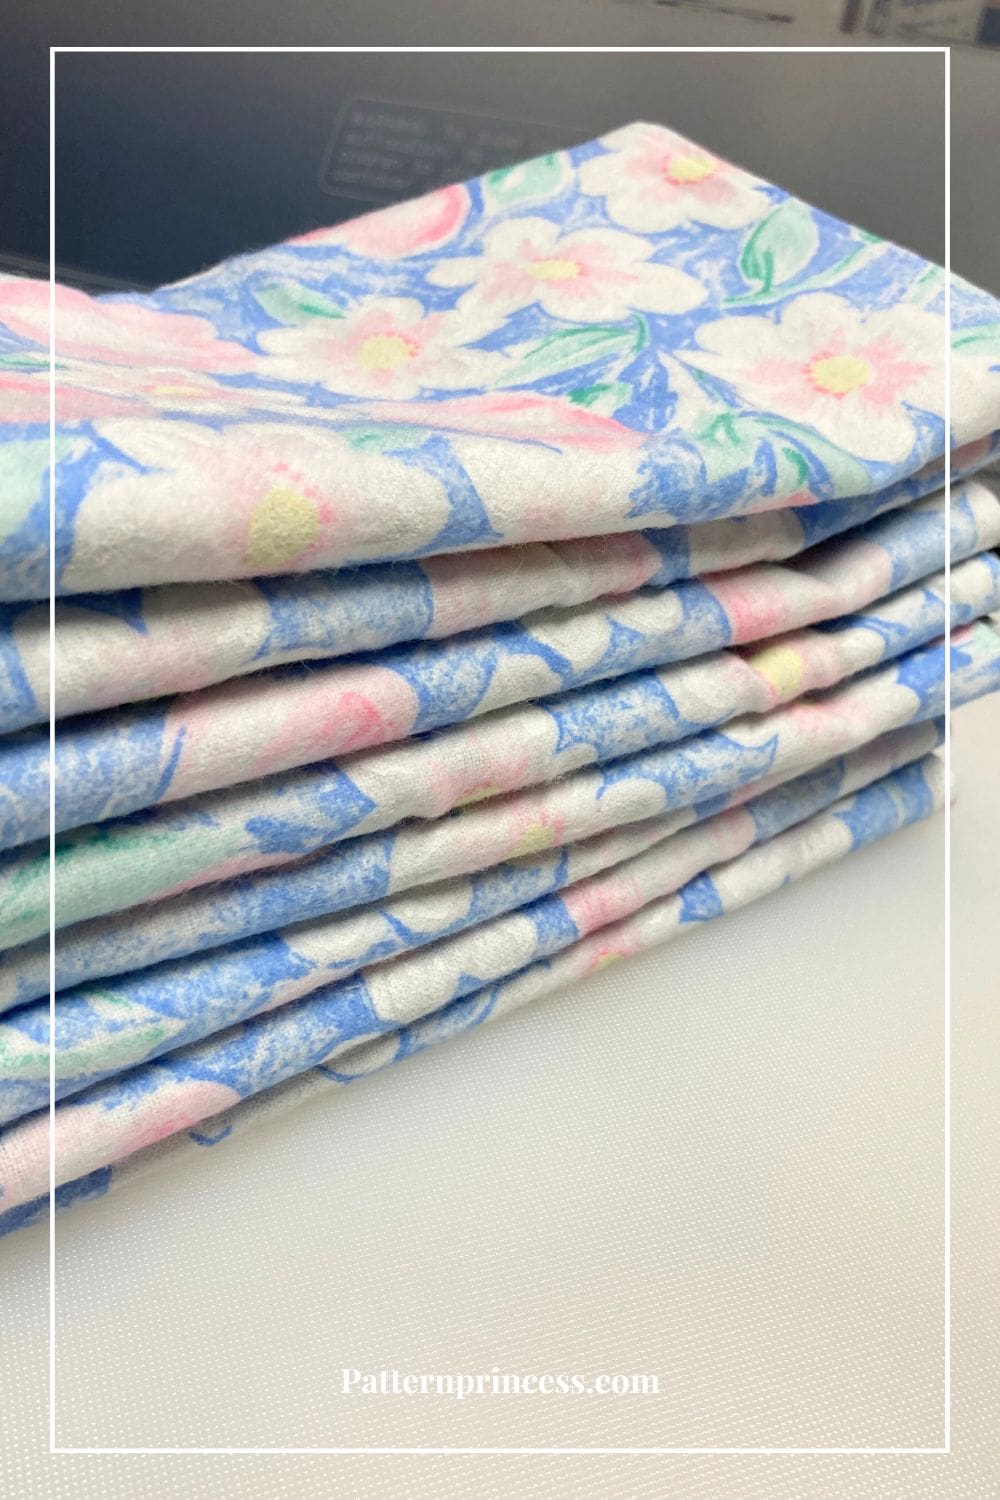
Imagine in just ten minutes, you’ll have a charming yet easy burp cloth ready for use or gifting. However, we all know that little ones tend to require more than one. In just one afternoon, I made a stack of ten for my niece that recently had a baby girl. It’s her first baby and it is so fun to help the new mom and dad out with a few handmade baby gifts. It was a great way to use up some cute fat quarters and flannel fabric.
You can get two 9 X19 inch rectangles cut out from a fat quarter of fabric. If you are using cotton fabric just for the top, you can make two from each fat quarter. If using the same fabric for top and bottom, then just one.
I am just starting to build a container of handmade gifts for newborn babies and baby showers. These easy sewing patterns are a perfect addition to this gift box.
Burp Cloth for Baby and Mess Wipe up for Toddlers
This sewing pattern takes care of those messy wet burps. They wash up well and you can wash them over and over. Perfect for the early stages of a baby’s life.
As the baby grows, the usefulness of the burp cloths changes. When you have a toddler, they are handy to have around to wipe up all sorts of messes. We keep one by the rocking chair, one by the highchair, and a few in the diaper bag at all times.
You can get an Ad Free Printable PDF of the Pattern in our Etsy Shop
What kind of fabric do you use for burp cloths?
When making burp cloths, you’ll want to choose fabrics that are absorbent, durable, and easy to wash. Burp Clothes need to be absorbent and soft on the baby’s face. The best fabrics will wash easily, be soft, and absorbent. I use a 100% cotton quilting fabric on the top. The bottom can be a different fabric or the same cotton fabric.
Here are some common fabric options:
- Cotton Flannel: Soft, absorbent, and easy to work with, cotton flannel is a popular choice for burp cloths. It comes in a variety of colors and prints, making it versatile for both function and style.
- Cotton Terry Cloth: Known for its excellent absorbency, cotton terry cloth is another great option for burp cloths. It’s soft against the baby’s skin and can easily handle spills and messes.
- Cotton Fabric: Lightweight cotton fabrics work great. They’re breathable, easy to wash, and come in a wide range of designs.
- Absorbent Fabrics: Consider using fabrics designed specifically for absorbency, such as diaper cloth. These fabrics are highly effective at soaking up liquids and are perfect for burp cloths.
- Towels. If you happen to have an old towel in your closet you are not using it and it is still in good shape, or you find a sale, these are great for DIY burp cloths.
Mixing and matching fabrics can also add visual interest and personality to your handmade burp cloths.
Do burp cloths need batting?
Burp cloths do not necessarily need batting, as their primary function is to absorb and clean up messes. However, some people choose to add batting for extra absorbency, thickness, or softness. Whether or not to use batting depends on personal preference and the intended use of the burp cloth. If you prefer a thicker or more plush burp cloth, adding batting can be a good option. If you prefer a thinner, more lightweight cloth, you can skip the batting altogether.
What are the measurements of a burp cloth?
The measurements of a burp cloth can vary depending on personal preference and intended use. However, a common size for a burp cloth is around 18 inches by 10 inches (45 cm by 25 cm). Typically, burp cloths measure between 15 and 22 inches in length and 10 to 15 inches in width. The goal is to create a cloth that provides ample coverage to protect clothing while burping the baby over the shoulder without slipping off.
Directions: 10 Minute Rectangle Burp Cloth Sewing Pattern
Skill Level
Easy Sewing
You should be able to line up seams and sew fabrics together.
Finished Size
8 1/2 X 18 1/2 inches.
Pattern Notes
All seams are ¼ inch unless otherwise noted.
Sew with fabrics right sides together unless otherwise noted.
Materials Needed
Fabric for the front (a piece approximately 9 in X 19 in), cotton.
Fabric for the back (a piece approximately 9 in X 19 in), terrycloth or flannel.
Post contains affiliate links, and we earn commissions if you shop through the links on this page. For more information, please read the disclosure section under the About Us page.
Equipment / Tools
- Thread
- Quilting Ruler
- Rotary Cutter or Scissors
- Straight pins
- Iron
- Ironing board with a pad
- Sewing Machine
- My Favorite Quilting Supplies
Step-by-Step Instructions for Rectangle Burb Cloth
Step 1: Wash, dry, and iron your top fabric. If using terrycloth and flannel for the back fabric, just wash it. No need to iron it. This helps make sure that the fabrics do not shrink in subsequent washes.
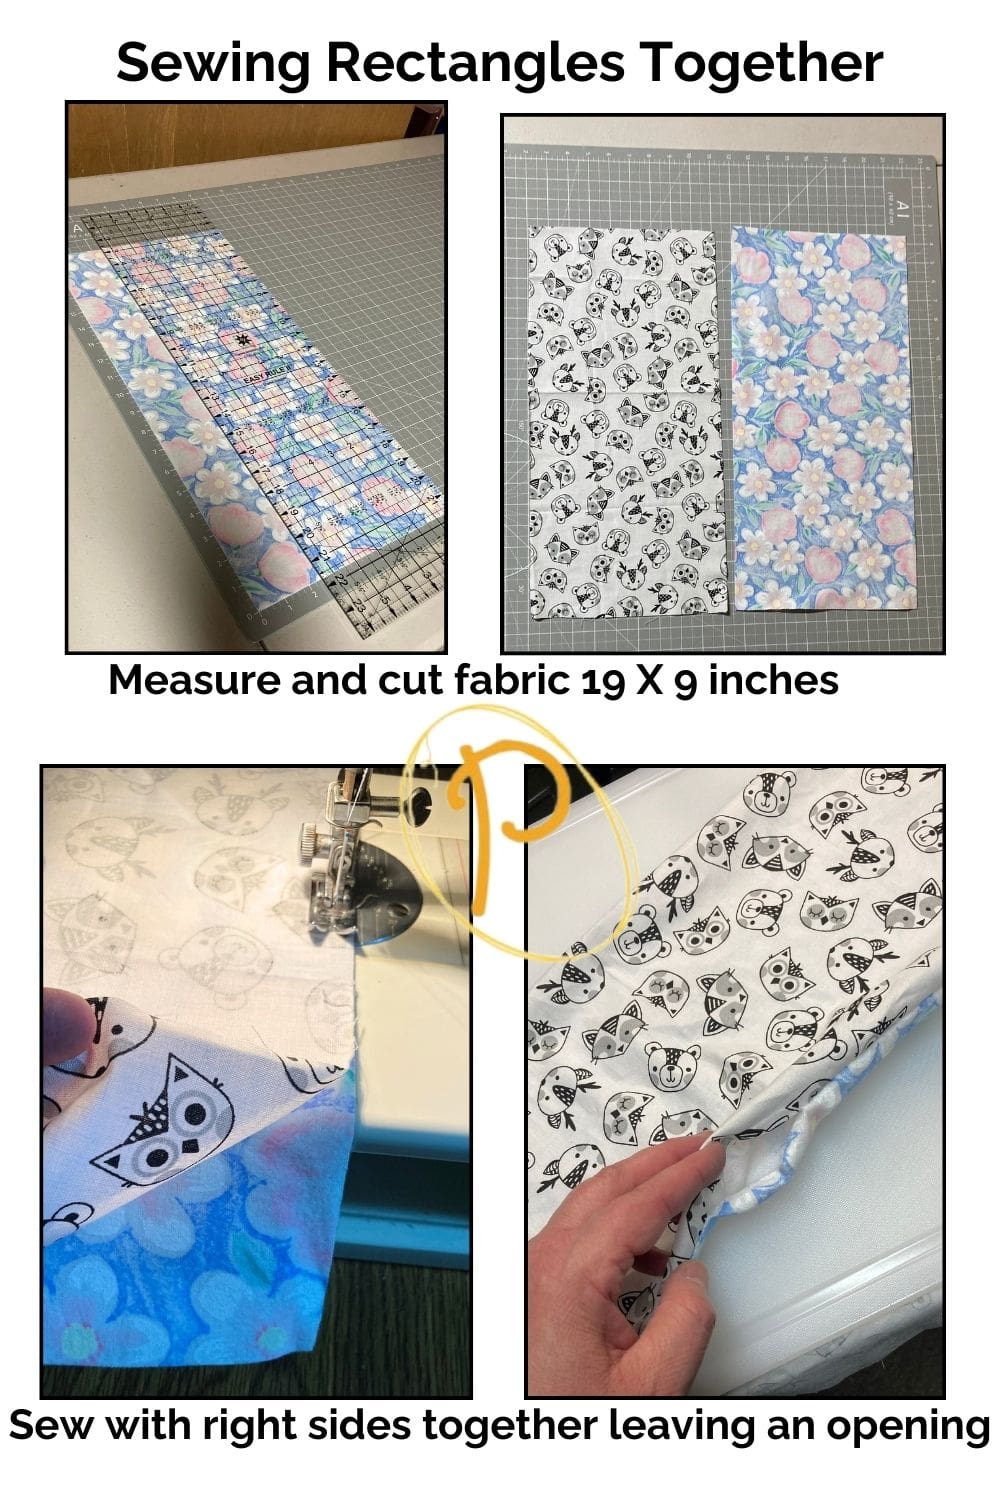
Step 2: Use your quilting ruler and rotary cutter or scissors. Measure out a rectangle 9 X 19 inches. Then cut around it using your rotary cutter and ruler. You can also trace the lines then cut them with a scissors.
Step 3: Pin the top fabric right side down onto the back fabric.
Step 4: Using ¼ inch seam allowance, sew around the edges. Leave a 3-inch opening on one of the longer sides. Make sure to backstitch when you begin and end sewing.
Step 5: Trim the corners close to the sewing line being careful not to cut through the thread. Once turned inside out, this will help make nice points at the corners.
Step 6: Turn the burp cloth right side out by pushing the fabric through the hole that was left. Use a skewer, the end of a pencil, or a corner turner to push out the corners to a point. Careful not to poke through the fabric.
Step 7: Iron the burp cloth to get the wrinkles out. Also, where you left the opening, turn the top and bottom fabrics under to the wrong side and line up the seam.
Step 8: The topstitch around the edge. I generally sew 1/4 inch from the edge. Making sure to close the opening on the side by sewing over it.
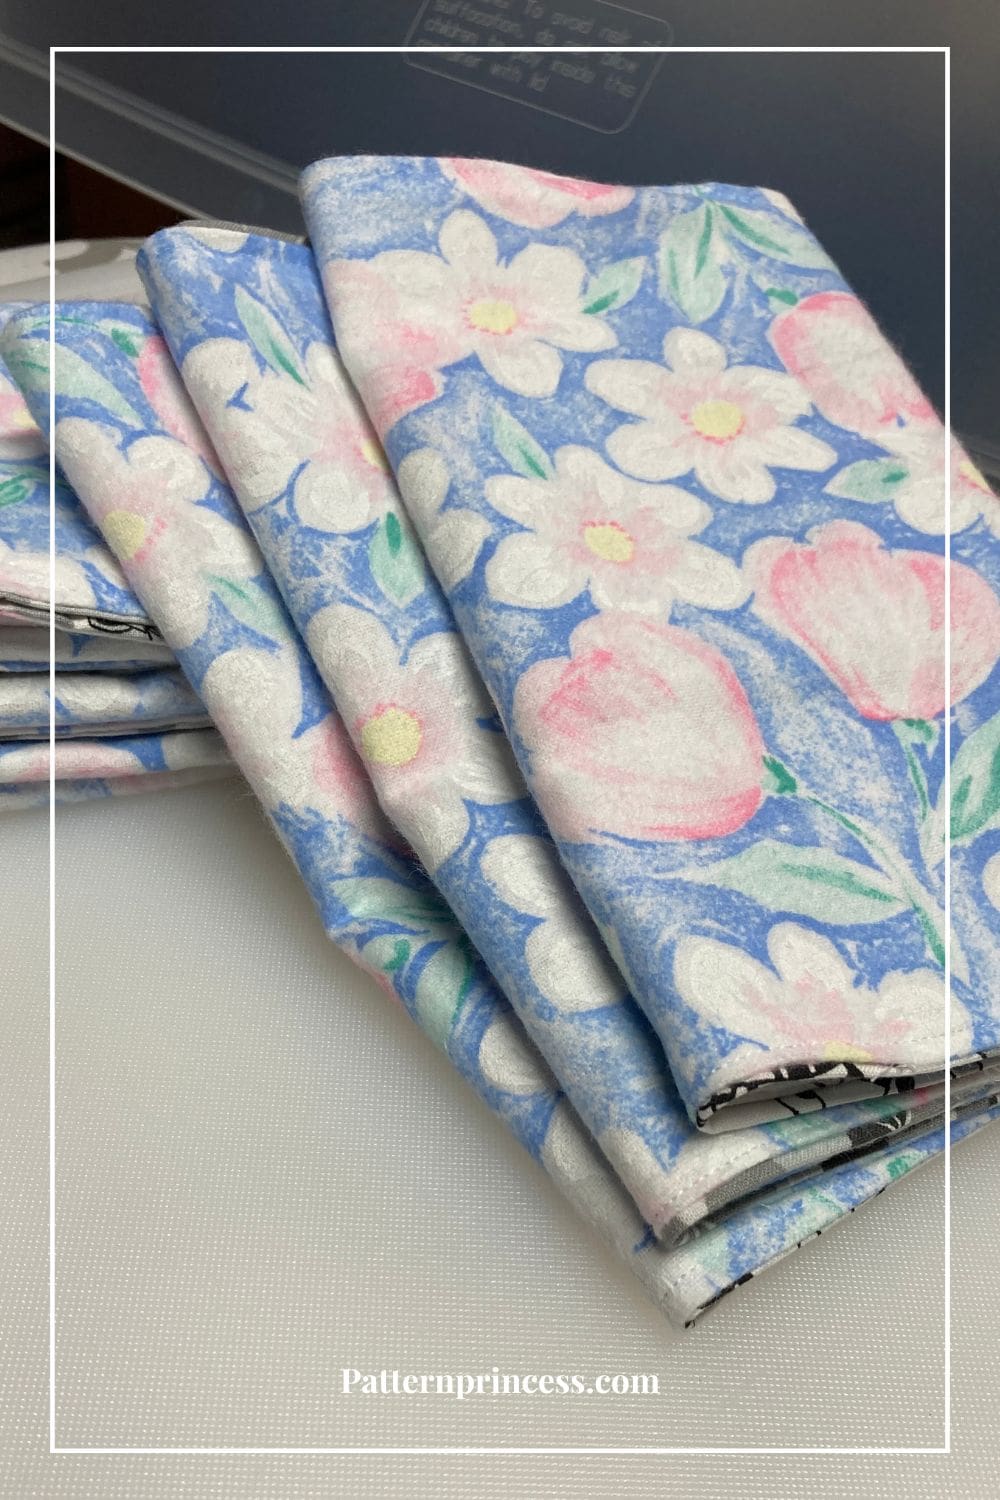
That’s it. Your basic reversible baby burp cloth is ready for gifting and using.
You can get a printable pdf of the burp cloth instructions below by entering your email and joining the newsletter.

10 Minute Rectangle Burp Cloth Sewing Pattern
Equipment
- Sewing Machine
- Ironing Board or Pressing Mat
- Iron
Materials
- Fabric for the front a piece approximately 9 in X 19 in, cotton.
- Fabric for the back a piece approximately 9 in X 19 in, terrycloth or flannel.
Instructions
- Step 1: Wash, dry, and iron your top fabric. If using terrycloth and flannel for the back fabric, just wash it. No need to iron it. This helps make sure that the fabrics do not shrink in subsequent washes.
- Step 2: Use your quilting ruler and rotary cutter or scissors. Measure out a rectangle 9 X 19 inches. Then cut around it using your rotary cutter and ruler. You can also trace the lines then cut them with a scissors.
- Step 3: Pin the top fabric right side down onto the back fabric.
- Step 4: Using ¼ inch seam allowance, sew around the edges. Leave a 3-inch opening on one of the longer sides. Make sure to backstitch when you begin and end sewing.
- Step 5: Trim the corners close to the sewing line being careful not to cut through the thread. Once turned inside out, this will help make nice points at the corners.
- Step 6: Turn the burp cloth right side out by pushing the fabric through the hole that was left. Use a skewer, the end of a pencil, or a corner turner to push out the corners to a point. Careful not to poke through the fabric.
- Step 7: Iron the burp cloth to get the wrinkles out. Also, where you left the opening, turn the top and bottom fabrics under to the wrong side and line up the seam.
- Step 8: The topstitch around the edge. I generally sew 1/4 inch from the edge. Making sure to close the opening on the side by sewing over it.
- That’s it. Your basic reversible baby burp cloth is ready for gifting and using.
Other Free Patterns
We hope you have enjoyed this pattern. We have a few more ideas for your next free sewing pattern.
- 10 Minute Table Runner Pattern
- Sew a Whimsical Moose Reading Pocket Pillow
- Sew Fast Autumn Table Runner Pattern

You can find Victoria crocheting, quilting, and creating recipes. She has cooked in restaurants for over 20 years, including many larger parties. She learned to crochet when she was just 11 years old and has been crocheting ever since; over 50 years now. Over 40 years ago, she loved her first class in sewing and continues to hone her skills in quilting. Many have enjoyed the handmade gifts over the years. In her professional career, she has worked in management in a wide variety of businesses including higher education as a dean of a division. All the while attending college part-time to achieve her doctorate in higher education with an emphasis in e-learning.
Thank you for this baby burp pattern. Your instructions are clear and easy to follow. Your pattern was a good reminder of the small things that new Moms need. For shower gifts we often do blankets or bibs but burp cloths are things that we forget about. Thank you for that!
Thank you Tricia. With my grandson, he had issues with acid reflux so we had burp cloths all over the house at the ready. It made me realize how much this simple handmade gift would be appreciated by new moms. I will be making more soon to add to my baby shower gift box. Take care.
Vicky