
Meet the Crossweave Stitch. Where the simplicity of Granny Stitch meets the beauty of woven texture.
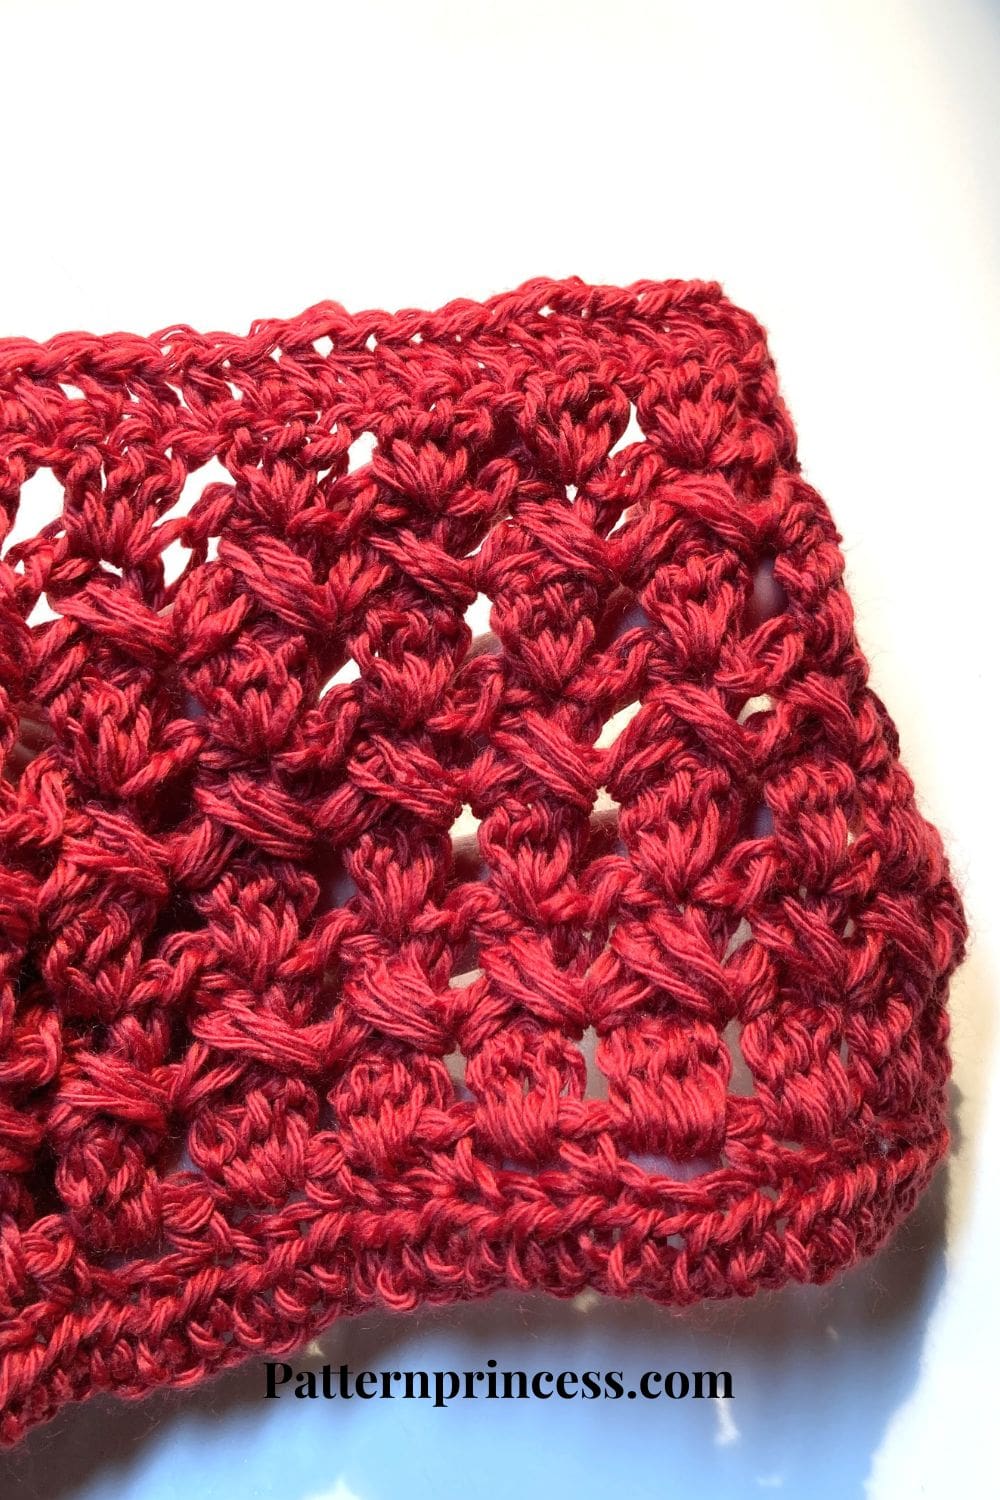
The stitch combines classic crochet texture with an interesting criss-cross design. With its repeating groups of double crochet stitches and crossed 2 double crochet clusters, this stitch creates a beautifully textured fabric with an almost woven appearance.
If you love the look of traditional Granny Stitch but want something with a little more texture and dimension, the Crossweave Stitch is a fun one to try.
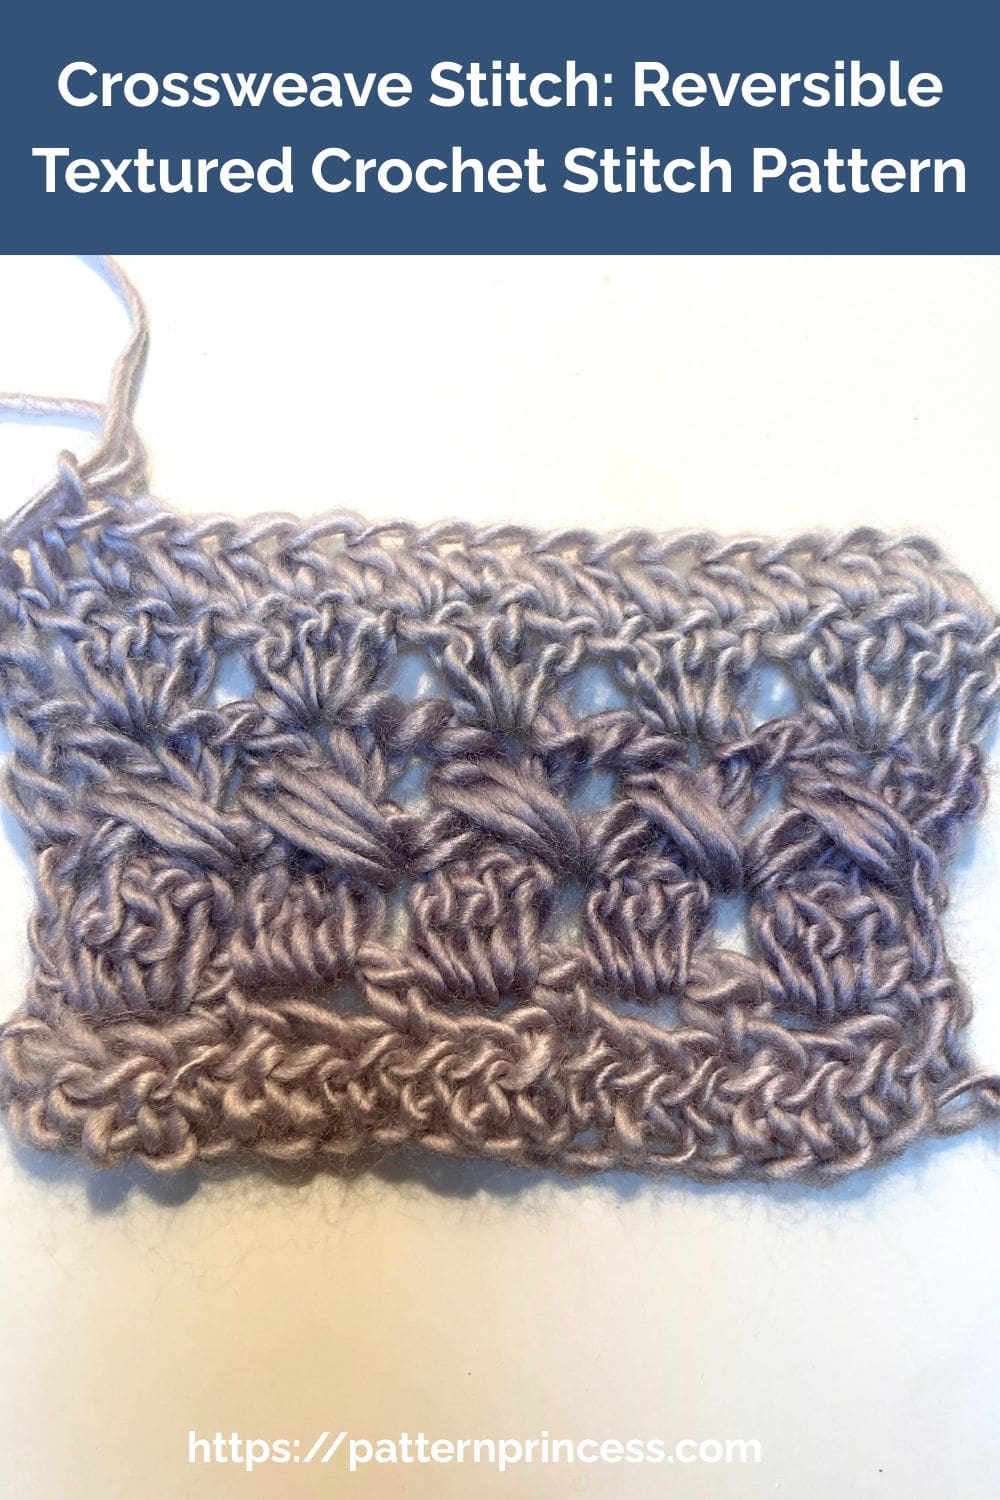
A New Stitch from Pattern Princess
We love creating new crochet stitches here at Pattern Princess, and the Crossweave Stitch is one of our latest designs. We enjoy taking familiar crochet techniques and experimenting with how they can be combined to create new textures and interesting fabrics.
This crochet stitch was developed with both texture and versatility in mind. We wanted a stitch that had a beautiful, dimensional appearance but could also be used in a variety of projects and yarn colors. After experimenting with the placement of clusters and crossed stitches, this two-row repeat emerged.
The stitch has a wonderful rhythm once you get into the repeat. While the crossed cluster row takes a little concentration at first, the pattern becomes easier to recognize as you work more rows.
The result is a stitch with plenty of visual interest that still works well for practical crochet projects. We especially love how the texture changes depending on the yarn and colors you choose.
What Is the Crossweave Stitch?
The Crossweave Stitch is worked in a two-row repeat, but there are a few setup rows before you begin repeating the main pattern.
Rows 1–3 establish the foundation and set up the stitch pattern. Beginning with a row of HDC creates a clean, solid edge. Row 2 creates the chain spaces that are used to form the groups of double crochet stitches in Row 3. These groups of 3 DC stitches then become the framework for the crossed clusters.
Beginning with Row 4, the main Crossweave Stitch pattern begins. Repeat Rows 4 and 5 until you reach your desired length.
We think of it as Granny-inspired simplicity meeting criss-cross woven texture.
While the stitch has a more intricate appearance, once you understand how the two rows work together, the repeat becomes rhythmic and enjoyable to crochet.
Why You’ll Love the Crossweave Stitch
- Creates a beautiful textured, woven appearance.
- Reversible—the stitch looks similar on both sides of the fabric.
- Uses a repeating two-row pattern once the setup rows are complete.
- Looks lovely in both solid and variegated yarn.
- Can be customized with multiple colors.
- Works well for blankets, throws, scarves, wraps, and pillows.
- The beginning and finishing edges can be worked in HDC for a clean, stable edge.
- Can easily be made wider or narrower by adjusting the foundation chain.
- The length can be customized by adding or removing repeat rows.

Choosing Yarn for the Crossweave Stitch
One of the things we love about this pattern is how differently it can look depending on your yarn choice.
For learning the stitch, I recommend using a smooth #4 medium-weight yarn in a solid color. A solid color allows you to clearly see the crossed clusters. It makes it easier to follow the stitch placement while you’re learning.
A smooth yarn is also helpful when working Row 4 because you’ll be able to see the spaces between the groups of double crochet stitches more clearly.
Once you’ve learned the stitch, this is a great pattern to experiment with.
Solid Colors
A solid color really highlights the texture of the Crossweave Stitch. This is the best choice when you want the criss-cross design and raised clusters to be the focal point.
Long-Color-Change Variegated Yarn
Long-color-change variegated yarns are another wonderful option.
Because the colors change gradually over several rows, the different sections of the Crossweave Stitch become highlighted naturally. The changing colors can create horizontal bands across the fabric while the criss-cross texture adds dimension.
This is a versatile stitch that would work well with so many designs.
- Throw blankets
- Cozy scarves
- Wraps
- Pillows
- Baby blankets
Is the Crossweave Stitch Reversible?
Yes! The Crossweave Stitch is reversible.
The texture looks very similar on both sides of the fabric. The main difference is the direction of the crossed clusters. On one side, the clusters cross in one direction, while on the opposite side, they appear to cross in the opposite direction.
This creates a beautiful, balanced texture on both sides of your project, so you don’t have to worry about which side is the “right” side when using the finished piece.
We especially love this feature for blankets and scarves. Whether the project is folded, draped over a chair, or wrapped around your shoulders, the texture remains attractive from either side.
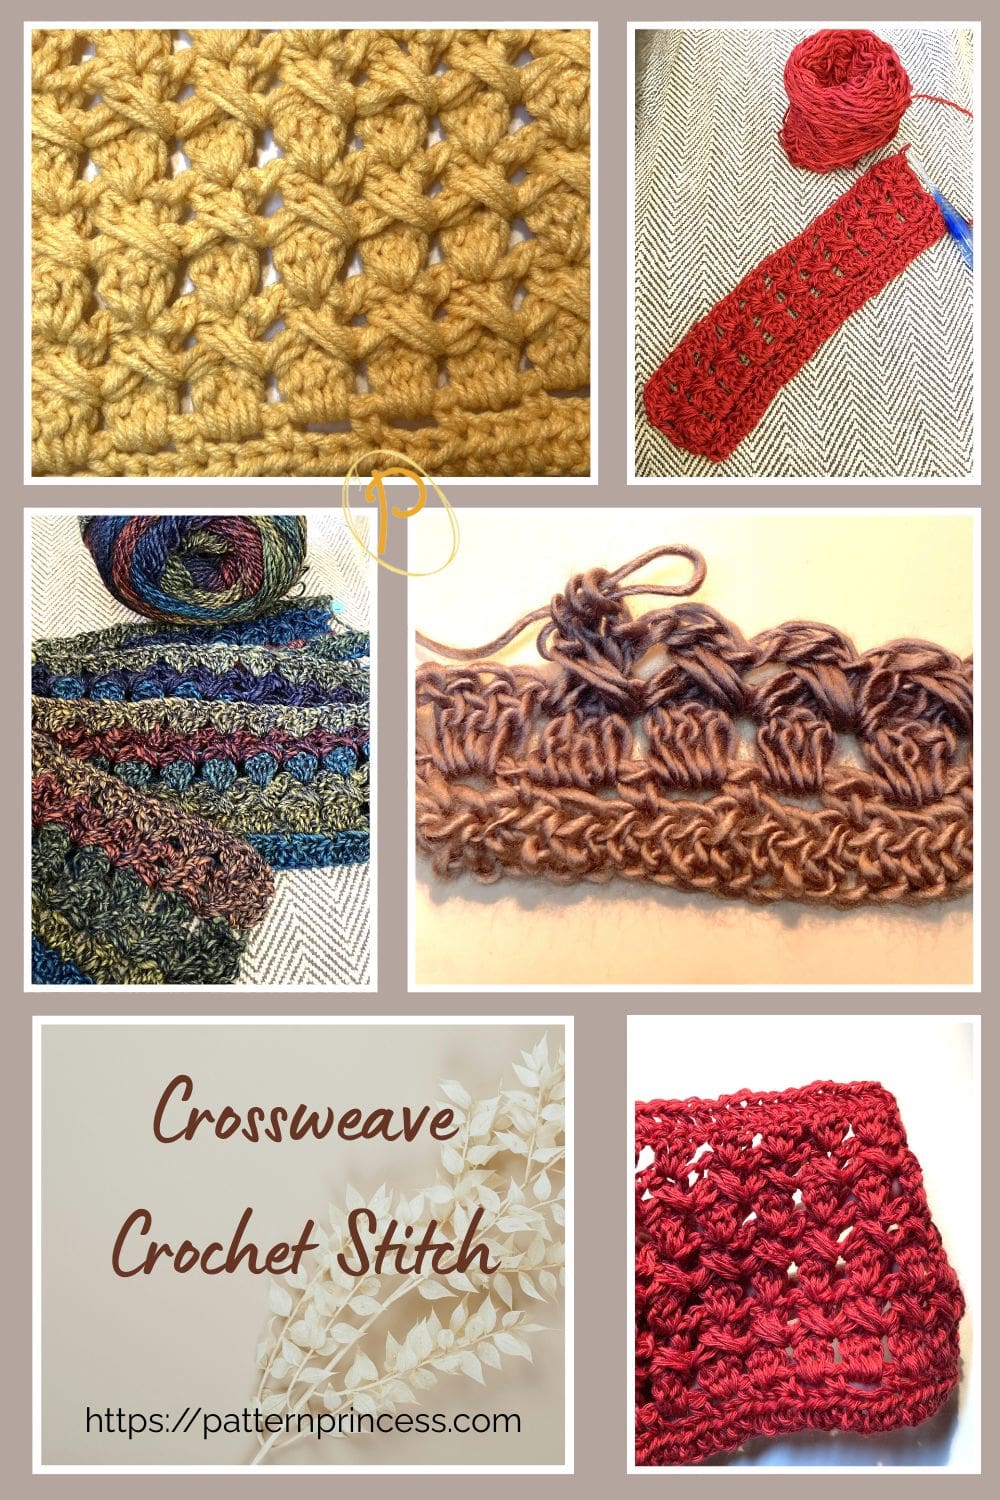
Get Your Ad Free Printable PDF in our Etsy Shop.
Directions: Crossweave Stitch
Skill level
Intermediate Crocheter
You should be comfortable with the double crochet and half double crochet stitches. The stitch itself uses a repeating two-row pattern, but the crossed clusters require attention to stitch placement and the order in which the clusters are worked.
Gauge
The gauge will depend on the yarn and crochet hook used.
Size
The size depends on the number of chain stitches and rows crocheted.
Varying the Size
Vary the foundation chain stitches using a multiple of 3. To change sizes, chain a multiple of three to whatever until you reach your desired width. To make the project longer or shorter, simply crochet more or fewer rows.
Materials
This pattern works well with #3 or #4 weight yarn.
Crochet hook recommended on the yarn package. Normally a Size H crochet hook 5.0mm or Size I crochet hook 5.5mm
Scissors
Yarn Needle
Stitch Markers
Measuring Tape
Stitch Abbreviations (US Terms)
- CH = Chain
- CL = 2 Double Crochet Cluster
- DC = Double Crochet
- HDC = Half Double Crochet
- SC = Single Crochet
- SK = Skip
- SL ST = Slip Stitch
- SP = Space
- ST = Stitch
- STs = Stitches
- YO = Yarn Over
- [ ] = Repeat Between
Pattern Notes
- This pattern is written using U.S. crochet terminology.
- Turn at the end of each row.
- This stitch pattern begins with three setup rows. Rows 1–3 establish the foundation.
- This pattern is a two-row repeat starting with row 4. One row consists of 2 double crochet clusters crossed over the top of each grouping of 3 double crochet stitches in the row below. The next row consists of groupings of 3 double crochet stitches across.
- The first and final rows are worked in HDC to create a clean, stable edge for adding a border.
- Video tutorials are located after the written pattern.
Crochet Stitches
Chain Stitch (CH ST)
Begin the chain stitch by making a slip knot on the crochet hook. Leave about a 5-inch tail on the yarn. This will be woven in later.
Next snug up the yarn loop that is on the crochet hook; while it should be firm, it should also be loose enough to slide on the hook with ease.
Keeping the loop on the hook, yarn over and draw the yarn through the loop. (The first chain stitch is complete).
Double Crochet (DC)
Yarn over, insert hook through a stitch and pull up a loop. Next, yarn over and pull through two loops on the hook. Lastly, yarn over again and pull through the last two loops on the hook.
Half Double Crochet (HDC)
Yarn over, insert the hook through a stitch and pull up a loop. Yarn over and pull through all three loops on the hook. For height, this stitch is between the single crochet and double crochet.
Single Crochet (SC)
Insert the hook in a stitch pull up a loop. Yarn over and pull through the two loops on the hook.
Slip Stitch (SL ST)
Insert the hook into the stitch, yarn over, and pull through the stitch and the loop on the hook.
Special Stitches
2 Double Crochet Cluster (CL)
Step 1. Yarn over, insert the hook into the stitch, yarn over and draw up a loop. There are three loops on the hook.
Step 2. Yarn over and draw through two loops.
Step 3. Yarn over and insert the hook into the same stitch, yarn over and draw up a loop. There are now four loops on the hook.
Step 4. Yarn over and draw through two loops.
Step 5. There are now 3 loops on the hook. Yarn over and draw through all three loops.
Tip: Don’t tighten the cluster as you work. Keeping the loops relaxed will make it much easier to work the crossed clusters in the next row.

Tips for Success
Keep your slip stitches loose. If your project includes slip stitches, keep them relaxed. Tight slip stitches can make the fabric difficult to work into and may cause the edges to pull in.
Don’t tighten your clusters. The clusters need a little room to cross over one another. Keep your loops relaxed as you work.
Pay attention to the crossed clusters. Row 4 is the most involved row of the stitch pattern. Take your time and follow the written instructions carefully. The photo tutorial and video tutorial can also help you see exactly where each cluster is placed.
Once you understand the movement of the clusters, the stitch becomes much easier to repeat.
The Crossweave Stitch Step-by-Step: Begin Crochet Pattern
Begin the chain stitch by making a slip knot on the crochet hook.
CH 18
Or any multiple of 3
Row 1
SK 2 CH STs (Counts as HDC). In the 3rd CH from the hook, work and HDC. Continue to work a HDC in each ST across. Turn (17 STs).

Row 2
CH 1 (Doesn’t Count as a ST). SC in the first ST, CH 2, SK 2. [SC in the next ST, CH 2, SK 2] Repeat between [ ] across. When there are 3 STs left, end with CH 2, SK 2, SC in the last ST. Turn
Row 3
CH 3 (Counts as a DC). 3 DC in the first CH 2 SP. SK the next SC. [3 DC in the next CH 2 SP. SK the next SC]. Repeat across between [ ]. End with a DC in the last ST. Turn

Row 4
CH 3 (Counts as a DC). SK the first 3 DC STs and work a CL between the first two groups of 3 DC STs. CH 1. Then go back and work a CL between the first group of 3 DC STs and the DC on the end of the row, CH 1. Next, SK to the SP between the second and third groups of 3 DC STs and work a CL, CH 1. Then go back and work a CL between the first two groups of 3 DC STs. CH 1. [SK to the SP between the third and fourth groups of 3 DC STs. Work a CL, CH 1. Go back to the SP between the second and third groups of 3 DC STs. Work a CL, CH 1]. Repeat across between [ ]. After the last CL, do not work a CH. Just end with a DC in the last ST. Turn
Row 5
CH 3 (Counts as a DC). Work 3 DC in the center between the first two Crossed Clusters (Above where they cross). [SK to the next set of Crossed Clusters and work 3 DC in the center between where the clusters cross]. Repeat across between [ ]. End with a DC in the last ST. Turn
Rows 6 and Beyond
Continue repeating rows 4 and 5 until you reach your desired length.
Finishing Row
If you would like the final row to be the same as the first row. Work a final row consisting of CH 2 (Counts as HDC). HDC in the next ST and each ST across.
Finishing
After you work the last ST, cut off the yarn leaving about a 12-inch long tail. Pull the yarn tail through the last loop on the hook.
Thread the yarn needle with the yarn tails and weave them through the crochet stitches back and forth until the yarn feels secure. Snip off the excess yarn.
Crossweave Crochet Stitch Video Tutorial
Ready to see how the Crossweave Stitch comes together?
In the video tutorial, I walk you through the stitch step by step, showing how the 3 DC groupings are worked and how the 2 DC clusters cross over one another to create the woven texture.

More Ways to Use the Crossweave Stitch
Once you’ve learned the Crossweave Stitch, there are so many ways to experiment with it.
Try making a cozy throw blanket using a soft #4 weight yarn, or use a #3 weight yarn to create a lighter scarf or wrap. The stitch would also be beautiful for pillows, baby blankets, and other home décor projects.
For a traditional look, try working the entire project in one solid color. This makes the woven texture the star of the project.
For something more colorful, try a long-color-change variegated yarn. The shifting colors can create beautiful bands of color across the textured stitch.
You can also experiment with three colors. Choose one color for the rows of 3 DC groupings, then alternate two colors for the crossed cluster rows. This creates a unique woven effect and gives you even more opportunities to play with color.

You can find Victoria crocheting, quilting, and creating recipes. She has cooked in restaurants for over 20 years, including many larger parties. She learned to crochet when she was just 11 years old and has been crocheting ever since; over 50 years now. Over 40 years ago, she loved her first class in sewing and continues to hone her skills in quilting. Many have enjoyed the handmade gifts over the years. In her professional career, she has worked in management in a wide variety of businesses including higher education as a dean of a division. All the while attending college part-time to achieve her doctorate in higher education with an emphasis in e-learning.
Stay connected with Pattern Princess
Add Pattern Princess as a preferred source in Google Search to make it easier to find our crochet patterns, recipes, quilt patterns, and other creative projects when you're looking for something new to make.

Hello! I was wondering what that beautiful variegated yarn was? I love the black with the rainbow.
Hi Rebecca,
I love these colors too. It is Manaya yarn from Hobbii. The color is 02.
Vicky