Last updated on July 4th, 2024 at 11:52 pm
It takes just a few simple ingredients to make this scrumptious plum tart. This recipe is a perfect way to let the sweet and juicy plum be the center of attention. Sometimes, the best recipes are the easy ones.
Post contains affiliate links and we earn commissions if you shop through the links on this page. For more information please read the disclaimer on the About Us page.
Fruit for this Tart
While this is made with plums today, other fruit such as apples, pears, peaches, or nectarines would also be a fruit option for this dessert.
Ripe, juicy plums are sweet and delicious.
How Do You Know When a Plum is Ripe?
Probably the easiest way to tell when a plum is ripe is to press your finger lightly into the plum. The plum should give and make a slight indentation where your finger was. If it is hard to the touch, it is not ripe yet. Let the fruit sit a few more days to ripen and check again.
Inspect the skin of the fruit, it should be free of blemishes, bruises, and cuts. Check the color of the plum, it should have a deep rich even color all around. If the skin is wrinkled it may be a bit overripe.
Smell the fruit, it should have a fruity smell. If not, it is probably not ripe yet and will also not have much flavor.
Pie Crust
This is a very forgiving recipe. If you are short on time or just prefer – a store bought pie crust can be used to make this pie/tart. However, if you have an extra 10 minutes, you can make your own pie crust with delicious results.
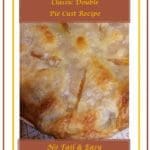
Here is a recipe for a double pie crust.
Variations to This Plum Tart
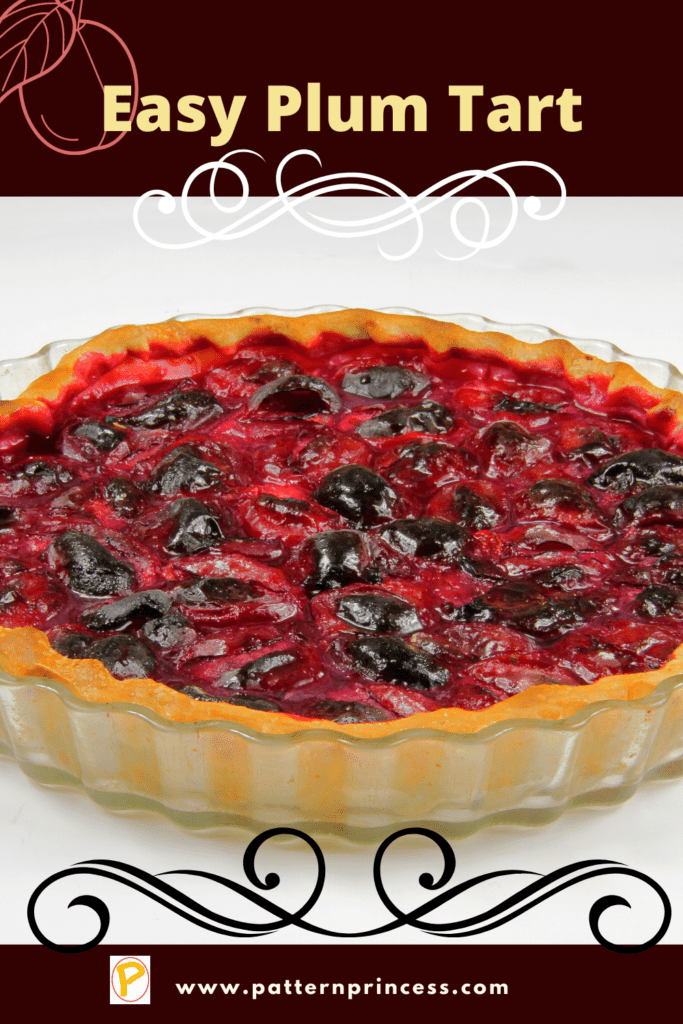
Today this was made in a pie plate. However, if you want to look a bit fancier, make this in a rectangle tart pan. Looking to be a bit more on the rustic end of the spectrum? No worries make this into a galette style by placing your pie crust on a sheet pan and adding the ingredients to the center. Then just fold the pie crust edges over the filling, leaving about a 3-inch hold in the center.
By using the pie plate as we did today, we arranged the plums in a pretty circular design for more eye appeal when serving this to our guests.
Tart Serving Suggestions
The sweet tartness of the plums pairs wonderfully with a crème fresh, lightly sweetened whipping cream, or vanilla ice cream slightly softened.
Just a delicious dessert option.
Preparing the Fruit
Make sure to wash the plums. I like to take a towel and dry each one too. It just feels like if there was any residue on them that they are assured to be clean once each one is wiped.
Slice the plum in half and remove the pit.
Then slice the plums into approximately half-inch slices. There is no need to peel the plums.
How to Make This Plum Tart
Once the fruit is prepared and added to a mixing bowl, add the lemon juice, jam, and sugar. Mix to incorporate.
Place the pie crust in your baking dish, arrange the plums on their sides in circles; smaller to larger to give a flower effect. If using a rectangle container, arrange the plums on their sides in rectangles; smaller to larger.
Sprinkle with ground cinnamon and dot with butter.
There is no top crust to this tart.
Since the plums take a bit of time to bake, it is a good idea to cover the edges of the tart crust with tin foil to protect the pastry from becoming overbaked.
Easy Plum Tart
As an Amazon Associate I earn from qualifying purchases.
Kitchen Essentials
Ingredients
- 1 1/2 Pounds Plums Washed, pitted and cut into sixths
- 2 Tablespoons Lemon Juice
- 4 Tablespoons Sugar Divided
- 2 Tablespoons Jam I used strawberry
- 2 Tablespoons Unsalted butter Cut into 16 pieces
- 1/4 Teaspoon Ground cinnamon
- 1 Pie Crust
text ingredients
Instructions
- Preheat oven to 375 degrees Fahrenheit.
- In a large bowl, toss the prepared plums with the lemon juice, jam and 3 tablespoons of the granulated sugar.
- Place the pie crust in the bottom of an 8 or 9-inch pie plate or tart pan. Arrange the plums on top of the crust.
- Put the butter pieces over the top of the plums, sprinkle with the cinnamon and the 1 tablespoon of granulated sugar.
- Bake for approximately 50 minutes until the crust is golden and the plums are soft and tender when poked with a fork. (check the crust about 30 minutes into baking to make sure that the edges are not getting too done. If so, cover the edges with tin foil to protect over baking).
- Let cool at least 10 minutes before serving.
Your Own Private Notes
Nutrition
A few of my favorite things
The Power of Positivity
Classic Double Crust Pie Recipe
As an Amazon Associate I earn from qualifying purchases.
Kitchen Essentials
Ingredients
- 2 Cups all-purpose flour
- 1 Tsp. salt
- 2/3 Cup shortening I use Crisco
- 4 Tsp. water may need to adjust slightly
text ingredients
Instructions
- Measure the flour and sale into a mixing bowl and whisk together.
- With a pastry blender, cut in 1/2 of the shortening finely. This will help create a tender dough. Then cut in the other 1/2 of the shortening in a bit more coarsely. Approximately the size of a pea. This will help create a flaky dough.
- Add the water 1 Tsp. at a time mixing lightly with a fork until all the flour is moistened. (Also see the hints above for creating the perfect crust).
- Gather the dough together. Press into a ball. Roll out or cover with plastic wrap to rest in the refrigerator 1 hour first, then roll out and use in your favorite recipe.
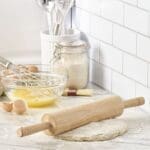
- When rolling out the dough. Divide in half for two pie crusts. Place the dough on lightly floured surface. Lightly flour the rolling pin. Begin rolling in the center turning the dough after each roll until the pie crust is the desired thickness and size you wish.
- If you are filling this pie crust with a recipe to be baked, then the crust will be baked along with the filling. However, if you are planning on filling this pie crust with a chilled recipe, then bake the crust first. I normally bake the crust for 15 minutes on 350 degrees F.
Your Own Private Notes
Nutrition
A few of my favorite things
The Power of Positivity
If you loved this post, please share. It helps to show me that these types of posts are helpful – thank you!
I hope that you liked this recipe. If you are looking for more ideas on what to make, here are a few other recipes that you may enjoy.
You can find Victoria crocheting, quilting, and creating recipes. She has cooked in restaurants for over 20 years, including many larger parties. She learned to crochet when she was just 11 years old and has been crocheting ever since; over 50 years now. Over 40 years ago, she loved her first class in sewing and continues to hone her skills in quilting. Many have enjoyed the handmade gifts over the years. In her professional career, she has worked in management in a wide variety of businesses including higher education as a dean of a division. All the while attending college part-time to achieve her doctorate in higher education with an emphasis in e-learning.

